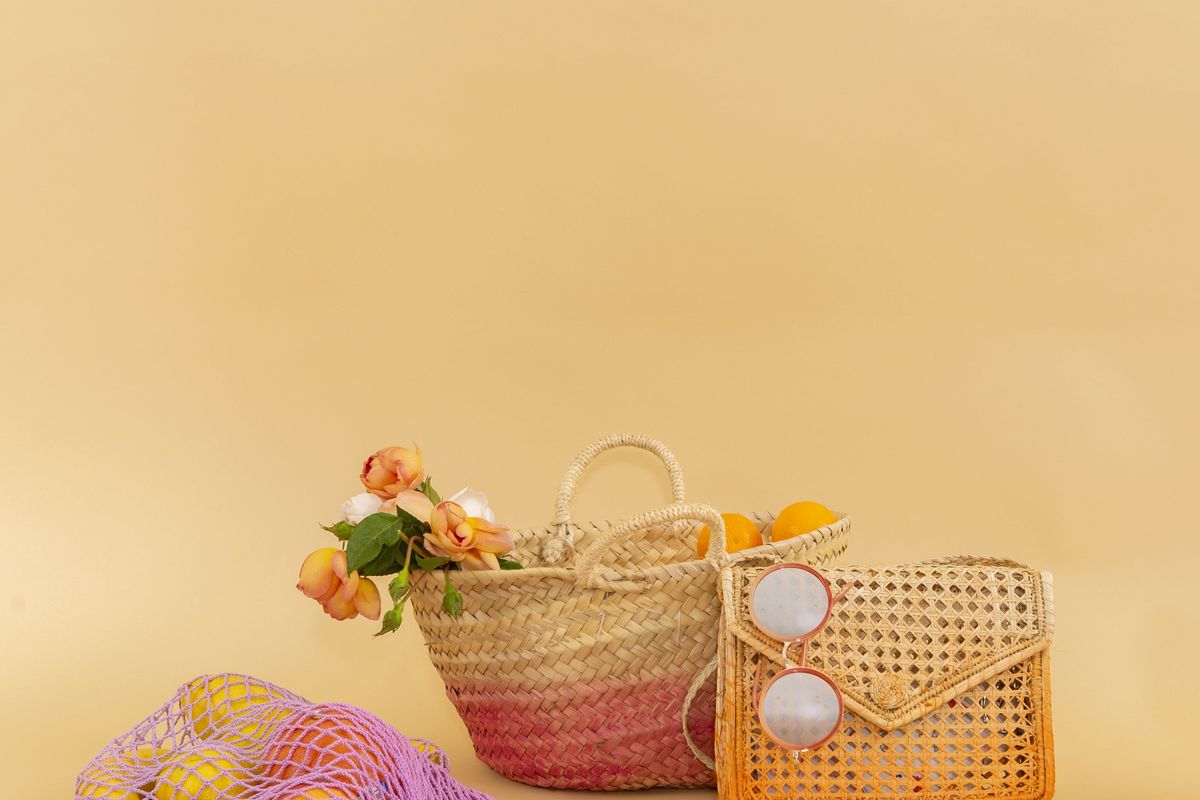
We dip, you dip, we dip.
Make Your Own Dip-Dye Woven Bag With This Easy DIY


Give us all the wicker and straw because nothing says vacation like a cute and colorful bag. The only thing better than the natural fiber is a dip dye DIY — perfect for personalizing your farmer's market tote, beach bag, or casual crossbody. Ahead are three simple ways to give your favorite sack a signature summer upgrade to complete every vacation outfit.

You'll need: wicker and market-style bags, fabric dye, plastic containers, water, pins, and gloves

One-Color Dip-Dye Bag Instructions
1. Measure how much of your basket you want to dye (AKA how high you want the color to go), and then mark with a safety pin.

2. Fill the container with water and then dip basket and remove.

3. Mix dye in. Keep in mind that your dye always dries much lighter, and it's okay to add a little extra color to guarantee brightness.

4. Dip the basket into the dye bath and hold until the bottom of the basket is completely soaked. Keep in mind that this can take much longer when the wicker is coated. Depending on the coating, you can let it soak for as long as an hour.

5. Once soaked, rinse the basket with cool and then warm water until it runs clear in the sink.

6. Allow your basket to dry, and then it's off to market you go!

Ombré Dip Dye Bag Instructions
1. Fill the container with water, and then wet the surface of the bag.

2. Mix the dye in. Again, remember that dye dries much lighter if you want to add extra.

3. Hold top corners of bag and quickly dip 3/4 of the bag into dye (leaving top portion as is) for about two seconds. Continue to dip in a slow up and down motion, gradually pulling the bag out of the dye. This technique creates the smooth ombré effect. Continue dipping bag until color is as desired. For a more dramatic effect, keep the bottom third of bag in the dye for longer. Finish by rinsing the bag in cool and then warm water until water runs clear.

4. Let your new purse dry, grab your shades, and your #OOTD is complete.

Color-Gradient Dip-Dye Bag
1. Fill three separate containers with water, and then wet the surface of the bag.

2. Choose two colors and add each dye to a separate plastic container. Create your third color by combining both dyes in another container.

3. Dip the entire bag into the third bath of combined dyes.

4. Hold your bag in the middle, and carefully dip the bottom half into the second color bath (single color). Let soak for 10 minutes or until it reaches the desired color.

5. Flip the bag over and dip the top half into the final container (single color). Let sit for 10 minutes or until it reaches the desired shade.

6. Rinse bag in cool water and then in warm water until it runs clear.

7. Allow your bag to dry and then paint the town ombré.
Do you live to DIY? Us too (obvi). Be sure to follow us Pinterest for more projects and how-tos!
(Photos via Brittany Griffin / Brit + Co)


