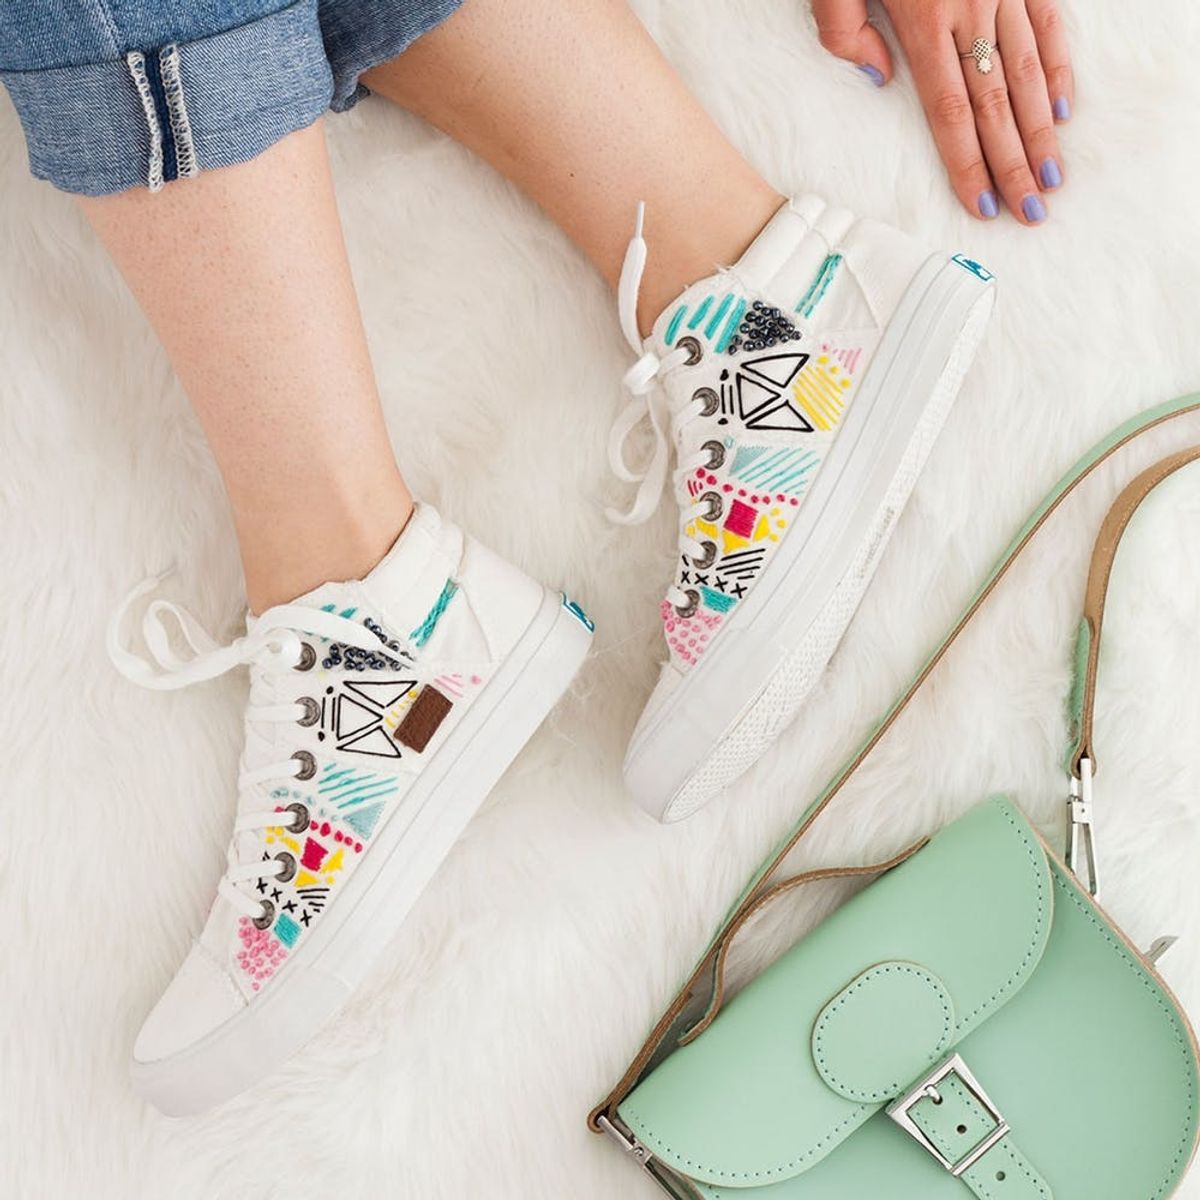
The perfect upgrade for last year’s sneaks.
Forget the Hoop! Embroider White Canvas Sneakers for Spring

We’re falling more and more in love with embroidery everyday. I personally might need to make a new Instagram account to keep track of all my embroidery heroes and inspiration. Recently we discovered Liz Payne and were blown away by her designs (check out her Etsy and Instagram). I mean, her work is WTF amazeballs. With the skills we’ve learned from Embroidery 101, we decided to tackle our own pair of embroidery sneakers for spring. It will take a long time so make this project this weekend or save it for a few days of Netflix marathoning.

Materials + Tools:

1. Unlace the sneakers and string your first color thread onto the needle. Tie the end of the thread to one of the shoe lace grommets.
2. Cover the sneaker in different patterns and stitches using various colors of thread. Scroll down below to learn basic embroidery stitches or learn in our class Embroidery 101!
3. String beads onto the needle and stitch them onto the sneaker for extra flair.
Alright, I’m not going to lie, the type of canvas sneakers are made from is a lot harder to embroider than the cotton you would normally slide into your embroidery hoop. But that doesn’t mean it’s impossible. This project took about 10 hours and can easily be done while you Netflix and party. To make the embroidery 100 times easier, unlace both sneakers to really get that needle working.

Tie the end of the thread to one of the shoe lace grommets. You can tie a knot at the end of the thread but it may get in the way of stitching. By tying it to the grommet, it will hold the thread in place and will help avoid the needle from bumping into knots when embroidering.

Poke the needle through the sneaker starting from the inside. Wrap the thread around the needle four times. Stick the needle back through the sneaker right next to where it emerged. Hold the thread in your left hand while you pull the thread with your right hand on the inside of the sneaker to create a nice tight knot.
French knot stitch

Cover the sneaker with tons of french knots. Space them out to create a polkadot look or place them close to each other to create a textured patch.

Satin stitch is used to fill in an area or a shape. Simply make basic stitches right next to each other until you create a solid color-blocked area.
Satin stitch

What I find most fun about embroidery is thinking of the string as a pencil. Create stitches just as you would create lines on a page to make fun markings.

Back at it again with the satin stitch to create small triangles. Make the second stitch right next to the first but slightly longer to create a triangle shape.

Change up the colors of your thread to create a dynamic pattern or keep it all monochromatic and focus on texture, texture, texture!

To create a semi-seamless longer stitch, try using a split stitch. Back stitch into your first stitch so the thread comes up through the fibers of the thread.
Split Stitch

If your fingers are getting sore — I bet they are — try covering more surface area with large triangles.

Finish up the tops of the sneakers with some beaded embroidery. Slide a bead onto the needle and then poke your needle through the sneaker to secure the bead in place. Repeat over and over to create a beaded masterpiece.

Beading is also a time commitment, so if your patience is thin, go ahead and finish off the space with some satin stitches.

Start with the needle coming up from the inside, poke it back into the fabric right next to wear it broke through. Don’t pull the thread all the way. Instead leave a loop. Bring the needle back up about a stitch-length away and pull the needle through. Insert the needle through the loop behind the stitch and pull tightly. Continue this process and you will start to see a chain forming.
Chain stitch

Shapes + embroidery + color (um teal!) + sneakers = dream shoes for sure!

Spring color palette FTW!

Show us your project by tagging us on Instagram + using hashtag #iamcreative!


