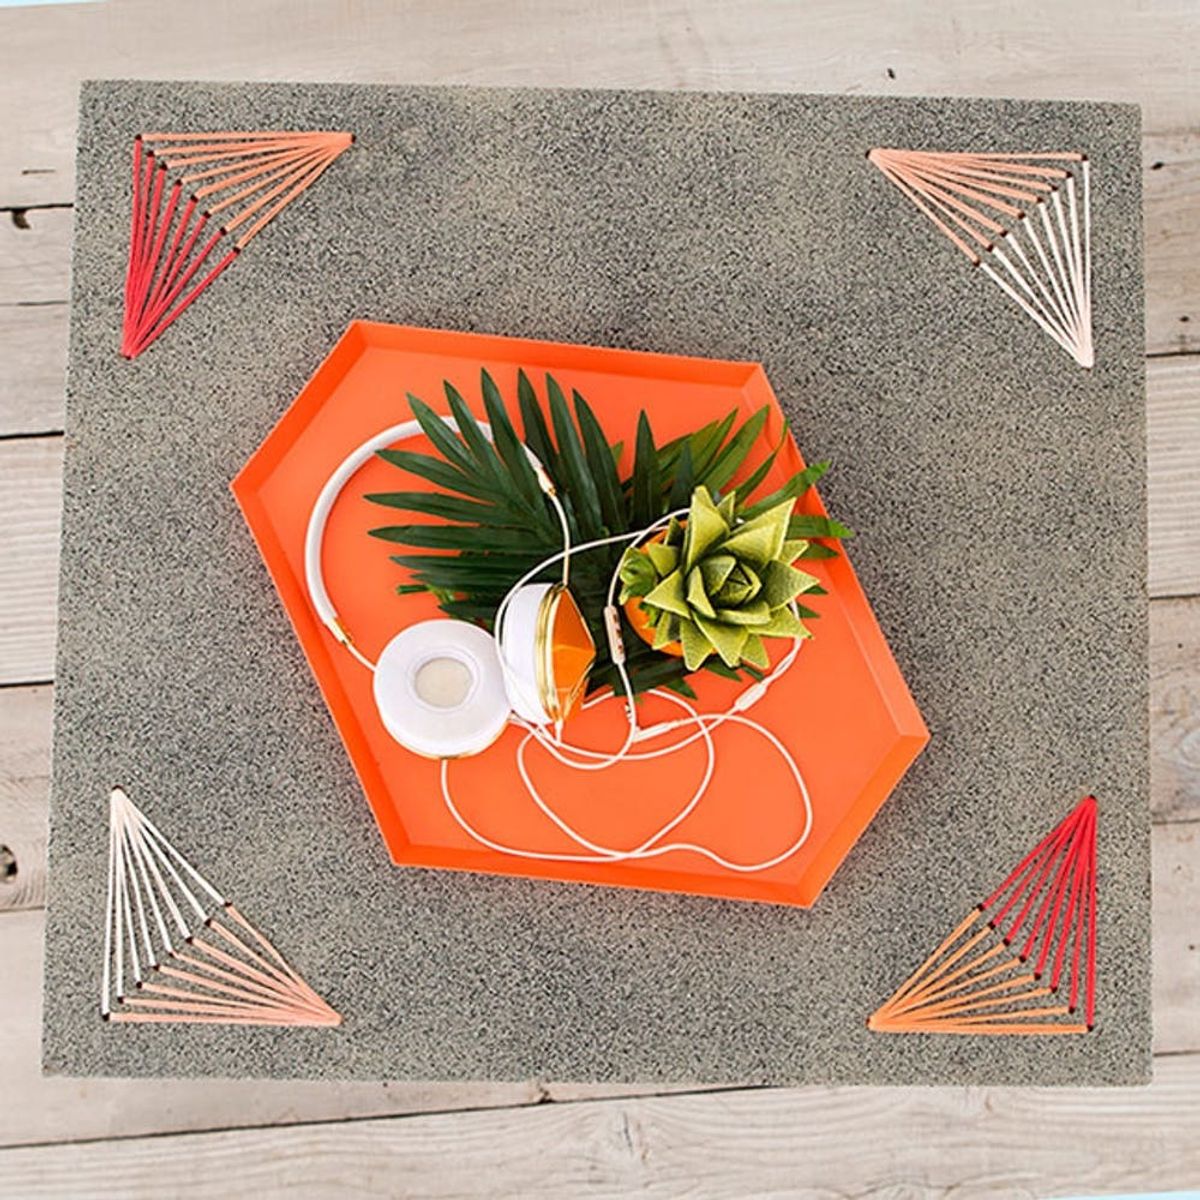
Guess what?! You can embroider on wood!
This Is Our New Favorite Furniture Upgrade

Remember when I told you B+C was on a huge embroidery kick? Well I wasn’t kidding. This week we tried a whole new type of embroidery, so please give a warm welcome to our newest DIY: furniture embroidery! This project combines wood, paint and embroidery floss to give you a trifecta of textures and a stunning, unique piece of furniture for your home. Small space or not, embroidery furniture will fit in anywhere.

Materials:

– spray paint
– embroidery floss
– paint pen
– wooden furniture of your choice (We used two tables.)
Tools:
– sander + sandpaper
– drill + 1/64 HSS drill bit
– embroidery needle
Instructions:

1. Use a ruler and paint pen to draw out your pattern or phrase onto the top of your furniture.
2. Drill holes with even spacing on top of the pattern.
3. Sand down the top and bottom of the table. Then clean off the dust.
4. Spray paint the table your favorite color and let dry.
5. Thread your embroidery needle with four strings of floss and sew to connect the dots and form your pattern.
For this DIY, old beat-up tables will be your best friend. We picked up these two at Urban Ore in Berkeley, but any thrift store or garage sale would be a perfect place to go shopping.

Table one makes use of two DIY skills: embroidery and hand lettering.
Embroidered Hand-Lettered Table

Use a paint pen to draw out your favorite phrase or song lyric. Don’t fret over the paint pen lines; they’ll disappear once sanded and spray painted.

Drill holes about every half inch, following the paint pen lines.

Sand down the top of the table, getting rid of the paint pen lines and other imperfections.

Flip the table over and sand the underside to get rid of any possible splinters. We suggest sanding the legs of the table as well to prep the wood for a new coat of paint. This will help the paint from chipping in the future.

Grab your favorite color of spray paint and give your piece of furniture a new look. Once dry, spray with a clear sealant to help prevent future chipping.

Time to embroider! Thread your needle with four strands of floss and start weaving your way through the holes to watch your favorite phrase appear.

Hey, table — you got this.

This half table is perfect for an entryway or a small space home.

Embroidered Geometric Table

Use embroidery to add fun geometric flair to the edges of your coffee table.

We created isosceles triangles and drew a straight line down the middle with half-inch marks along the way. These marks, along with the three points of the triangle, will become drilled holes.

Here’s a view of the pre-drilled table.

Drill and sand the top and underside of the table to prep it for spray paint.

Have you ever used granite spray paint? It is so easy to use and gives amazing texture to whatever piece you are working on. Before you use granite spray, lay a base color underneath to create a polished look.

Thread your needle with four strands of embroidery floss and weave through the holes. Notice how each stitch went back to the base points of the triangle to add a burst to the shape.

Use different colors of floss to incorporate the palette of your room into your new embroidered table.

Hand lettered or embroidered geometry: We love them both!

Show us your project by tagging us on Instagram + using hashtag #iamcreative!

DIY Production and Styling: Kelly Bryden
Photography: Kurt Andre


