When we see a woven strap, we can’t help but add a personal touch to the everyday staple accessory. Timex® started us off on the right foot (or… wrist!) with their Weekender Slip-Thru watch in bright, lively Lime Green and Orange.
How to Add Color and Pattern to Your Favorite Watch Strap
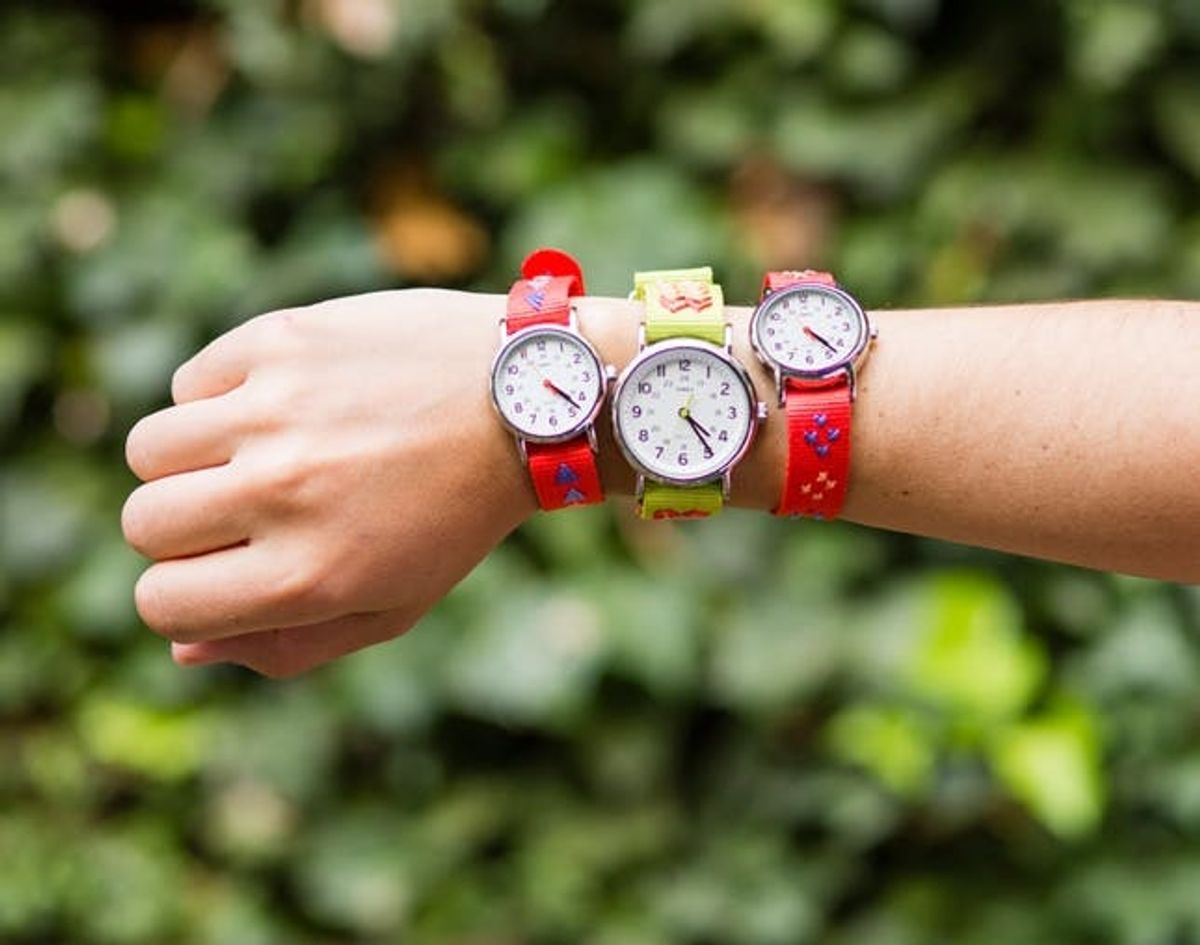

When we see a woven strap, we can’t help but add a personal touch to the everyday staple accessory. Timex® started us off on the right foot (or… wrist!) with their Weekender Slip-Thru watch in bright, lively Lime Green and Orange.

Materials:
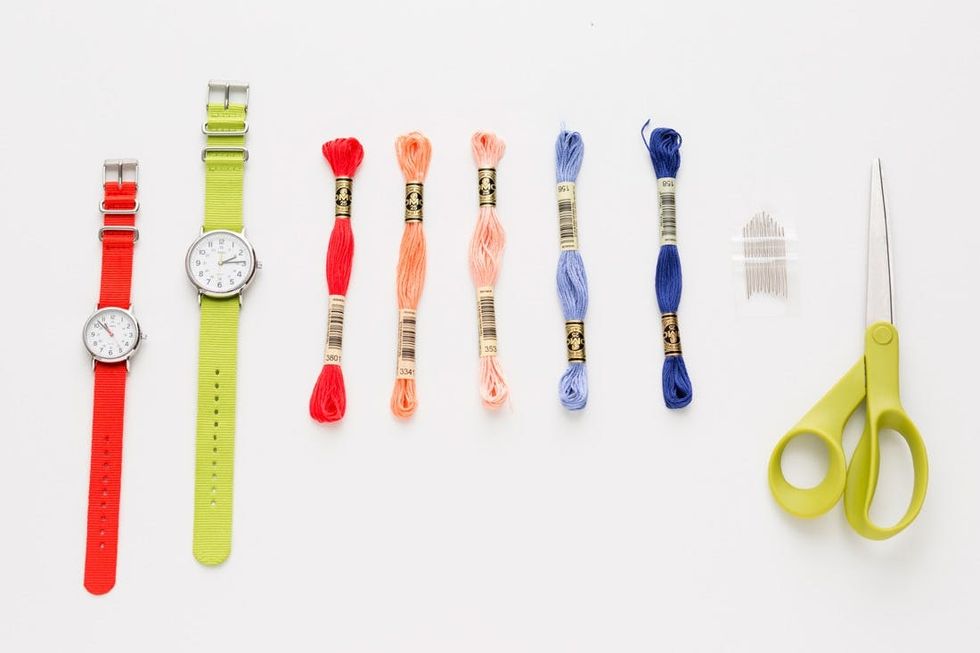
– Timex Weekender Watch
– embroidery thread in 3 colors
– embroidery needles
Tools:
– scissors
Instructions:
1. Cut a piece of embroidery floss with scissors, to the length of one arm.
2. Thread a needle with the embroidery floss, and tie a knot at one end.
3. Begin stitching, going from the back of the watch strap to the front.
4. Tie off the thread by making a small stitch and tying a knot on the back of the watch strap.
5. Repeat with other colors of embroidery thread until you’ve completed your design.
6. Now that you’ve made your own snazzy custom watch, buckle up and show that baby off!
All it takes is a little sewing 101 and you’re good to go!
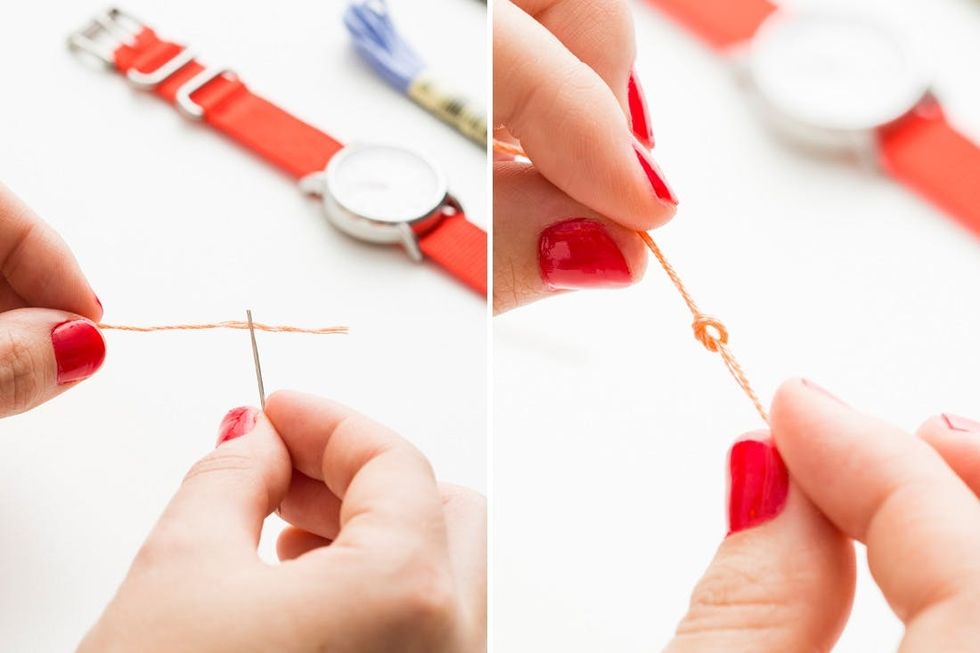
First things first, cut a piece of embroidery floss to the length of one arm, and thread one end through a needle. It helps to wet the end you are threading so the strands stick together. Tie a knot on the opposite end of the embroidery floss, and you’re ready to take on the first stitch!
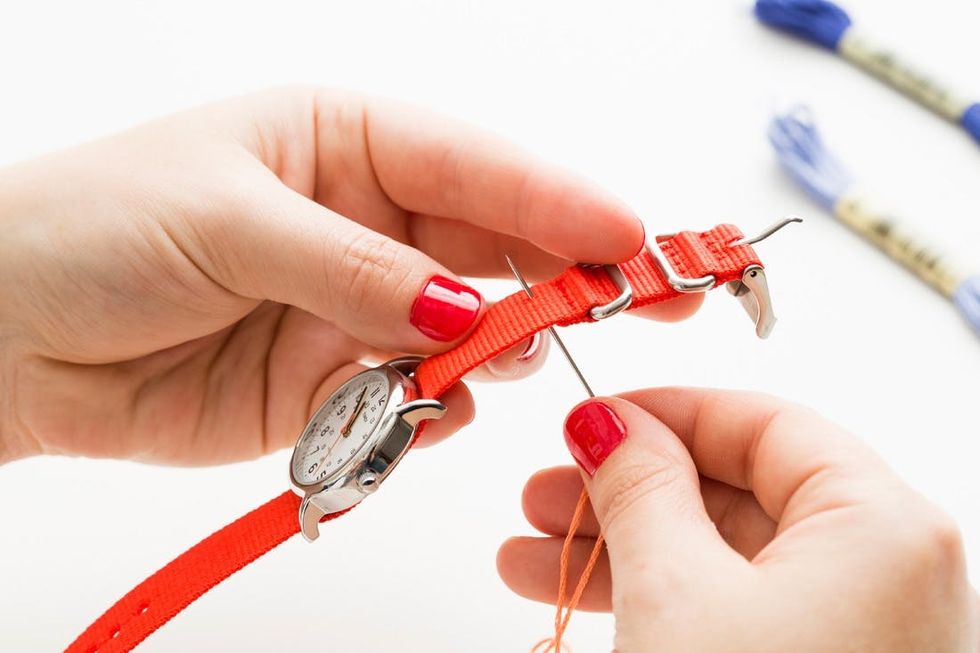
Begin stitching, piercing the needle from the back to the front of your watch strap.
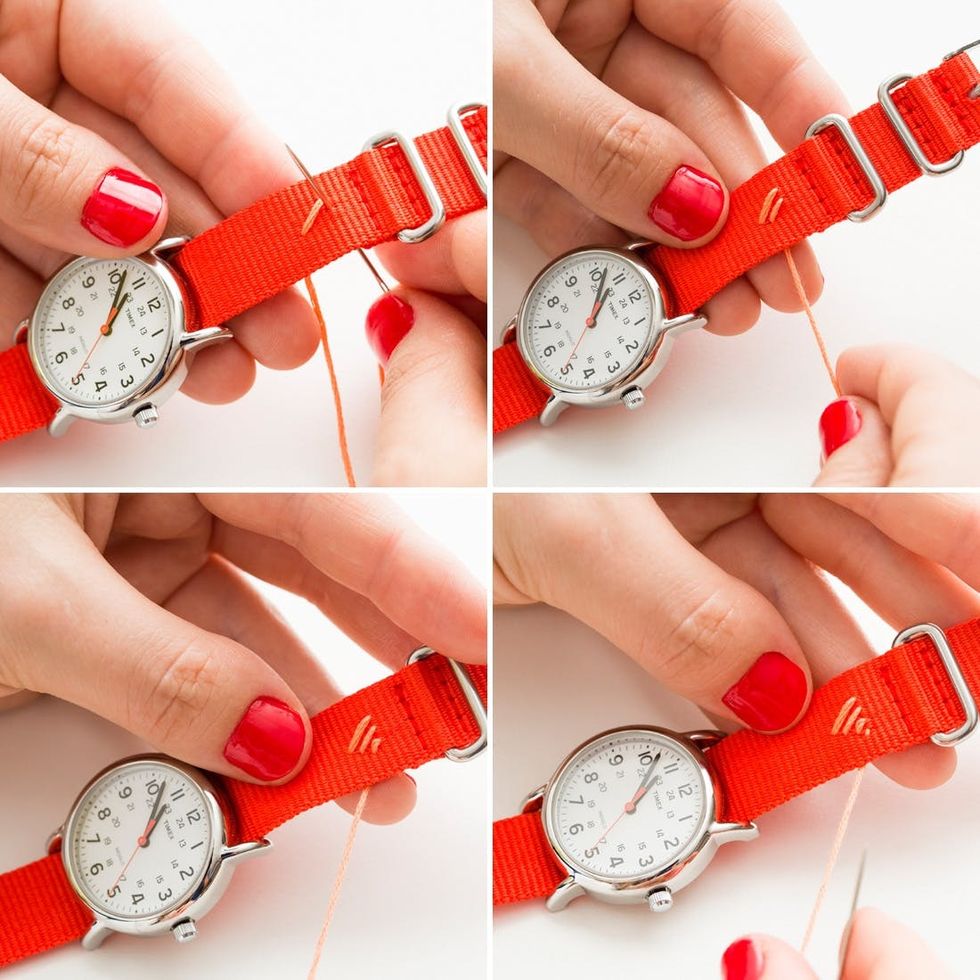
Continue stitching from back to front, and back again. Follow one of our three designs or come up with a custom design of your own!
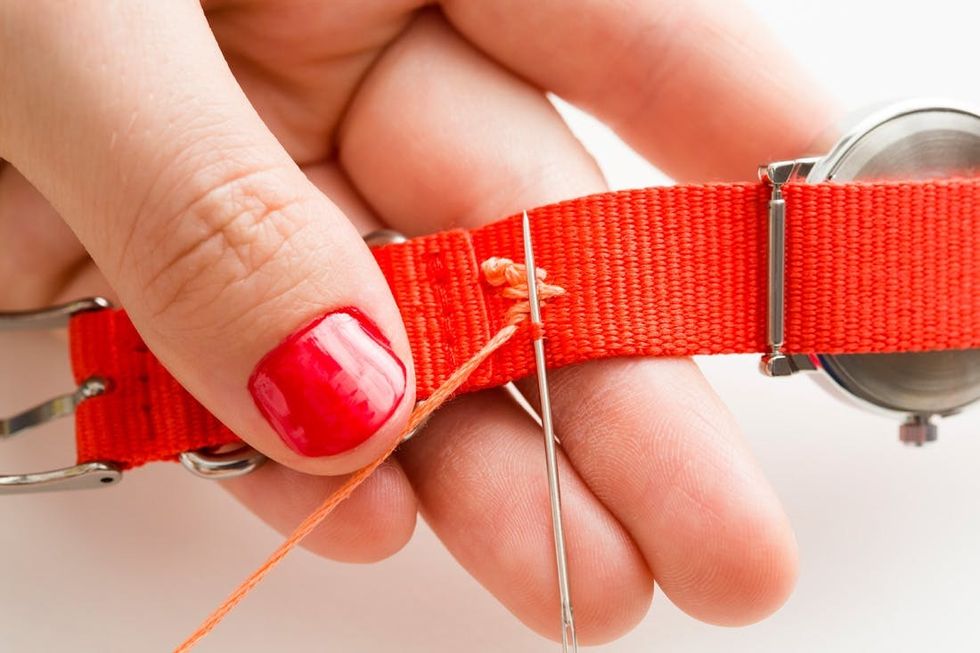
Once you’ve finished a section and are ready to switch to a new color, turn the band over and make a small stitch on just the backside. Here you can turn the strap over to make sure this stitch hasn’t gone all the way through to the front side.
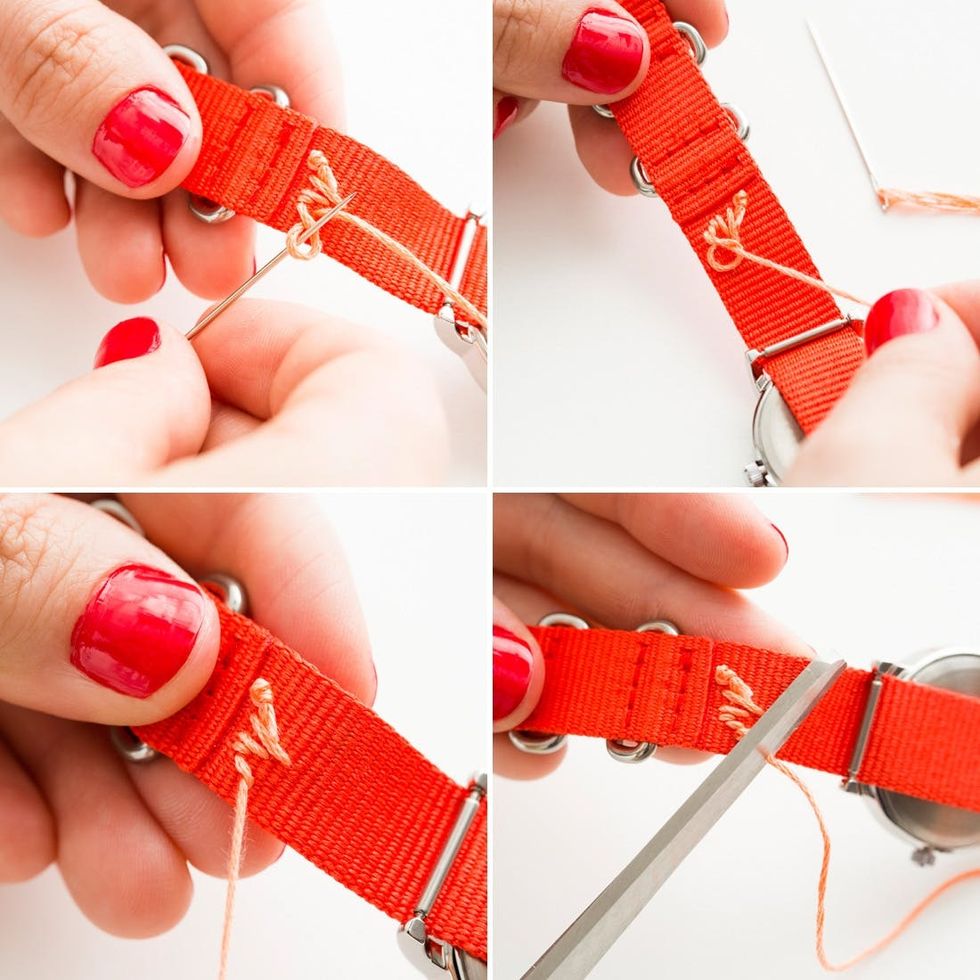
Thread the needle back through the loop that forms from this stitch, and pull tight into a knot. Repeat once more and trim end with scissors.
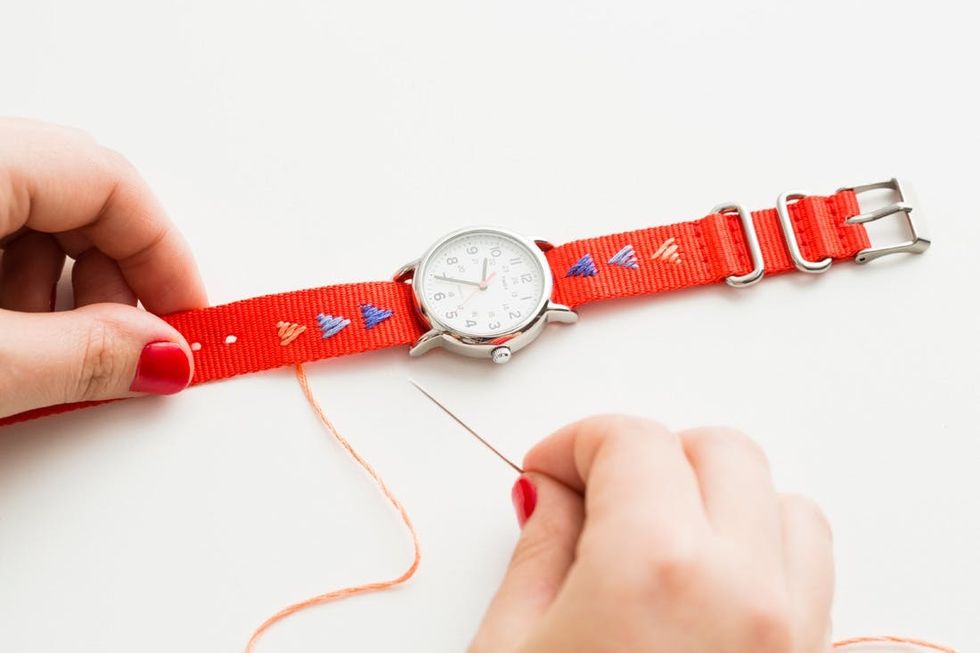
Repeat this process for all the other colors and sections, until your design runs the length of the watch strap
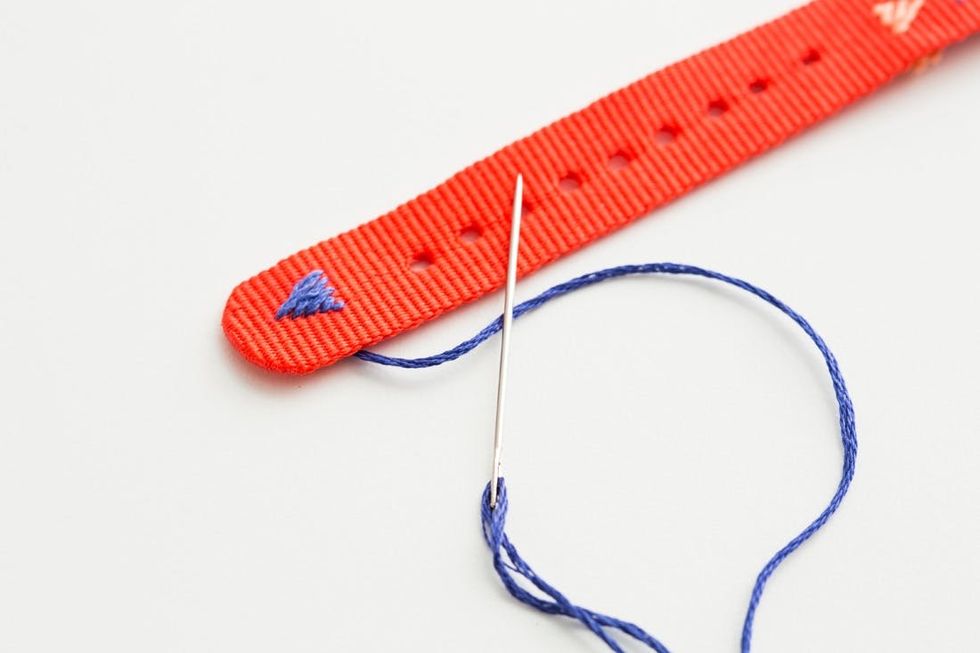
We added a little extra love to the end of the watchband, for a fun thoughtful detail.
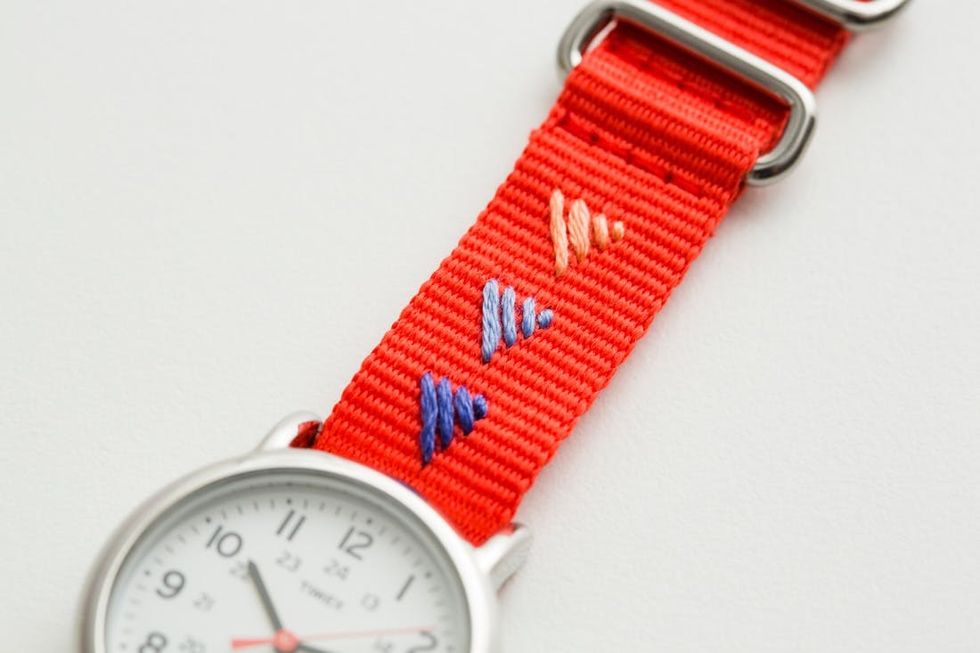
For our first design we made triangles out of simple diagonal stitches, making sure that they all ran parallel to each other and got shorter as you went along.
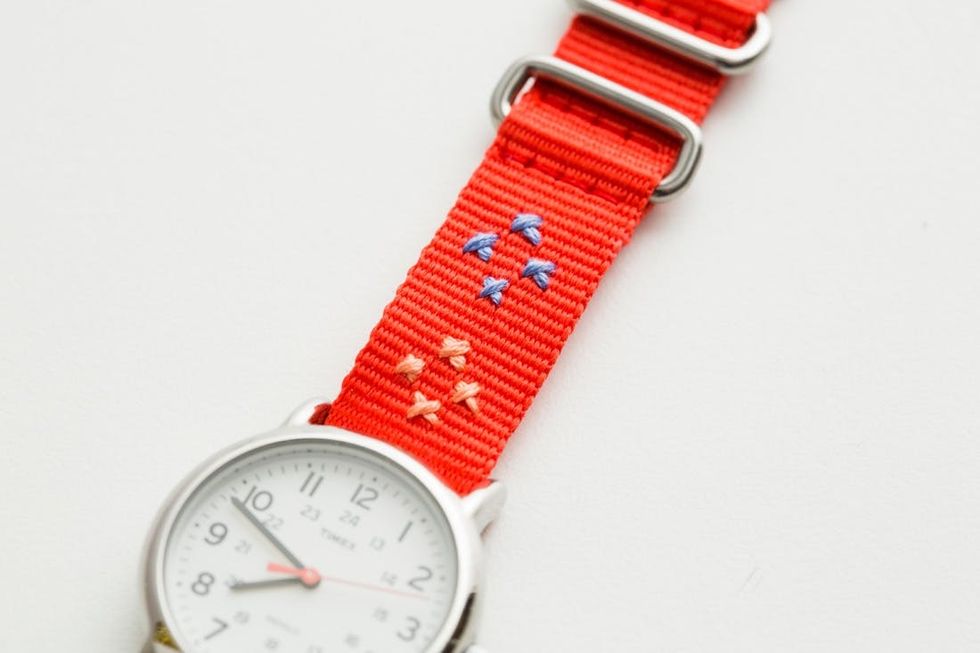
For our second design, we got into some classic cross-stitching, to make a simple floral pattern out of four little crosses.
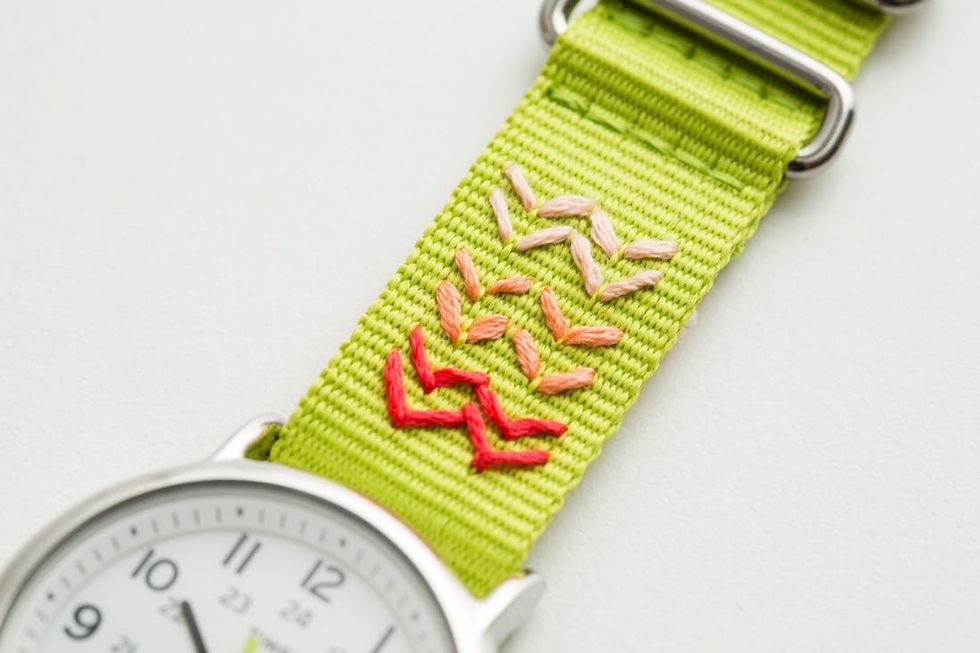
And for our third design, we revisited an old favorite of ours – the chevron stripe – in an ombre pattern! Extra Pinterest points!
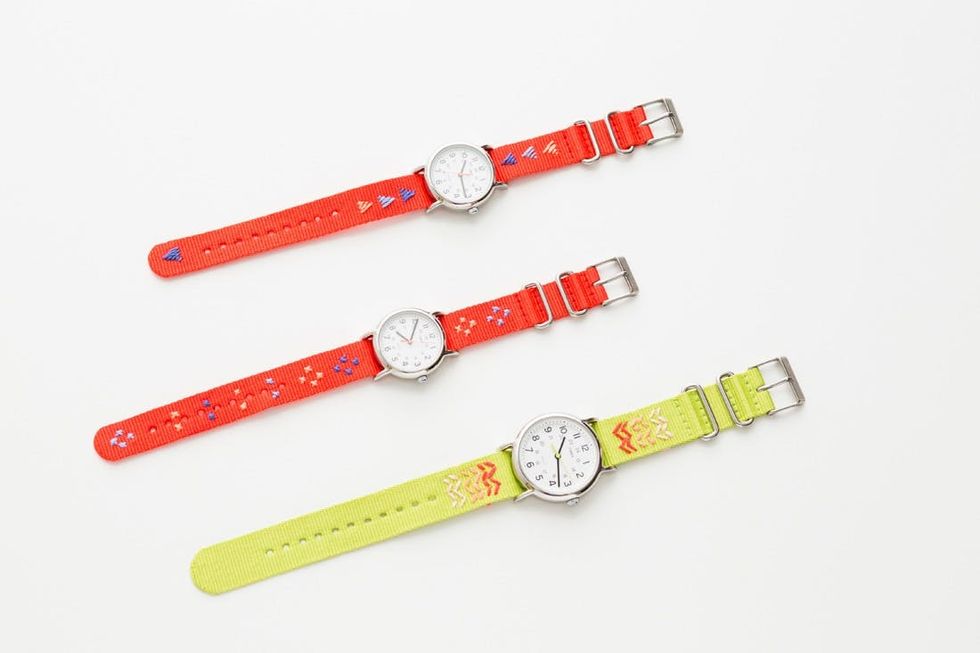
Don’t forget to get creative with the entire band, working around punched holes and at the ends!
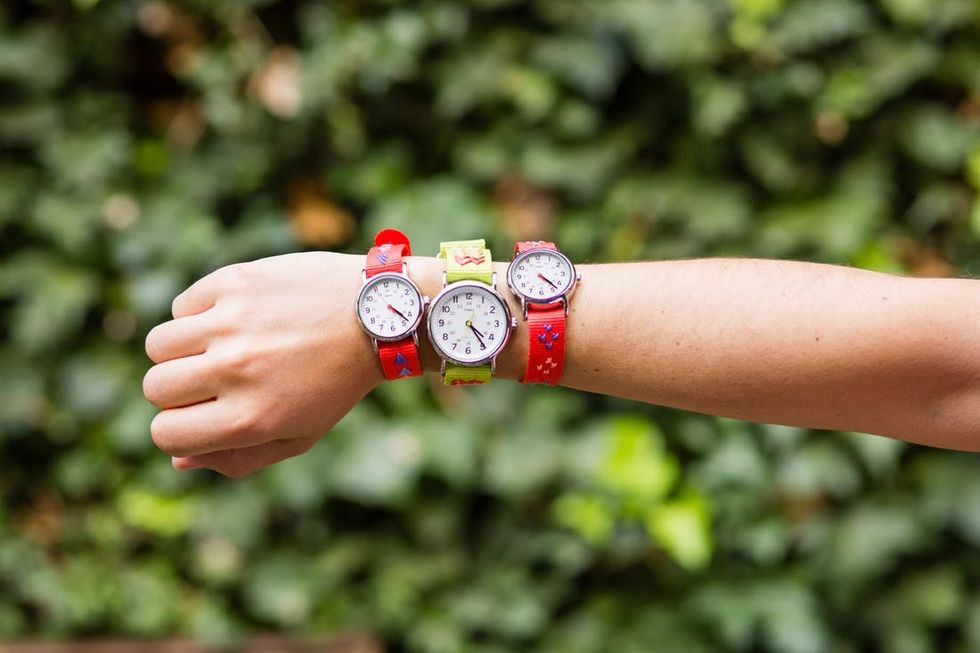
Of course, the beauty of the Weekender Watch is that the woven band lends itself well to all kinds of designs. Take a closer look at the rows on the band and you’ll see a neat little grid perfect for planning out a new pattern!
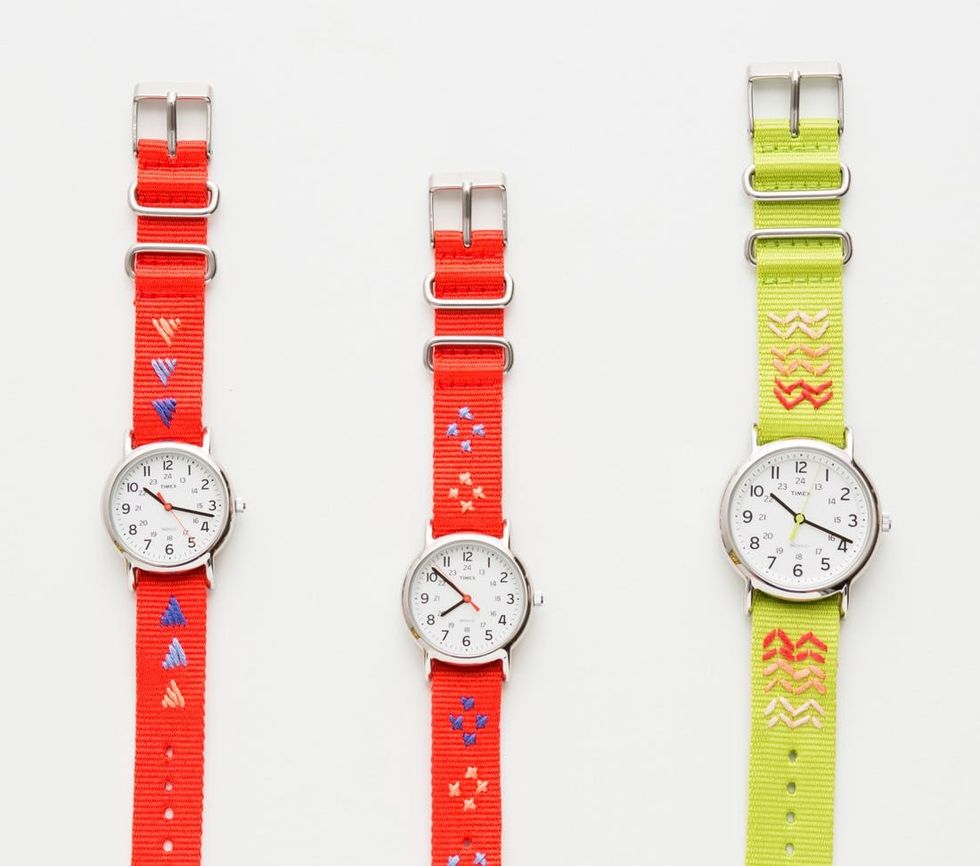
We’re pretty psyched with the outcome of these embroidered beauties.

You’ll be looking for all kinds of excuses to talk with your hands and show off that wrist candy.


