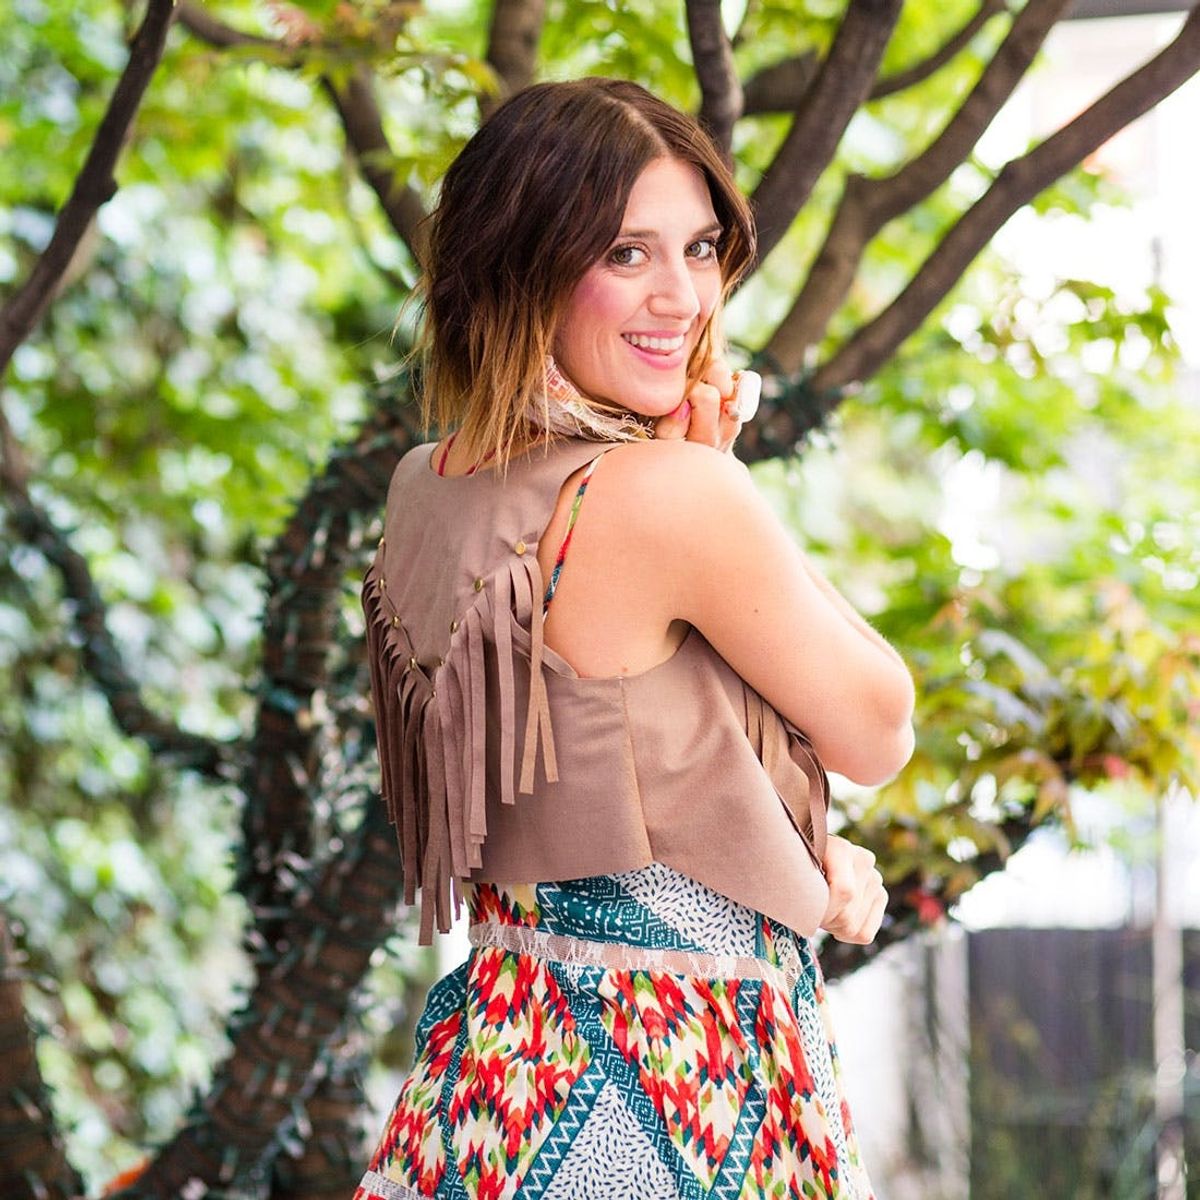
Make and rock the vest all the celebs were wearing at Coachella!
DIY the Vest All the Celebs Were Wearing at Coachella

Raise your hand if you were mega jealous of everyone at Coachella this weekend. We are!! After trolling the web for amazing style, we noticed that all of our favorite Celebs were wearing suede fringe vests. Fergie, Kendall, and our favorite Beyoncé were all rocking cute vests over their festival favorites. You’ll never believe how easy this DIY is! With a few scissor snips and two rows of stitches, you’ll have yourself a cute suede vest.

Materials:

– fake suede
– studs
Tools:
– sewing machine
– tape measure
– chalk
– scissors
– pliers
Instructions:

1. Measure the width of your shoulders and length of your torso. These will be the measurements you use to cut the base of your vest.
2. Fold the fabric in half to the measurement of your torso — ours was 17 inches. Mark the measurement of your shoulders on the fold — ours was 15 inches. Cut out this rectangle.
3. For the arm holes, measure about nine inches down and about two inches in on both sides. Use the chalk to draw half of a U shape between those marks and then cut.
4. Find the center of the vest and cut it open. Draw and cut a U shape for the collar.
5. Lay the two front halves of the vest on top of each other. Cut the bottom half into a triangle shape. Cut a diagonal line on the top to turn your U neckline into a deep V.
6. Lay flat and sew the sides of the vest.
7. Create fringe with leftover suede. Our fringe was about eight inches long.
8. Lay the fringe on the back of the vest in a V shape. Attach using studs and pliers.
9. Create diagonal lines of fringe on the front panel of the vest. Attach with studs and pliers.
Get out that measuring tape and measure your body. Well, just your torso. Fold the fabric in half to match the length of your torso. Then measure across the fold to match the width of your shoulders. Cut out your perfectly proportioned rectangle.

Measure about nine inches down the rectangle and about two inches inward on both sides of the rectangle. Draw a U shape with chalk. *Pro tip – Draw one side and then fold in half. The chalk will transfer onto the other side so you have a perfectly mirrored print to cut.

Find the center of the front of the vest and cut. Don’t cut through both sides! Draw a U shape for the neckline, and this time cut through both sides.

Match the two front halves of the vest together and draw three diagonal lines. This will create pointed front panels and a deep V neckline. Once you are satisfied with your lines, grab your scissors and cut.

We’ll zoom out to give you a look at where we are. Don’t worry — the chalk will wipe right off.

Sew the two sides of the vest. For all of you sewing machine scaredy cats: It will take about two minutes total.

Fold in half and trim the back side so it is even with the start of the triangle point.

Grab your leftover suede and fringe it up! Our fringe measured about eight inches.

Take this moment to try on the vest. We found that we needed to trim in the shoulder straps to fit in our arm crevice better. Mark with chalk and then trim.

Lay the fringe on the back of the vest to form a V. Trim accordingly.

Use the studs to attach the fringe to the vest. Fold the arms of the stud over using pliers.

Attach fringe to the front of the vest in a diagonal line. Attach with studs.

Fringed up!

Can you believe you made this vest with about 10 cuts and two rows of stitches on the sewing machine?!

Miss Misty’s festival style is on point with the patterned tunic and fringe earrings.

Not digging the fringe in the V? Try lines of fringe for a more shaggy look.

And once your vest is done — dance!


