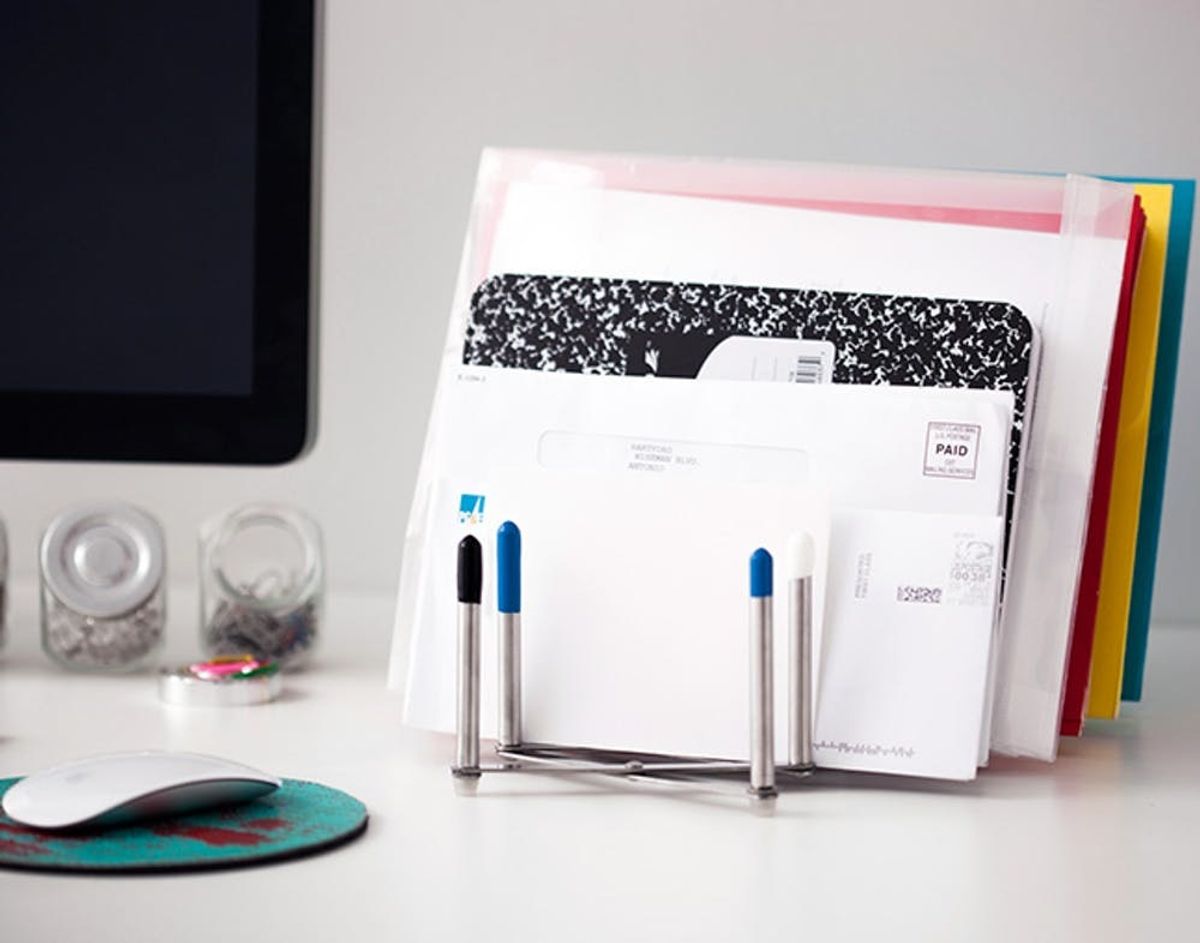
Yesterday, we shared our favorite file organizers, and that means today we’re going to show you how to make one of your own. Can you guess what we used to make this expandable holder? Surprisingly enough, it’s a rack designed to hold pot and pan lids in your kitchen. Normally, you’ll see file organizers repurposed to hold pot racks, but we tried the opposite. To decorate the rack, we headed to the hardware store to pick up Plasti Dip. Have you ever used it before? Plasti Dip is normally used to create the rubber coating on the handles of tools like pliers or wrenches—anything where you need a better grip. But there are so many other ways to use it, especially since you can mix your own colors! Try it out with this project, and then let us know how else you plan to use it.
You’ll Never Guess What We Used to Make This Colorful File Organizer

Yesterday, we shared our favorite file organizers, and that means today we’re going to show you how to make one of your own. Can you guess what we used to make this expandable holder? Surprisingly enough, it’s a rack designed to hold pot and pan lids in your kitchen. Normally, you’ll see file organizers repurposed to hold pot racks, but we tried the opposite. To decorate the rack, we headed to the hardware store to pick up Plasti Dip. Have you ever used it before?
Plasti Dip is normally used to create the rubber coating on the handles of tools like pliers or wrenches—anything where you need a better grip. But there are so many other ways to use it, especially since you can mix your own colors! Try it out with this project, and then let us know how else you plan to use it.
Materials:
– Plasti Dip color kit
– IKEA Variera Pot Lid Organizer
– plastic gloves
– plastic cups
– stir sticks
Instructions:
1. Choose the tints you want, and mix the colors with the clear Plasti Dip in a plastic cup. The smaller the plastic cup the better, as you’ll be able to dip more of the prong into each color.
2. Dip each prong into one of the colors. You can alternate the depth of each dip, or you can keep them all the same.
3. Let as much of the Plasti Dip as possible drip off of the prong before turning it right-side up. You can shake off some of the excess, and then wait for the last bit to drip.
4. Screw the prong into the base of the organizer. The Plasti Dip won’t run past where you dipped it, but if there is too much on the prong it can cause some weird bumps. We found that just dipping the top 1/2 inch of the prong worked the best. Plus, it made it resemble a matchstick.
5. Allow to dry completely—preferably overnight.
6. Add your files, and stay organized!
*A note about safety: We definitely recommend wearing plastic gloves and doing this project outside. The fumes are pretty strong, and while the Plasti Dip won’t hurt you, it is difficult to clean off your fingers.
You won’t need much of each tint to color the clear Plasti Dip. You can also mix tints to get a wider variety of hues. We decided to stick with the basics for this project.
All mixed and ready to dip! Use coffee stirrers, straws, or disposable silverware to mix the Plasti Dip. It’s designed to stick, after all!
Dip each prong, and shake off the excess.
To cover more of each prong, tilt the cup and roll it around in the Plasti Dip.
The base of the organizer makes the perfect drying rack. Try to let them dry as long as possible, preferably overnight.
We varied the length of each dip to mix it up a little bit.
Now we’re ready to get organized!
Stash your files, mail, and notebooks that you need to keep at hand in the rack. And file (or shred) anything you don’t need on a daily basis.
Have you ever used Plasti Dip? Tell us what you dipped in the comments!


