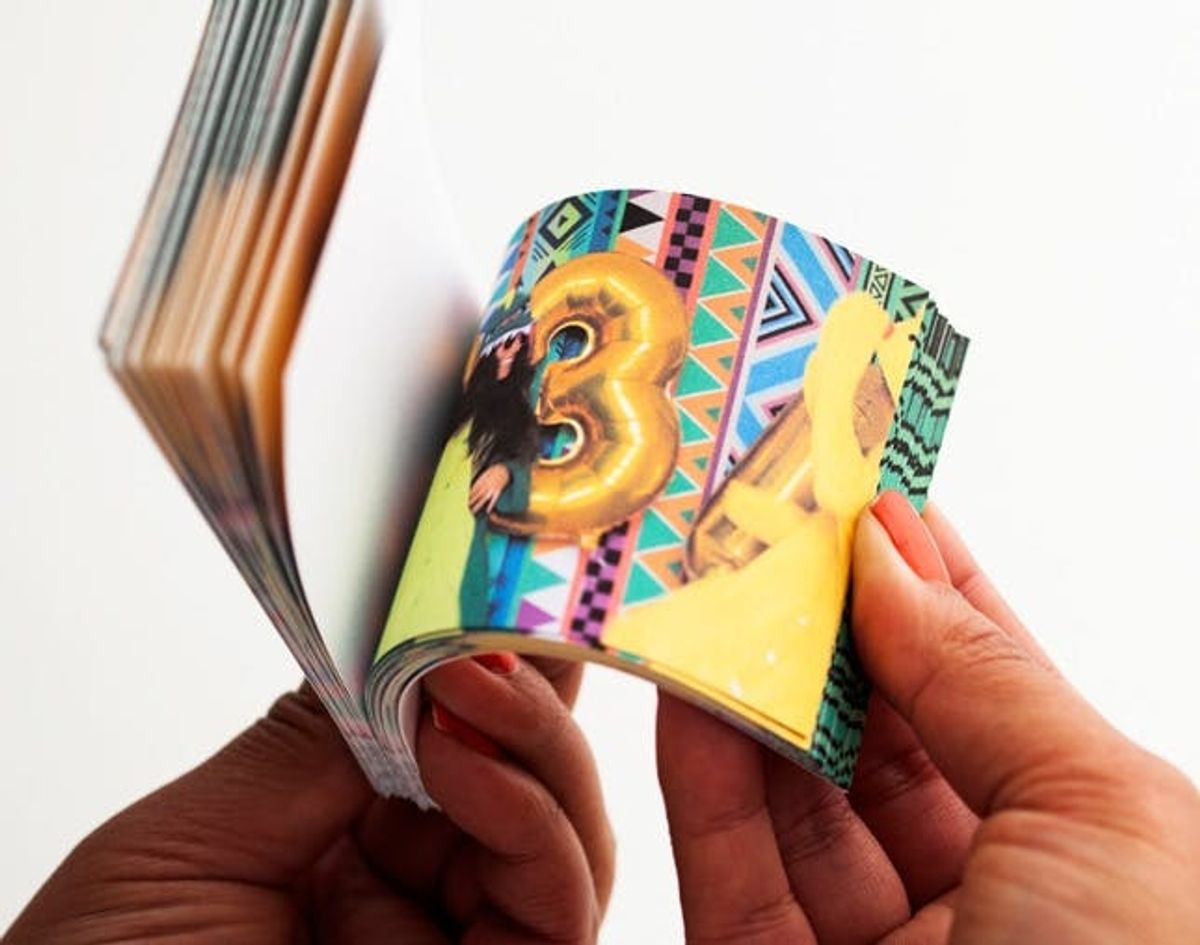
Remember the awesomeness of a flipbook? I remember it coming in the form of basic stick figure drawings, cartoons, and the comic-like imagery back in the day. But now, thanks to the awesomeness of self-timers and DIY photo booths, it’s actually possible to turn photos into a flipbook in a matter of minutes. Read on to see how it’s done!
You’ll Flip Out Over How Easy It Is to Make a DIY Flipbook!

Remember the awesomeness of a flipbook? I remember it coming in the form of basic stick figure drawings, cartoons, and the comic-like imagery back in the day. But now, thanks to the awesomeness of self-timers and DIY photo booths, it’s actually possible to turn photos into a flipbook in a matter of minutes. Read on to see how it’s done!
Materials:
– cardstock
– digital photos (to print, of course!)
– Mod Podge
– clear packing tape
Tools:
– color printer
– iPhoto or other photo-editing software
– paper cutter
– paint brush
– binder clip
Of course, the key to all of this starts with the photos. Set your camera up on a tripod (or step stool) and turn the self-timer on so it takes rapid fire photos. Most cameras can take 10 photos in a row. Who knew? In the case of this flipbook, I used a selection of outtake photos from the Save the Date video my husband and I made for our wedding earlier this year. I thought it would be a fun two-month anniversary present, because why not celebrate all the time?! Today also happens to be our 11 year non-wedding anniversary – not sure what to call it now that we have a wedding one ;)
Once you have your photos, drag them into iPhoto. That’s right – you don’t even need Photoshop to set this flipbook up! In iPhoto (and most photo editing programs), you can select a number of photos to print, and choose the “Contact Sheet” option.
Once you’ve chosen that option, click “Customize” to specify how many photos you want per piece of paper. We went with four photos per page.
Be sure to load your printer up with cardstock as that tends to work best for flipping. Now, print!
Now, to the analog DIY part of the show! Gather up your supplies. If you don’t have access to a paper cutter, you can take your print-outs to FedEx Kinko’s and cut them there, or even have them cut them for you for a few bucks.
When cutting, it’s important to cut a little bit into the photo – like a hair into it. You don’t want a white border around the photos. Cut your photos and be careful to keep them in order for flipping.
Oh, hello there!
Now, stack your photos together and test out the flipping.
Are you flipping out yet?!
Finally, we need to bind this book together.
Stack all the photos together and attach clear tape to the top photo. Bring the clear tape all around to the back photo.
Then, remove the inside photos but keep them stacked. Open up what is now kind of like a book cover made of your first and last photos. Use a paint brush to fill the center tape section with Mod Podge. You want it to be fairly thick so that the glue hits all of the photo edges when you put the stack back in.
Press that stack into the center of your “book cover.”
Secure the whole thing with a binder clip, place under something heavy (like a table), and let dry overnight.
Voila! As you can see, the glue bound the pages together even though not every page sticks to the tape “spine.”
Now flip it, flip it good!
What other photo projects would you like to see here on Brit + Co? Talk to us in the comments below.


