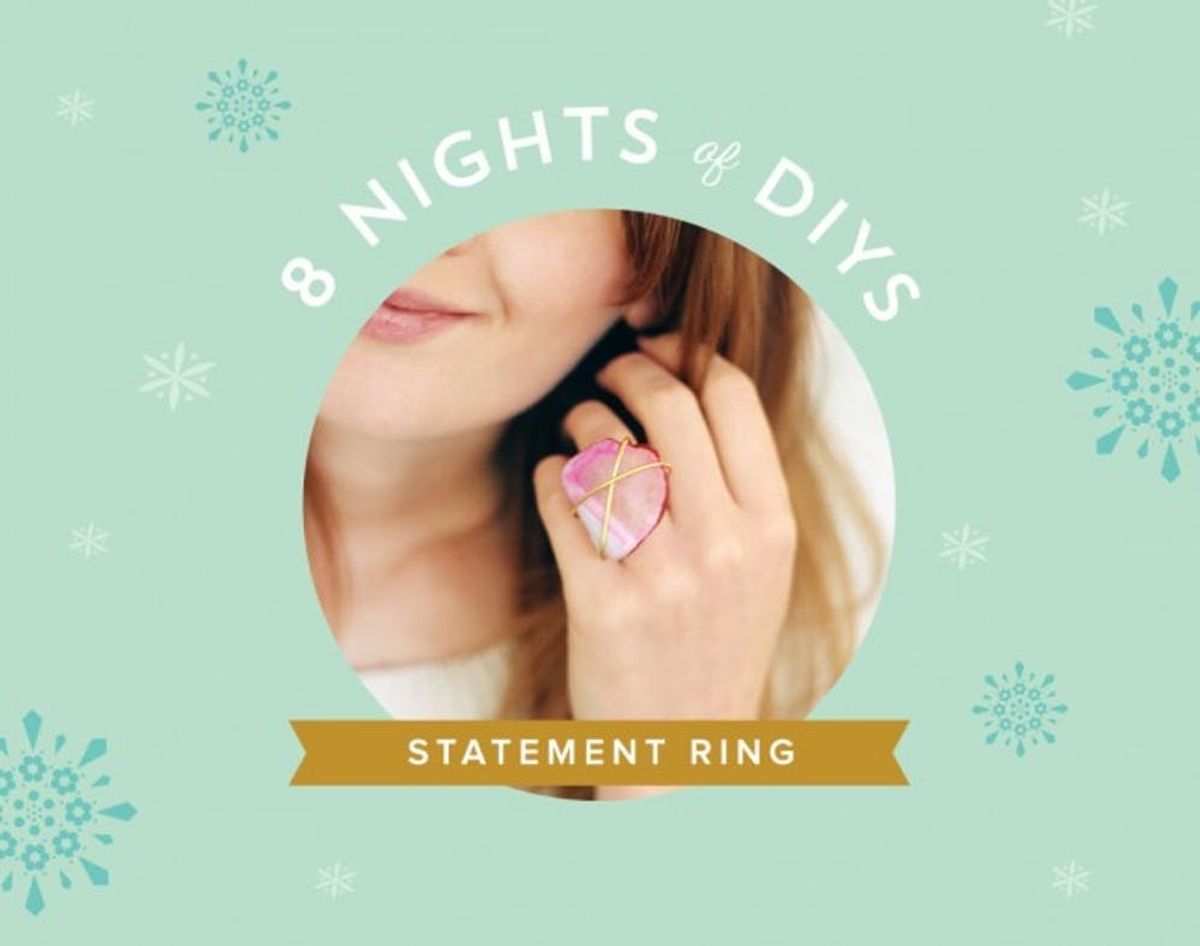
8 Nights of DIYs: Gemstone Rings That Complement Your New Year’s Toast

Who said good things come in small packages? Using an oversized natural stone to adorn your fingers means you just need one statement piece to accessorize your outfit and complete your look. Reason enough to DIY a gemstone ring? We think so. Not only is every rock different, yielding one-of-a-kind, gorgeous rings, but you also don’t need any special equipment to make ’em. That means you probably should make this finger candy for more than one — say, a ring for you *and* a ring for your most style-obsessed friend — she’d flip for this stocking stuffer. So gather up your rock collection and start turning those loose stones into some serious bling.
Materials:
– semi precious stones
– ring base
– 1-mm wire
– E6000 glue
Tools:
– wire cutters
Instructions:
1. Cut a piece of wire long enough to wrap around the stone.
2. Use your fingers to wrap the wire around the front of the stone so the ends meet at the back. Cross these over and twist once to secure into place.
3. Fold the ends down close to the stone and cut off the excess.
4. Take another piece of wire and do the same thing but at 90 degrees to the first piece of wire, so that the wires cross over on the front of the stone and the ends meet at the back.
5. Fold the ends down close to the stone and wrap them around the opposite wire ends. Then cut off the excess wire.
6. Squeeze the E6000 glue onto the back of the stone where the wires cross to keep them in place.
7. Press the ring base into the glue and leave to completely dry.
Let’s get this statement ring started by wrapping that shiny wire around your choice of stone so the ends meet in back. Cross these over and twist once to make sure the stone is secure. Press the twist as flat as possible and snip off any wire that peeks out. Take another piece of wire and do the same thing at such an angle that you’ll make a cool cross on the face of the ring, and criss cross them in the back to secure. Now for the easy part: pop some glue on those two twists and press a ring base in there. Let it dry while you go pick out the perfect outfit to go with your new creation.
Be warned: handshakes and happy hour will all get a lot more interesting if you’re showing off a gorgeous ring like this one. If you’re not so into all that new attention but you like the idea of this DIY ring, simply swap out the stone for something subtler. The beauty of this piece is how totally customizable it can be.
Just know *we’ll* be following the motto go big or go home.
What jewelry DIYs have you done that make perfect gifts? Share you thoughts and your own creations with us on Twitter, Instagram or in the comments below.


