Whether it’s a thank you note, a party invitation or just a friendly hello, these 18 adorable stationery tutorials come with a whole lot of (DIY) love.
Skip The Greeting Card Aisle: 18 Ways to DIY Your Stationery

In the age of texts and emails, it’s easy to forget how fun it is to receive some snail mail. But what makes it even more fun is when you make the cards yourself! These DIY’ed cards — from dip-dyed to printable — are anything but store-bought. So whether it’s a thank you note, a party invitation or just a friendly hello, these 18 notes come with a whole lot of (DIY) love.
1. Washi Tape Script Cards: Turn plain paper cards into a pattern frenzy with messages spelled out in washi tape. The best part? If you mess up, washi tape peels right off without ripping the paper. (via Omiyage Blogs)
2. Watercolor Postcards: Add a little color to your cards! Use glue to spell out your message, be it “Hi” or “Save the Date,” then paint over the card in abstract water colors. (via Project Wedding)
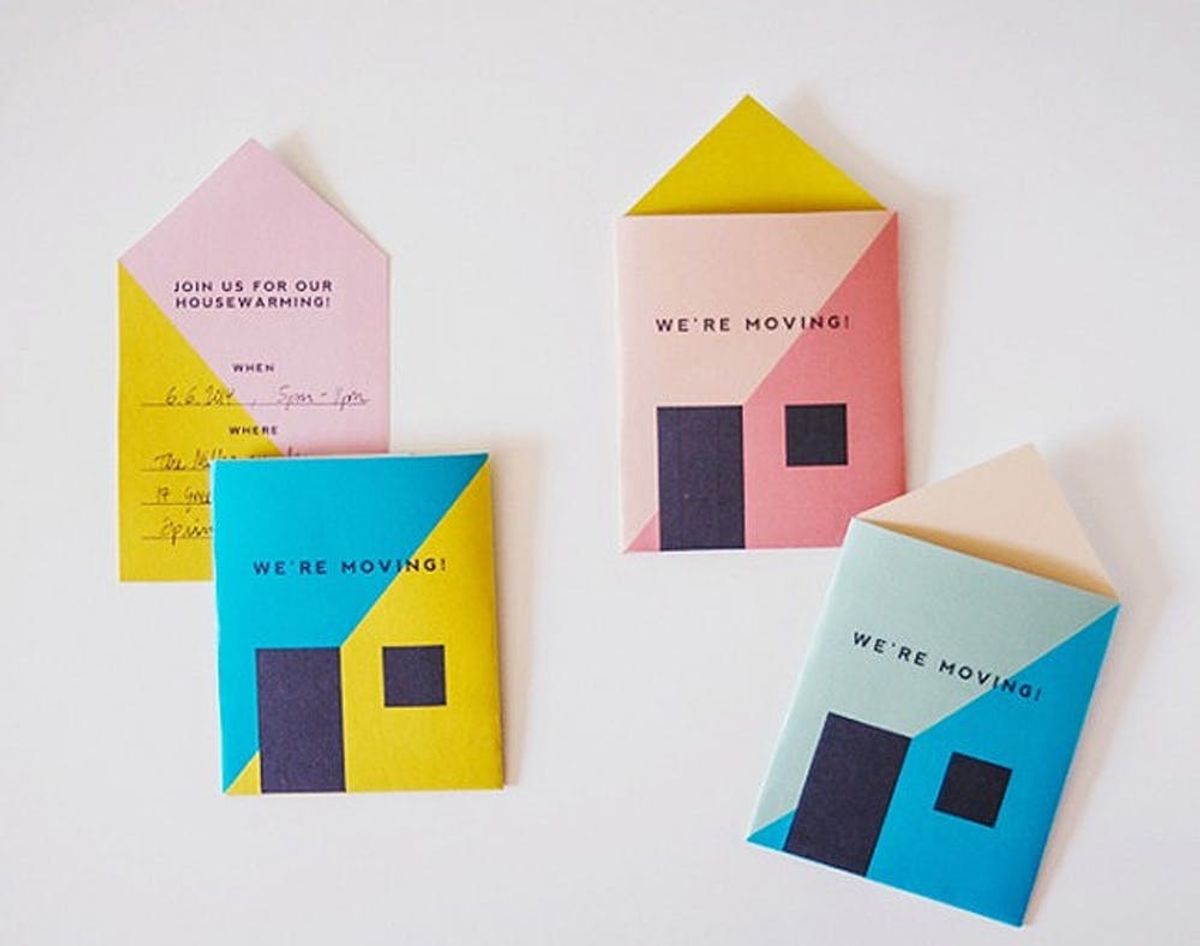
3. Housewarming Announcements: Just moved? Your friends will be extra excited to check out the new digs when they see these super cute housewarming invites! Make your own by folding and cutting print outs. (via Oh Happy Day)
4. Your Love is a Work of Art: Who says Valentine’s Day is the only time to show your love for your SO? Use this printable template to create a handheld art gallery of photos of you two. (via Brit + Co)
5. Dip-Dyed Stationery: All you need to make this colorful stationery stack is hot water, fabric dye and cardstock. We love that you can make this ombre pattern in a whole collection of colors. (via Poppytalk)
6. Gilded Cards Three Ways: All that glitters is gold, especially when it comes to this shimmery set of thank you notes. Follow the tutorial for using gold glitter and paint for these fab designs. (via Camille Styles)
7. Light-Up Card: That’s right. A card that LIGHTS up?! If you give this a try and want to learn more about LED electronics, check out our e-class! (via Brit + Co)
8. Print Power: These crabby cards may look hand-stamped, but if you have a computer, a printer and a stack of cardstock, you can make custom notes in minutes. (via Coordinately Yours)
9. Leaf Your Mark: It’s the oldest trick in the book. With just a freshly plucked leaf and a hammer, you can make a naturally pretty stamp. Just place a paper towel over your leaf and hammer away. It leaves (pun intended!) behind a great all-natural watermark. (via Delighted Momma)
10. Bit by Bit: This one is for your techie friends. You can choose whatever shape you like, then follow a basic weave pattern using slits in your card and strips of ombre-toned paper. (via TrendHunter)
11. Pop Up Polaroid Card: This one’s an oldie but a goodie, but it’s a fun one to make for any occasion because it’s so easy to customize! (via Brit + Co)
12. Fabric Swatch Cards: This set has all the vintage charm you’ll need! First, stain the cards with coffee and tea for an old-timey feel, then adhere strips of old fabric on top for a beautiful and colorful inlay. (via A Beautiful Mess)
13. It Takes a Village: This tutorial is two DIYs in one (yay!) — but you can do them both in no time at all. First, make your own stamps with a pen and a rubber stamp block (try houses or letters for fun). Then use that DIY’ed stamp to, well, put your stamp on your cards! (via Fellow Fellow)
14. Gold Leaf Cards: Words can be golden, especially when spelled out in real gold leaf. Get fancy with your stationery using gold leaf paper, glue and a makeup brush. (via Lovely Indeed)
15. Marbled Stationery: You already know we love anything marbled, so why should your stationery set miss out on the fun? These colorful cards are easier to make than you think. (via Minieco)
16. Make Your Own Letterpress Cards: If you’re a DIYer with your own letterpress machine, you can easily DIY these playful cards. If not, get the same look with paint (you can even use puzzle pieces as your stencil) or stamps. (via These Moments of Mine)
17. Stitched Up Letters: Your friends will be in stitches when they open up an envelope stuffed with these cleverly hand-stitched designs. (via Brit + Co)
18. Patterned Watercolor Cards: More watercolors! As you can see, watercolor isn’t just for kids anymore ;) (via Brit + Co)
Send us a note below! Tell us who you’re going to send your DIY’ed stationery to in the comments below.


