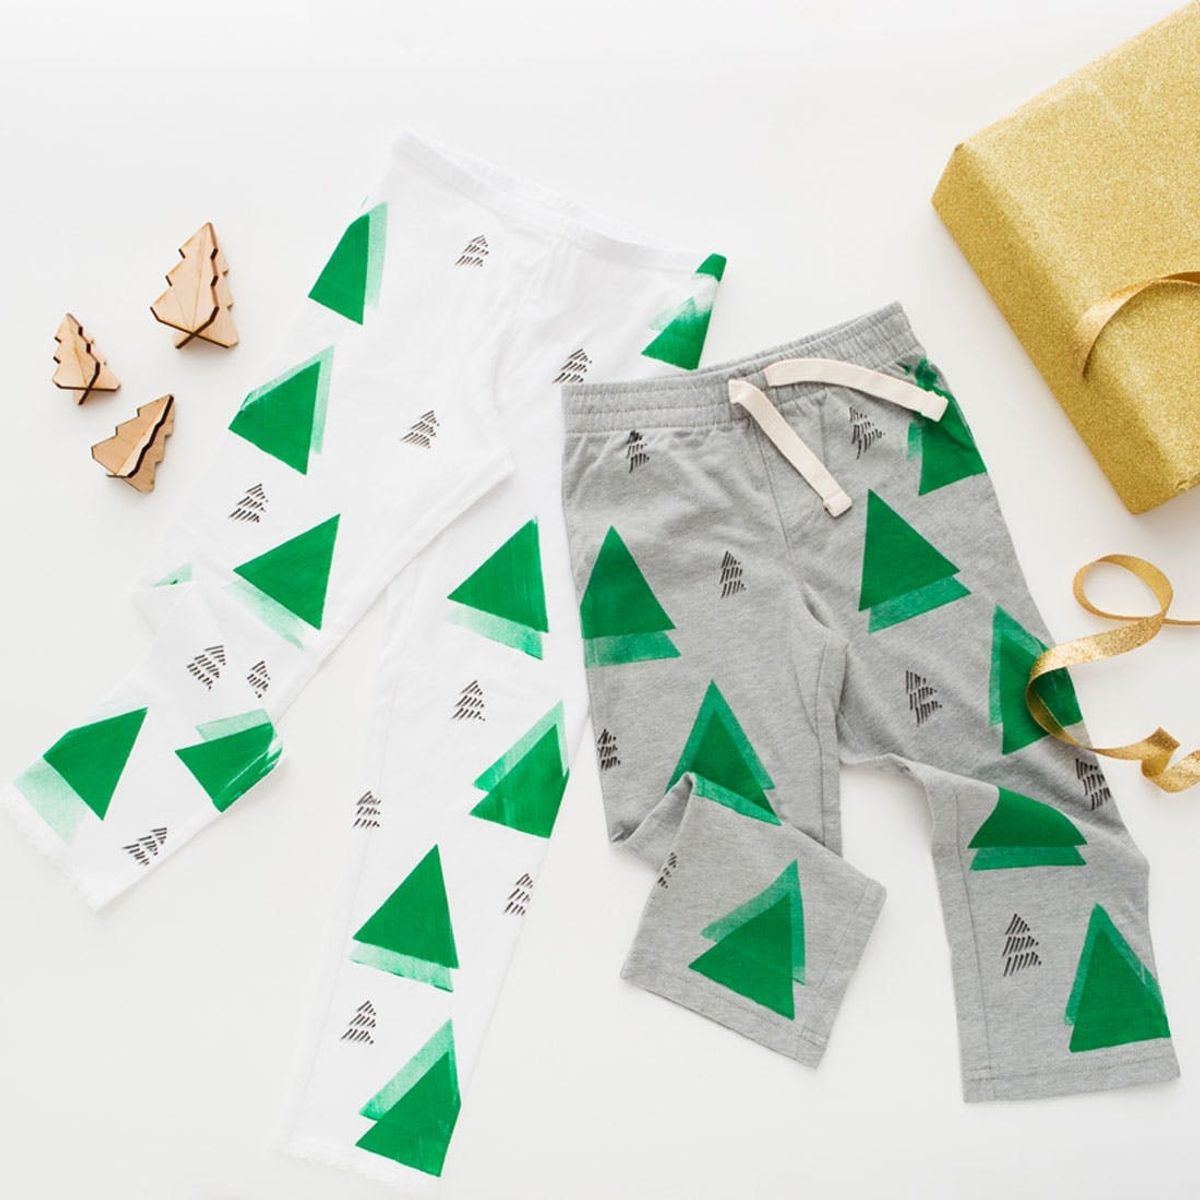
Once again, the holidays are just around the corner, and we’re gearing up for cozy days indoors spent baking, gift wrapping and lounging in our comfiest threads. To make sure the whole family is lounging in style, we’ve teamed up with Old Navy to put a festive DIY spin on cotton leggings for kids.
Throughout the rest of this post, we’ll walk you through two basic techniques to get you started, plus a few extra designs for inspiration!
Tools + Materials:
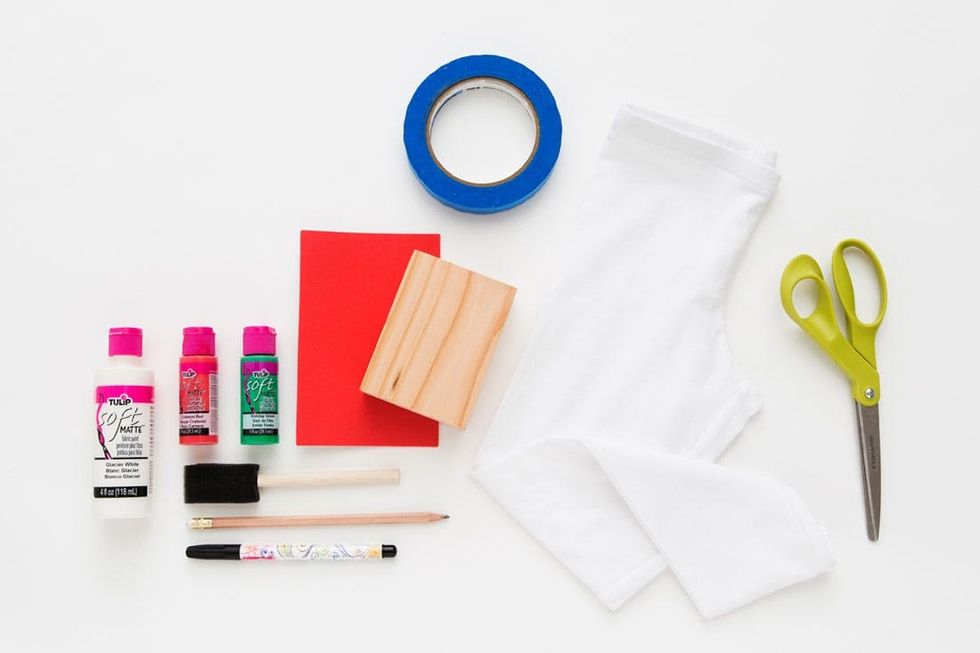
– Old Navy kids’ leggings
– fabric paint (in 3 colors)
– foam paintbrush
– sticky back foam sheet
– stamping block
– fabric marker
– painter’s tape
– scissors
– pencil
Stamped Leggings Instructions:
1. Trace or draw your desired shape onto the backside of your foam sheet.
2. Cut out your shape with a pair of scissors, peel away the backing and stick onto your wood block.
3. Brush a thin layer of fabric paint onto your stamp and press down firmly onto your leggings. Repeat for a second lighter imprint if you wish before re-applying paint and stamping again.
4. Let your paint dry and then draw on a few small details with a fabric marker.
5. Repeat on the backside of your leggings to create an all-over print.
Striped Leggings Instructions:
1. Lay down several diagonal strips of painter’s tape on the lower half of your leggings.
2. Brush fabric paint over the top of your taped stripes and let dry. Repeat on the other side of your leggings and let fully dry again.
3. Peel away all the tape to reveal your painted stripes.
PATTERN-STAMPED LEGGINGS
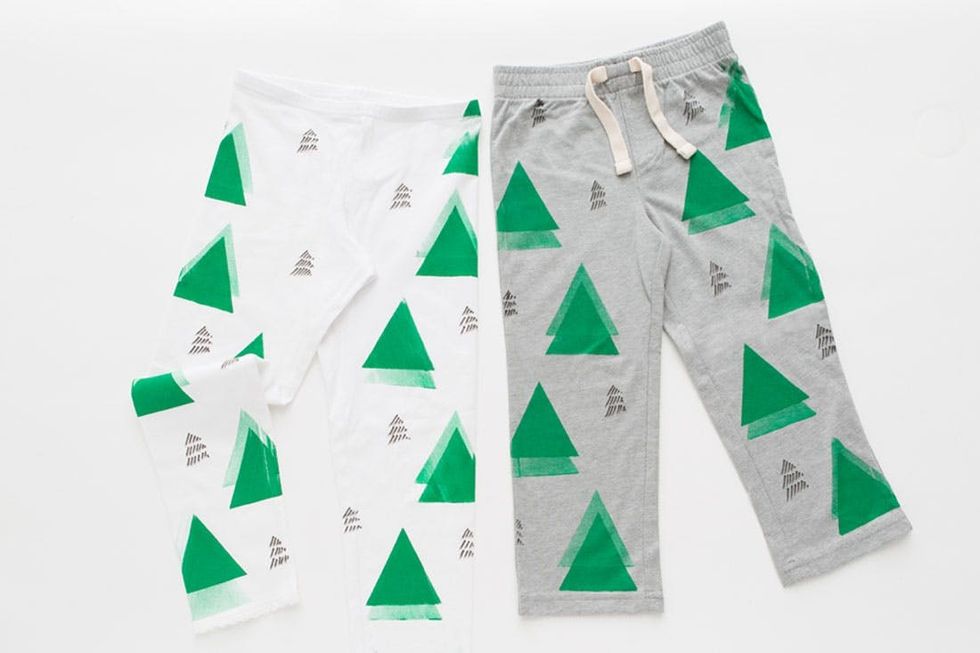
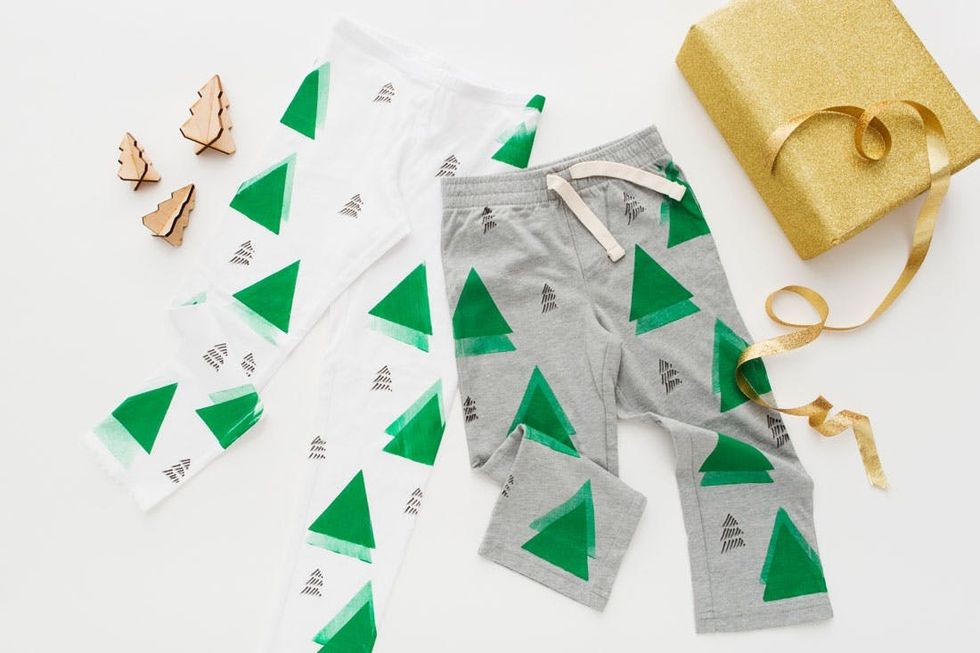
This design uses the basics of block stamping and a little extra touch with fabric markers to make an abstract evergreen tree pattern that all ages will love. Come to think of it, we want these in adult sizes too!
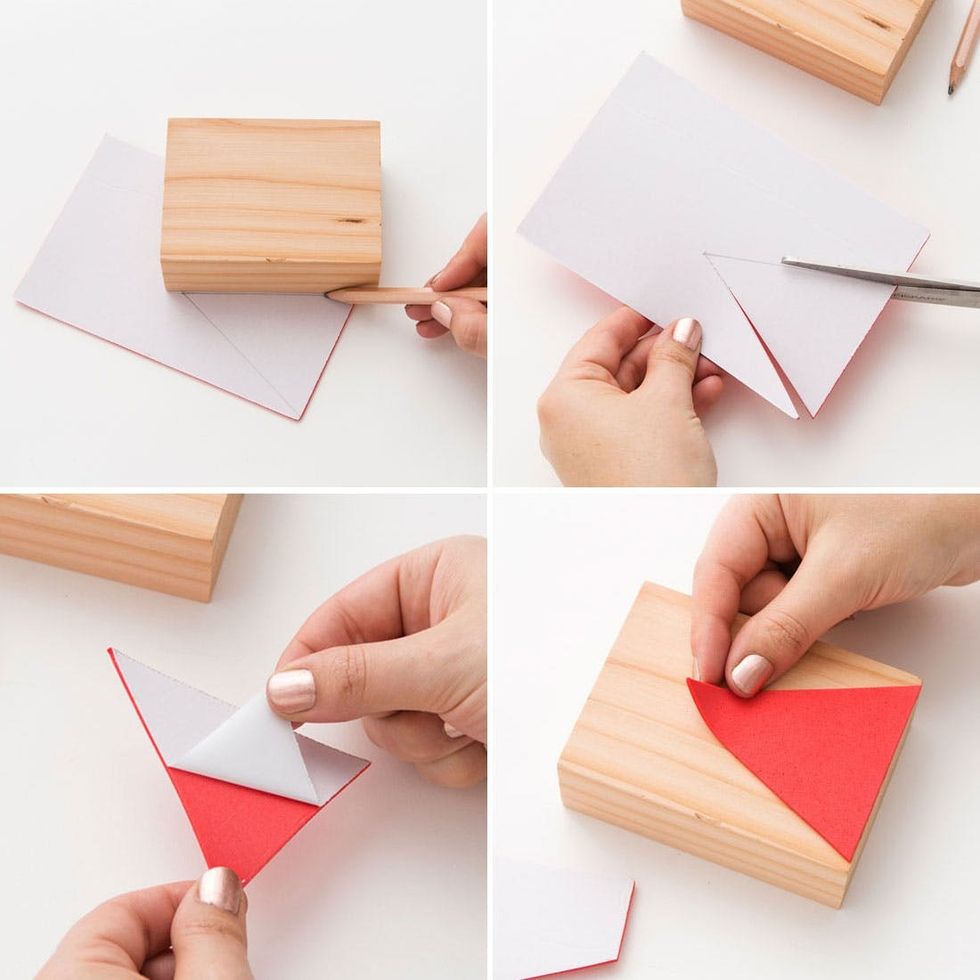
Making your own stamp from sticky foam is incredibly easy. Trace or draw the shape of your choice onto the paper backside of the foam and cut out with scissors. Then just peel and stick onto your wood block and you’ve made your very own stamp!
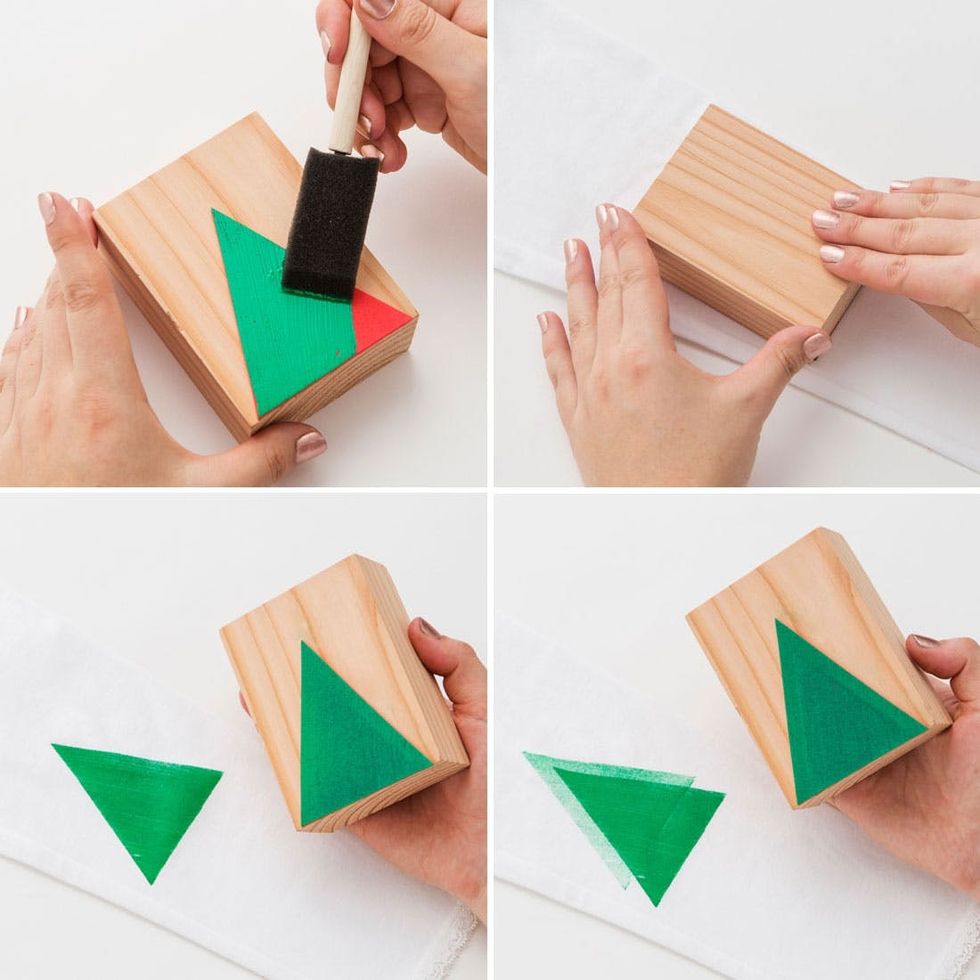
Brush a thin layer of fabric paint onto your foam stamp, press down firmly onto your leggings and pull away to reveal. Before loading up with more paint, stamp a second time slightly above or below your first imprint to make an abstract tree shape.
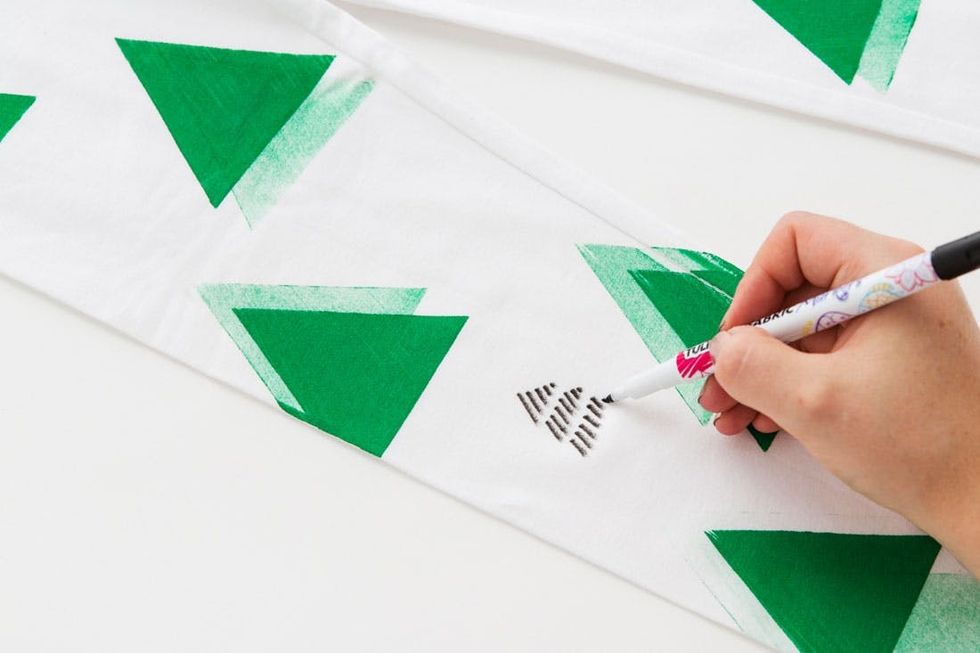
Continue stamping with this two-layer technique and then add a few accents in fabric marker. We made these little striped tree shapes by drawing parallel diagonal lines in three layers. Once this front side is completely dry, flip over and repeat on the back of your leggings for an all-over pattern.

Yep, it’s decided. We’re running to Old Navy to grab some adult sizes and make a matching pair for ourselves! Why should kids get all the fun?
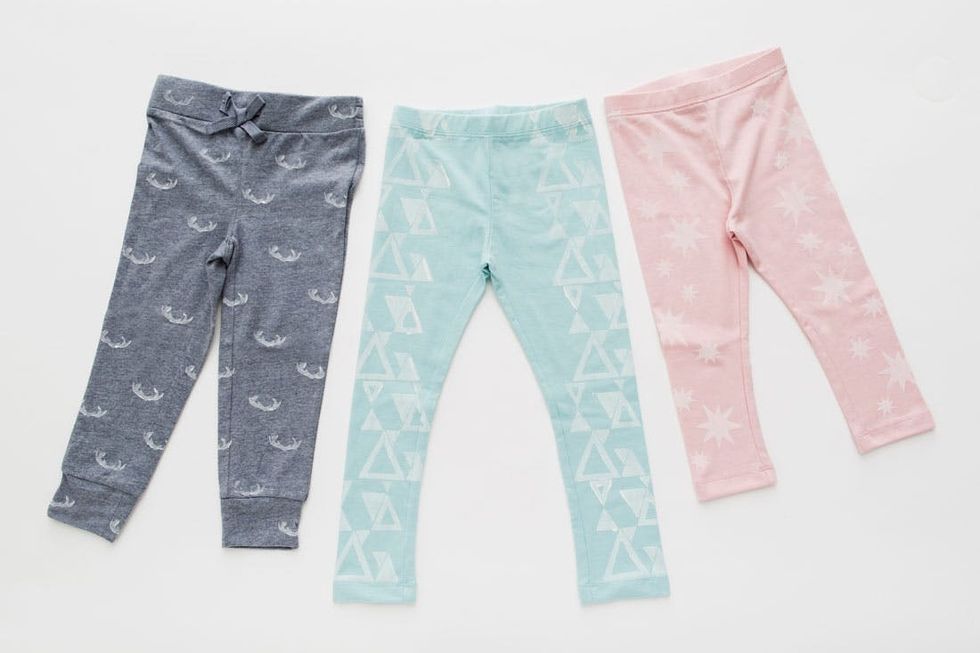
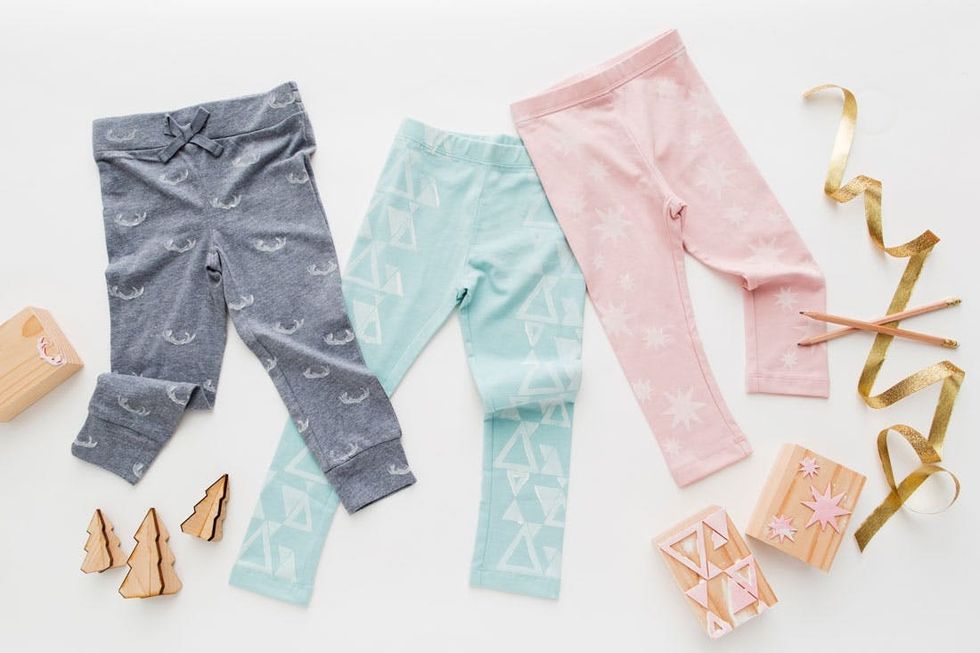
If you’re looking to get slightly more advanced with your stamped designs, try out one of these frosty white patterned stamping techniques on a pair of colored leggings.
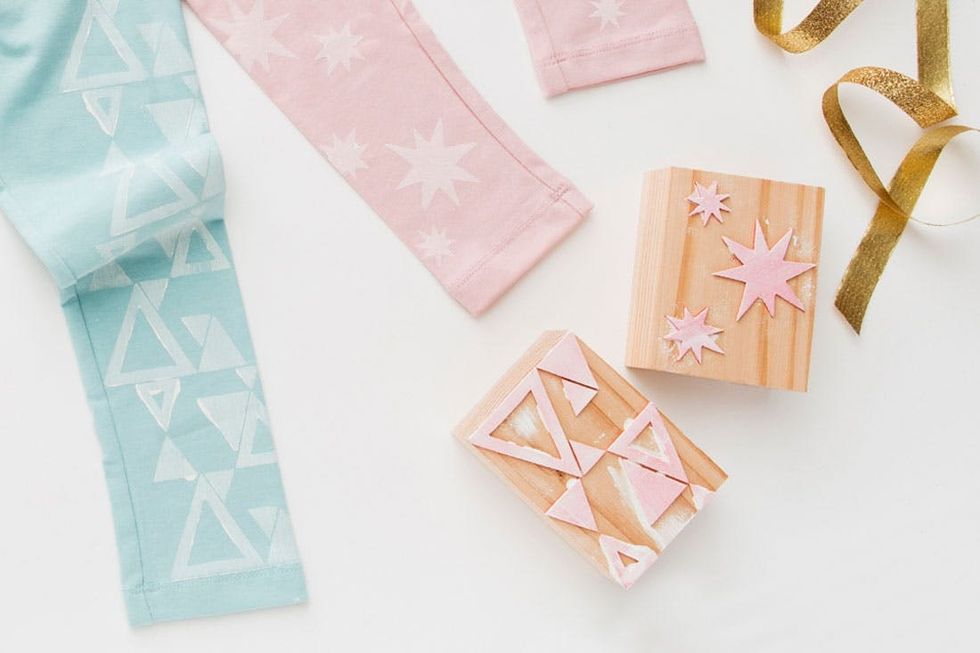
Stick multiple foam shapes of various sizes onto your wood block, brush on a thin layer of white fabric paint and stamp as you would normally. Because the white paint isn’t quite 100% opaque, it will leave a really nice transparent frost effect!

Stamp in a regular grid (like the teeny antler printed gray sweats above) or in a more random pattern (as we did in the pink starburst leggings). We’re loving this subtle frosted look that’s festive but simple enough to wear long after the holidays are over.
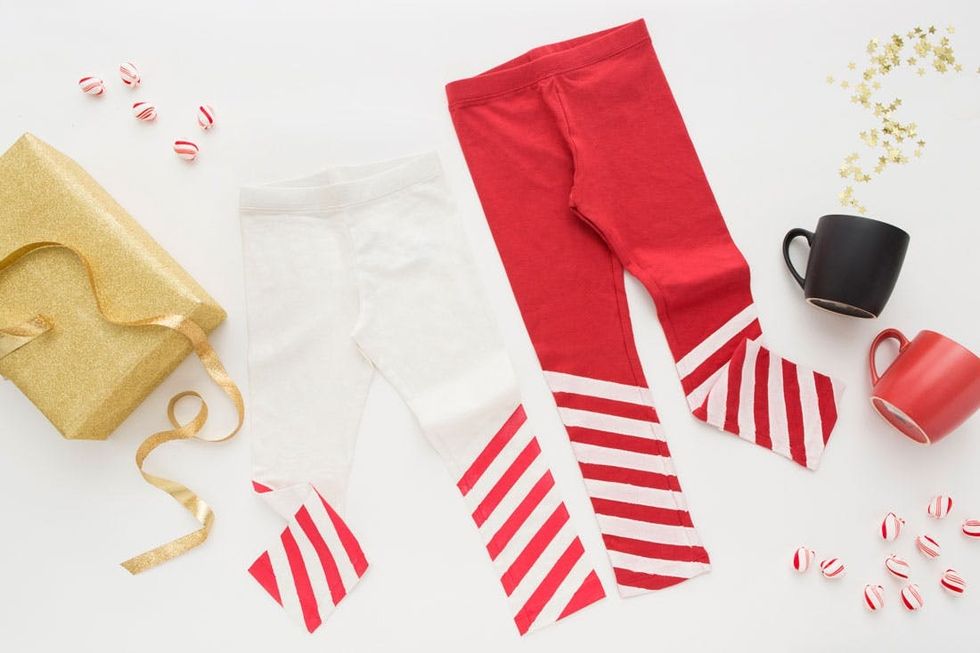
This last bonus design is the simplest one around! Super easy for kids to DIY on their own and surprisingly cute for how little effort it requires.
EASY STRIPED LEGGINGS
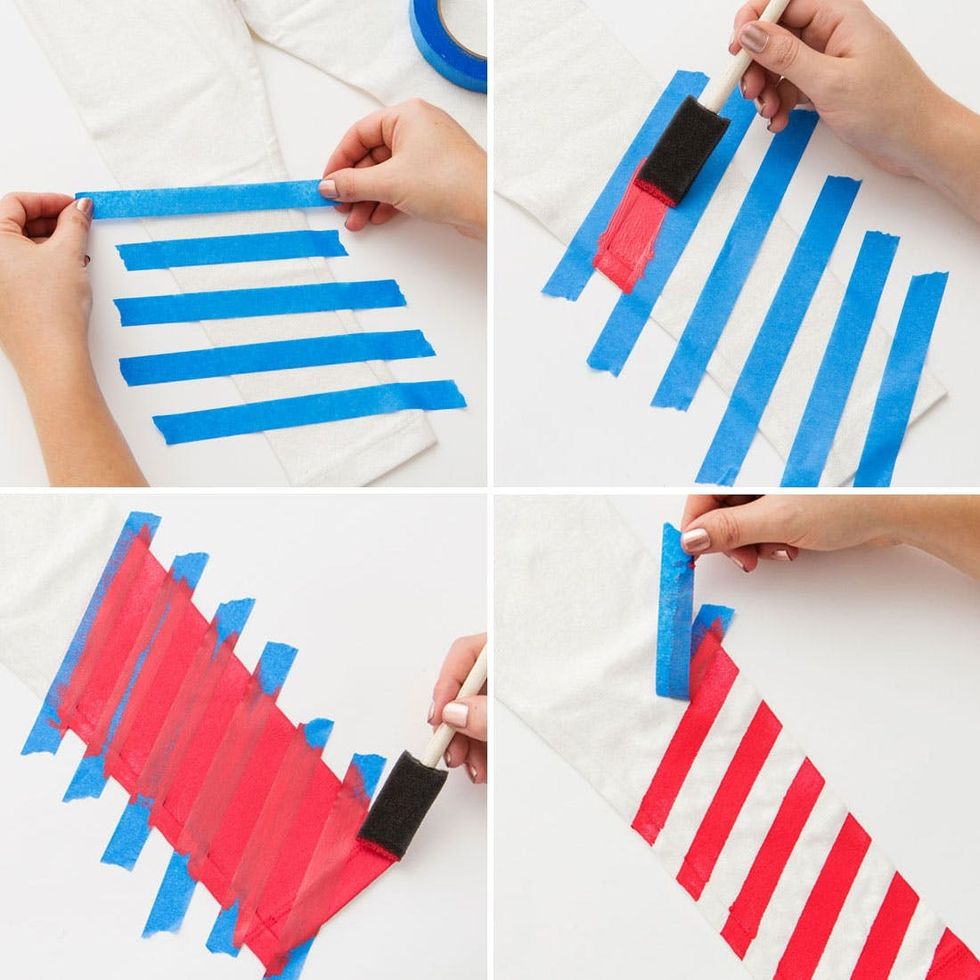
Lay down several diagonal strips of tape onto the bottom half of each leg, fill between the lines with paint and let dry. You may want to give it two coats before letting dry completely and removing the tape to reveal your painted stripes.

Too easy and too cute. Pair with a cup of peppermint hot chocolate and you’ve got one excellent holiday combo.

Whether you prefer bold printed patterns or a classic stripe, everyone loves a custom pair of pjs.

This post is a collaboration with Old Navy.


