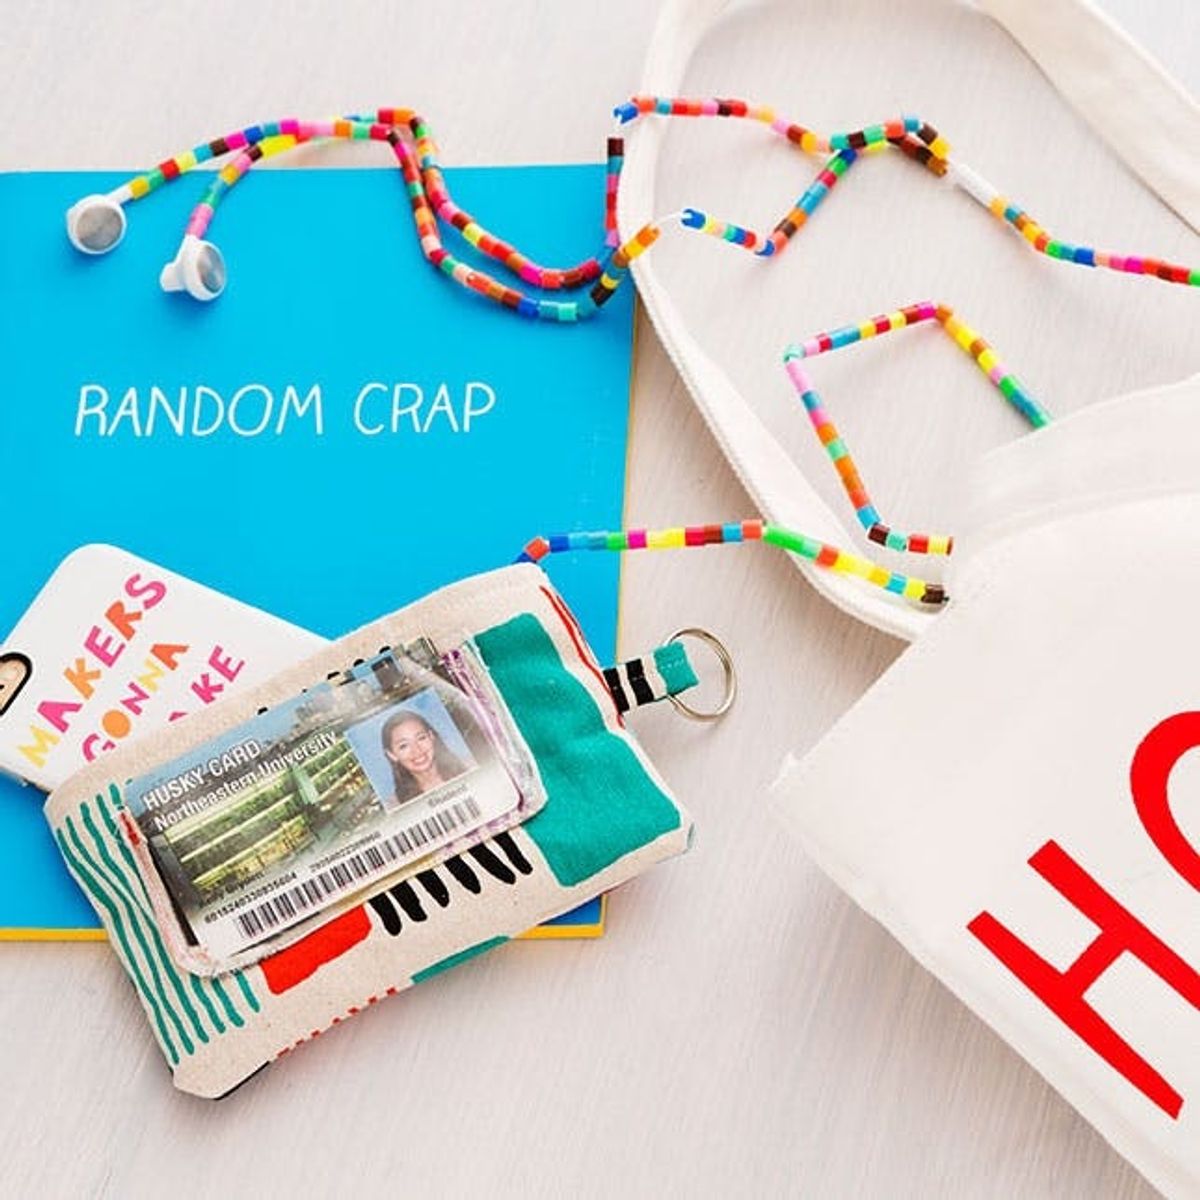
“Where did my keys go!?” Said no one who made this DIY.
Make This and You’ll Never Lose Your Keys or ID Again

If I had a dollar for every time I forgot my ID, keys or bus pass, I would probably have enough to money to go on a fancy tropical vacation. Eh, maybe just enough for a couple rounds of fancy tropical drinks. Real talk — keeping track of your keys and ID is pretty hard. They are so small and thin and easy to lose, so we’re going to help you out. This DIY was inspired by those Vera Bradley ID pouches that were such a hot commodity back when I was getting my driver’s license. Now, times have changed and I’ve grown up, but I still remember how useful that little keychain ID pouch really was! For all you forgetful folks out there, this DIY is a must to help keep your life in order.

Materials:

– fabric
– sticky back Velcro
– clear vinyl
– keychain ring
Tools:
– sewing machine
– ruler
– sewing pins
– fabric scissors
– pen
Instructions:

1. Cut out two fabric rectangles that measure 7 x 5 inches, one that measures 4 x 3 inches and one that measures 2 x 6 inches. Then cut out one 4 x 3-inch rectangle from your clear vinyl sheet.
2. Hem the top (4-inch edge) of your 4 x 3-inch fabric rectangle. Pin the vinyl to the wrong side of the fabric and then sew around three edges, leaving the hemmed edge open.
3. Turn the 4 x 3-inch rectangle right side out (so now you can see the right side of the fabric through the vinyl) and pin to the center of the 7 x 5 rectangle. Sew around the bottom three sides of the 4 x 3 rectangle to attach it to the larger rectangle.
4. Grab the 2 x 6 rectangle, fold in the long edges and then fold it in half again lengthwise. Pin and sew down the middle to create a strap.
5. Fold the strap in half and sandwich it in between the front and back sides of the ID pouch. Pin the pieces together with the right sides facing in and then sew three edges, leaving the top edge open.
6. Hem the top edge of the ID pouch and then turn it right side out.
7. Stick Velcro to the top opening of the pouch and then attach the keychain ring to the strap.
We made our pouch large enough to fit our iPhone 6, but feel free to make your pouch any size. First things first — jot down your measurements!

Cut out two rectangles that measure 7 x 5 inches, one that measures 4 x 3 inches and one that measures 6 x 2 inches. You only need one rectangle from the vinyl that measures 4 x 3 inches.

Hem the top four-inch edge of the 4 x 3 fabric rectangle. Pin the vinyl to the wrong side of the fabric and then sew around three edges, leaving the hemmed edge open.

Turn the pouch right side out and pin it to the center of your large rectangle. Sew around three of the edges, leaving the top edge open to add in your ID.

To create the strap of your ID pouch, take the 2 x 6 rectangle, fold the long edges toward each other and then fold it in half again lengthwise. Pin the strap together and then sew down the middle.

Fold the strap in half to make a loop. Sandwich this loop in the middle of the two large rectangles with the right sides facing in. Pin and make sure the tail end of the loop is sticking out.

Sew around three sides of the pouch. Make sure you are aware of which way the smaller ID holder opens when sewing the larger rectangle.

Hem the top edge of the pouch.

Add your sticky back Velcro to the top edge of the pouch.

Slide your keychain ring onto the strap, add your house keys and then you’ll never forget your keys or wallet ever again. Well, hopefully.
wall caddy
 always know exactly where they are.

These pouches are perfect for your transit cards as well. Shout out to NYC! I was more than happy to whip out my old MetroCard for this shoot.

Headed back to school? Check out our shop for EVERYTHING that you will EVER need for an AWESOME school year. I swear, it’s really awesome.


