This is one kid’s craft that may not be worth the price tag.
Yup, We Used a Pottery Wheel for Kids to Make Adult Pottery
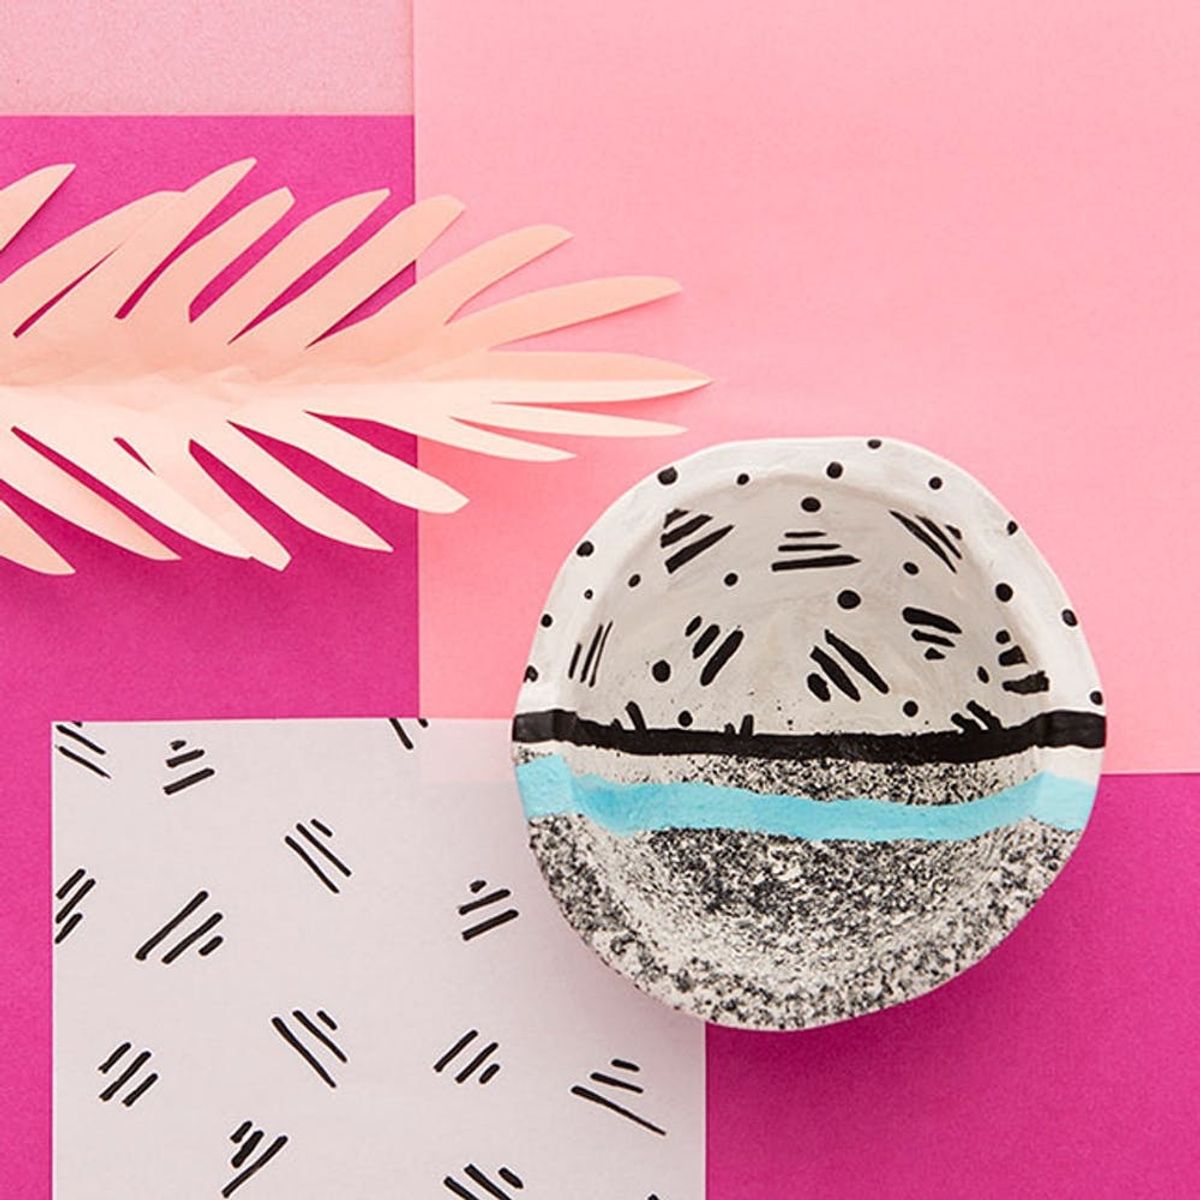
We’re back at it again revisiting kid’s crafts to make adult DIYs. (Check out our first attempt here with DIY Shrinky Dink Flair!) This week we tried a tool that I have been wanting since the age of eight — an at-home pottery wheel. My amazingly smart mother would never let me have one, so I had to wait until I was an adult and try it out on Brit + Co’s dime. Let me tell you — this was a 16-year disappointment. Maybe it’s because I have adult hands or maybe it’s because I didn’t purchase the power cord adapter for the battery-powered wheel, but this potter’s wheel is not making any Heath Ceramics anytime soon. Follow along to see how I saved this DIY disaster, and if you have one of these wheels already, check out some ideas on how you can update these clay dishes to be more trendy.

Materials:
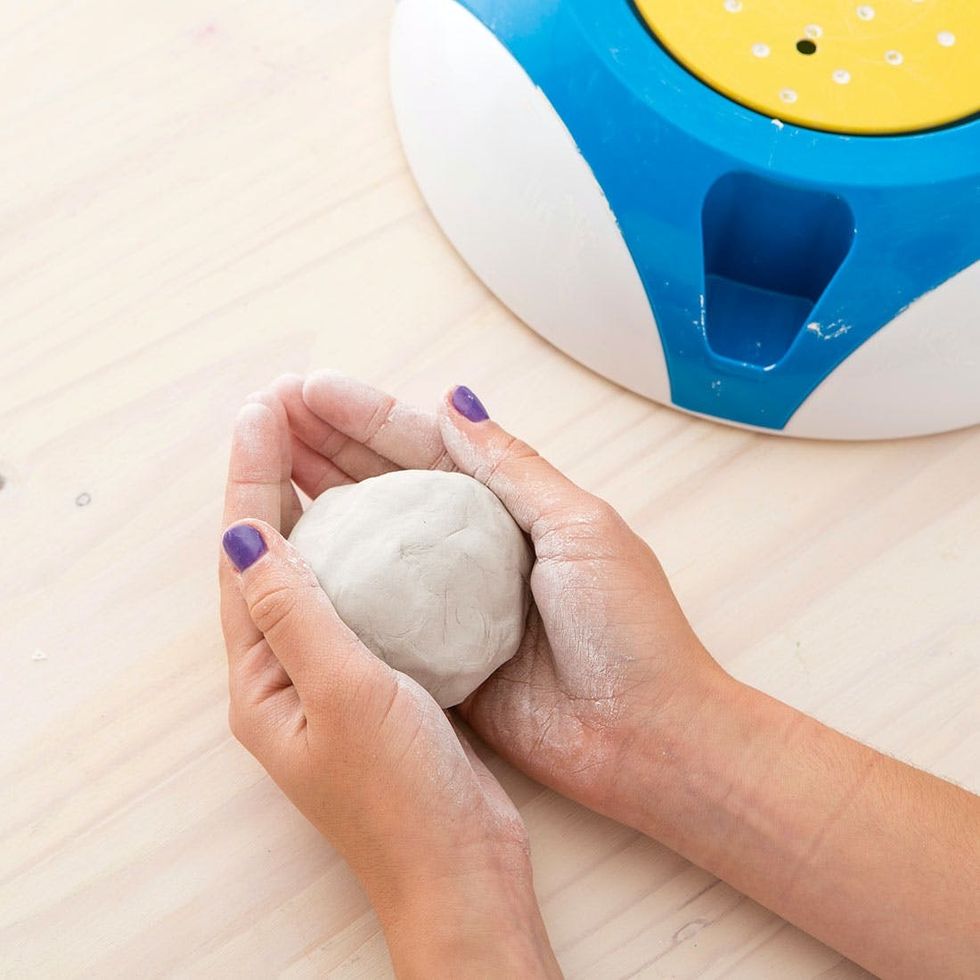
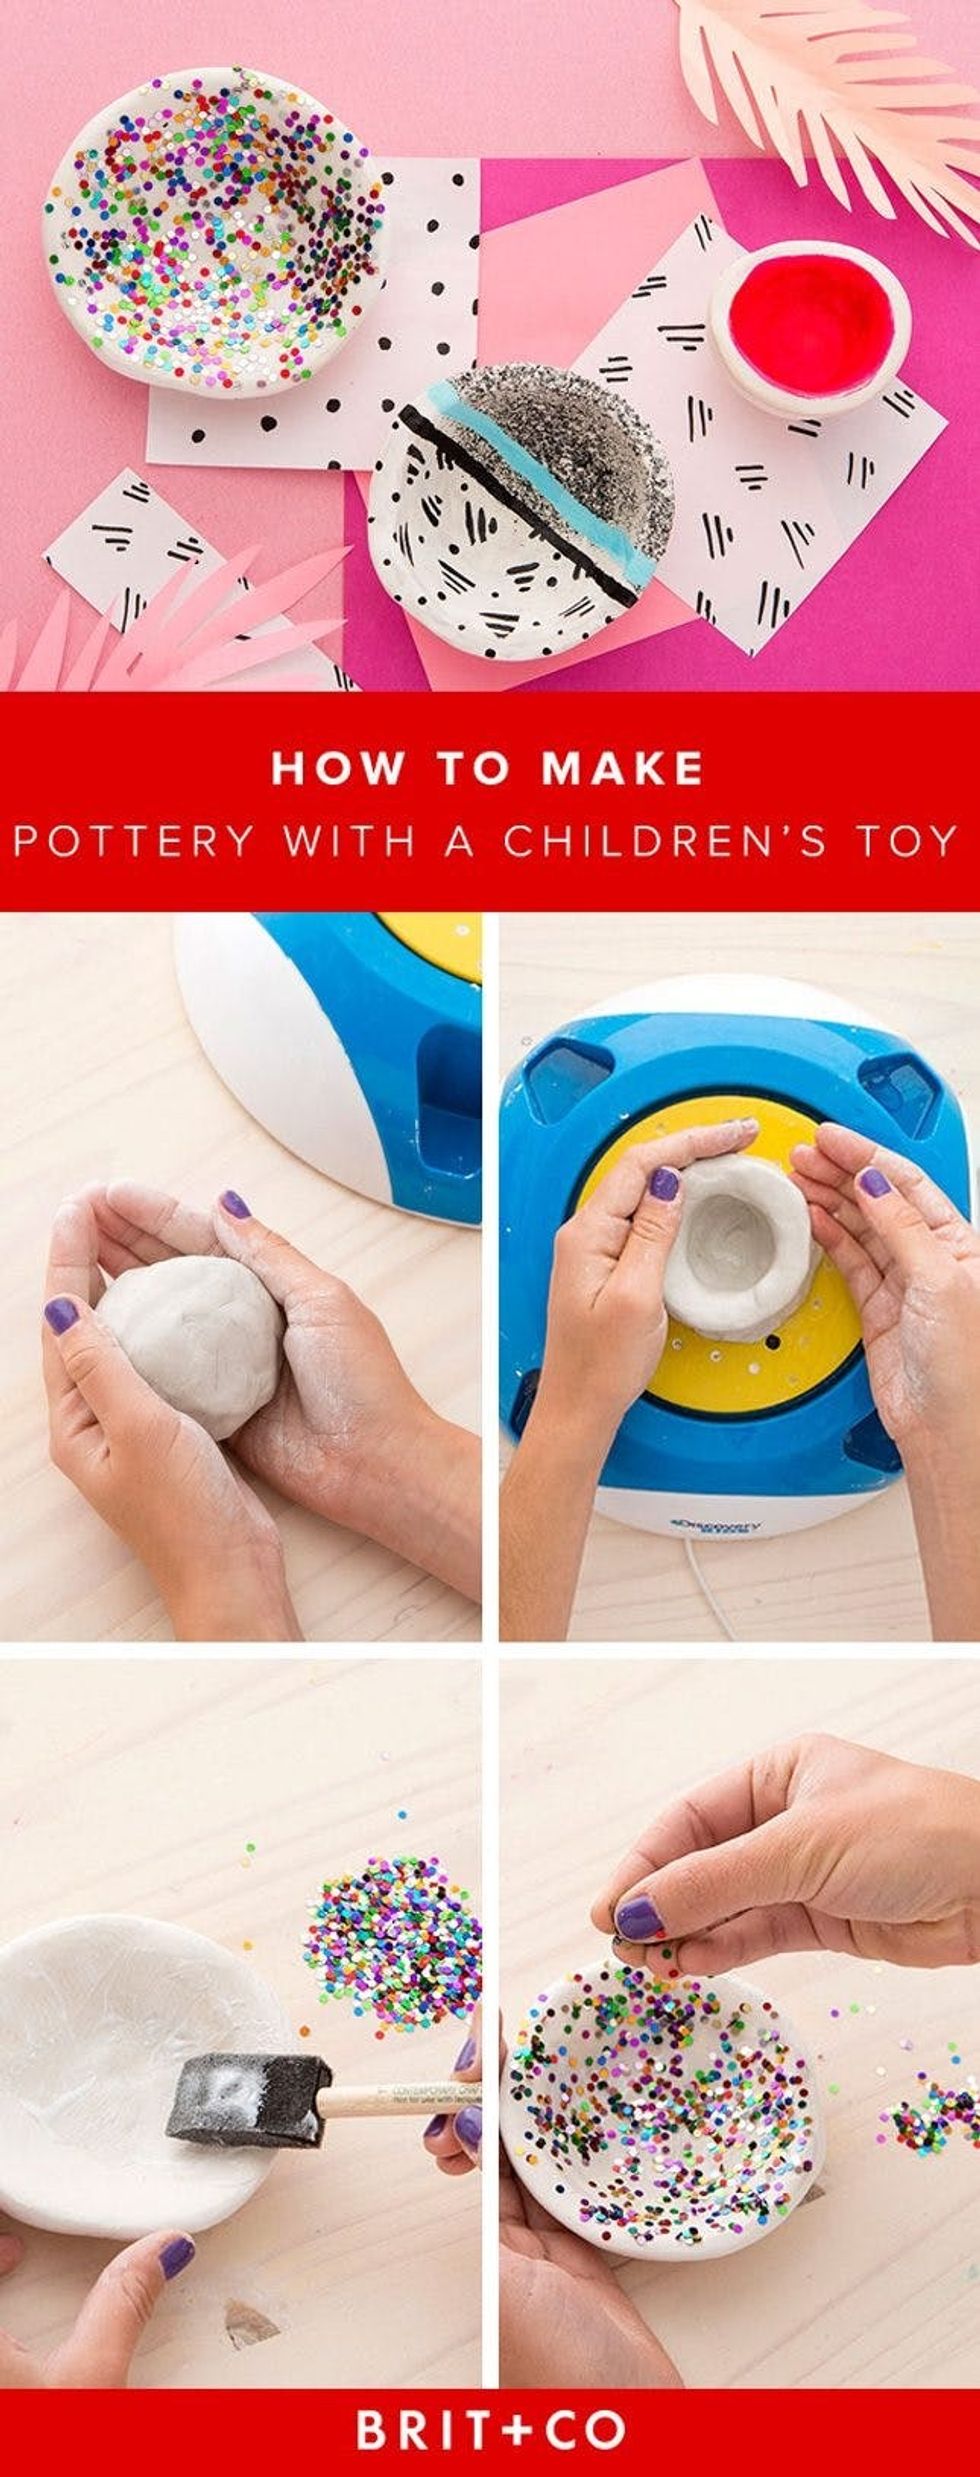
1. Work the clay into a smooth ball about the size of a tennis ball.
2. Attach the green cylinder to the yellow wheel and add the ball of clay. Puncture the clay with the smaller side of the green tool and then the larger side. Remove the green cylinder from the clay.
3. Wet your clay and hands and press on the pedal while you work the clay into a bowl shape. Use your fingers to pull the clay upwards to create thinner walls of your dish.
4. Use the edge of the knife tool to smooth out the sides of the bowl as it spins on the wheel.
5. Take the bowl off of the wheel using the wire tool. Let dry for 48 hours.
6. Use paints, glitter and spray paint to decorate your brand new pottery!
This kit comes with enough clay to make *maybe* two bowls. We also tried using Das Air Drying Clay and Crayola Air Drying Clay, and all three worked the same. Start by rolling your clay into a ball about the size of a tennis ball.
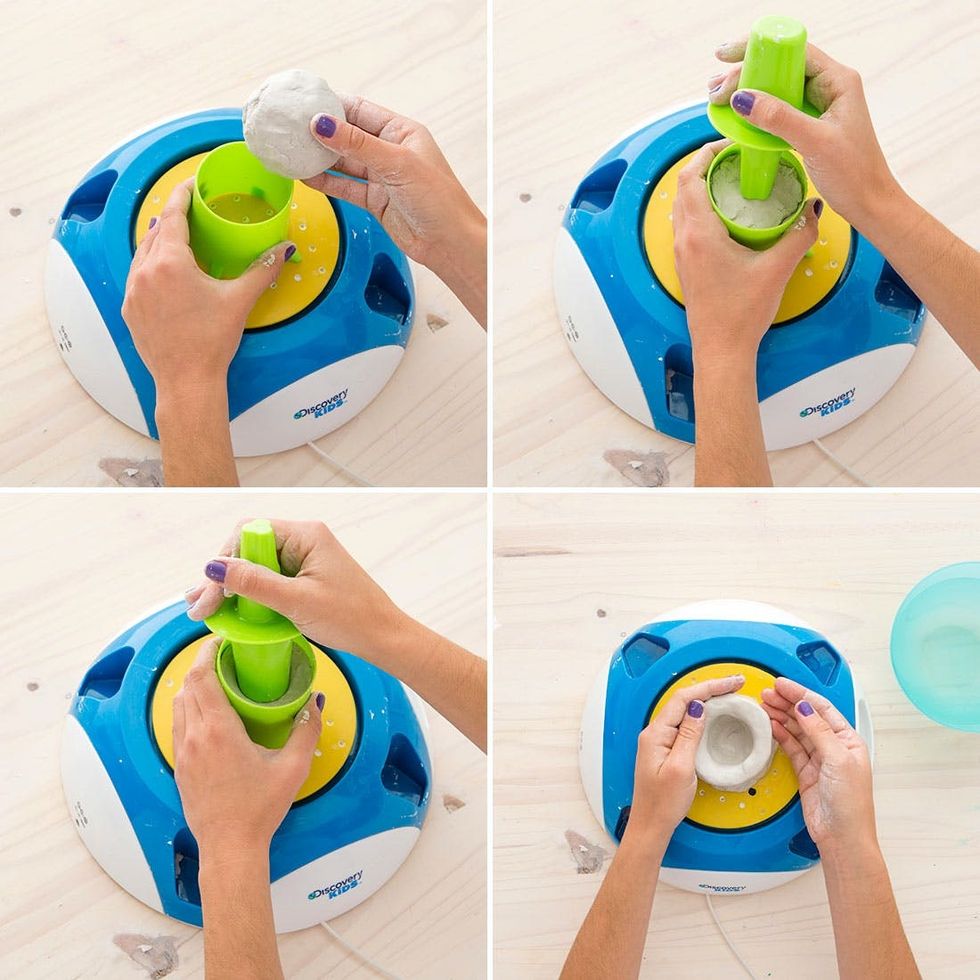
Set up your pottery wheel by putting in the batteries and snapping the yellow wheel piece in place. Attach the green cylinder to the base and stick your ball of clay inside. Use the smaller side of the green tool to puncture the clay and then the large side to make the opening even bigger. Slide the green cylinder off of the clay, leaving the clay attached to the wheel. Pro tip: This works about two out of 10 times :/ Most of the time the clay gets stuck in the green cylinder.
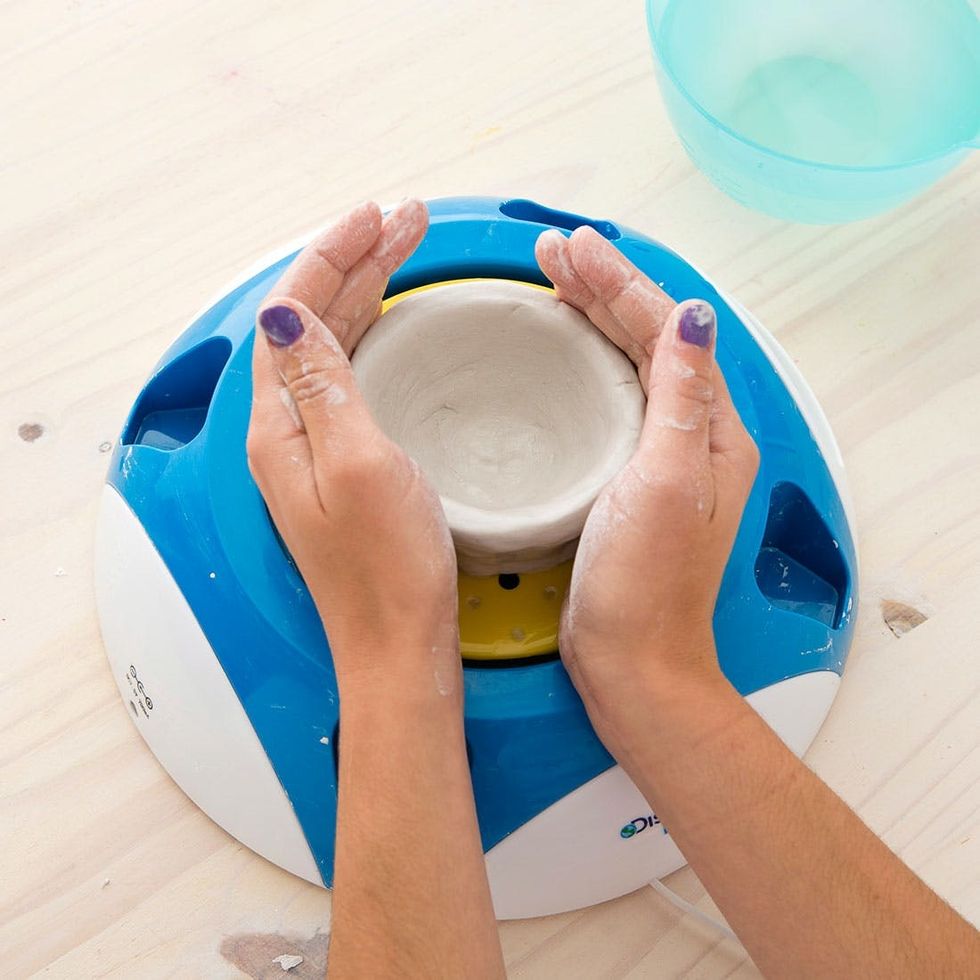
Add water to your hands and clay and start moving the wheel and working the clay upward into a dish. I found that pulling the clay upward while the wheel was off and then turning the wheel on to try to smooth it out was the best way to go. The wheel moves so slowly and the pressure from your hands trying to work the clay will just stop the wheel and result in a loud, awful noise.
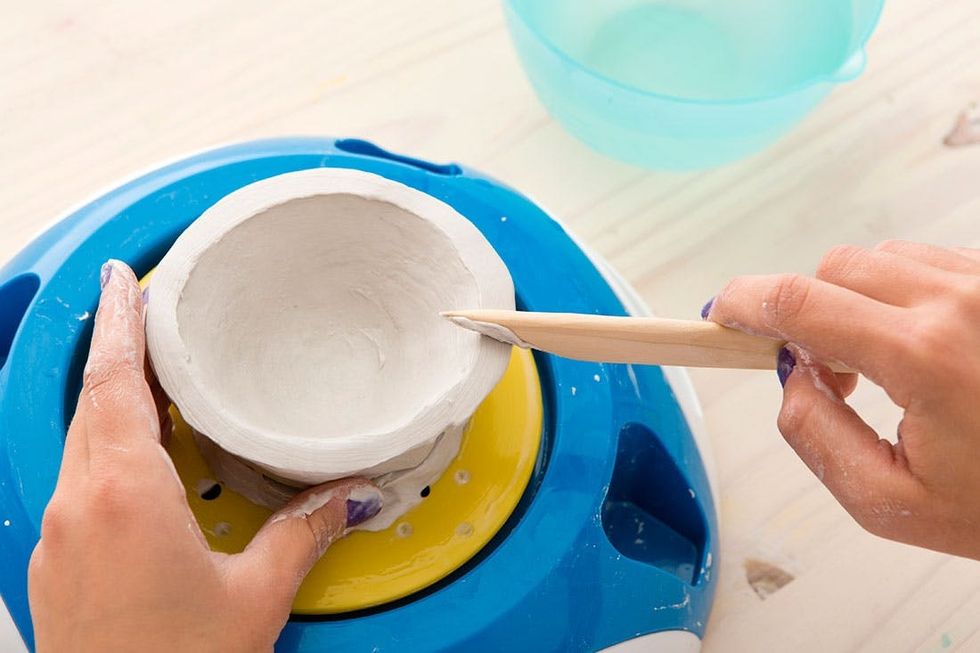
We used a pottery tool kit to help save our pottery. Use this flat edge to try to level and smooth the edges of your dish.
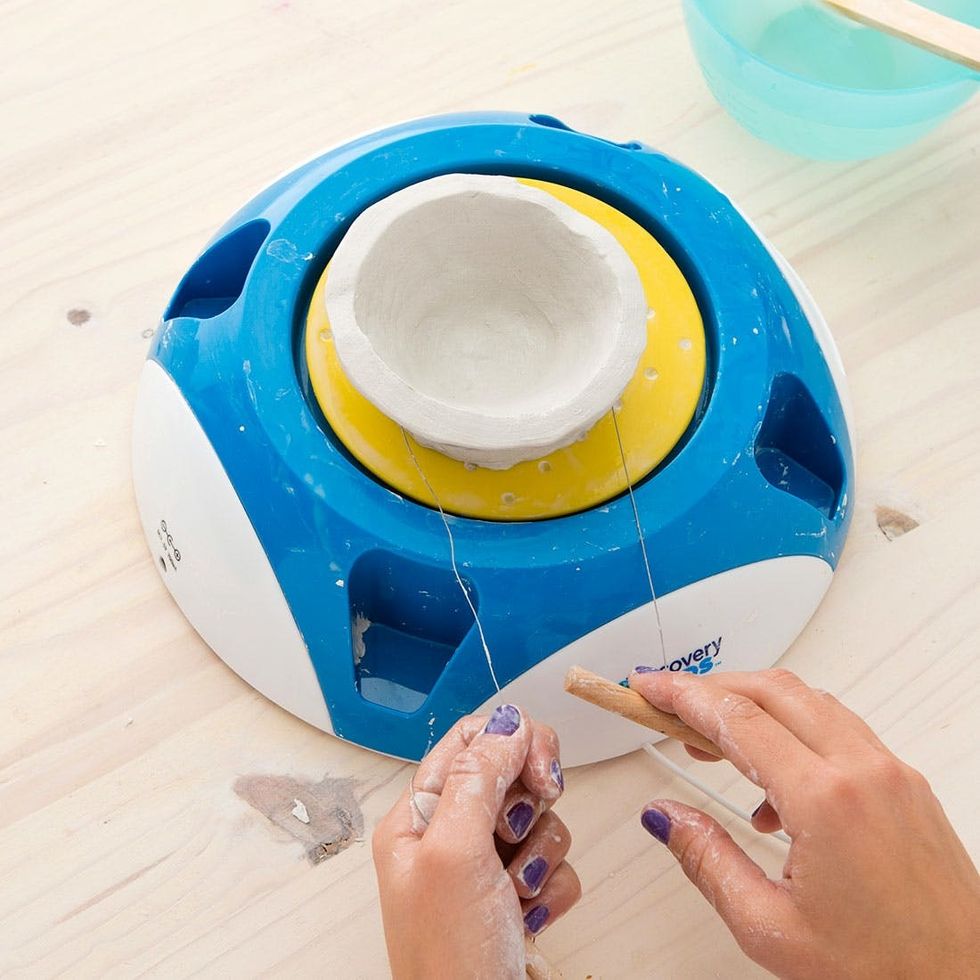
Remove your pottery using the wire tool. Be careful to not indent the sides of your piece!
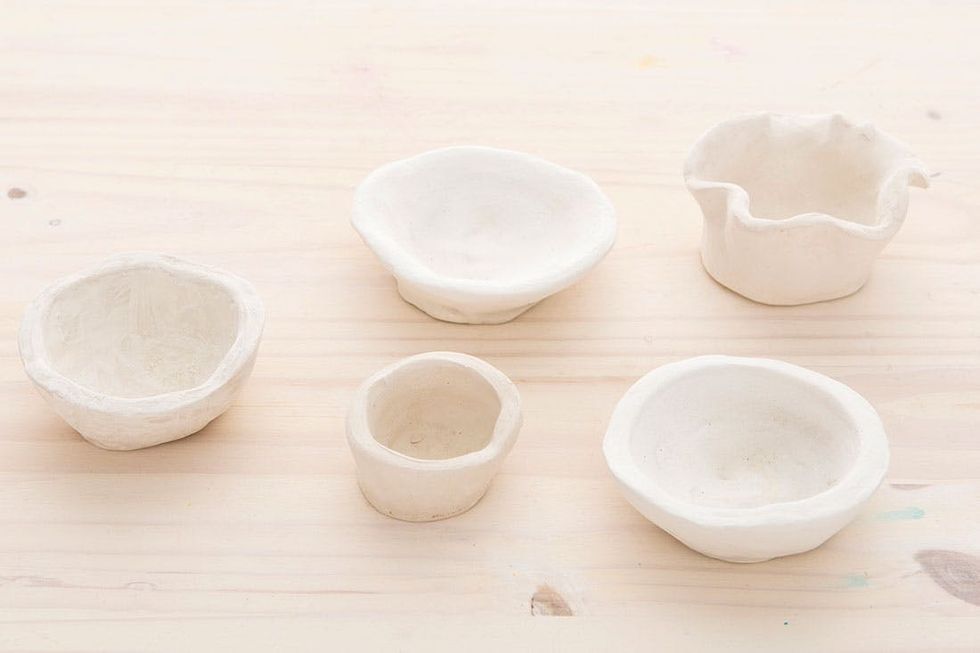
Let your pieces dry for 48 hours before you begin painting. They should dry to an off-white color.
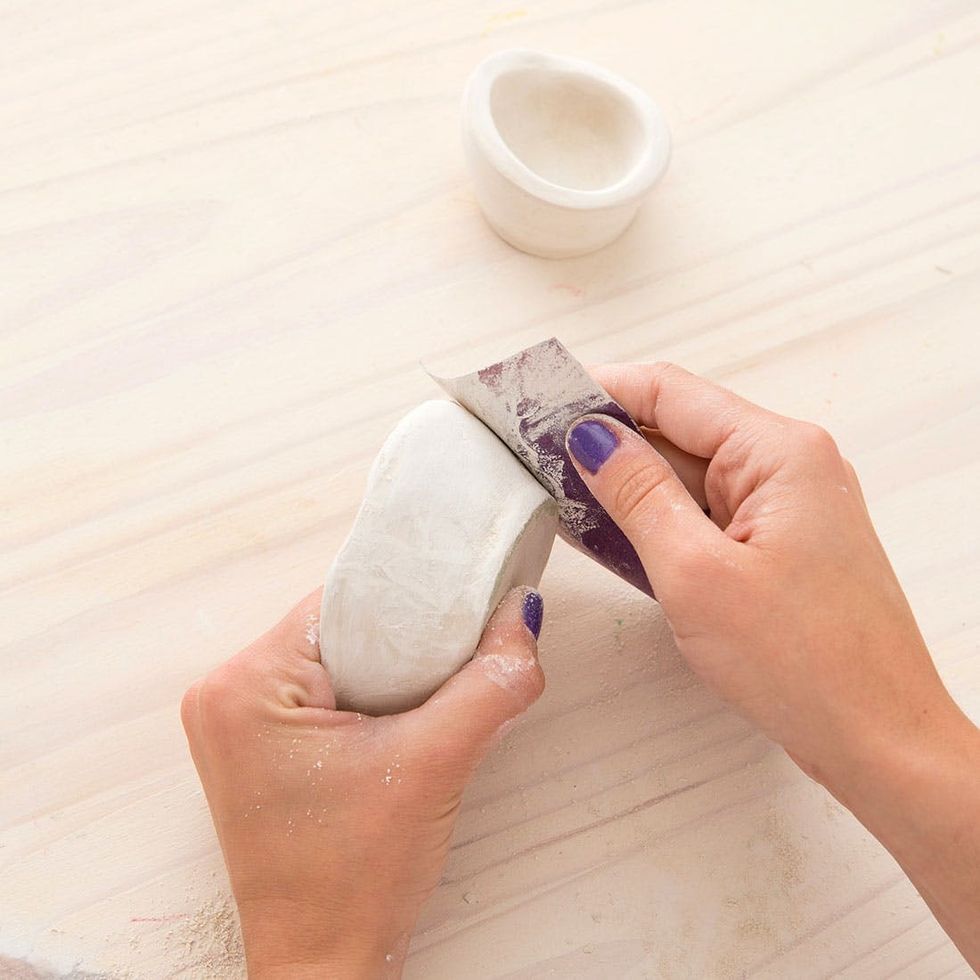
Once dry, sand down the edges to make them smoother. A medium grain sandpaper works best.
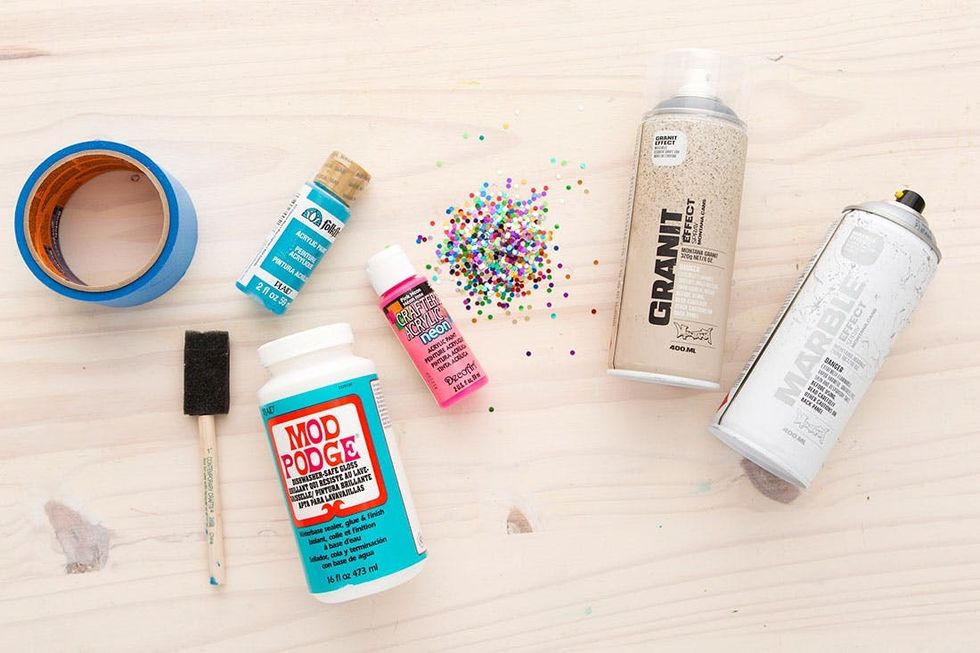
Collect your favorite supplies to give your pottery your own personal touch. We decided to try spray paint, acrylic paint and a sparkle and Mod Podge combo.
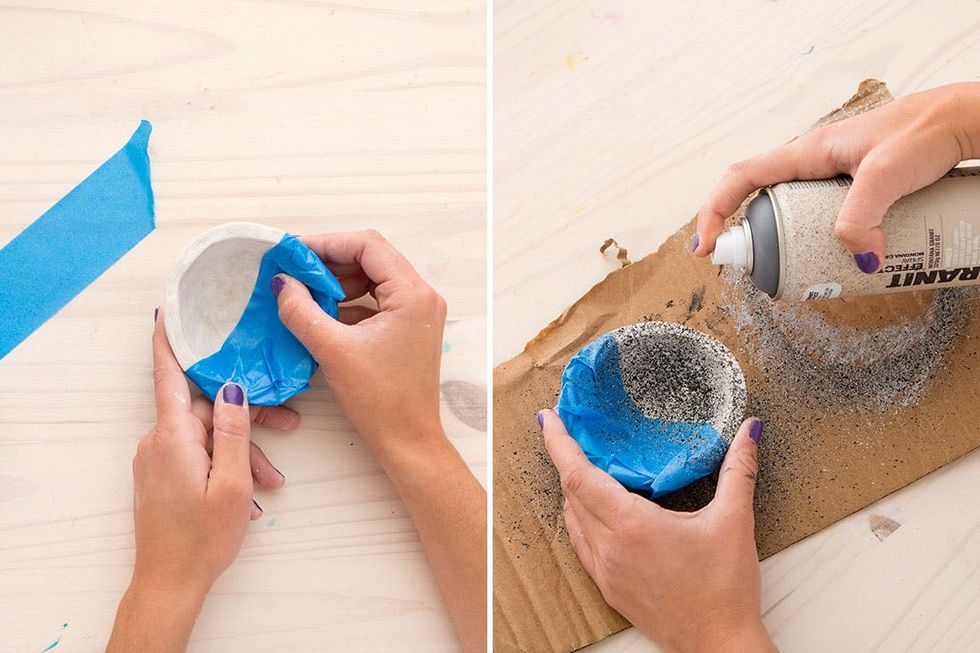
First up is granite spray paint. We love this stuff and the amazing texture it creates! I would suggest buying this over the marble spray paint. Either way, make sure you spray about 10 inches away from your piece. Do as I say, not as I show in the picture ;)

We finished off these pieces with some acrylic paint detailing. Go crazy with patterns and colors — we dare you.
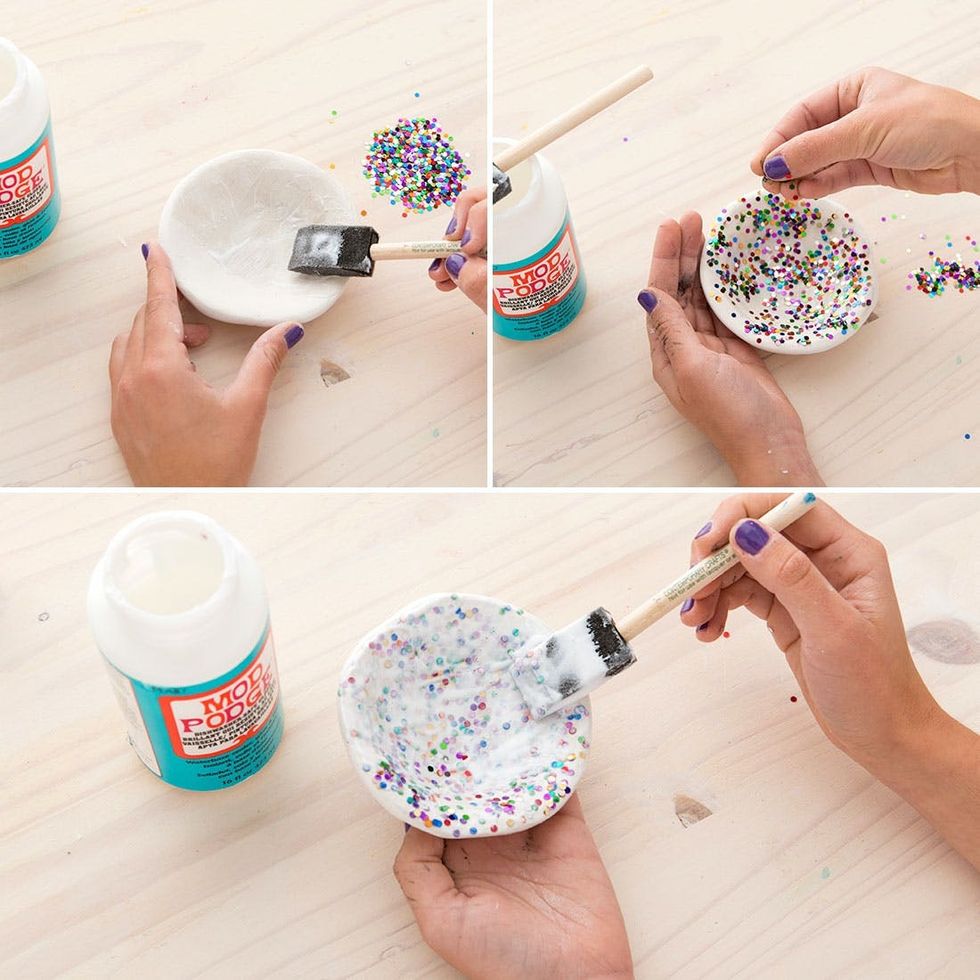
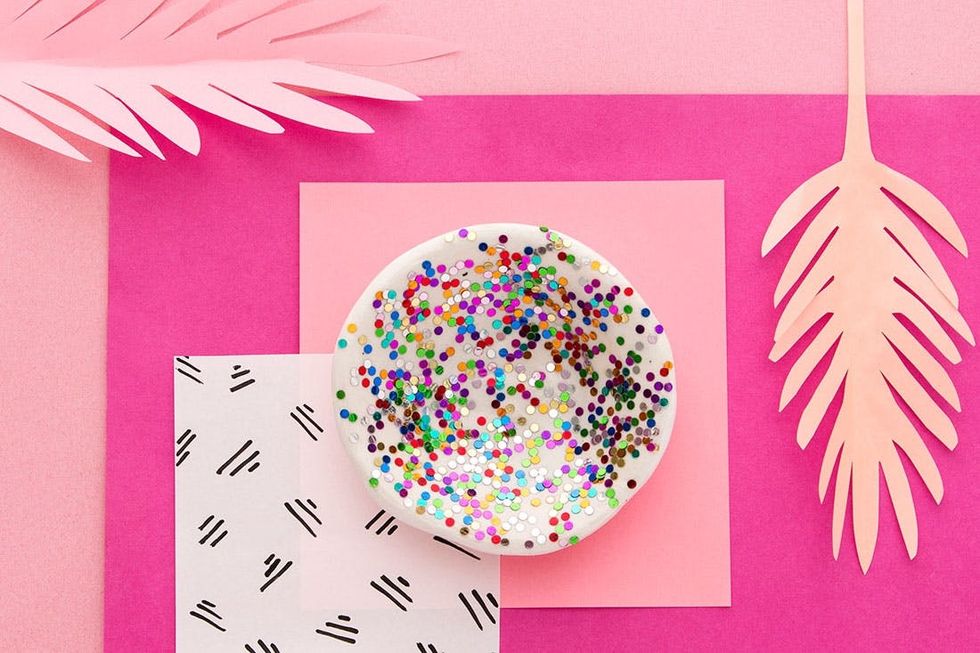
My favorite piece was the confetti dish that we made with dishwasher safe Mod Podge and chunky glitter. Layer Mod Podge, glitter, Mod Podge and then let it dry for about two hours. Even though the Mod Podge is dishwasher safe, the clay isn’t. It will deteriorate with water, so save these dishes for dry goods only.
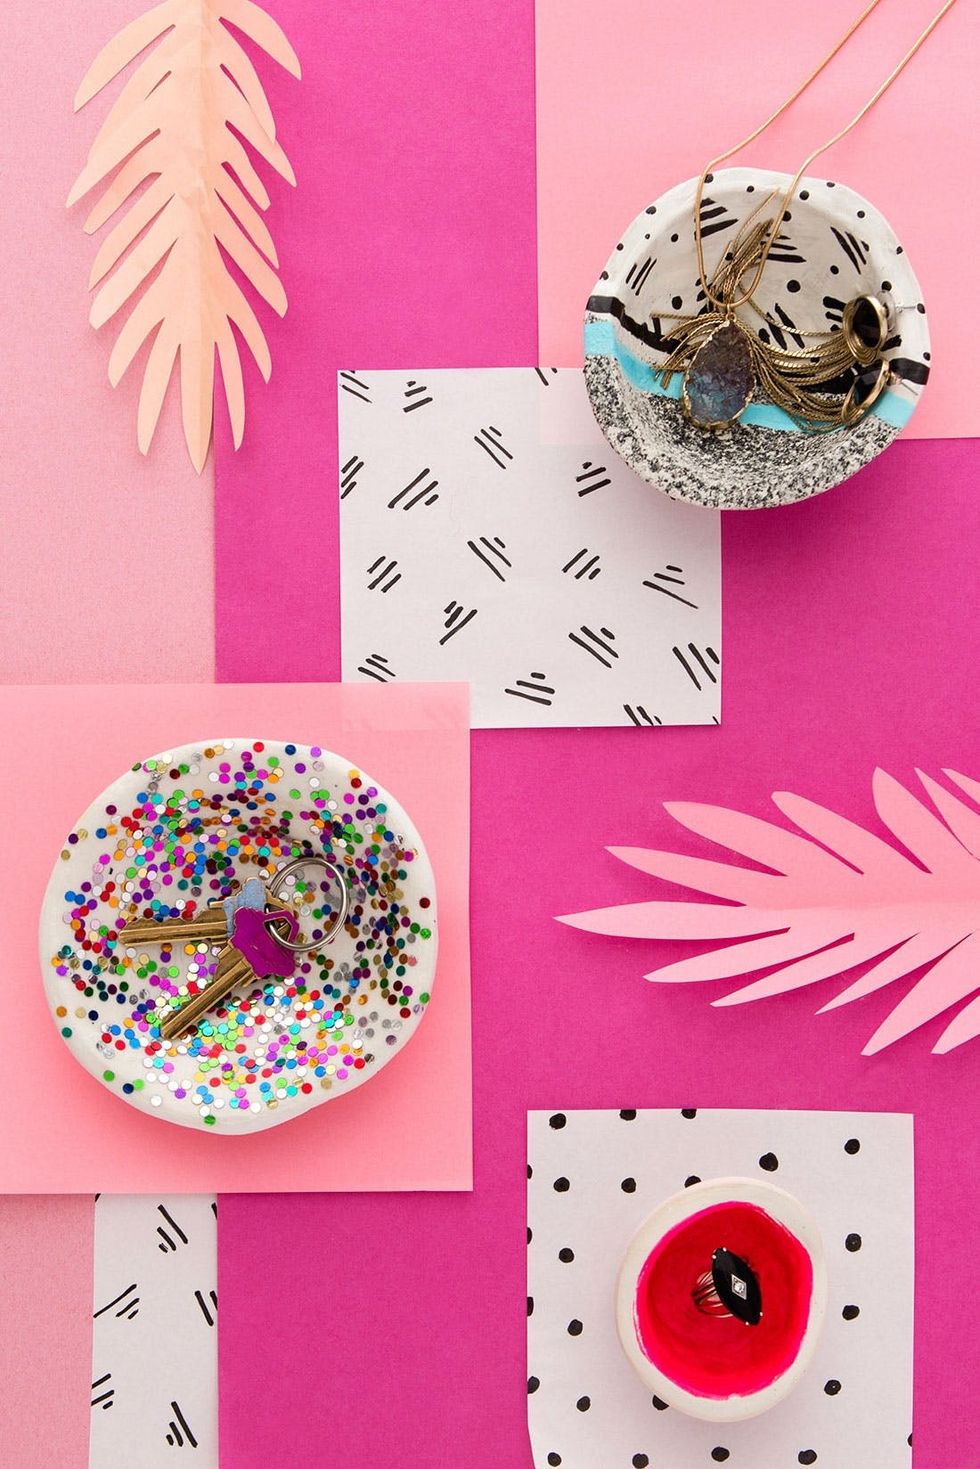
End results were not too shabby for the jankiness of the pottery wheel. Overall, I suggest you (and your kiddos) stick to making air dry clay pots by hand and save that $50 for other art supplies.
Show us your project by tagging us on Instagram + using the hashtag #iamcreative!
DIY Production and Styling: Kelly Bryden
Photography: Kurt Andre


