Travel in style with our DIY jewelry roll.
Pack All Your Favorite Pieces in This DIY Travel Jewelry Roll

For all of you who resolved to collect more stamps in your passport in 2016 (and for those who are only visiting white sand beaches in your dreams), we’ve got you covered on the jewelry organization front. We know that untangling necklaces when you’re trying to get to your tan on is NOT the business, so we teamed up with the Chloe + Isabel — a lifestyle jewelry brand dedicated to empowering creative + confident entrepreneurs — to bring you the ultimate DIY Travel Jewelry Roll Kit. Now you can chill without losing your chill over tangled jewelry.
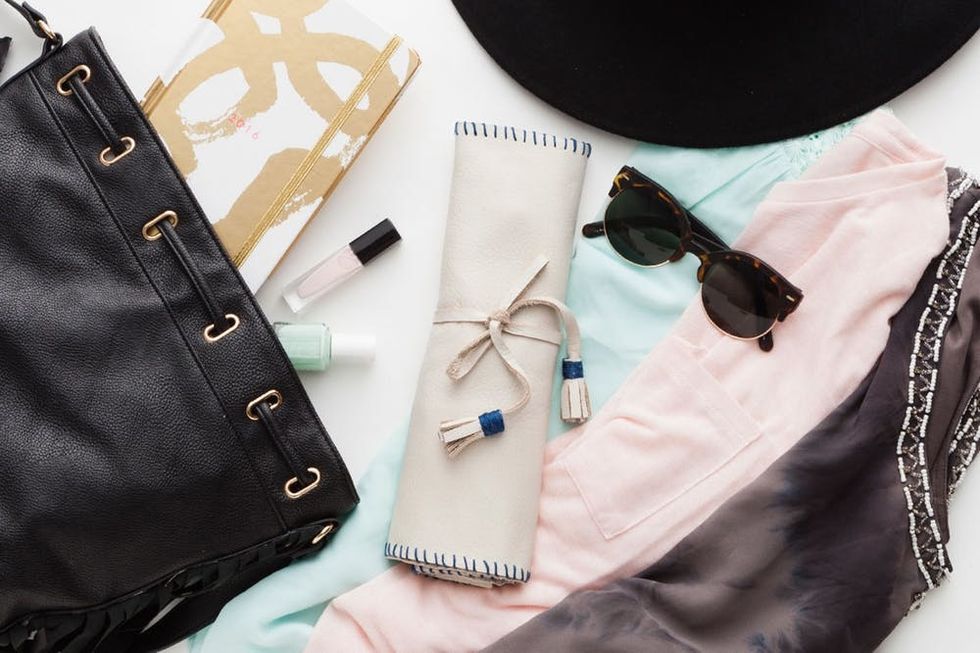
We developed this DIY Travel Jewelry Roll Kit with Chloe + Isabel’s ultra dreamy Spring 2016 jewelry line in mind, channeling European luxe with supple ivory leather while adding a pop of color for a true Brit + Co touch.
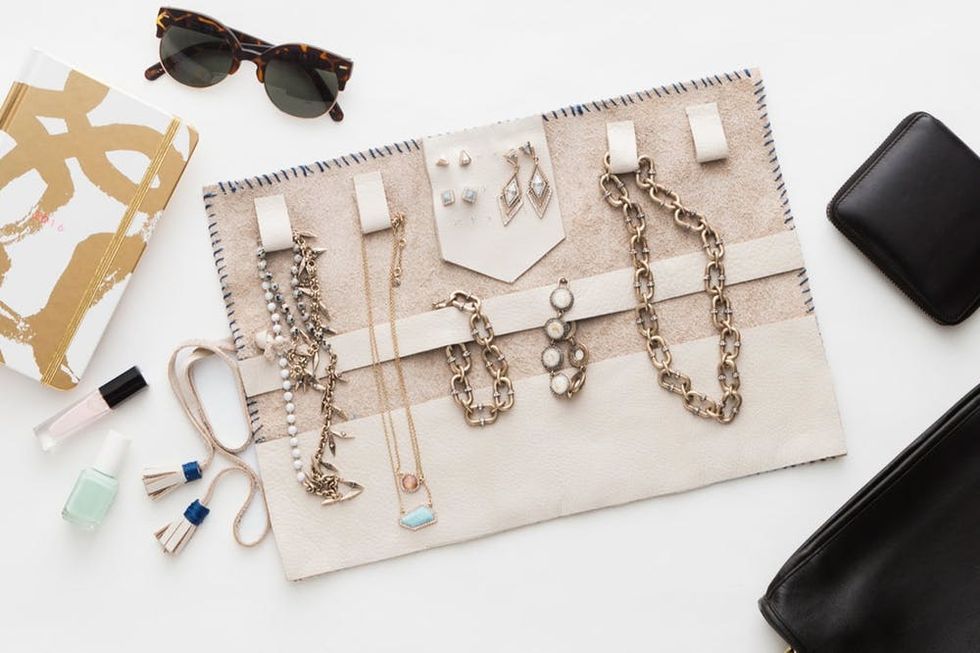
With plenty of pockets and storage for statement and delicate pieces alike, this jewelry roll will be the only one you’ll need to pack for any weekend getaway or month-long adventure. As a bonus, this kit comes with 20% off your next Chloe + Isabel jewelry purchase so you can travel in serious style.
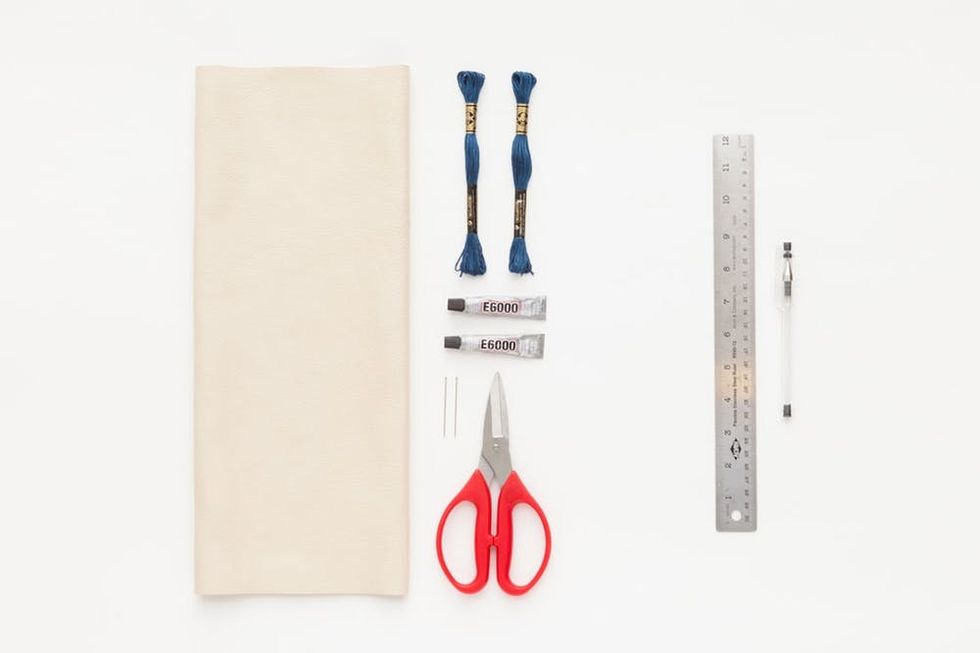
Materials (included in our kit HERE)
- 16 x 22-inch piece of leather
- embroidery floss (color 3750)
- E6000 glue
- embroidery needles
- leather scissors
Additional materials (not included)
– 12-inch ruler
– fine point pen
Grab your materials (or buy the kit HERE) and let’s get started!
- To make things easy, we’re going to use 16 inches as our standard width for the majority of the larger pieces. Begin by measuring out a rectangle 16 x 11 inches long. To make sure you’re getting an accurate measurement, make a series of tick marks at 11 inches across the entire piece of leather, then connect the marks with a single line. This piece will be the main component to your jewelry roll.
- Next you’ll measure out a piece of leather for the jewelry roll pockets. Using the same measuring technique we just used, measure and mark a piece of leather 16 x 4 inches long.
- Measure and mark a piece of leather 16 x 1 inches long for the bracelet band. Measure and mark two pieces of leather 16 x ¼ inches long for the tassels. Measure and mark an additional piece of leather 16 x ¾ inches long for the necklace loops.
- Your marked up panel of leather should look like the example above. From the left to right: main component (16 x 11 inches), pockets (16 x 4 inches), bracelet strap (16 x 1 inch), tassels (16 x ¼ inches), necklace loops (16 x ¾ inches). Save the remaining piece of leather for later — we’ll use this piece for a few finishing touches.
- Carefully cut along the marks you’ve made. Be sure to cut in one continuous motion. Leather is less forgiving than paper, and snipping in different strokes will result in a feathered, unclean edge.
- We’ll use the remaining piece of leather for the earring panel and the fringe detail of the tassel. Start by making a rectangle measuring 4.5 x 3½ inches. We liked the corner detail in the earring panel, so in this case we found the center point of the edge measuring 3½ inches (1¾ inches) and pitched the edges up by one inch. Feel free to get creative with this!
- Once you’ve cut out the earring flap detail, measure out two strips of leather 1½ inches long each. You probably won’t use both pieces, but they’re good to have just in case.
- You should have a similar assortment of pieces as in the example pictured above. From left to right: main panel, pocket panel, bracelet panel, tassel strings, necklace loops, earring flap, and tassel fringe.
- Now comes the fun part: whipstitching the embroidery floss detail! We marked ¼-inch dots all along the edge of the main leather panel (16 x 11-inch piece). For whipstitching, thread your needle with embroidery floss and knot the end. Leave about three inches of extra thread through the eye of the needle. Start by piercing through the front of the leather and bringing your needle around to the other side of the panel by “wrapping” the edge. This is a great activity to do passively while watching your favorite show ;)
- Your completed whipstitched panel should look like the example above.
- To make the pockets, take the 16 x 4-inch leather panel and apply a line of glue on both ends and in four-inch increments in between. Align this panel with the bottom of the main panel, press firmly, and allow to set. Repeat this step with the 16 x 1-inch panel. Position this piece about one inch above the pocket panel.
- For the earring flap, mark and cut as many holes as you’d like. Snip in a cross pattern as shown above.
- Add a line of glue to the top of the flap, and align it with the top edge of the main panel. Press firmly to adhere both pieces together.
- We’ll use the 16 x ¾-inch piece of leather you cut for the necklace loops. Measure and trim four inch-long pieces. Create the loop by gluing one end to the other, being sure to leave about a half inch of surface area. Then apply glue to the exposed surface as well as the very tip of the “A” side of the tab (the side with the pebble pattern).
- This will ensure a strong hold when you’re gluing the tabs onto the main panel. Space and glue the four tabs evenly across the top edge of the main panel.
- On the leather panel you cut for the fringe, make marks about ½ inch apart down the entire length of the panel. Trim along the marks, about ¾ inches long, then cut two pieces about 3½ inches long. Apply a line of glue along the uncut edge of the fringe, and wrap the leather piece measuring 16 x ¼ inches in the fringe. Repeat this step with the other tassel string. Allow these pieces to dry for about 30 minutes before you continue handling them. For the wrapping detail, apply a small dab of E6000 to the fringe, and wrap the embroidery floss until you have nice coverage. Secure the end of the string with another small dab of E6000.
- To secure the tassel string to the rest of the jewelry roll, make a cut about ¼ inch long right above the bracelet panel. Pull the tassel strings through the hole and knot them together to keep them in place.
- You’re all finished!
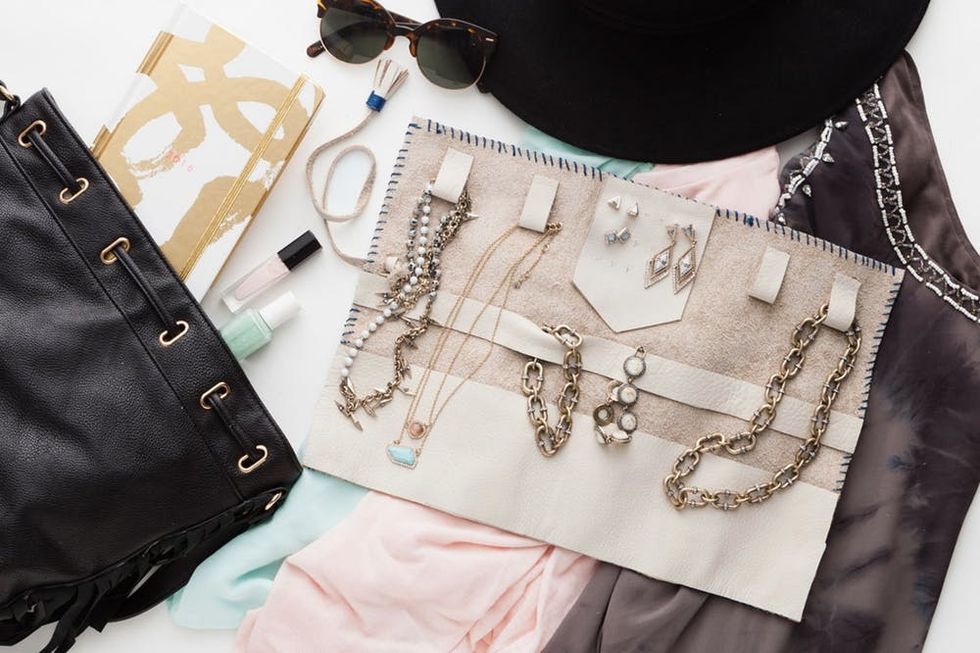
Tangled jewelry is officially one less thing to worry about while you’re globetrotting. Bon voyage ;)
Show us where your next adventure takes you (and your DIY Travel Jewelry Roll) by tagging us on Instagram with #iamcreative and #chloeandisabel.
This post is a collaboration with Chloe + Isabel. Whether you’re a DIY tastemaker, a fashion-loving stylist, or a social media guru, Chloe + Isabel offers a one-of-a-kind community where you can be creative, be confident, be you!
DIY Production and Styling: Marianne Koo
Photography: Brittany Griffin


