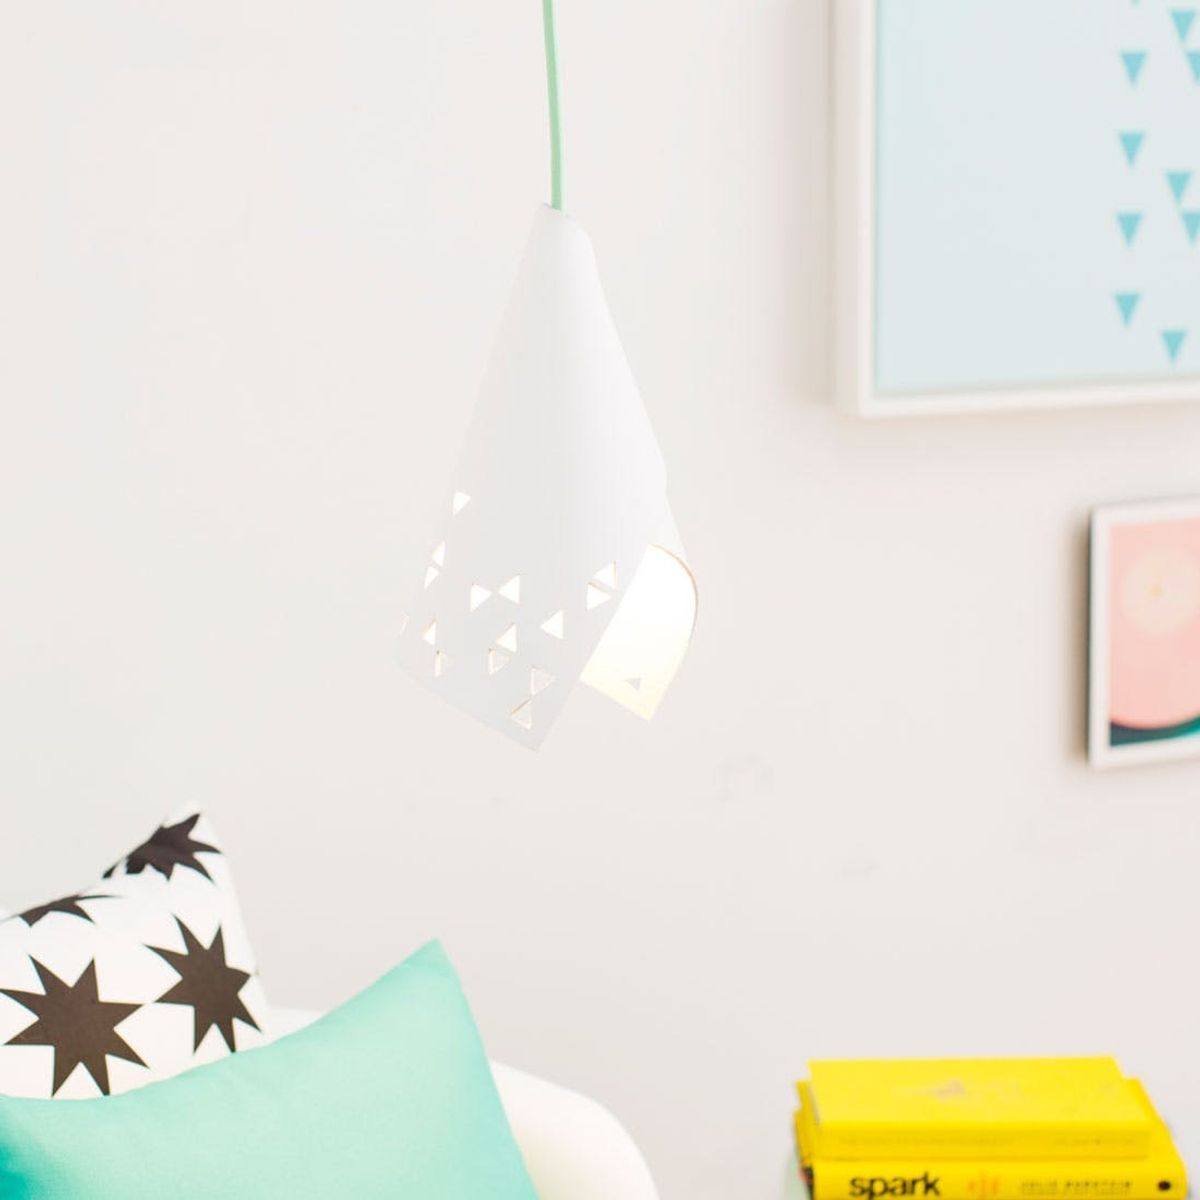
Talk about bright ideas.
How to Make the Easiest DIY Pendant Lamp EVER

It’s time to brighten up your home decor and we have just the thing — the easiest and sleekest DIY lamp you’ll ever see. Using non-flammable leather and colored cord lamps, we’ll show you how to make an simple modern piece suitable for any room in the house. Grab the kit in the B+C Shop and start making!

And lucky for you we’ve also whipped up these printable templates to make cutting out fun shapes so much easier. Follow templates for the three designs shown above or create your own shapes and patterns!

Wondering where this genius idea started? We teamed up with our fave folks at Design Milk to bring this clever DIY to life in a complete kit!

Materials:
– White leather
– Cord lamp
– Xacto knife
– Machine screw
– Hex nut
(or.. get the kit here!)
Additional Tools (not included):
– Cutting mat
– Masking tape
– Sharpie (optional)
– Lightbulb (60W max)
Instructions:
1. Tape a printable template down onto the sheet of leather.
2. Carefully cut each shape out of the paper template and the leather underneath.
3. Cut a small cross into the top right hand corner of the leather.
4. Roll your leather into a cone and tape to hold in place.
5. Make a small mark with your xacto knife, through the top cross and onto the layer beneath.
6. Push the machine screw through the top right hand corner cross.
7. Wrap the leather around your cord lamp and match up the machine screw to the second cross.
8. Push the machine screw through the second cross and screw on the hex nut on the inside of the cone.
9. Screw in a fluorescent or incandescent bulb 60W or less.
10. Pull the cord lamp tight from the top.
11. Hang your lamp using provided hardware.
Grab your main materials (pictured left) and some basic household supplies (pictured right) and lets get started!

When opening up your xacto knife, you’ll notice theres a small protective plastic covering on the blade. Remove this covering and wipe the blade clean on a paper towel – and don’t worry, that gross slimy stuff is just grease to keep the blade from rusting!

If you’re using one of our printable templates, go ahead and print out the design of your choice on regular letter size paper. Match up the bottom right hand corners of both the template and your leather sheet.

Place a piece of tape up at the top edge of your template to hold it in place.

Grab a cutting mat and your xacto knife and get ready to start slicing!

Follow along the lines of the template with your xacto blade, pressing down with medium pressure.

You may need to lift up the paper template and go over your lines a second time to cut all the way through the leather.

Keep slicing away, using your template to guide your lines and then finishing them on just the leather.

When you’re done with the right side of the design, lift up the paper template and match it to the left hand corner of your leather for one more final touch.

Cut that little guy out just like you did before.

Once you’re happy with your design, cut a small cross into the top right hand corner of your leather sheet. Your lines should be about 1/2-inch long and 1/2-inch from the edge of the leather.

Now wrap your leather sheet into a cone and play around with different cone shapes. Once you’re happy with the shape, tape the top flap down with masking tape to hold it in place.

While taped securely, make a small mark with your xacto blade by poking it through the cross and onto the layer beneath.

Once you’ve made that small mark, unwrap your cone and cut another 1/2-inch cross right on top of where the mark is.

Push your machine screw through the top right hand cross. If it doesn’t fit, just make the cross larger with your xacto knife.

Wrap the leather around your cord lamp so that the black socket is inside the cone.

Match up the machine screw in the right hand corner with the second cross you made on the other side, and push the machine screw through all the way.

Take the matching hex nut and fasten it onto the screw on the inside of the leather lampshade.

Here’s what it looks like up close and personal. Tighten that hex nut to keep your cone in place.

Screw in a fluorescent or incandescent bulb of your choice (60W maximum), and make sure that the bulb does not rest against the sides of the leather cone when screwed in.

Pull the cord tight and you’re ready to hang this baby!

Take a look at this trio! We made each of these three designs into printable templates so you can make these exact lamps! Or, if you’re feeling adventurous, create your own cutout designs. We just recommend cutting them out of paper first before slicing up that leather.

And take a good look at the three color options we’re offering in our kit! Choose from Mint, Black and White ZigZag, or Raspberry.

Who knew something so simple could be SO good?

Get loopy with those cords and see what kinds of installation techniques show off your personal style. These color cords come with their own installation hardware so no need to run to the hardware store.

This bright little lamp will get you through all your ups and downs!

What other clever home goods are you making from leather? Tell us in the comments below.


