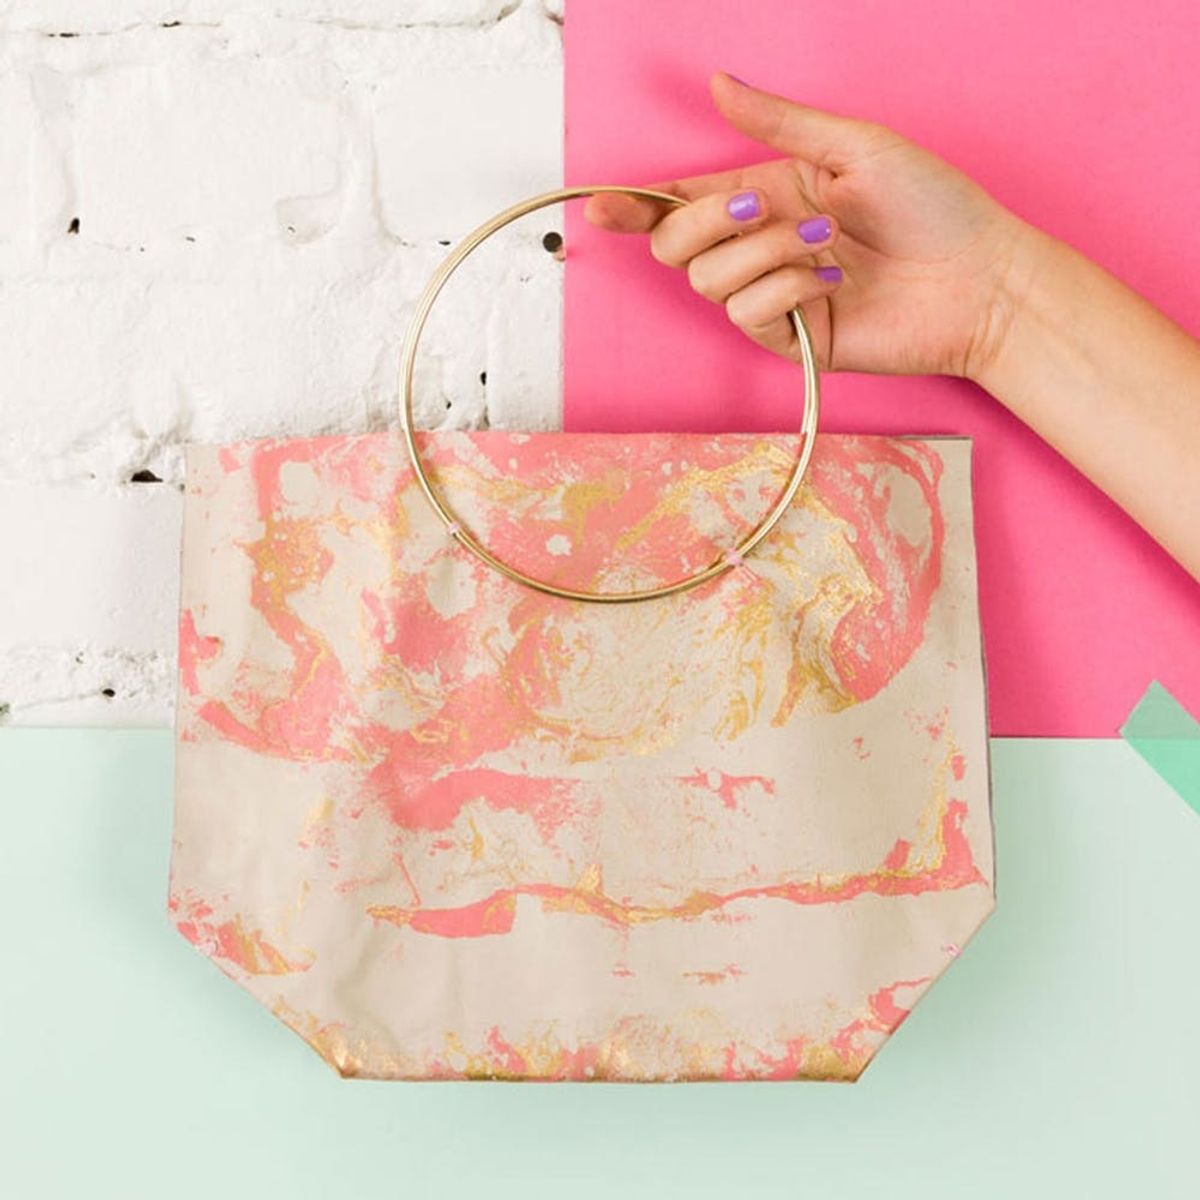
You might not even want the original after this tutorial!
How to Make a $325 Marbled Leather Bag for $25

Is it me, or are the best bags always the most expensive ones? I get MASSIVE FOMO when I think of all the sweet leather goods I could be rocking if I had a bottomless accessories budget, but it was only recently that I considered DIYing more affordable options. I’ve had my eyes set on this $325 marbled bag from Future Glory Co. and realized I could definitely DIY it for a fraction of the cost! If you factor in the time the paint needs to dry, you can have this DIY copycat bag finished in less than an hour and for just shy of $25. Plus, you can really get creative with the leather construction by learning a thing or two from our Leather Working Class.
This bag speaks to me on a spiritual level; the marble patterning is just right, and the material combination is just spot on. Is it possible to have romantic feelings for marbled leather?
While this bag is still on my wish list (probably for life), this DIY version is definitely a rock-able alternative.
Materials:
— 14 x 20-inch piece of leather
— two 6-inch macrame hoops
— spray paint
— plastic tub
— E6000 glue
— embroidery thread (in a color that complements the leather)
— scissors
Get your materials together and let’s get started!
Instructions:
1. Fill the plastic bin with two inches of water.
2. Spray paint directly into the water to create the marbling pattern.
3. Gently rest the leather directly onto the surface of the water. It will pick the spray paint right up.
4. Repeat this until the entire surface of the leather is marbled. Allow the paint to dry completely before handling.
5. Apply a generous amount of E6000 glue along the edges of the leather panel and fold in half.
6. Tuck the bottom corners in and secure them into place with a few stitches.
7. Center a macrame hoop with the top edge of the leather and stitch it into place at two points.
8. Repeat this step on the other side of the bag with the other macrame hoop.
Fill your plastic tub with two inches of water.
Spray the paint directly into the water. We chose to use gold and pink and achieved the best marbling by spraying about four inches from the surface of the water.
Be sure to move the can around a bit to create more dramatic marbling.
Gently rest the leather on the surface of the water.
It should pick the marbled spray paint right up! Repeat this until the entire piece of leather is marbled. Allow the leather to dry completely before moving on.
Apply a generous amount of E6000 glue along the edges of the leather. Fold the leather piece in half to create a pocket. To give ourselves a more roomy bag, we tucked about two inches of the material in to create corners. Repeat this on the other side of the bag.
To secure the tucked corners, make a couple of stitches in the same location. Be sure to pierce through all four layers of leather! Repeat this on the other side of the bag.
The body of your bag should look like the example above.
To sew the handles onto the bag, center one macrame hoop on the top edge of the leather pouch. Make stitches on both sides of the hoop to secure it in place.
Flip the bag around and align the second hoop with the first. Stitch this hoop in place to finish your bag.
That’s all it takes to make a luxe-looking bag! You can pocket that extra $300 and save it for a rainy day.
Pack all of your essentials and hit the town. This bag deserves to be shown off!
How are you customizing this bag? Show us your project by tagging us on Instagram and using the hashtag #iamcreative!
DIY Production and Styling: Marianne Koo
Photography: Brittany Griffin


