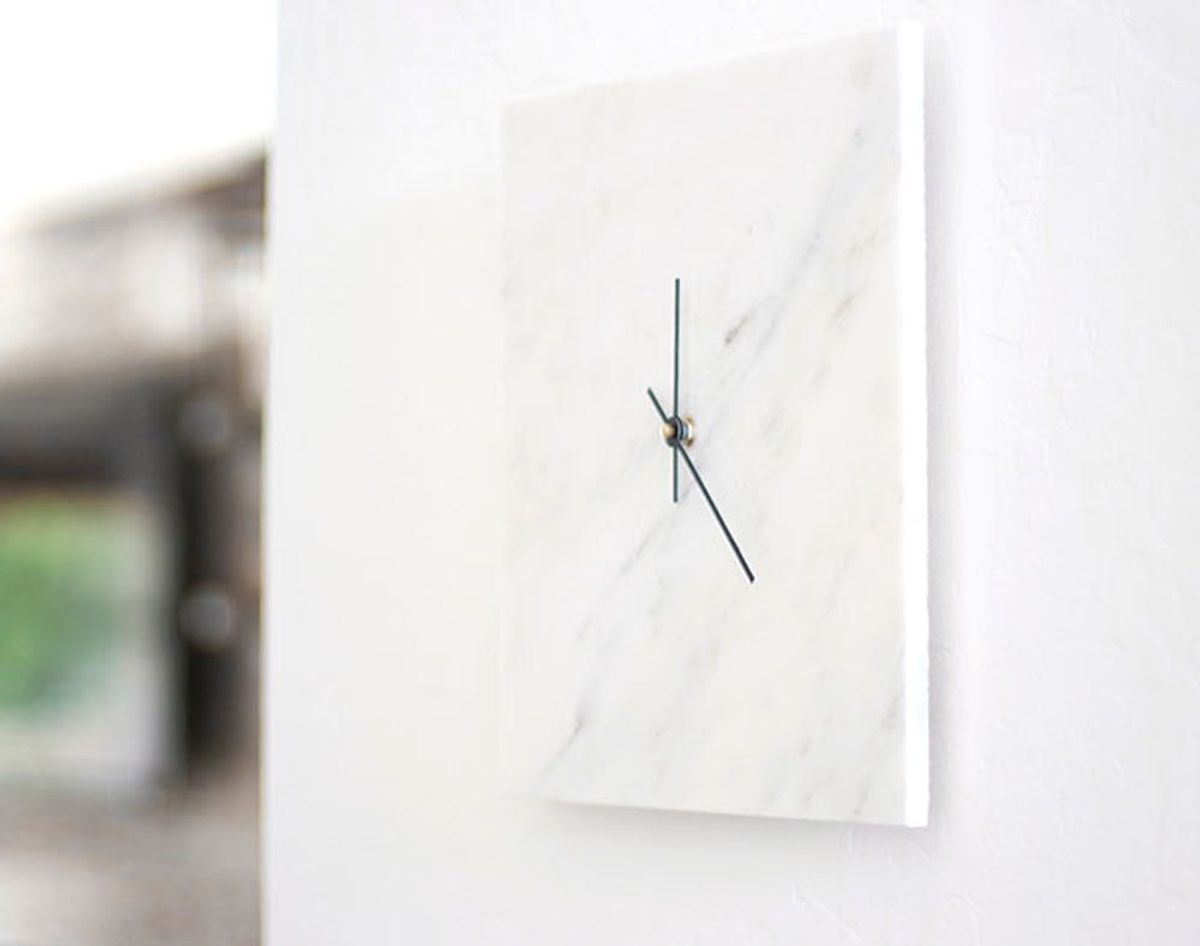
We think the marble trend in home decor is only getting started, and we love it. This is why we are DIY-ing a marble clock today, folks. Grab some safety glasses cause we are drilling!
How to DIY a Chic Marble Wall Clock for Just $10

We have a wee bit of an obsession with marble as of late. It could have been sparked by Molly Sims’ home tour. Remember that gorgeous marble backsplash? It also could have been brought on by our marble tray hack. Who knows? Whatever it was that created this addiction, we aren’t complaining. We think the marble trend in home decor is only getting started, and we love it. This is why we are DIY-ing a marble clock today, folks. Grab some safety glasses ’cause we are drilling!
Materials:
– 12 x 12 or mini marble tile
– spray paint
– blue painters tape
Tools:
– drill + “all materials” drill bit
– safety glasses
– ruler
– pen
Instructions:
1. Tape + mark the center of the tile.
2. Drill a hole into the center.
3. Paint your clock hands.
4. Put together your clock according to the instructions.
First, tape the center of the tile so your drill bit doesn’t slide when drilling your hole. Next, using a ruler and a pen, mark the center of the tile. Then, outfit your drill with an “all materials” drill bit that will fit the size of your clock hands, put on your safety glasses and drill a hole into the center of the tile. You’ll want to place the tile on a flat work surface to get the job done. Use moderate pressure when pressing down on the drill.
When your hole is drilled, remove the tape. Then, spray paint your clock hands whatever color you want! We used gold here on this mini tile, and black for a larger version of this clock. Finally, follow the instructions included in your clock kit to assemble the clock. And voila!
Naturally, we left the tiny clock with the gold colored hands on our desk — it makes quite the chic office accessory — and decided to dress up our kitchen wall with the mondo version. We can’t think of another five-step DIY that can add elegance to a room this quickly. We bet you’re eyein’ your walls already ;)
What do you think of the marble trend in home decor? Let us know in the comments below.


