This NYFW trend will be a part of everyone’s wardrobe this spring season.
This Trend from NYFW Is Totally DIYable
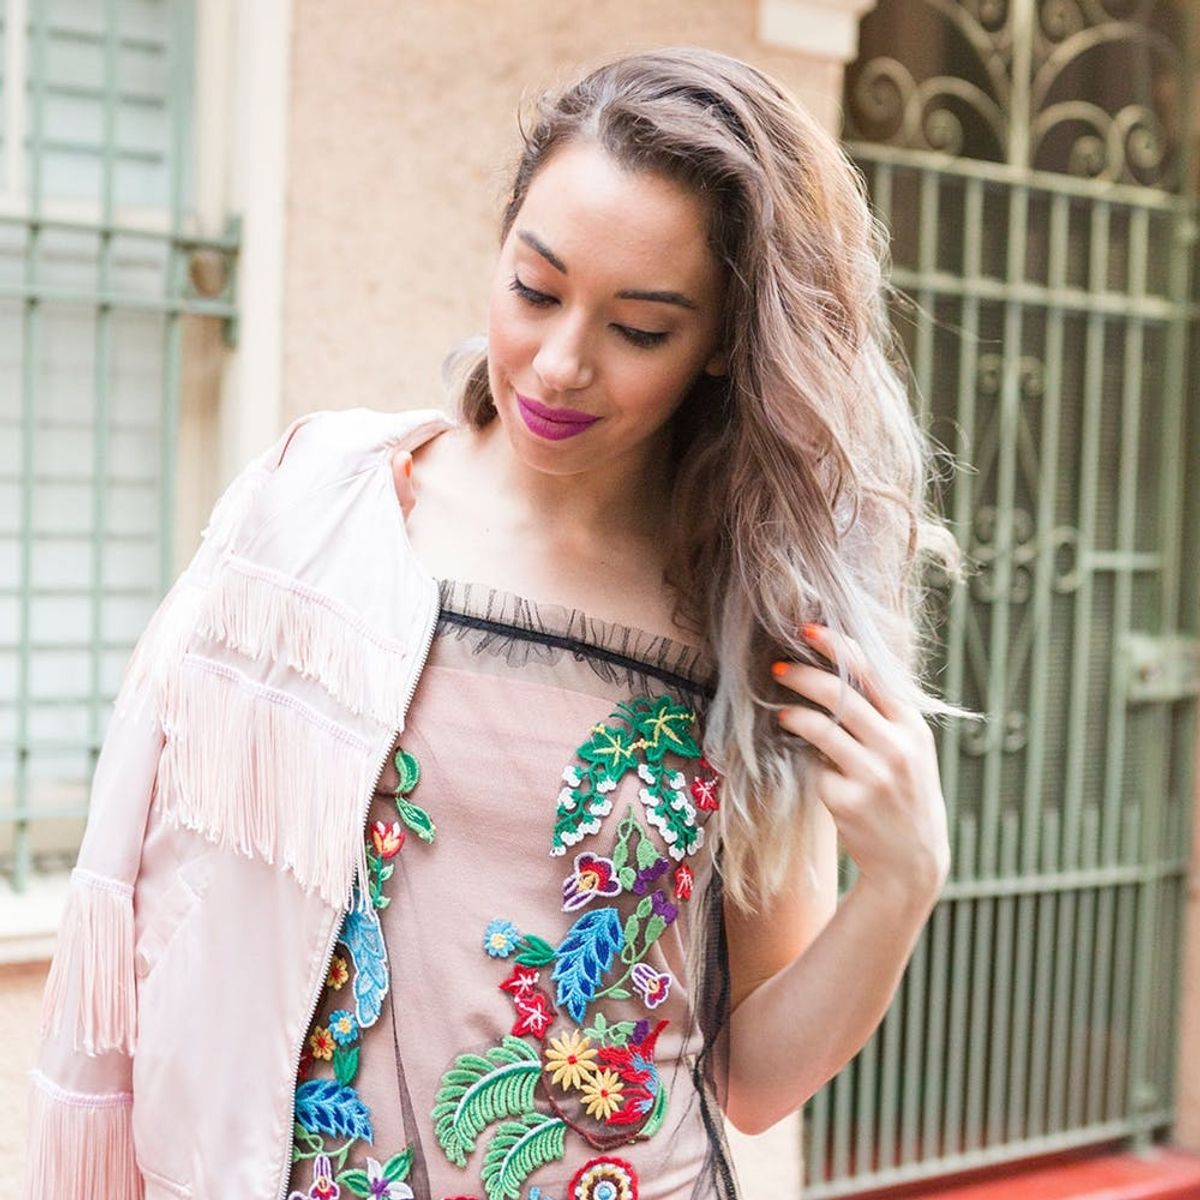
If you weren’t aware, New York Fashion Week just happened, and everything was hands-down amazing. After drooling over all of the killer trends in hair, beauty and styling tricks that B+C staff saw in New York, I decided to create a DIYable piece that you can add into your spring wardrobe. Say hello to embroidered mesh. This look can be very costly but is actually extremely hackable. Follow along in the tutorial below to create it for yourself.
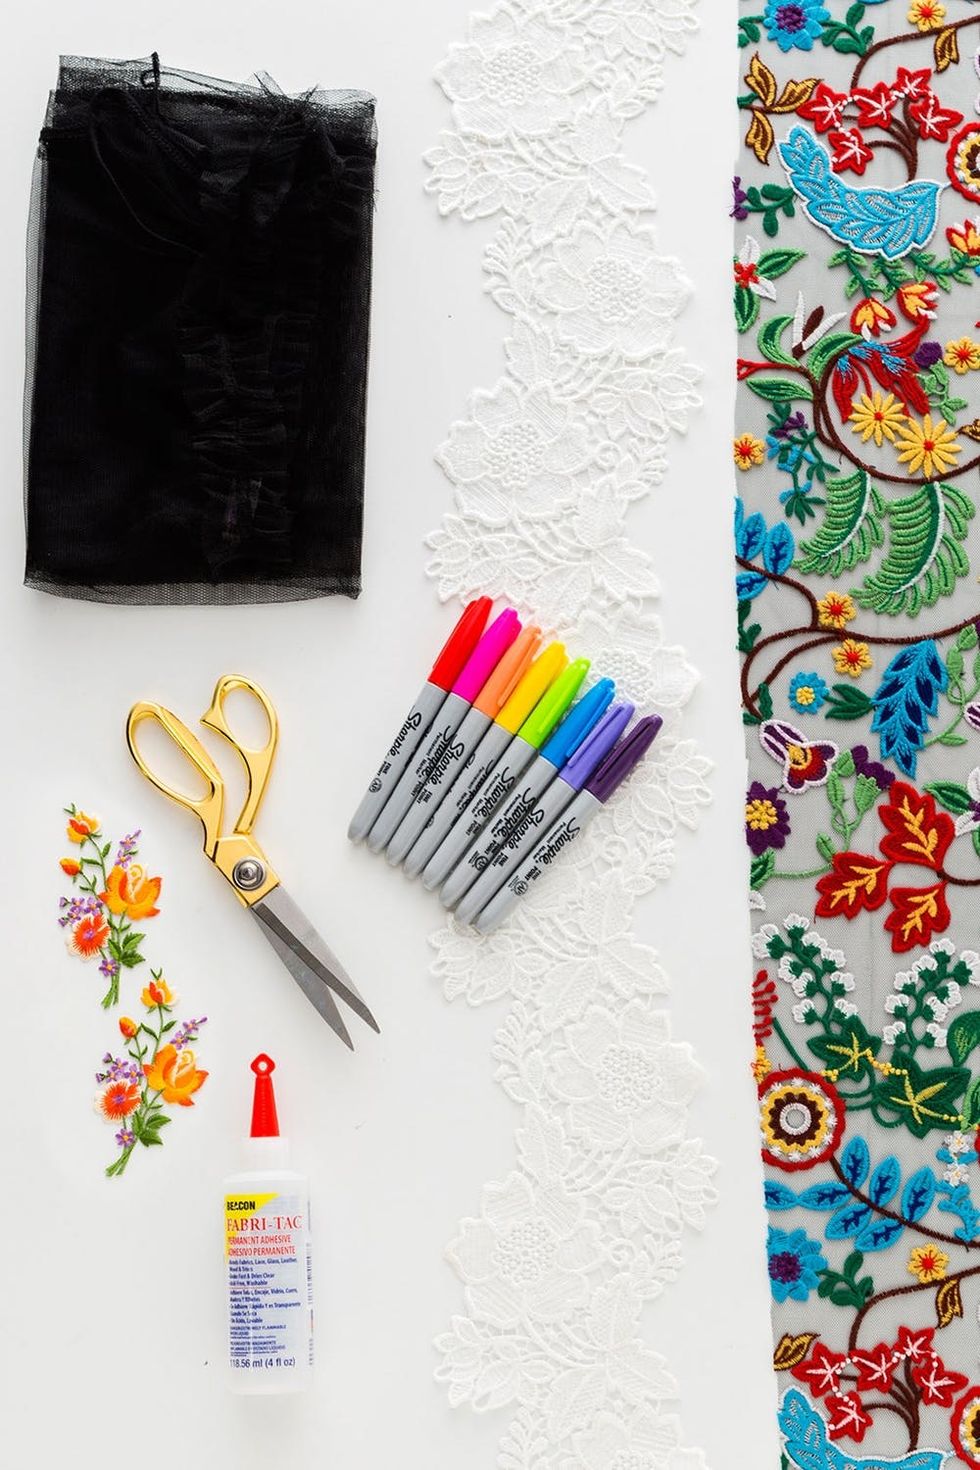
Materials and Tools:
- sheer mesh top
- sheer mesh skirt
- embroidered fabric (found at Britex)
- white lace ribbon
- Sharpies
- patches
- Fabric Tac
- scissors
Instructions:
- Cut out embroidered detailing from your fabric.
- Place a piece of cardboard in-between your shirt and then lay out your design.
- Once you have your desired pattern, attach with Fabric Tac.
- Create your own custom embroidery by coloring on white lace with Sharpies. Attach and glue onto fabric in the pattern of your choice.
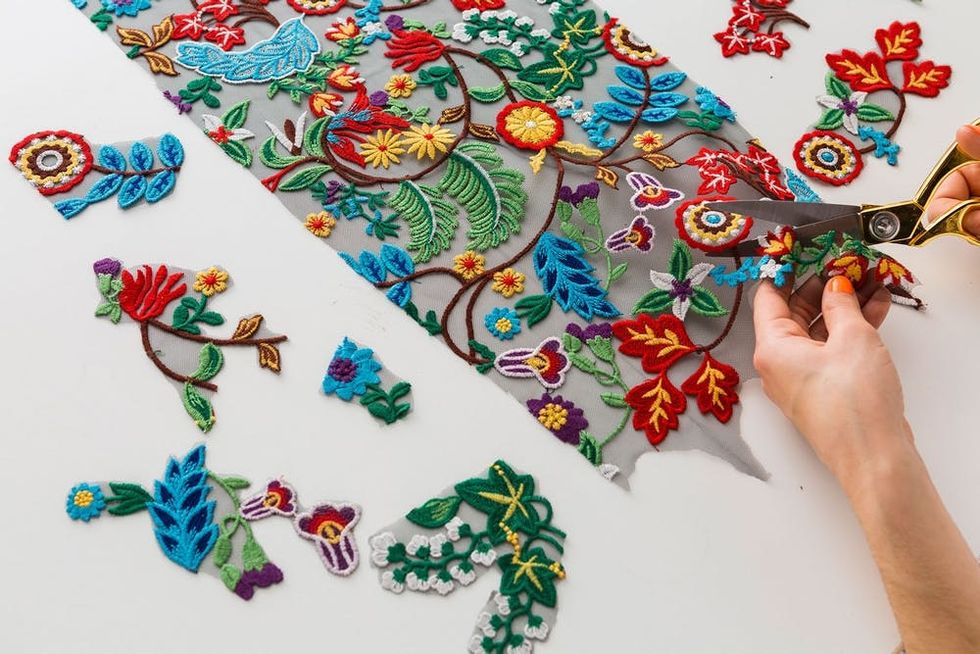
We found this amazing fabric at our local fabric store, Britex. It’s this large embroidered masterpiece on top of black mesh, which was perfect for our DIY. The only downside — it is expensiiiiiive. A forth of a yard cost $50, but gives you a lot of pieces to create your embellishment.
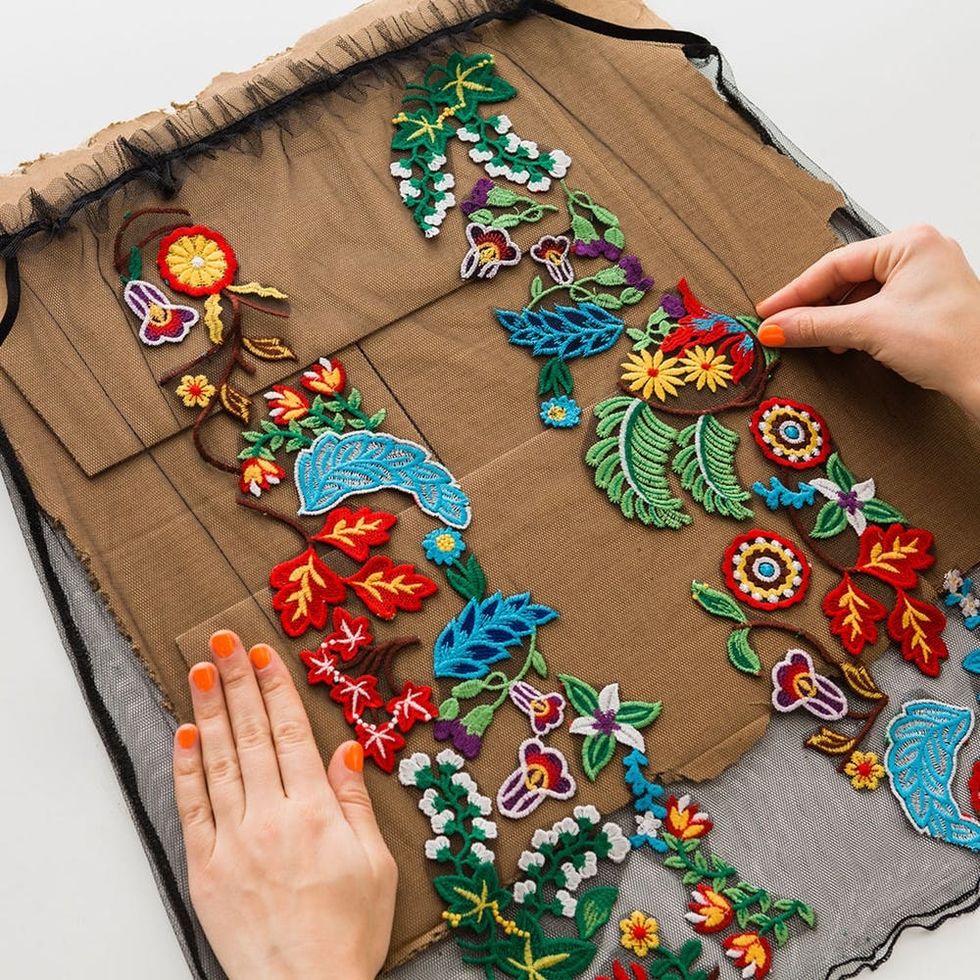
Place a piece of cardboard or — even better — a plastic cutting board in-between the layers of your shirt. Play around with your embroidery and create a pattern that speaks to you.
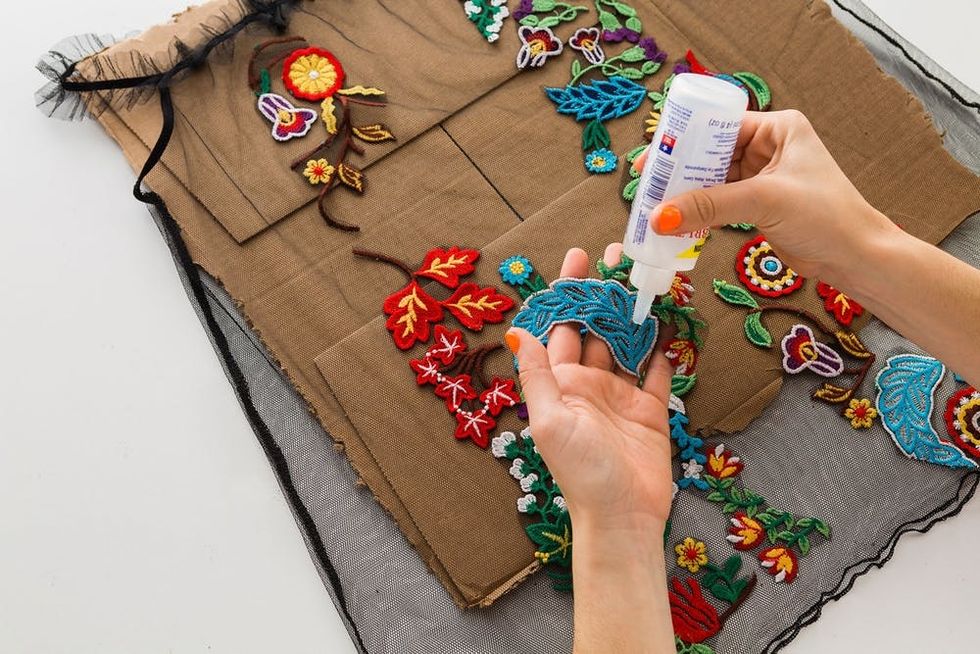
Use Fabric Tac to attach the embroidered pieces to your garment. Fabric Tac dries pretty quickly, so just make sure the pieces don’t attach to the cardboard!
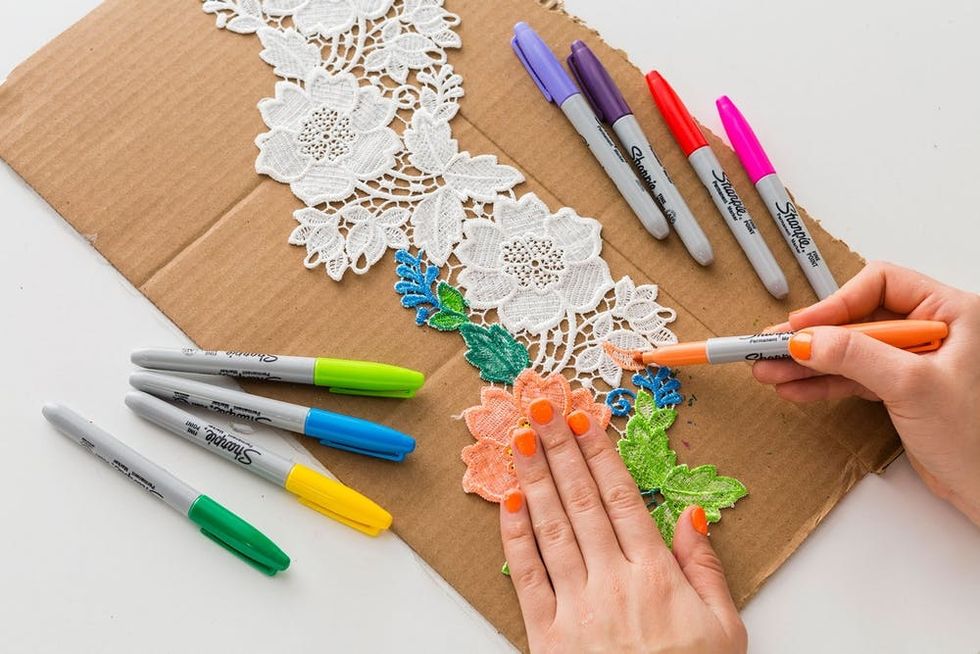
If you don’t have access to pre-embroidered fabric, you can DIY your own. Find white lace and use Sharpies to create colorful flowers and leaves.
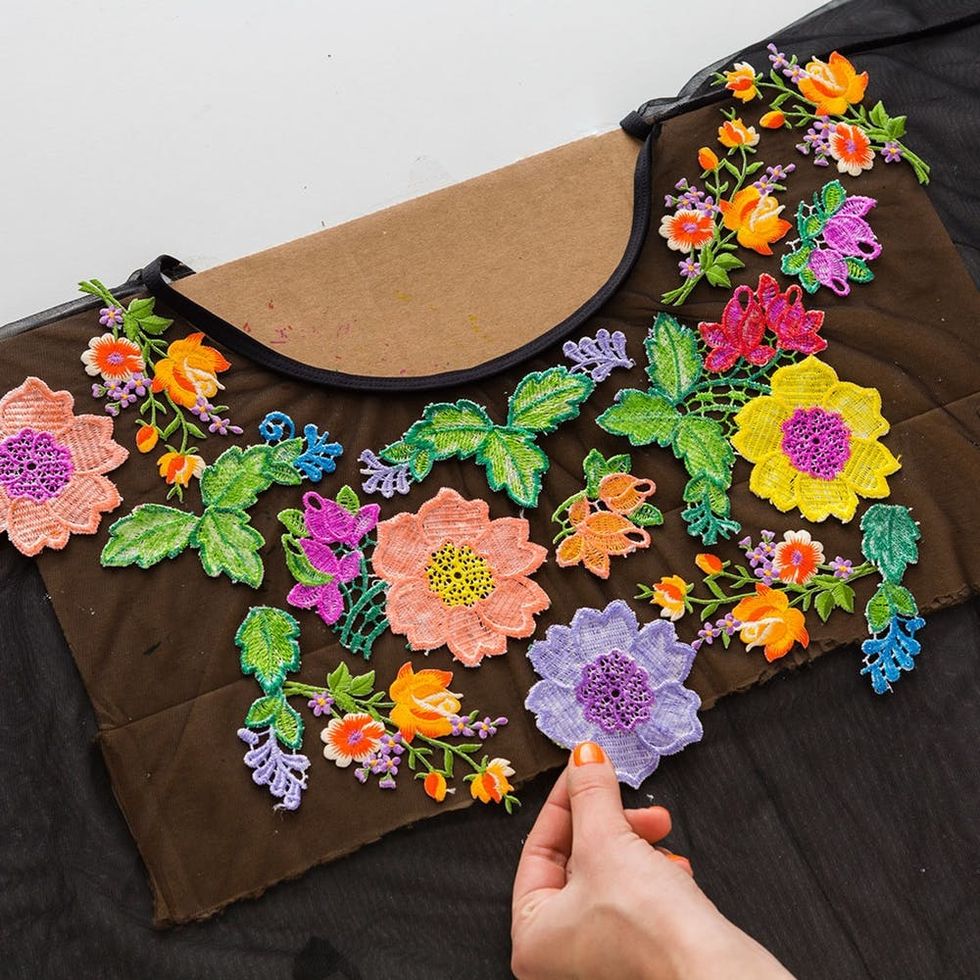
We mixed our Sharpied pieces with other floral patches we found on Amazon. Use Fabric Tac to attach onto your garment.
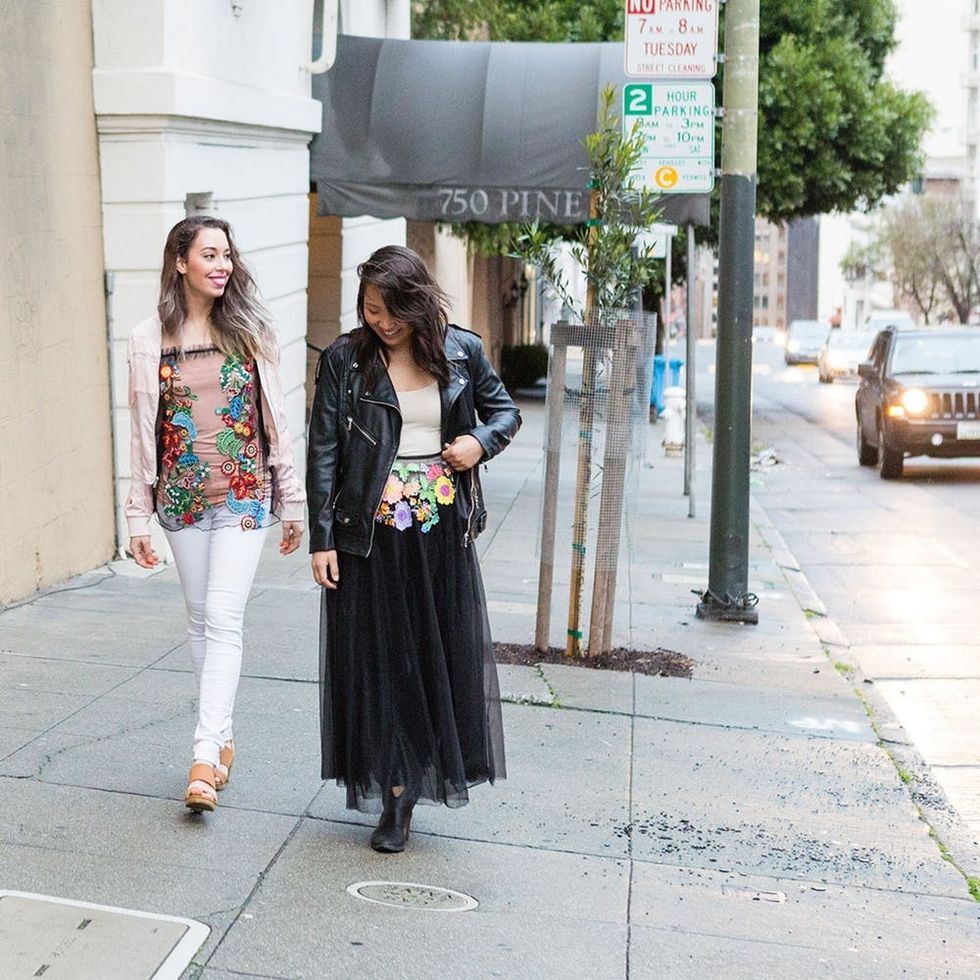
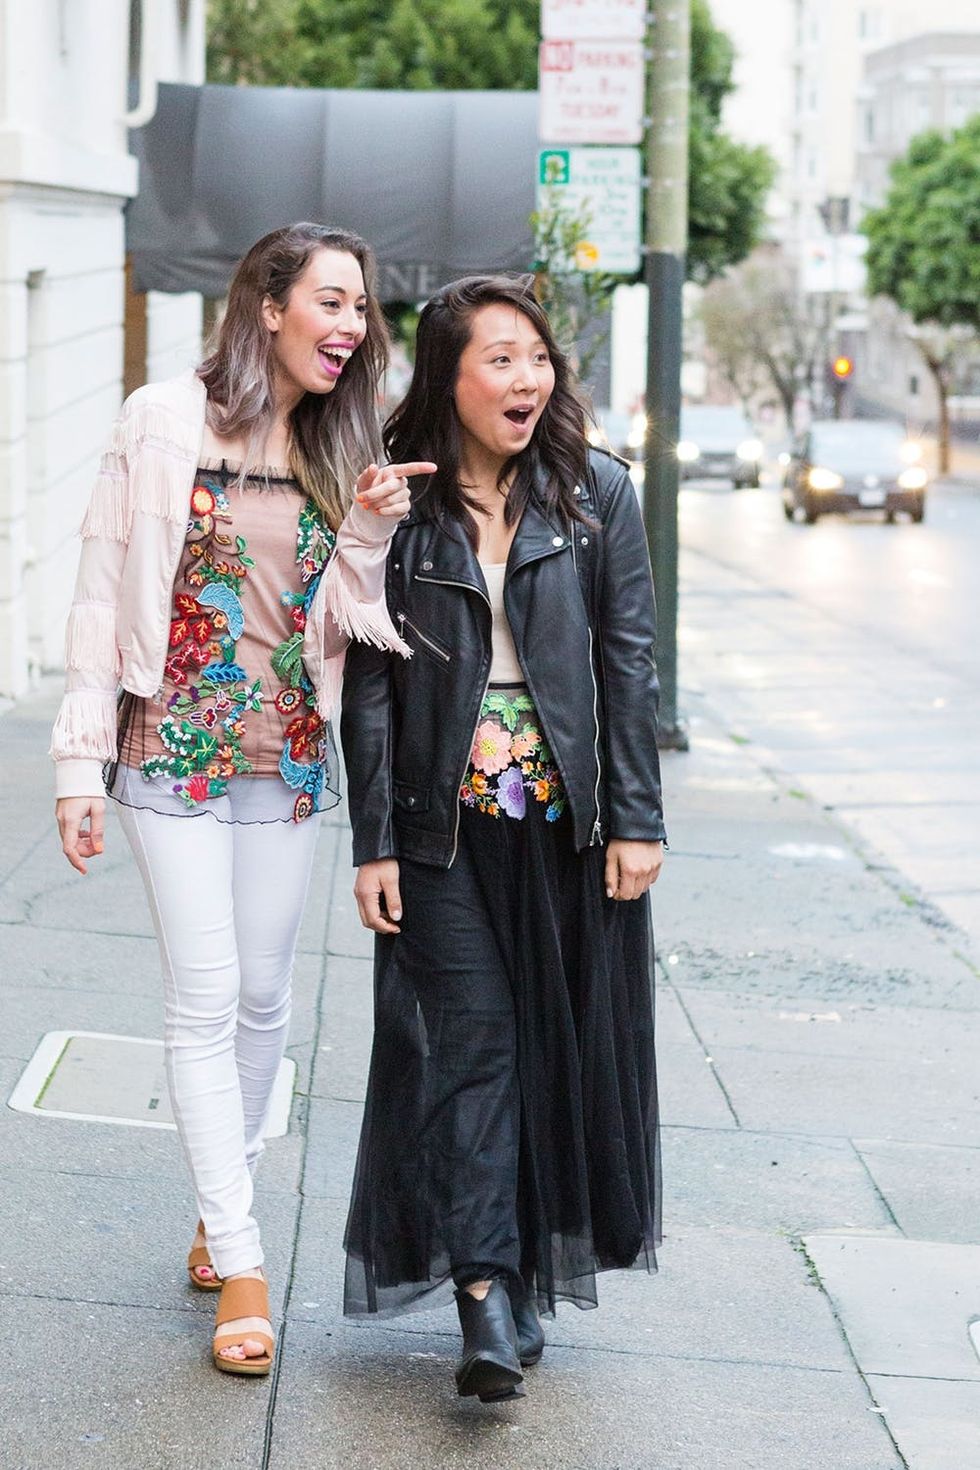
Anita and I hit the streets in our new NYFW-inspired pieces. Are we models yet?
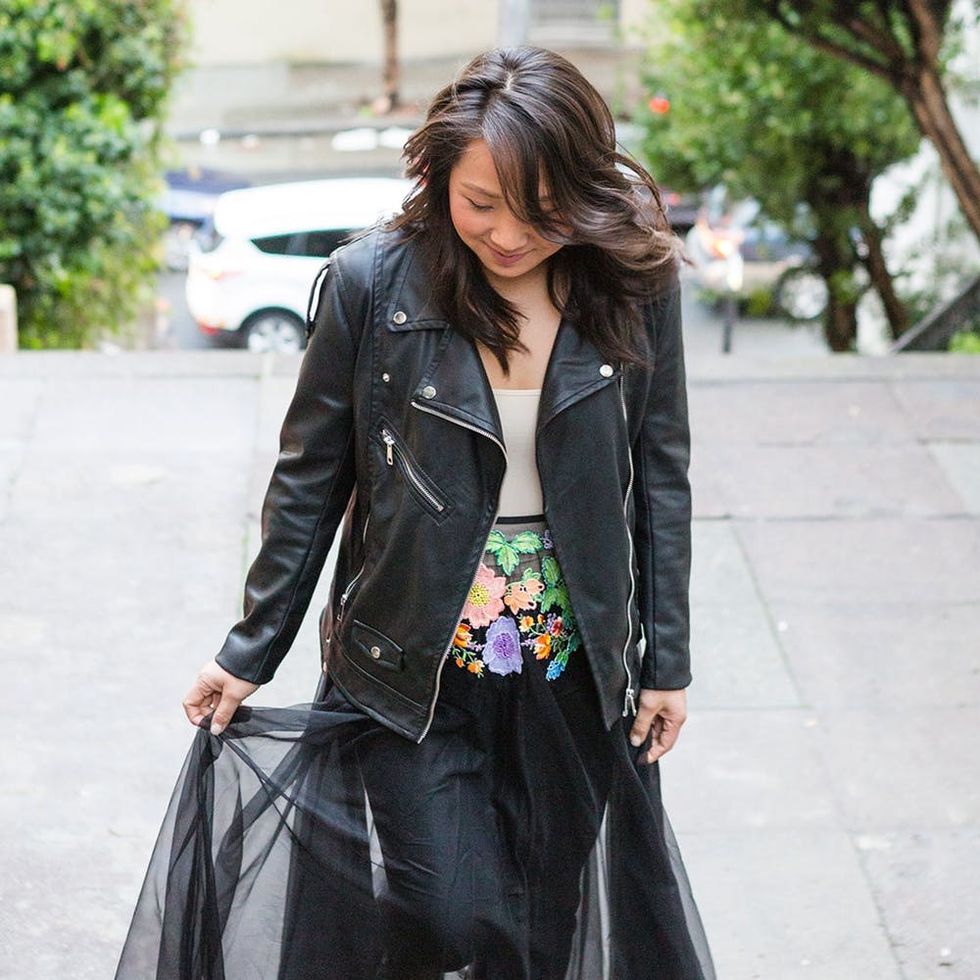
The key to mesh is layering. Anita added this skirt on top of her black jeans and then finished it off with a basic tank and a leather jacket.
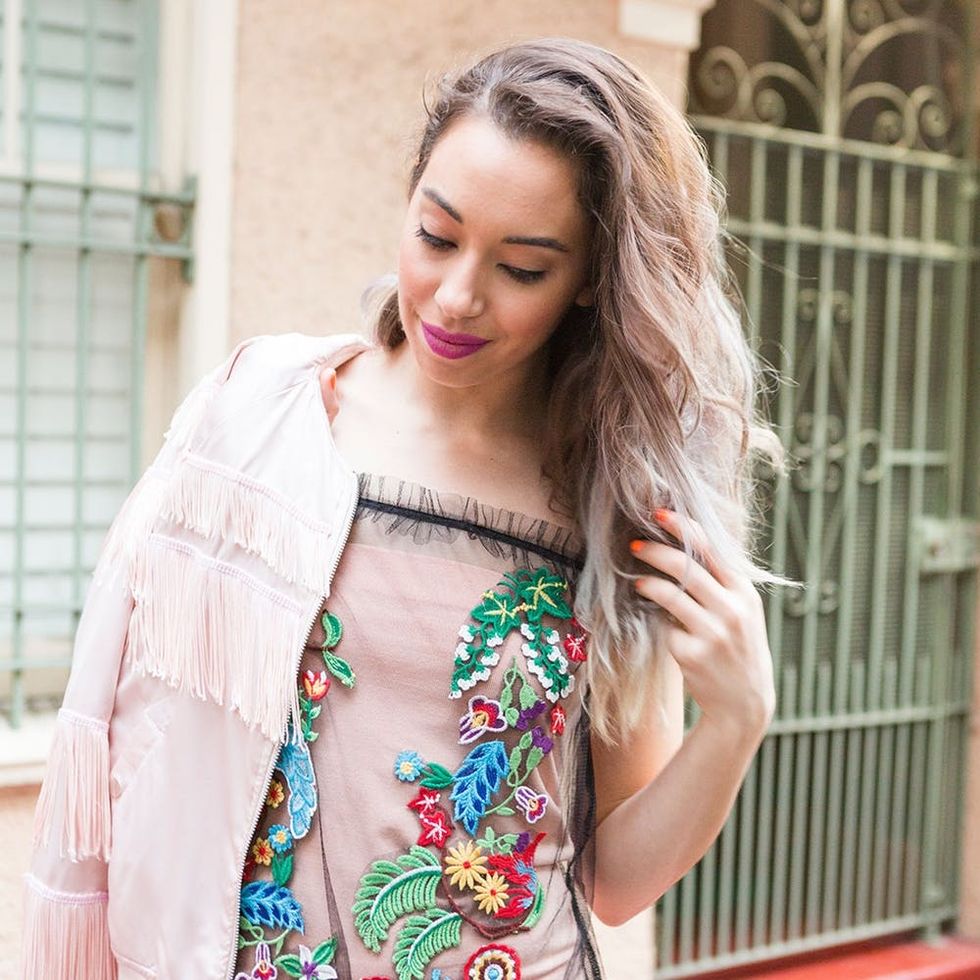
Loving the shirt and the bomber? They are both DIY! Check out the bomber tutorial here.
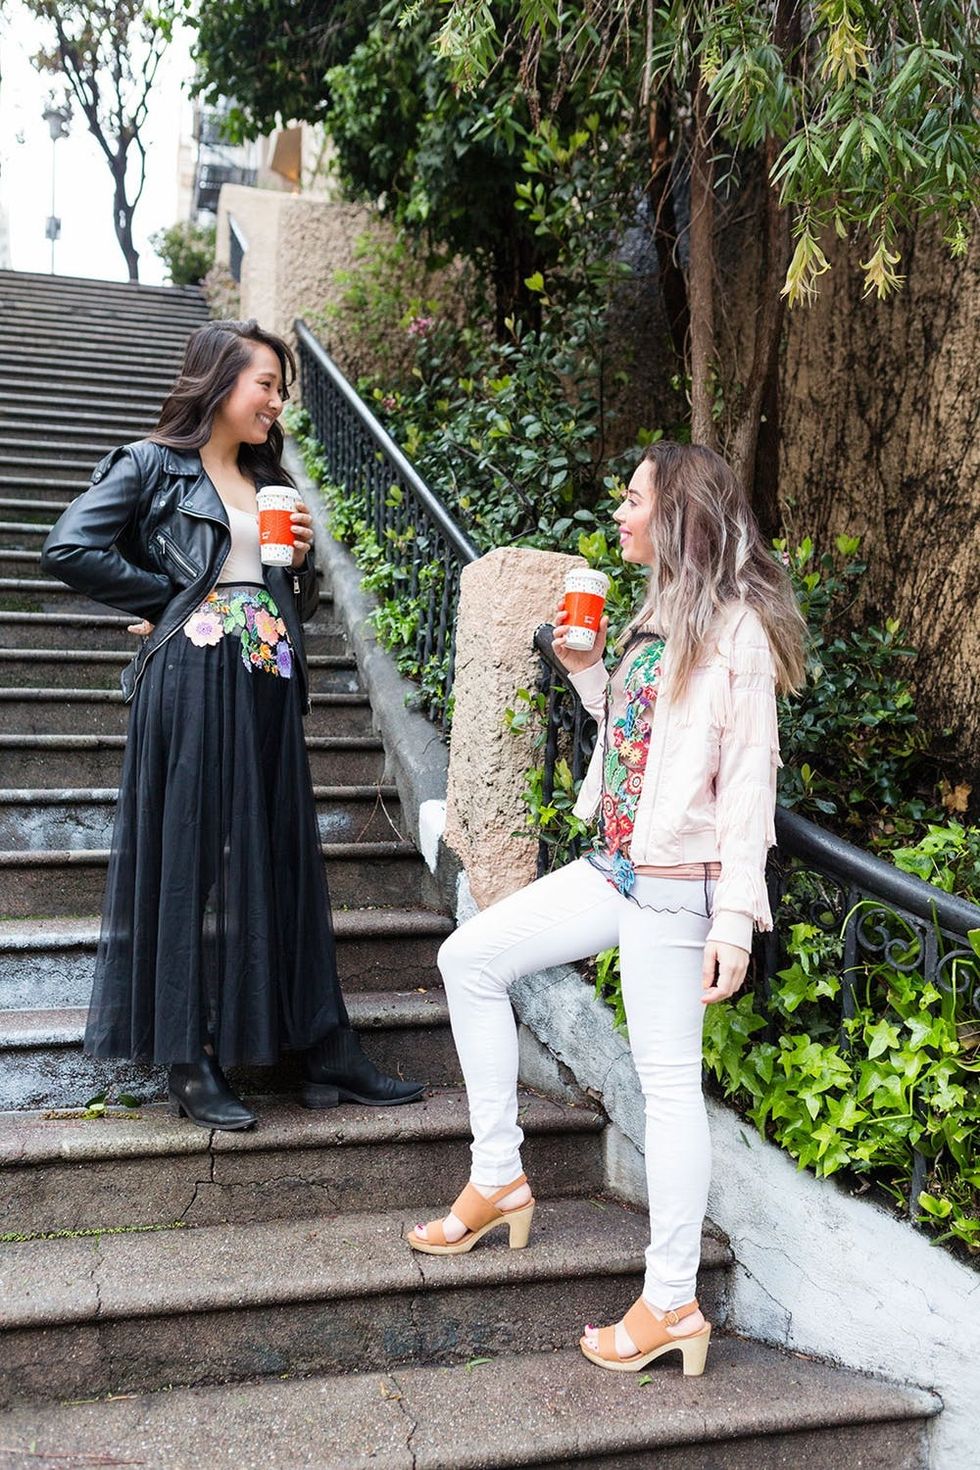
Anita and I met through B+C and became instant friends. You normally can find us together at the beach surfing, but we recently took our adventuring to a new country and explored Mexico City. We both are obsessed with the Brit + Co Cheeky to-go cups, which are perfect for our adventuring lifestyle.
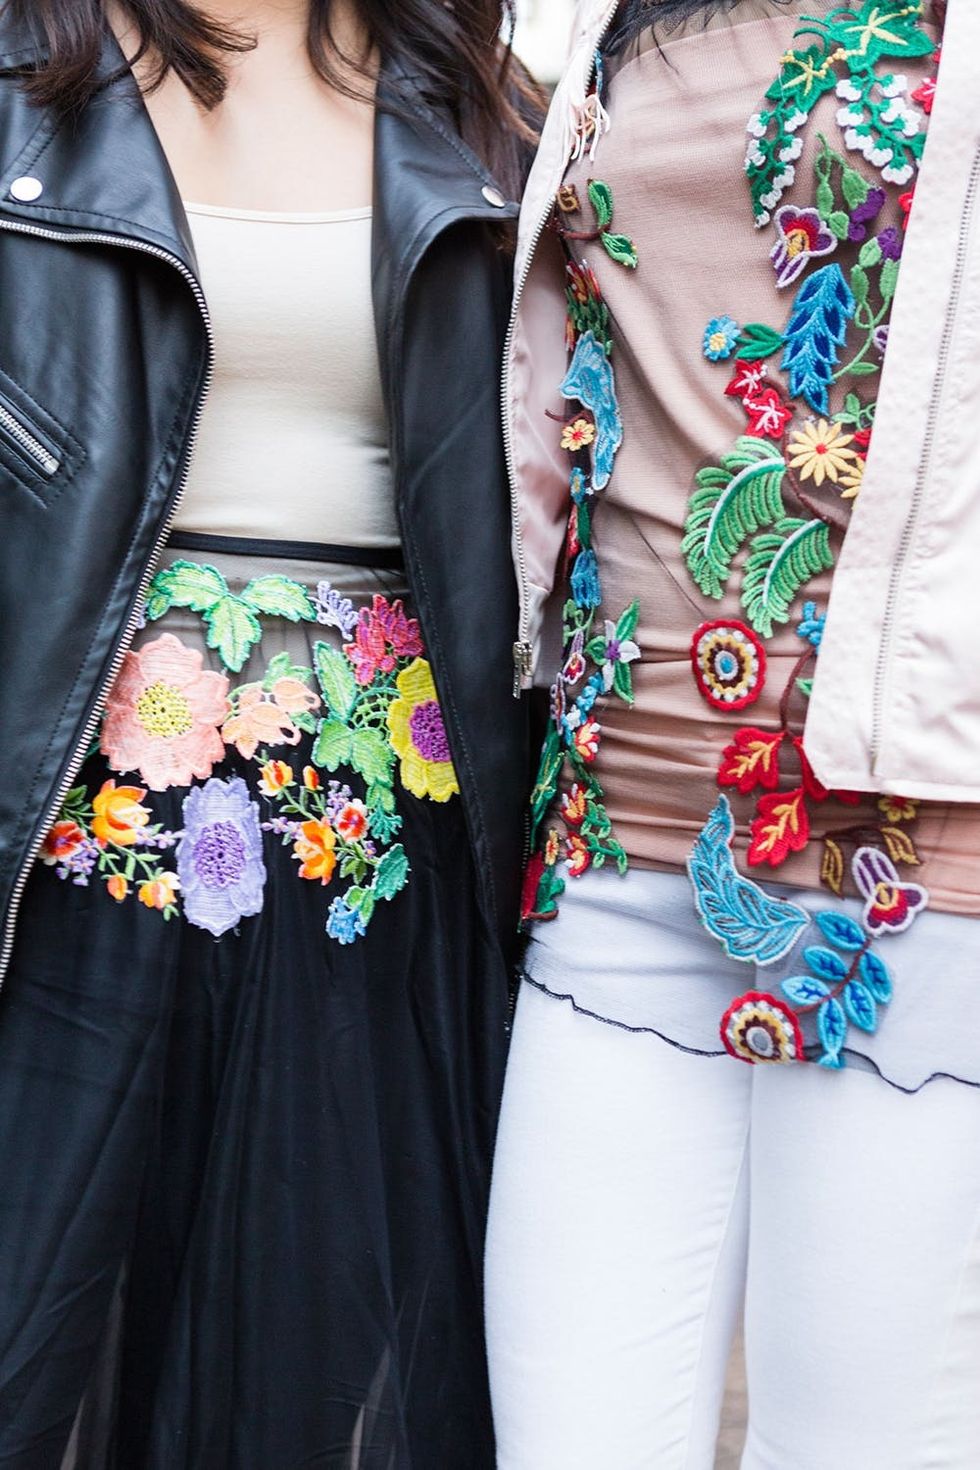
Close-up embroidery FTW :)
Show us your fashion project by tagging us on Instagram + using hashtag #iamcreative!
DIY Production and Styling: Kelly Bryden
Photography: Brittany Griffin
Brit + Co may at times use affiliate links to promote products sold by others, but always offers genuine editorial recommendations.


