Make your mark on this minimalist jewelry trend in no time.
Personalize All Your Metal Jewelry With This Easy DIY
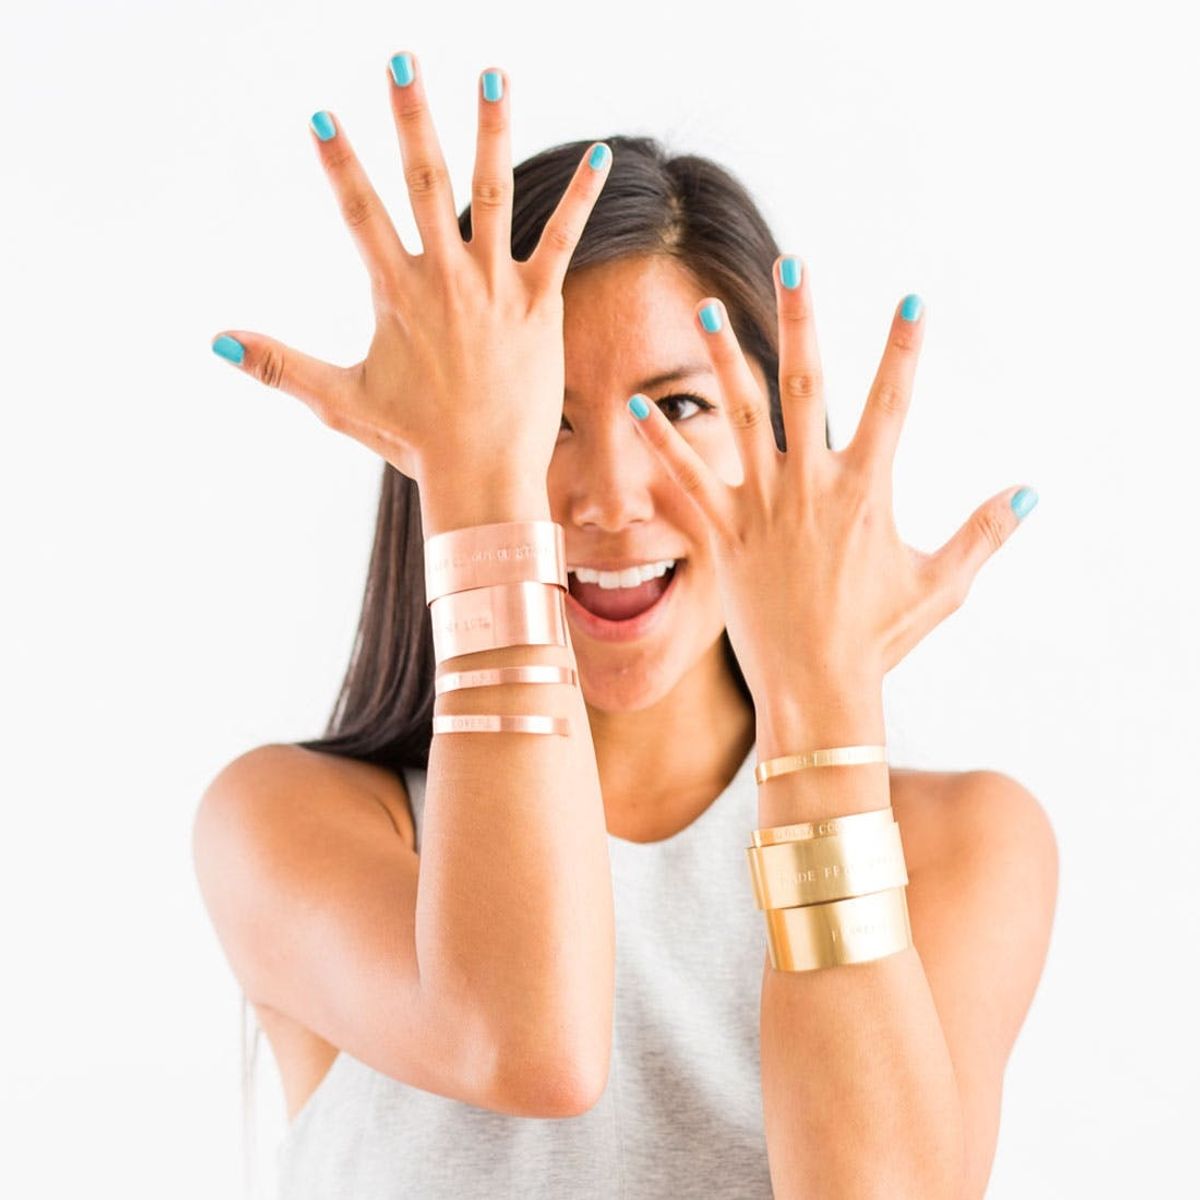
We’ve got personalization fever, adding names, monograms and music quotes to everything we touch. Because honestly, what piece of classy jewelry wouldn’t benefit from a few words of wisdom from Beyonce or T-Swift? Today we’re applying our new obsession to the art of metal stamping which is SO FUN! Pick up our Metal Stamping Tool Kit in the shop and follow along for the steps.
bracelets
 pendants, cuff links, pet tags, etc.

Metal Stamping Tools:
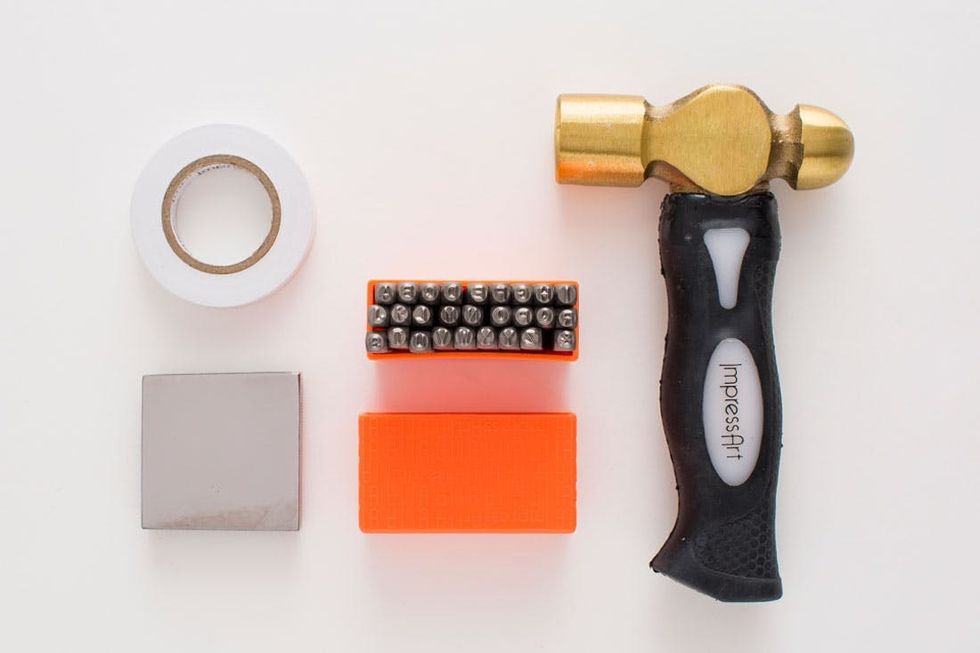
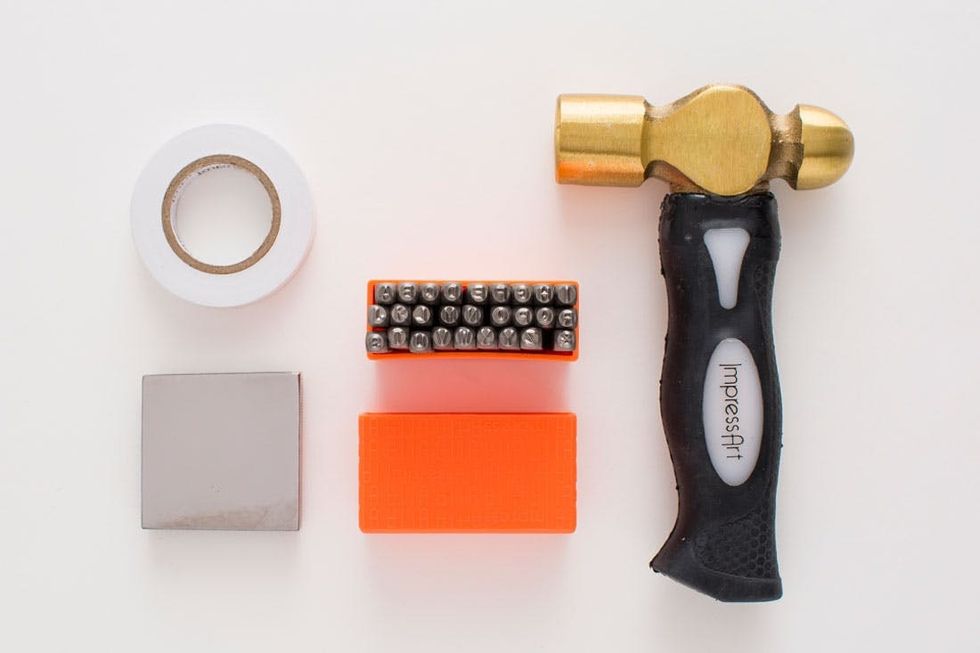
– uppercase alphabet stamps
– stamping hammer
– stamping block
– vinyl tape
(or get everything listed above and pictured below in our Metal Stamping Tool Kit!)
Cuff Bracelet Materials:

– 1-inch bracelet blanks
– 1/4-inch bracelet blanks
– bracelet bending bar
– 2-in-1 jewelry plier/cutter
(available in our Metal Cuff Bracelets Kit and pictured below)
Gold Bar Necklace Materials:
<br/>
 1. Tape one metal strip to your stamping block using a piece of vinyl tape.
2. Arrange all the different letter stamps needed to complete your phrase and use them to measure out your spacing. Make little pencil marks on your tape so that you can correctly align your stamps later.
3. Hold your first letter stamp steady on top of your metal strip, and firmly tap it with your stamping hammer.
4. Keep stamping along your metal strip until you’ve completed your phrase.
5. Place one end of the strip into the bending bar crease, and bend forward to create a little tab.
6. Fold the tab down with your pliers, and repeat this same process on the other end of the strip.
7. Place your metal strip into the crease, and bend it over the round end of the bending bar to shape.
8. Then curve the opposite side of your metal strip over the bending bar so that it forms a round cuff.
9. Stamp letters onto your gold bar pendant while it is still unattached from the chain.
10. Open up one jump ring with your pliers. Twist the ring open sideways to keep its shape in tact. String your bar pendant onto the open jump ring at one of the two top corners.
11. String one end of your chain onto the same open ring, and then close it up with your pliers.
12. Repeat on the other side of the pendant, and then cut the chain in half at the top to add the clasp.
13. Using this same technique, attach your lobster clasp to one end and a jump ring to the other.
Grab a set of tools (pictured above and included in our tool kit!) and some jewelry blanks to stamp on and we’ll show you two ways to make beautifully simple stamped jewelry.
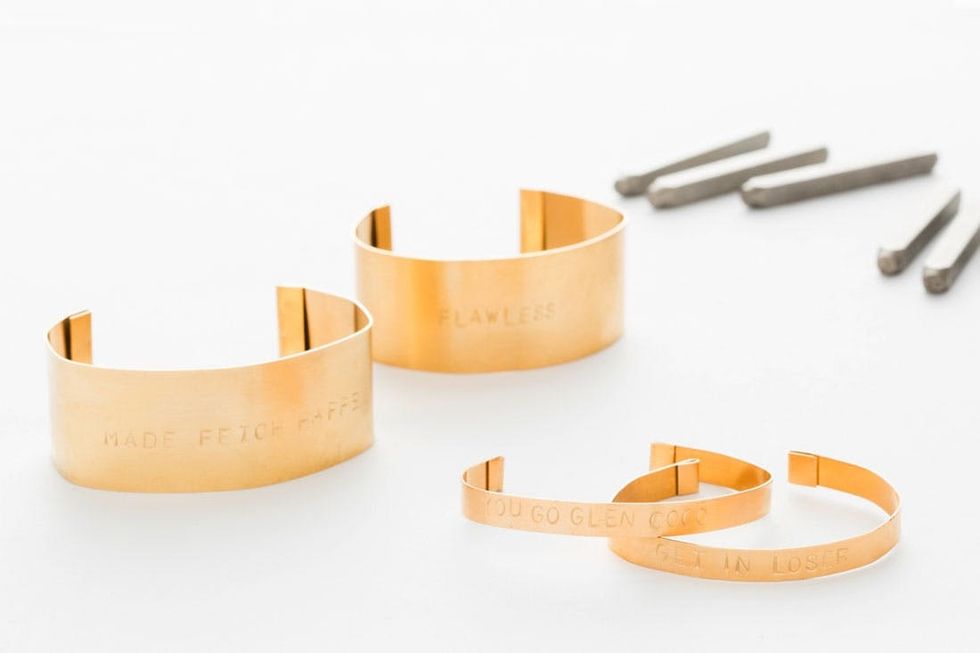
We include all the supplies shown above to make two thick and two thin stamped bracelets in our Metal Cuff Bracelets Kit, available in Copper or Gold color options. Grab one for yourself and lets get started.
Stamped Cuff Bracelets
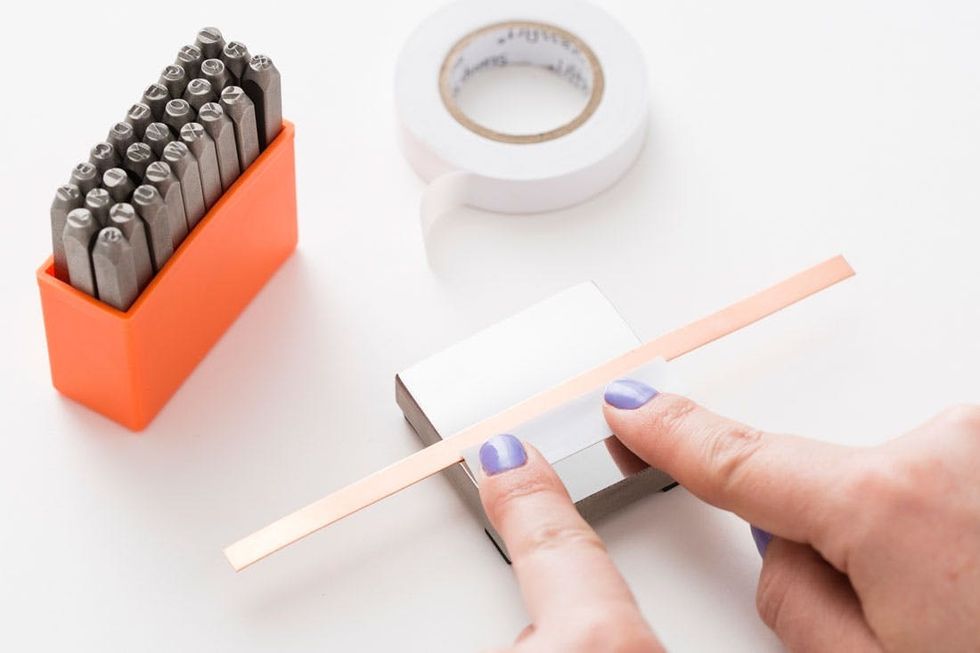
Tape a metal strip to your stamping block using a piece of vinyl tape.
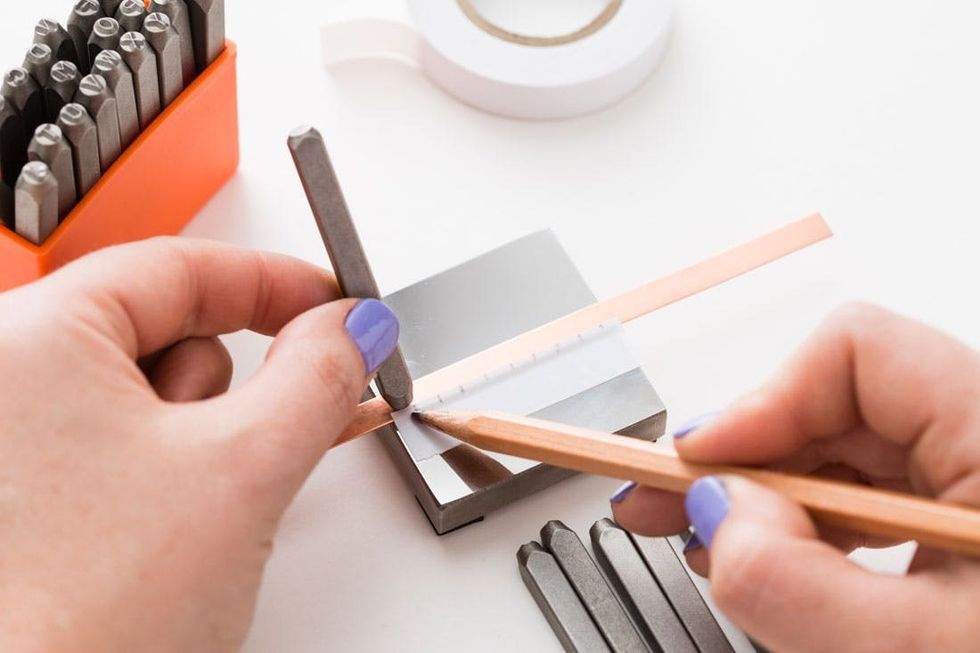
Arrange all the different letter stamps needed to complete your phrase, and use them to measure out your spacing. Make little pencil marks on your tape so that you can correctly align your stamps later.
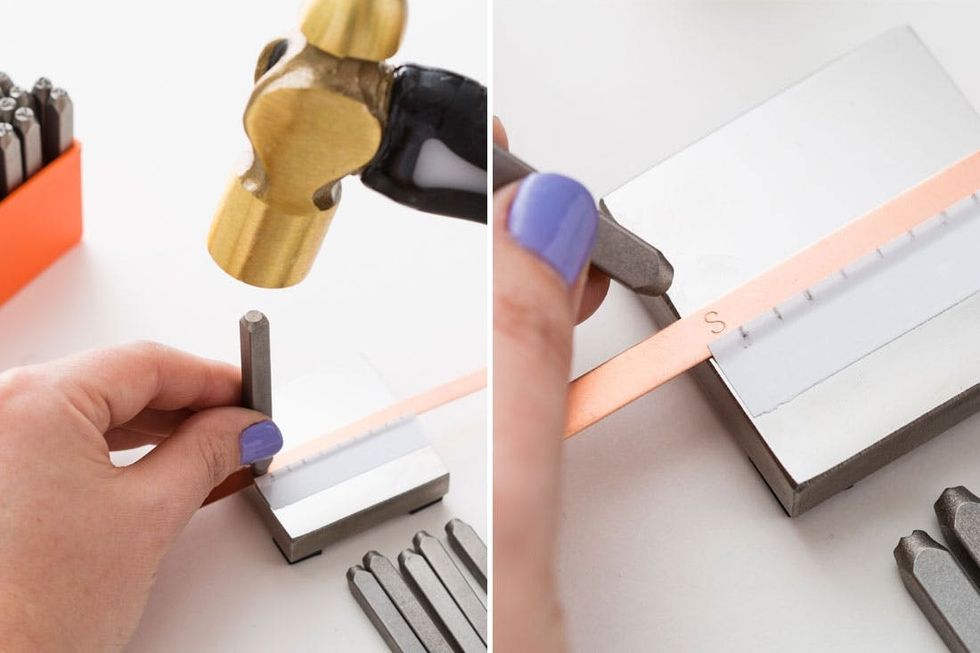
Hold your first letter stamp steady on top of your metal strip, and firmly tap it with your stamping hammer. If you hit it hard enough with the hammer, you will only have to hammer once. To get a deeper indent, you can tap it twice, as long as you don’t move the stamp in between hammering.
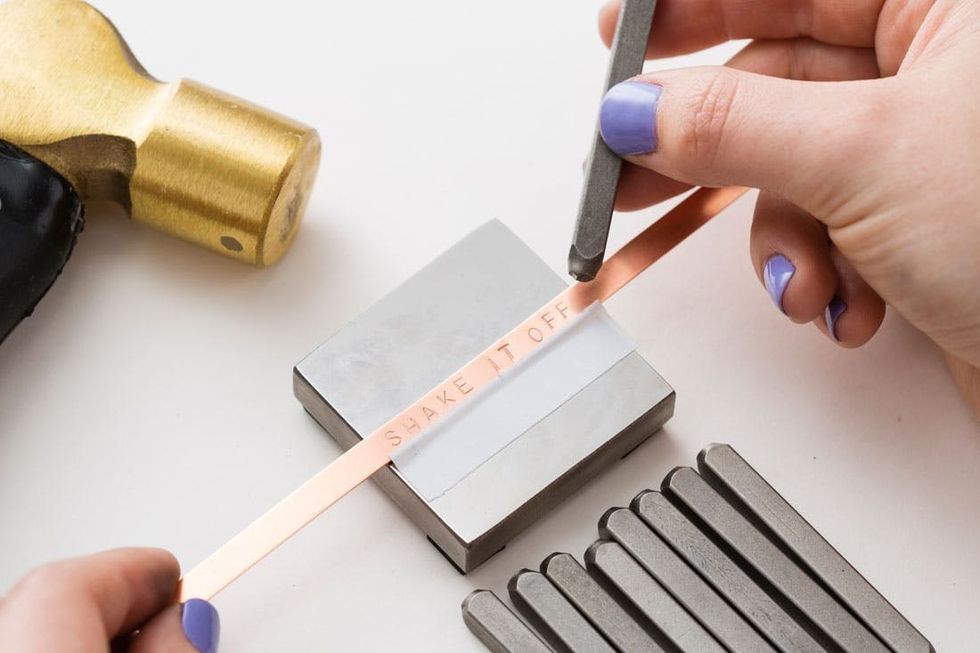
Keep stamping along your metal strip until you’ve completed your phrase.
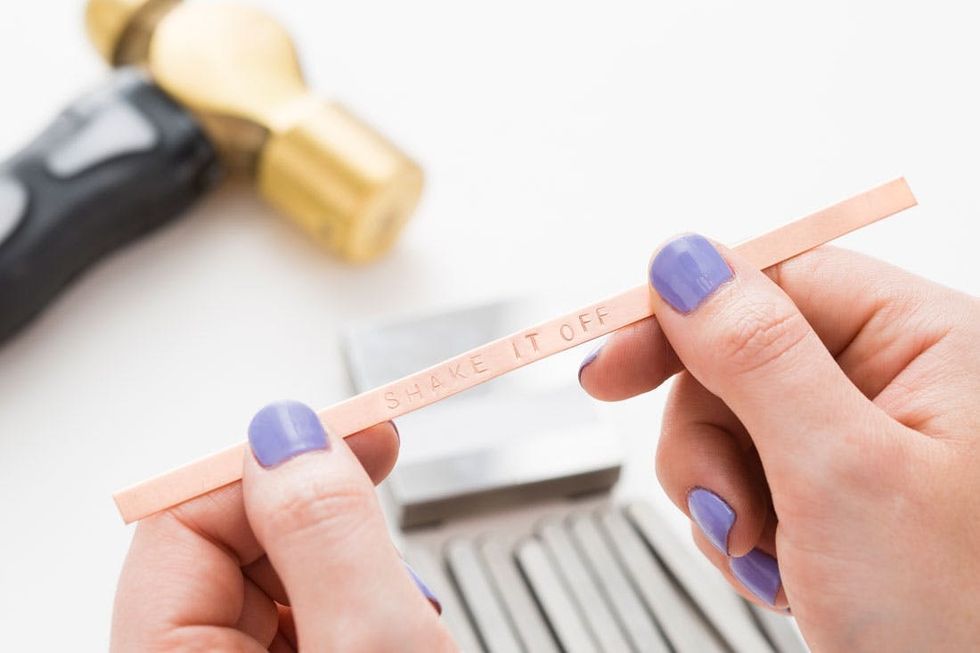
Remove from the stamping block and check out your work! Next up we’ll bend these flat strips into bracelets.
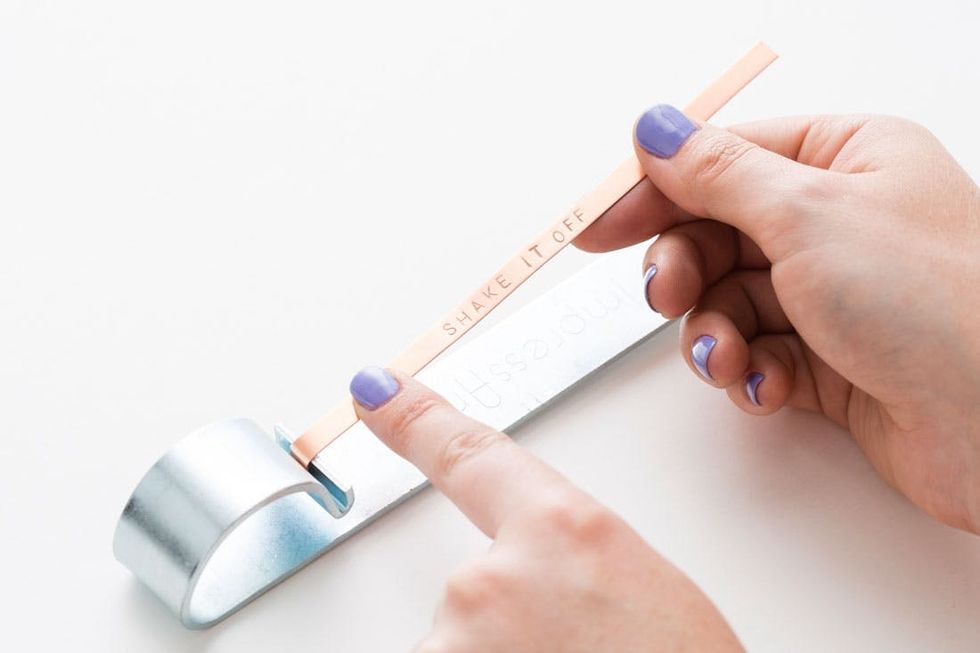
Place one end of the strip into the bending bar crease, and bend forward to create a little tab.
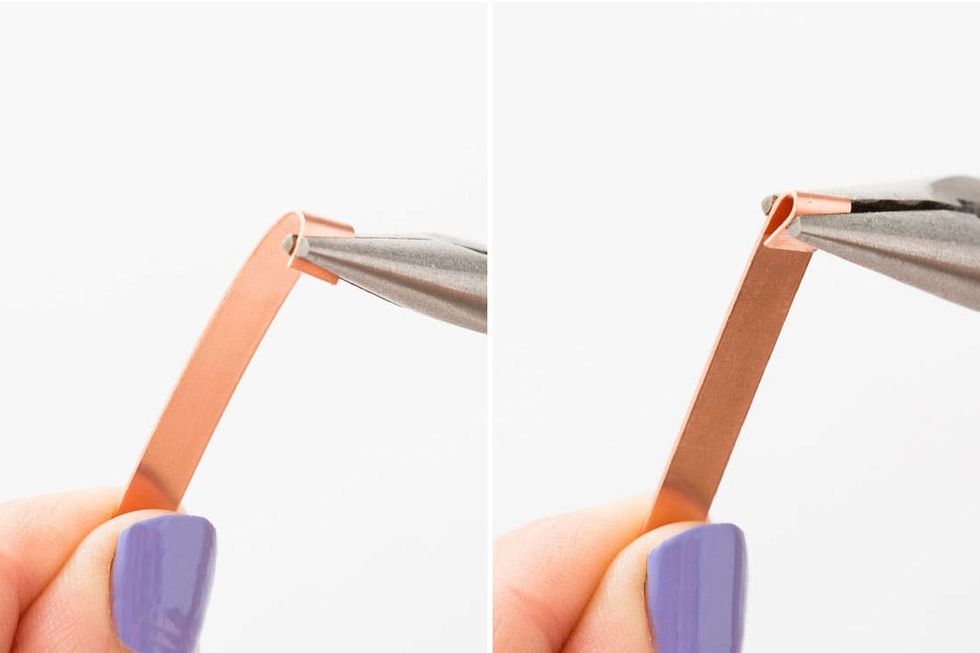
Fold the tab down with your pliers, and clamp down firmly to secure. Repeat this same process on the other end of the strip.
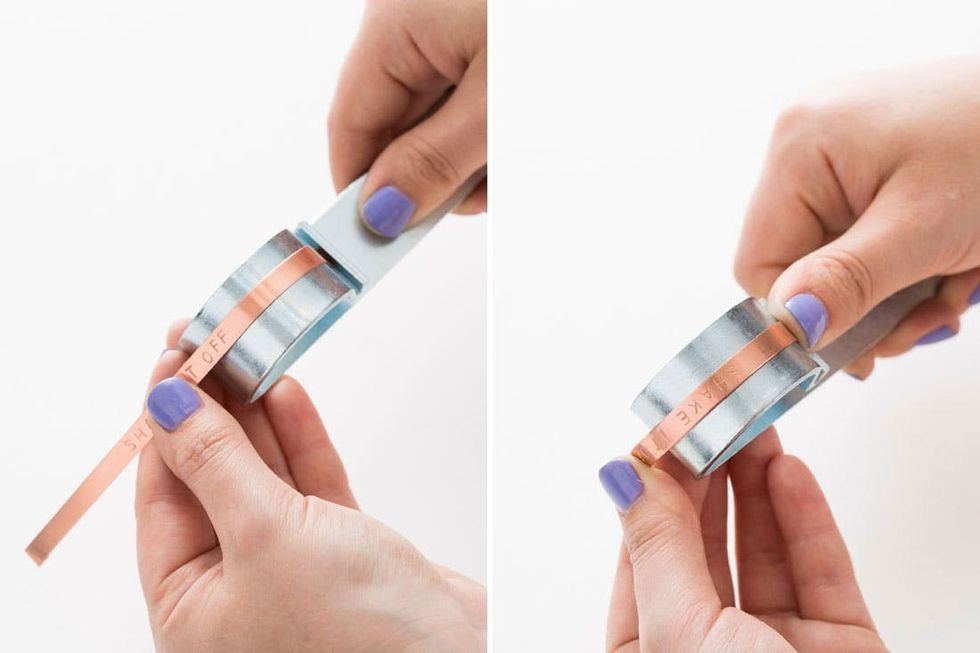
Place one folded end of your metal strip into the crease of the bending bar and curve it over the round end to shape. Then curve the opposite side of your metal strip over so that it forms a round cuff.
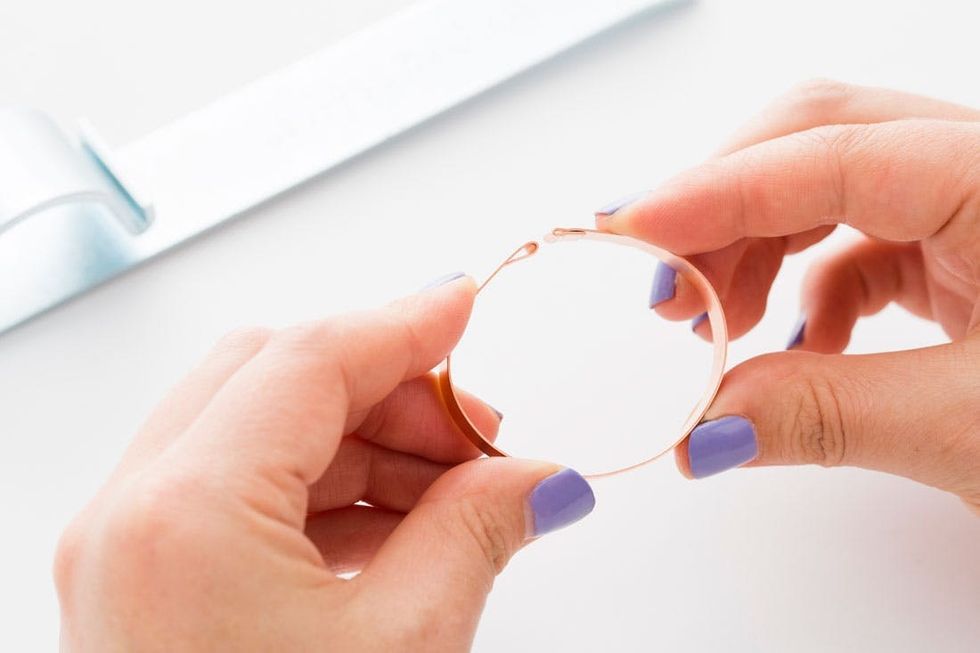
Continue to gently form the bracelet with your hands until it fits your wrist comfortably. You may want to pinch the two sides together, making an oval shape to better fit your wrist.
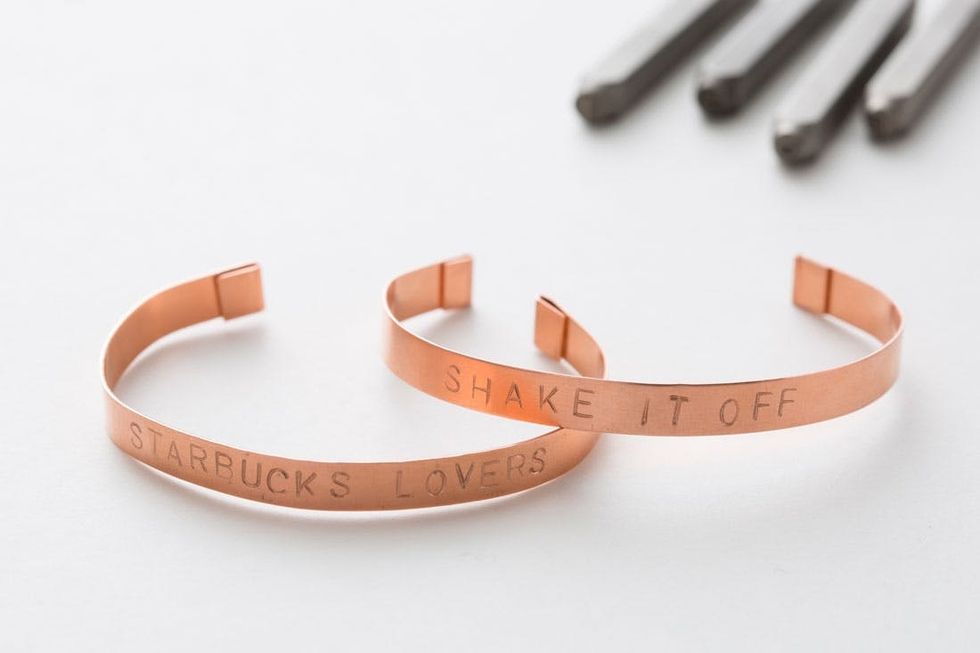
We couldn’t help but stamp our favorite Taylor Swift quotes (and misquotes) onto these thin cuffs.
The process is exactly the same for the 1-inch pieces! The only real difference here is you may need to put a bit more work into clamping down those tabs with your pliers.
Same deal with shaping your bracelet post-bending bar. Exercise those hand muscles, and bend your bracelet into a nice oval.
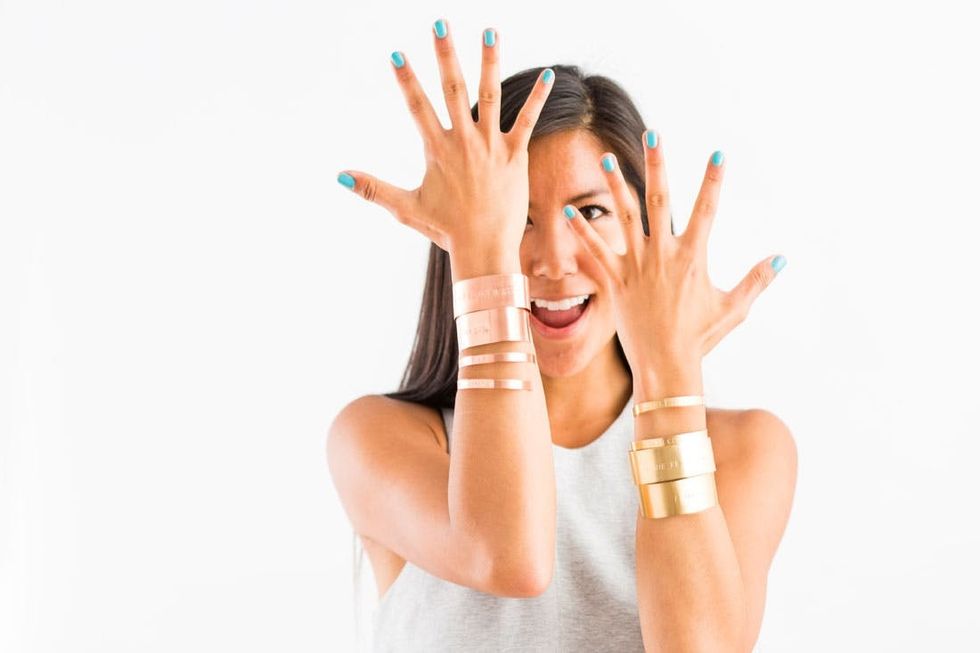
Mean Girls and B Girls inspired these bold brass cuffs.
Delicate jewelry more your style? Get everything you need to make one simple bar pendant in our Gold Bar Necklace Kit (pictured above). The stamping process is exactly the same!
Stamped Gold Bar Necklace
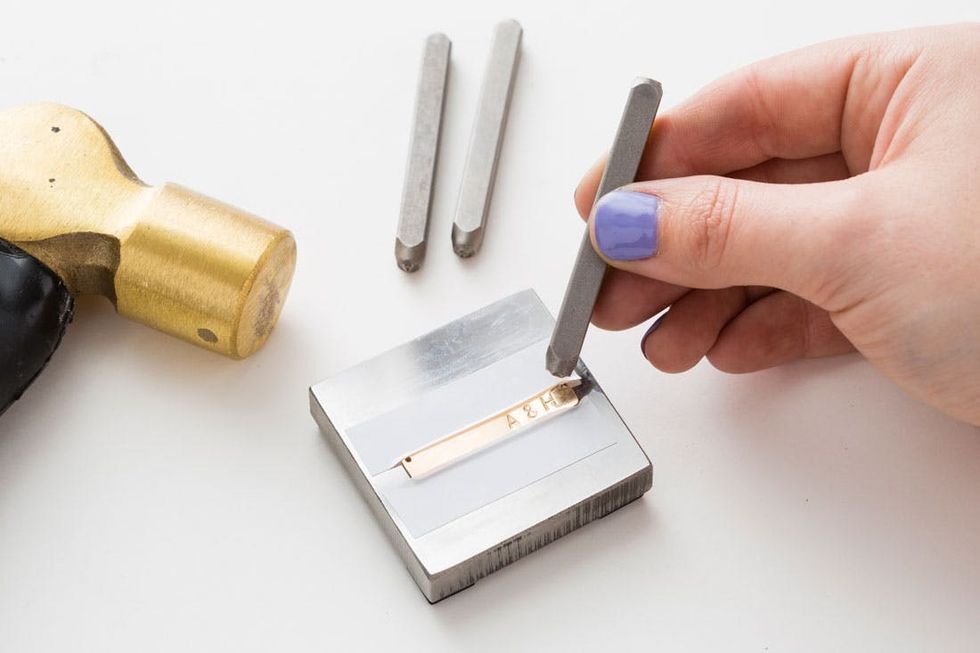
Tape down your gold bar pendant with vinyl tape and stamp away while it’s still unattached from the chain and findings. This slightly softer metal only needs one good tap to indent nicely, so it’s a good idea to practice on the provided 6-inch practice strip first before moving in on the final pendant.
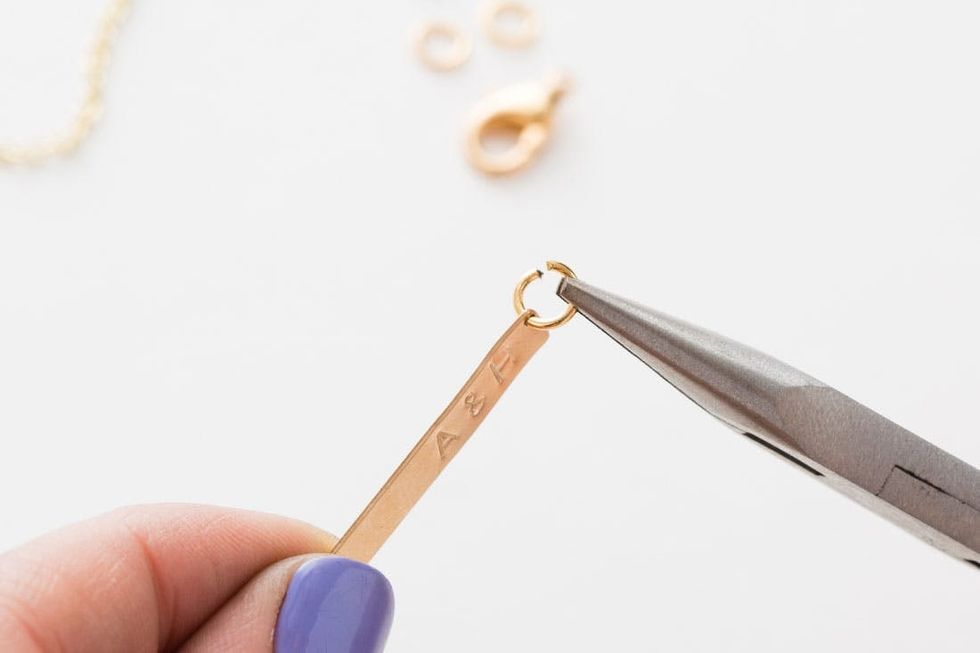
Once you’re done stamping, open up one jump ring with your pliers. Twist the ring open sideways to keep its shape in tact, and then string on your bar pendant.
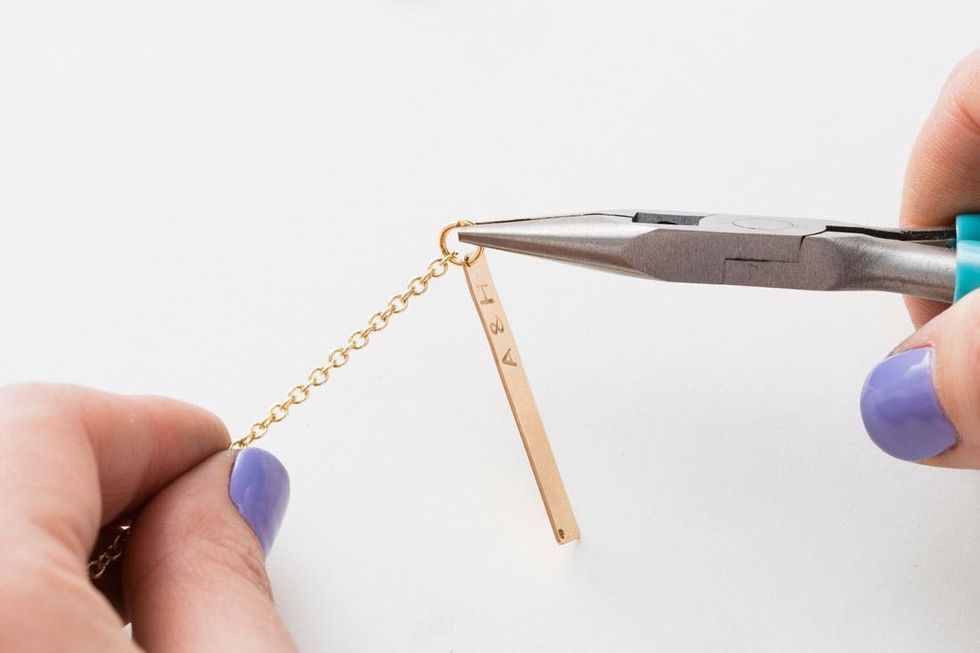
String one end of your chain onto the same open jump ring, and then close it up with your pliers by twisting it back to its original position.
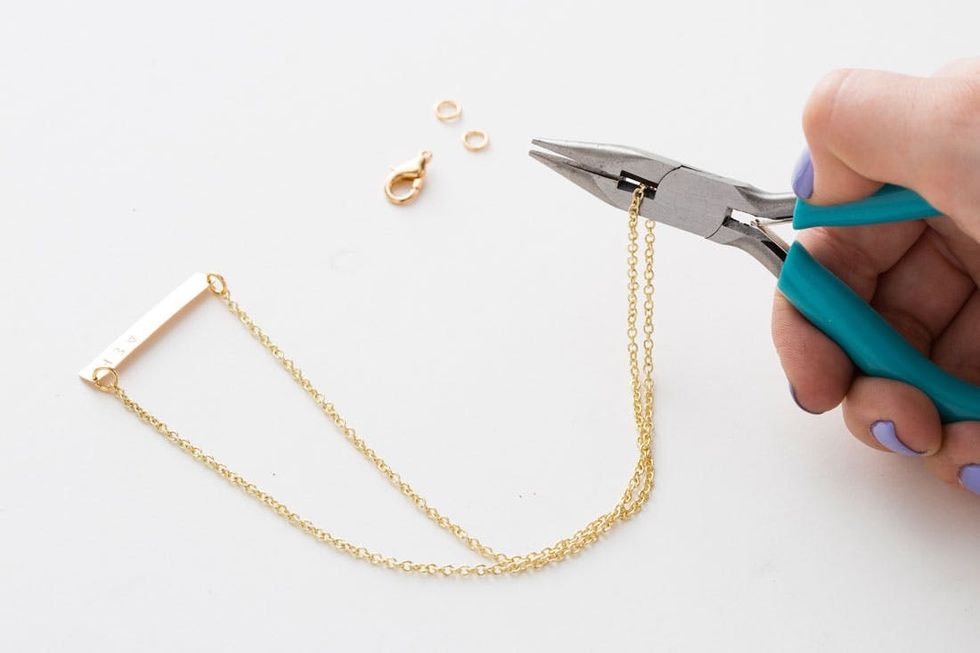
Repeat this jump ring and chain attachment on the other side of the pendant, and then cut the chain in half at the top to add your clasp.

Use the same technique to open your two remaining jump rings. Attach your lobster clasp and a jump ring to one end and one jump ring to the other. Your necklace is complete!

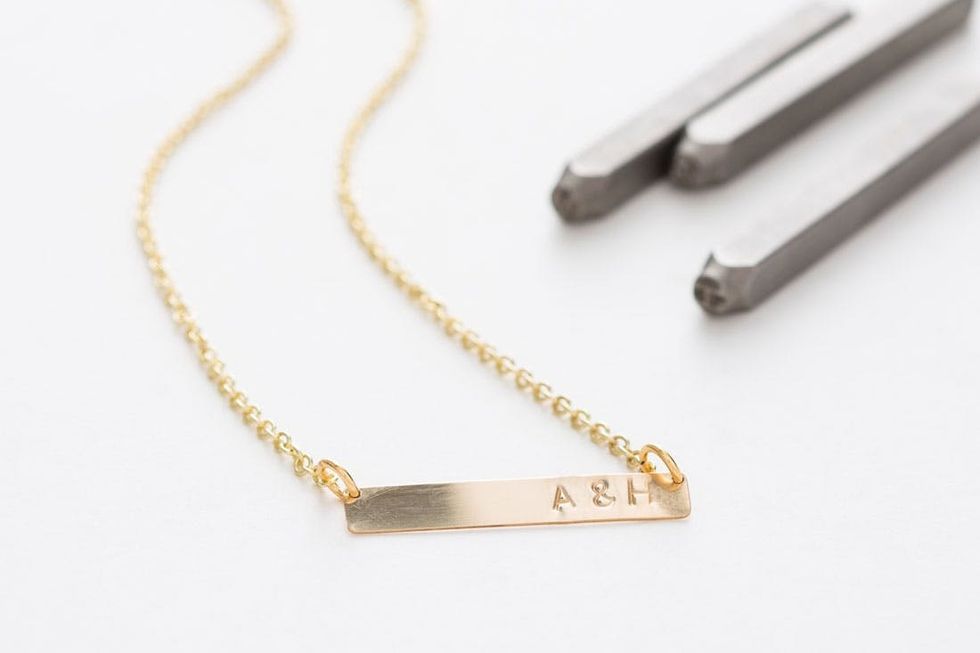
The great thing about these teeny pendants is that it only takes a couple of initials to make it your own.

We’re definitely gifting these to all our friends STAT.
What other metal stamping projects would you use these tools for? Tell us in the comments below.


