It’s basically exercise for your face.
How to DIY a Celeb-Approved Microcurrent Facial

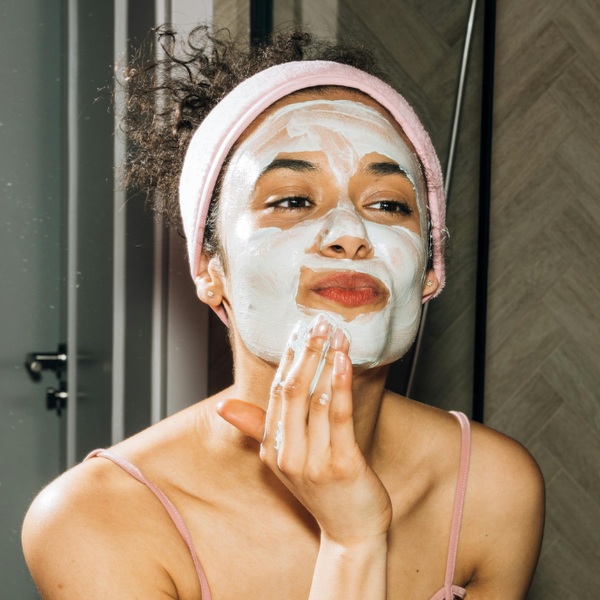
As much as we love topical serums, facial oils, and creams, when it comes to getting your face right and tight in minutes, nothing quite compares to microcurrent devices. The skincare tools emit extremely low-voltage electrical currents to deliver an immediate chiseled, plump finish. “They give an overall lift to the face for a more youthful appearance while contouring the jawline, tightening and toning facial muscles, alleviating puffiness, and erasing fine lines and wrinkles,” says Cecilia Wong, a celebrity esthetician and founder of Cecilia Wong Skincare. It’s no wonder so many celebrities, including Jennifer Lawrence and Amy Schumer, can’t get enough of the plumping, injection-free skincare trend. While nothing tops an in-person treatment from a licensed esthetician, there are ways to DIY your own microcurrent facial for shockingly similar results. Scroll below to find out how. (Photo via Sofia Zhuravets/ Getty)
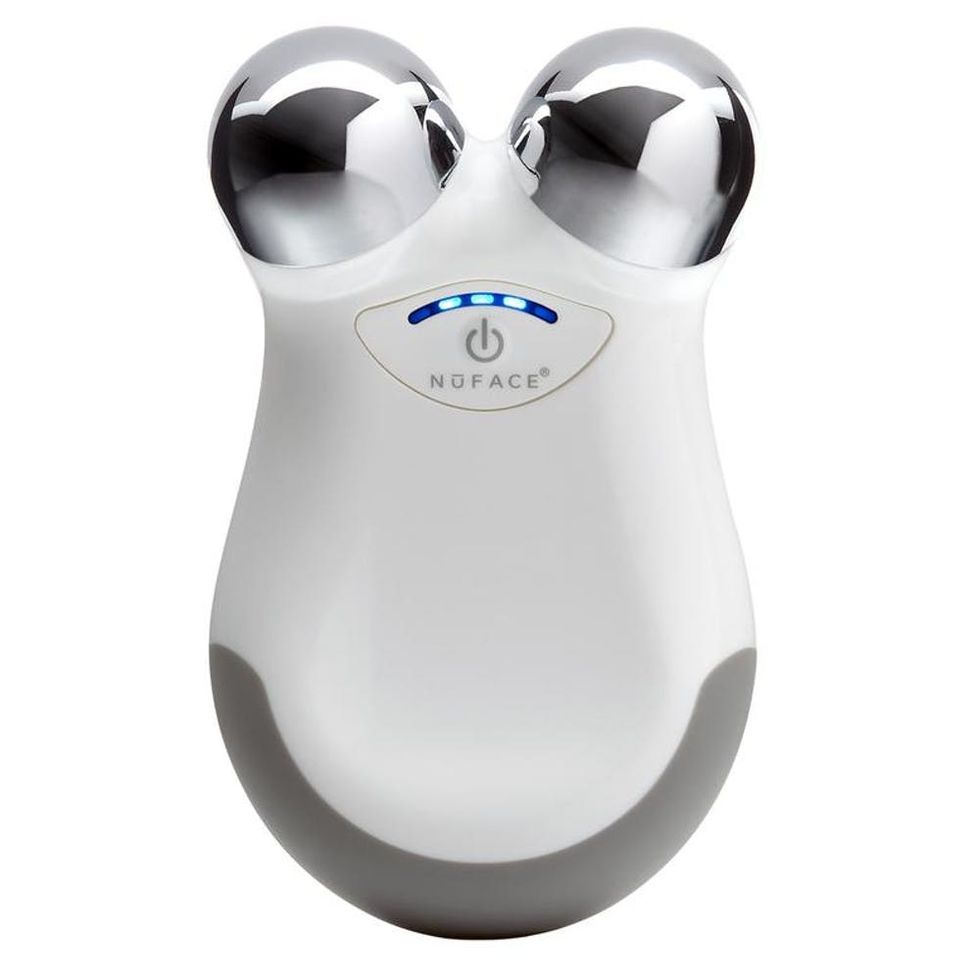
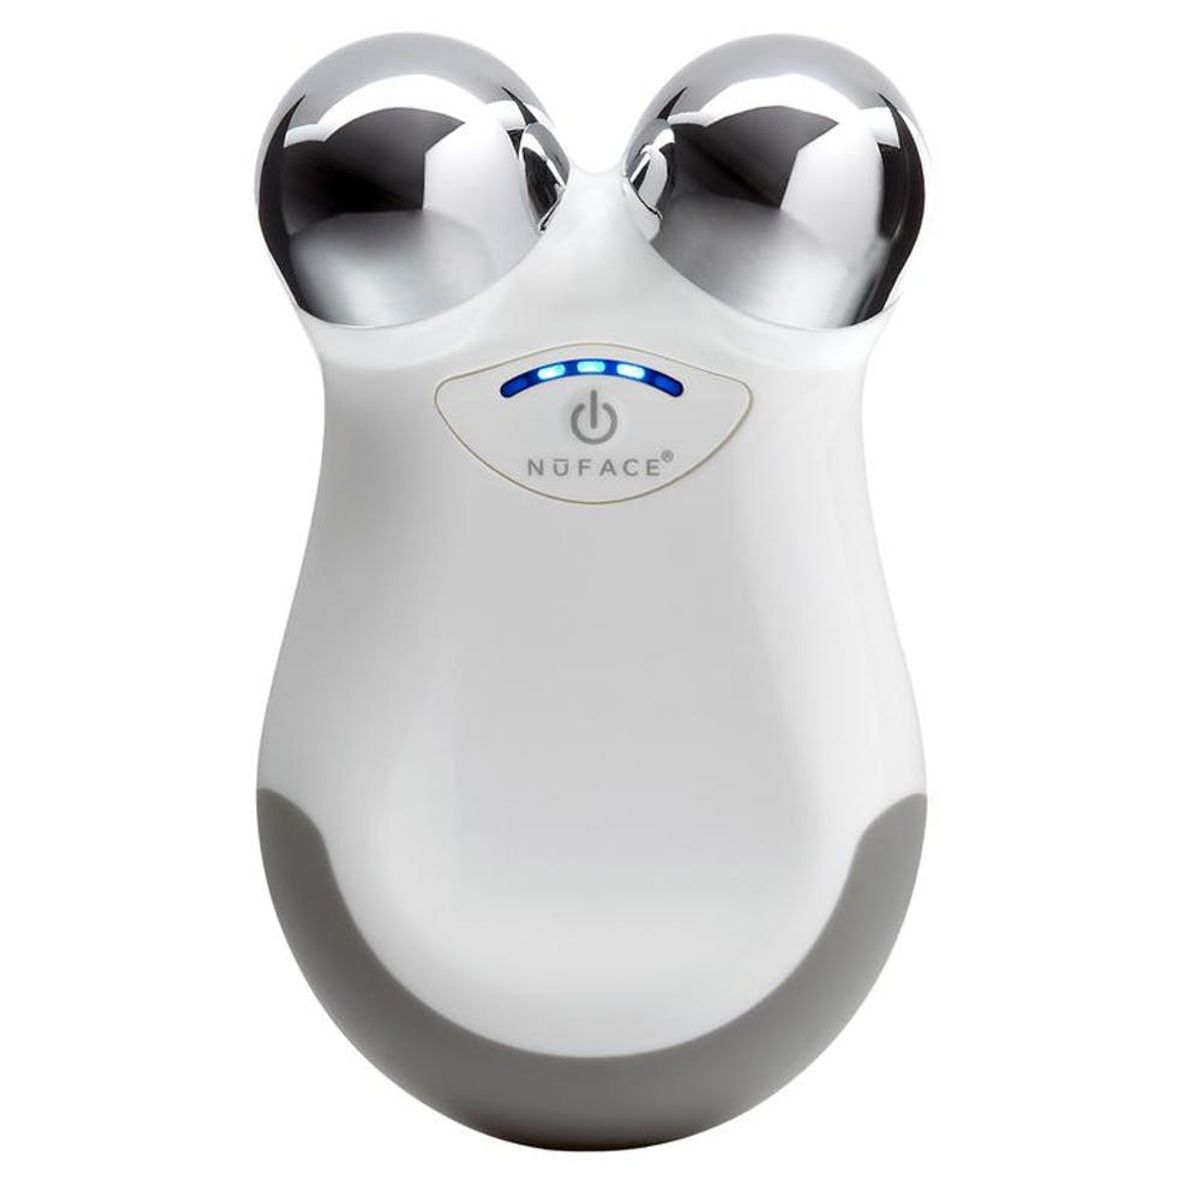
1. Make time for frequent at-home sessions. Celebrity facialist Georgia Louise explains that, as with most skincare solutions (whether products or tools), microcurrent works best when regularly incorporated into your routine. “It’s one of the proven scientific treatments available that guarantees instant results without the use of needles or downtime,” Louise, who works with Michelle Williams, Winnie Harlow, and Karlie Kloss, says. The ideal regimen would include bi-monthly spa appointments to keep your skin looking fresh, but if frequent spa visits aren’t in your budget, try an at-home device. Since personal microcurrent tools are slightly weaker than professional ones, use the device every other day for five minutes to maintain results. Brit + Co Pick: NuFace Mini Facial Toning Device ($199)
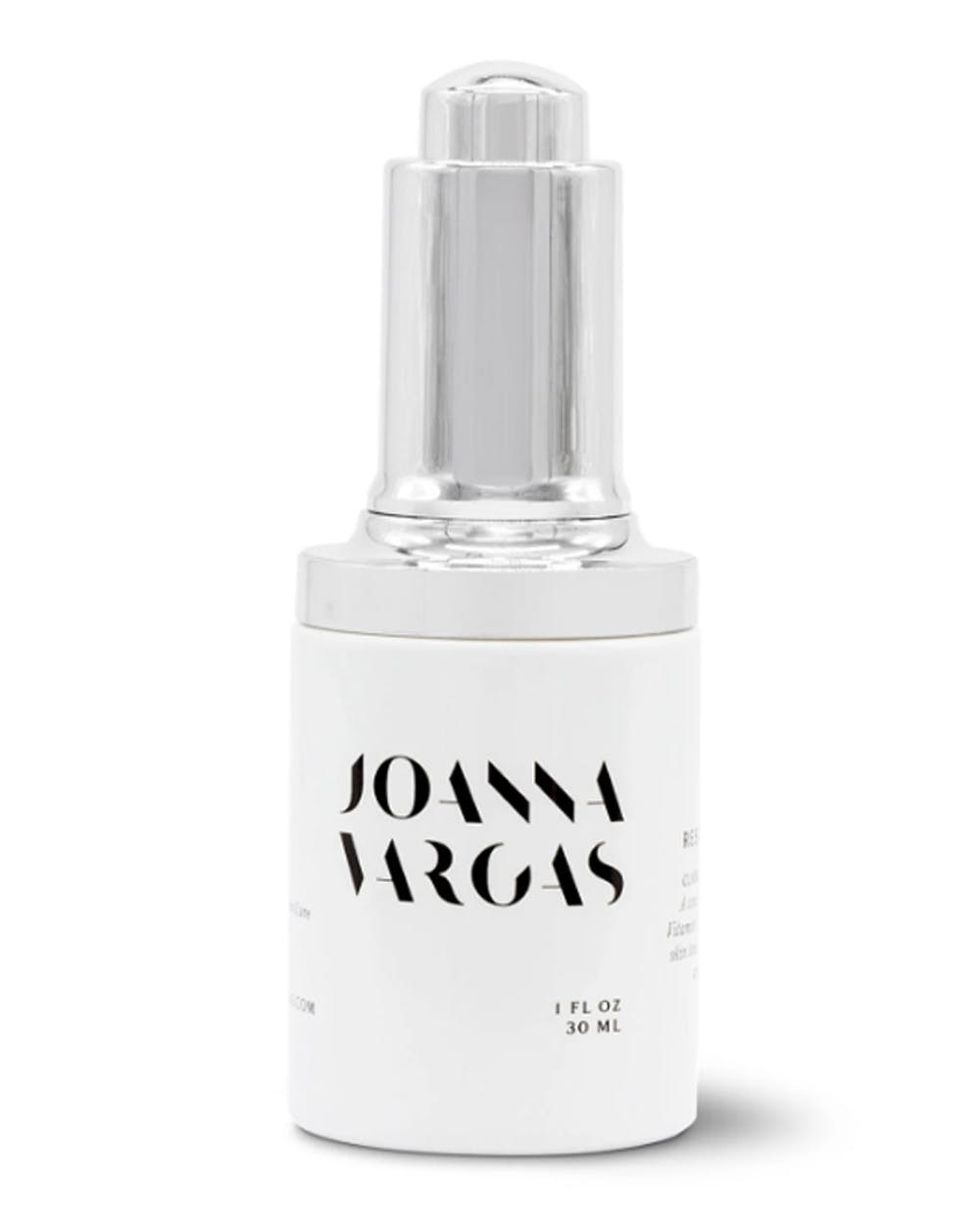
2. Prep your skin properly. Before starting your at-home facial, cleanse, tone, and apply a serum. “For the best results, use a serum that contains nutrient-rich antioxidants,” Wong says. This will help reduce inflammation and protect skin against harmful free radicals before, during, and after treatment. Brit + Co Pick: Joanna Vargas Rescue Serum ($150)
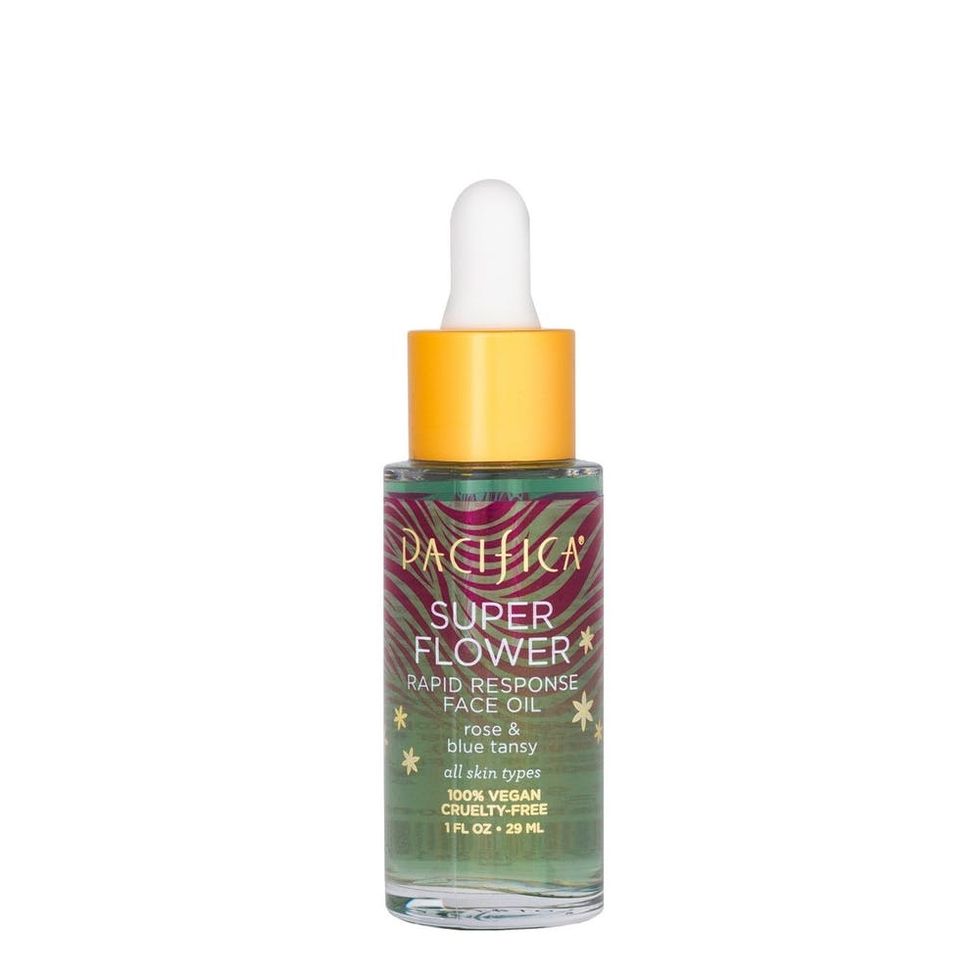
3. Swap conductive gel for facial oil during treatment. Some devices come with their own topical product for use during the microcurrent sesh. However, do not feel obligated to use it, especially if you have a reactive complexion. “Most microcurrent devices will instruct you to apply a conducting gel, which works great, but using an antioxidant-rich facial oil is a better option,” Wong says, explaining that it will help better hydrate and nourish skin during the process. Brit + Co Pick: Pacifica Super Flower Rapid Response Face Oil ($13)
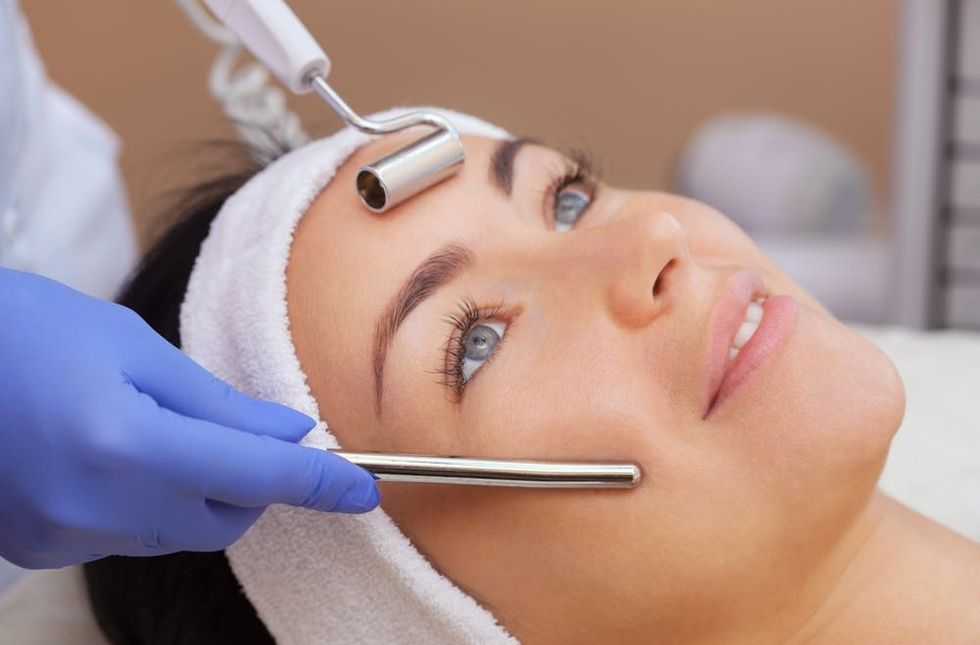
4. Start at the bottom and work your way up. “The best place to begin treatment is on the jawline,” Wong says. “Begin by sweeping the tool toward the ear and leave the device on this area for a few seconds.” Continue the process across your entire face in slow, upward strokes to accomplish the lifted effect you crave. (Photo via dimid_86/Getty)
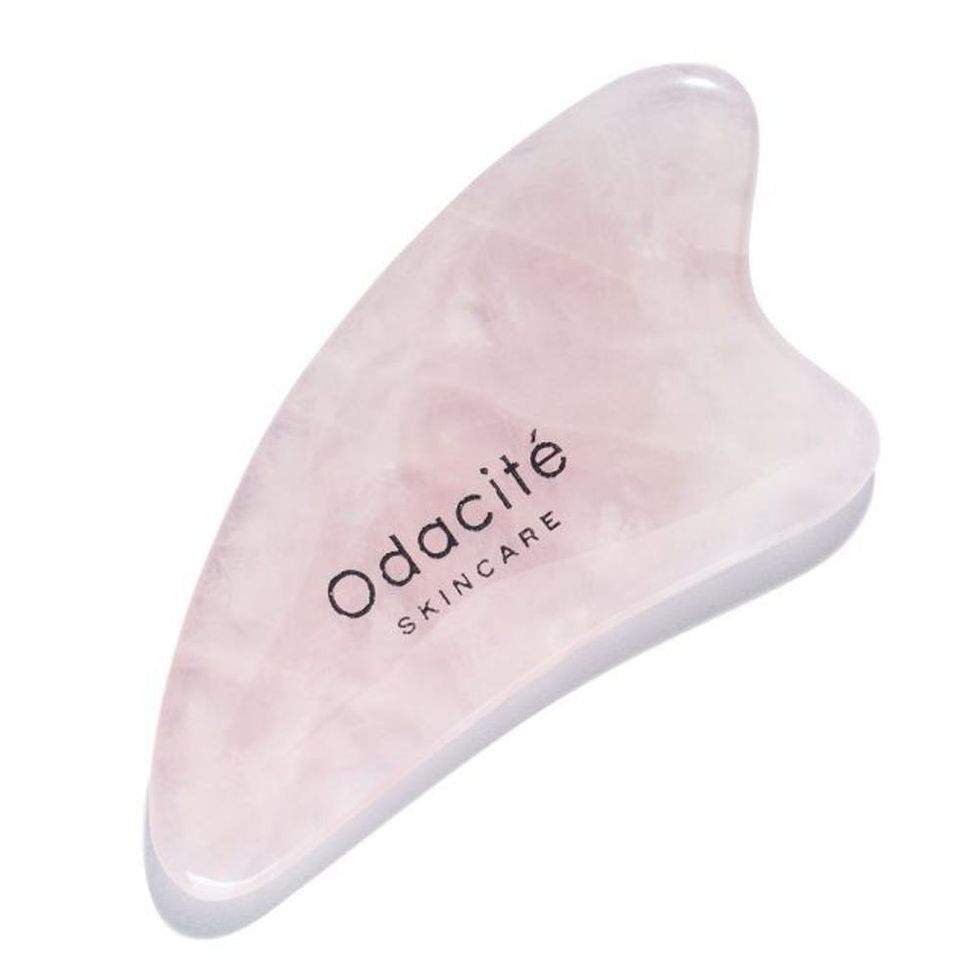
5. Follow up with a facial massage. Microcurrent results are especially noticeable when the modern skincare method is paired with a facial massage. According to both Wong, kneading your facial muscles post-treatment can maximize and prolong results. “In between sessions, spend a few minutes every day giving yourself a gua sha massage,” Wong says. Brit + Co Pick: Odacité Skincare Crystal Contour Gua Sha ($38)
Have you tried a microcurrent facial? Tell us on Pinterest!
Brit + Co. may at times use affiliate links to promote products sold by others, but always offers genuine editorial recommendations.


