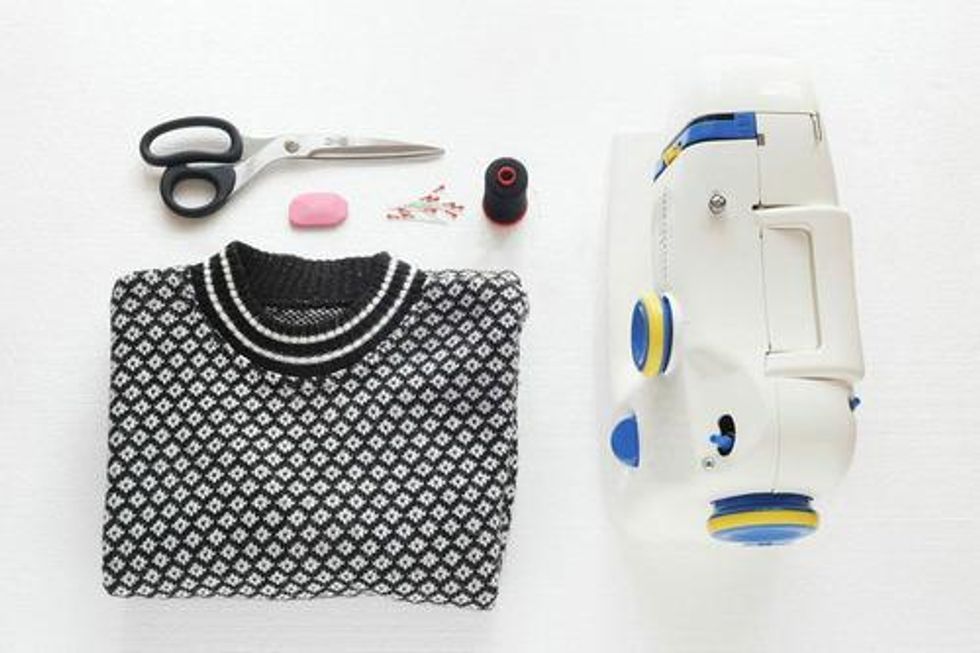
Get digging in your closets for that old jumper, now!
8 Nights of DIYs: Turn an Old Sweater into Cozy Mittens

There’s no better way to start a winter day than to grab a coffee downtown with your bestie, ogle the department store windows and frolic through the snow (or leaves!) until it’s time for hot chocolate, round two. That is, unless you do it all wearing brand new cozy mittens. The warm and comfy pair is a must-have this time of year and actually one of the easiest winter accessories to make from scratch, both in terms of sewing skills (we’re talking 101 levels here) and fabric sourcing. For the latter, just turn to the section of your closet where you stash your sentimental sweaters (yeah, the ones with holes in ’em). We’re giving your well-loved knits new life in this tutorial that shows you how to transform your sweater sleeves into mittens in less than 15 minutes. Get digging in your closets for that old jumper, now!

Materials:
- an old sweater (ones with ribbed cuffs work best)
- matching thread
Tools:
- sewing machine
- fabric scissors
- pins
- tailor's chalk
1. Take your old sweater and cut off the sleeves following the hem line.
2. Separate the sleeves and lay them flat. Place your hand on the sleeve so that your wrist hits the cuff, then use tailor's chalk to trace the outline of your hand. Leave an extra inch to account for the seam. Remember, if you want the outside of the sweater to be the side that shows, you need to turn the sweater sleeve inside-out.
3. Repeat the same process on the other sleeve for your other hand.
4. Pin your hem and cut out your mitten.
5. Use your sewing machine to sew along the outline of the mitten. Choose a medium to small stitch and go slowly as you sew your line. Remember not to sew the wrist hole closed.
6. Turn it right-side out, then repeat with the other mitten.

Once you’ve snipped off your sweater your sleeves (that might be the hardest part!), lay the sleeves down flat and set your hand down on it so that your wrist hits the cuff of the sweater. Trace an exaggerated outline of your hand using tailor’s chalk, then pin your hem and cut out your mitten. Now, slowly sew your mitten using a medium to small stitch — remember not to sew the wrist hole closed! Then flip your mitten right-side out and repeat those steps for your other hand. And just like that, you have it — a brand new pair of mittens. Say goodbye to those freezing phalanges.
In fact, they’re so easy (and so cute), you should probably make a second pair for your bestie. You don’t want to leave her out in the cold on your next escapade.

‘Cause obviously, two mittens are better than one ;)
Now that you’ve mastered the technique, you can make this budget-friendly gift for practically all your friends, both those you see IRL and catch up with online. They’ll heart that when when the first snow comes, they’ll be ready to snowball fight in style.
What are your favorite winter accessories? Have you already DIY-ed warm pieces this season? Tell us in the comments below.


