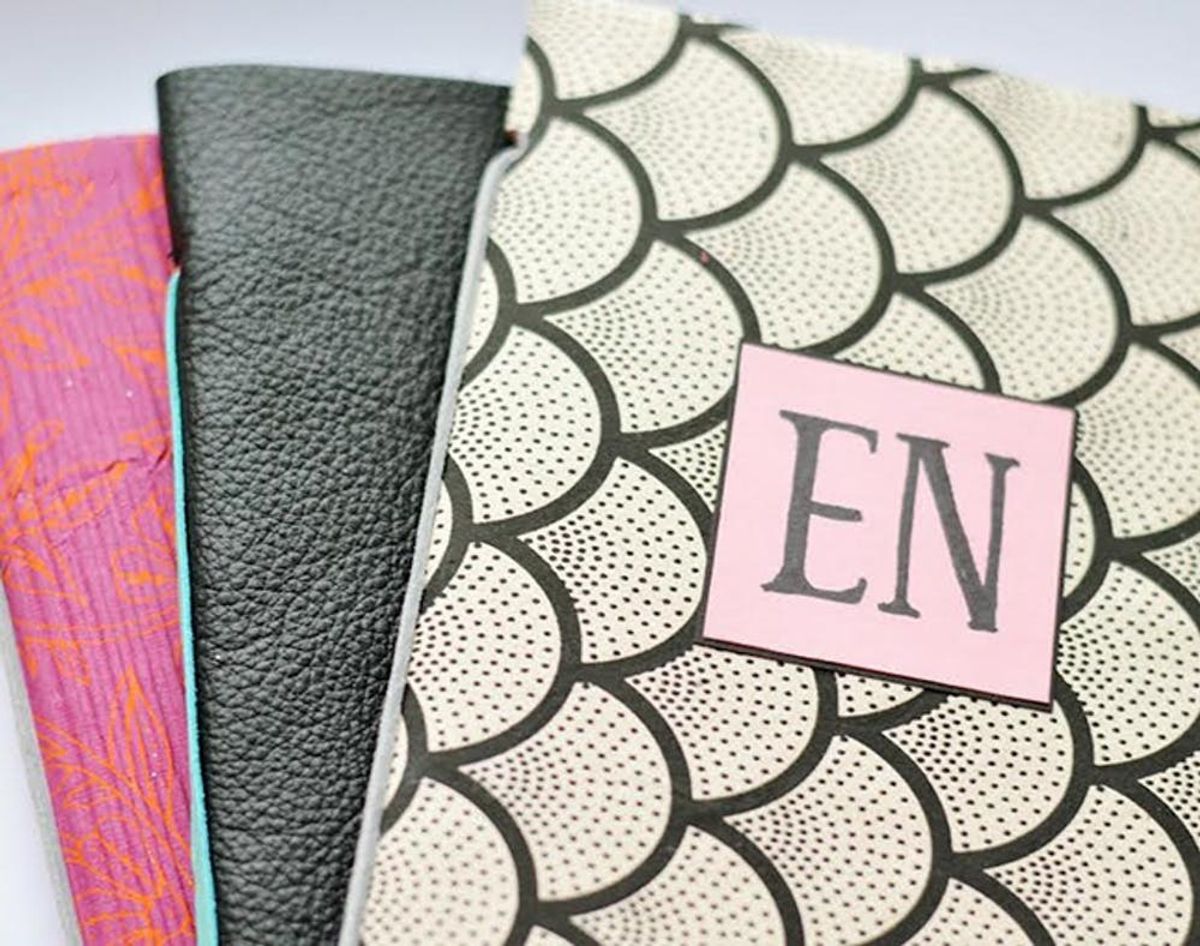
Because sometimes a store bought notebook just won’t do.
Scribble Down Your Resolutions in These DIY Notebooks

It’s always a good idea to have a few notebooks lying around. You never know when you’ll need to jot down an idea the old fashioned way. Handy? Yes. But we like to scribble, doodle and sketch in notebooks that are pretty enough to keep our creative juices flowing. So we’re making custom notebooks that are primed for being brainstorming cheerleaders. By choosing every element of the notebook, from the type of paper inside to the fabric of the cover to adding your initials front and center, we’re hoping you create a connection with your take-anywhere pad and really *do* take it with you wherever you roam.
Materials:
– paper for the inside pages
– material for the cover (think: cardstock, faux leather, fabric, denim, or something thicker than the paper)
– leather cord or twine
Tools:
– hole punch (even better if you have a heavy duty hole punch)
– scissors
– glue
– pencil
1. Lay your paper on top of your cover material and trace around it. Remove the paper to cut around this outline.
2. Place the paper back on your cover and fold all of the material in half.
3. Punch two holes along the spine of your notebook.
4. String leather cord or twine through the holes and tie it in the middle of the notebook to secure your pages together.
5. Customize your notebook by adding your initials. Experiment with different fonts, techniques and embellishments to create the monogram.
First, lay your paper of choice on top of your cover material of choice and trace around it to create your cover template. This is a great opportunity to raid your DIY supplies and use up that massive piece of cardstock with printer paper, or finally use those faux leather squares for a mini notebook with grid paper trimmed to fit inside. Just make sure your cover material is slightly bigger than your paper. Once you’ve cut your cover, add the paper back into the center and fold it in half. Then punch two holes along the spine of your notebook to create a place for you to string your binding. Tie that off in the middle of the pages and you’ve just made a notebook from scratch! Can you believe you were buying them all of these years?
And now for the fun part! Putting your official mark on these covers. Feel free to customize your notebook cover however you’d like: maybe carve your initials into a leather cover or create your very own triple-letter monogram to glue on top, ’cause you fancy, huh? If you’re gifting this beauty, add a sweet note in the front cover for the lucky recipient. Or crack one open and start sorting out your New Year’s resolutions. May we suggest journaling more often?
Have you guys ever experimented with notebook making or book binding before? Show us your creations by sending us a pic on Twitter or in the comments below.


