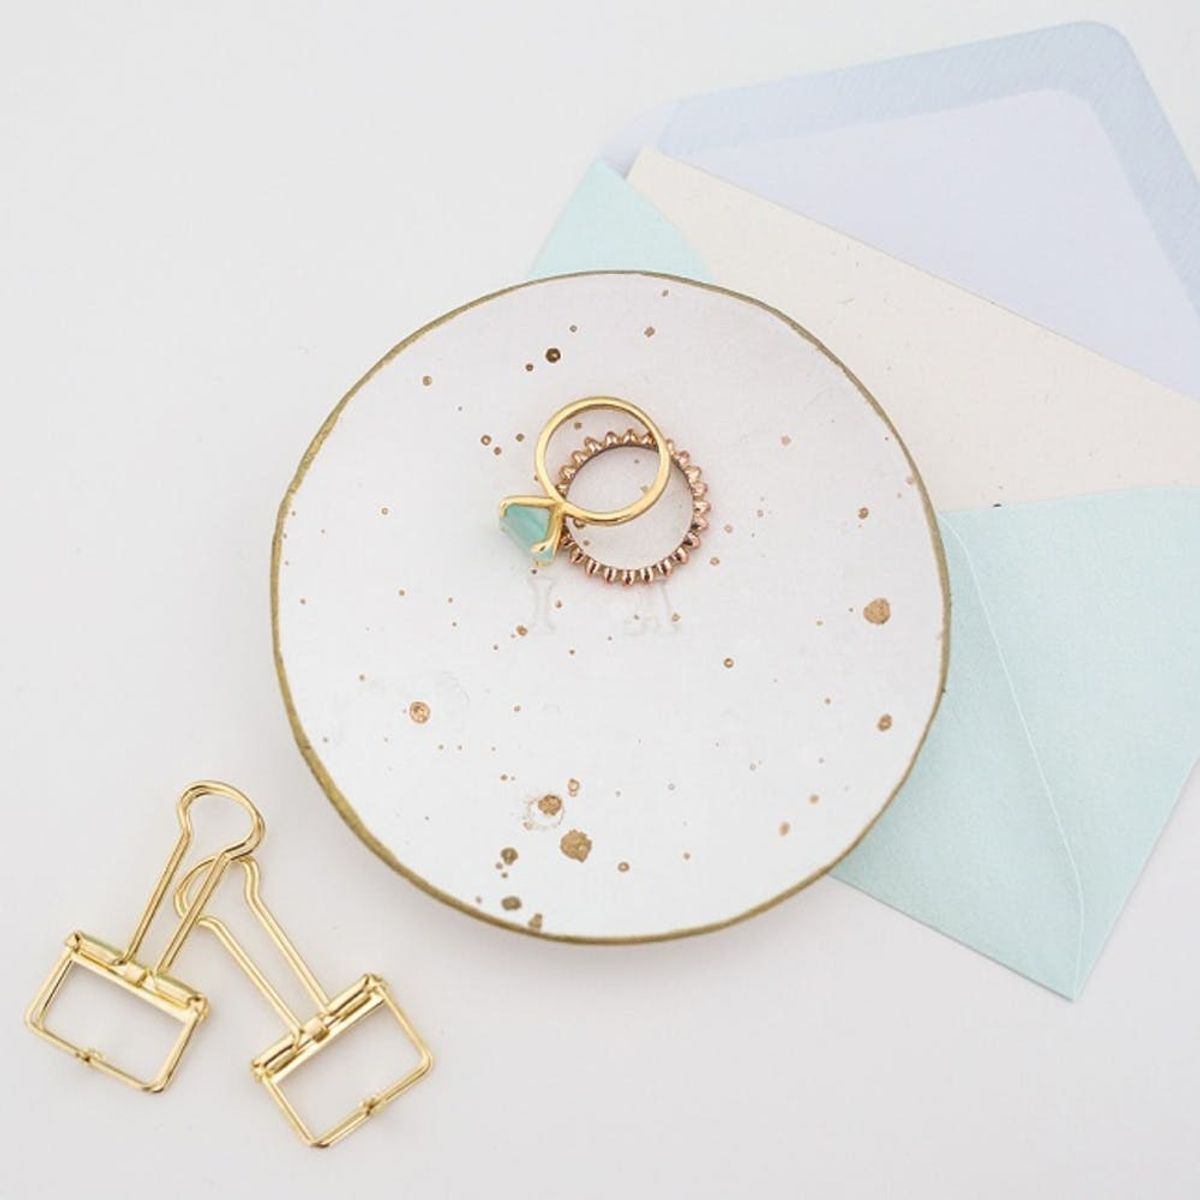
Then use it to organize your rings post-wedding.
DIY a Monogrammed Ring Dish to Add a Personal Touch to Your Wedding

Some couples are choosing to use wooden ring boxes or vintage dishes to transport their rings down the aisle rather than using a traditional ring pillow. So today, we’re going to teach you to make a monogrammed ring dish that’s perfect for your precious wedding rings. Even if you’re not planning to use one during your ceremony, this ring dish is an adorable place to store your rings at home. It’s easy to make, doesn’t require lots of fancy tools and isn’t an overly time-consuming project. Plus, the result is stunning.
Want to make one of these for your perfectly dressed ring bearer to take down the aisle? Here’s how:
Materials and Tools:
— parchment paper
— gold acrylic
— X-ACTO knife or box cutter
— old paintbrush
— letter stamps
— rolling pin
— bowl
— smaller bowl to trace around
Instructions:
1. Protect your surface by covering it with a piece of parchment paper, and roll the clay between your hands until it’s soft and malleable.
2. Using your rolling pin, roll out the clay to a 1/2-inch thick layer.
3. Use a round item as a template, and cut out a circle with an X-ACTO knife or box cutter.
4. Position your letter stamps where you want to add the monogram, and press them down.
5. Gently place your circle into a smaller bowl to give it more of a dish shape.
6. Once the clay is completely dry, use a small brush to add some random splatters.
7. Paint the rim of the dish, and allow the paint to dry.
First, be sure to protect your workspace with a piece of parchment paper. Then, warm the clay with your hands. When it’s soft and malleable, roll it to create a 1/2-inch thick layer. Next, use a round item (like a bowl, can or jar) as a template, and cut out a circle. Position your letter stamps where you prefer, and press them down to create the monogram. Gently place your circle into a bowl to give it more of a dish shape. Be sure that the bowl you’re using now is a bit bigger than the circular item you used before.
Once the clay is completely dry, take a small brush and splatter paint your dish. Dip your brush into the paint and go for it! You can flick the brush, tap the brush or do whatever you please to get the paint on the ring dish. This is not a precise process. Once you’re satisfied with the final result, let the paint dry, then paint the rim of the dish.
Let the gilded edges dry, and admire your beautifully DIYed piece!
Are you going to say “yes” this year?Follow us on Pinterest for more beautiful wedding inspo.


