She’s gonna love it.
Personalize a Thoughtful Tote for Mom in Under 30 Minutes
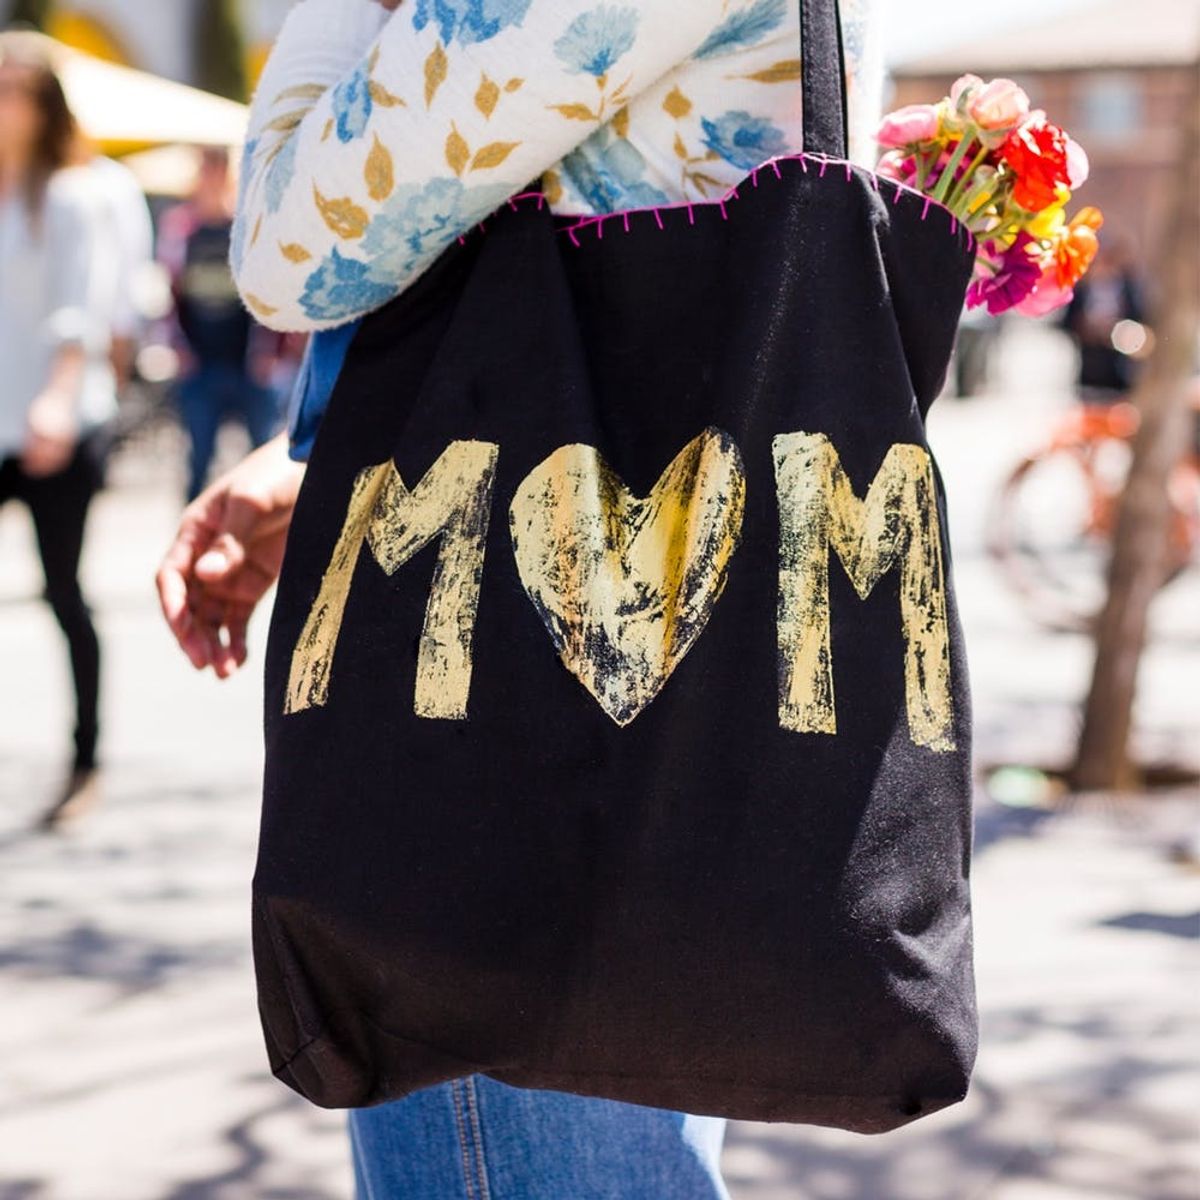
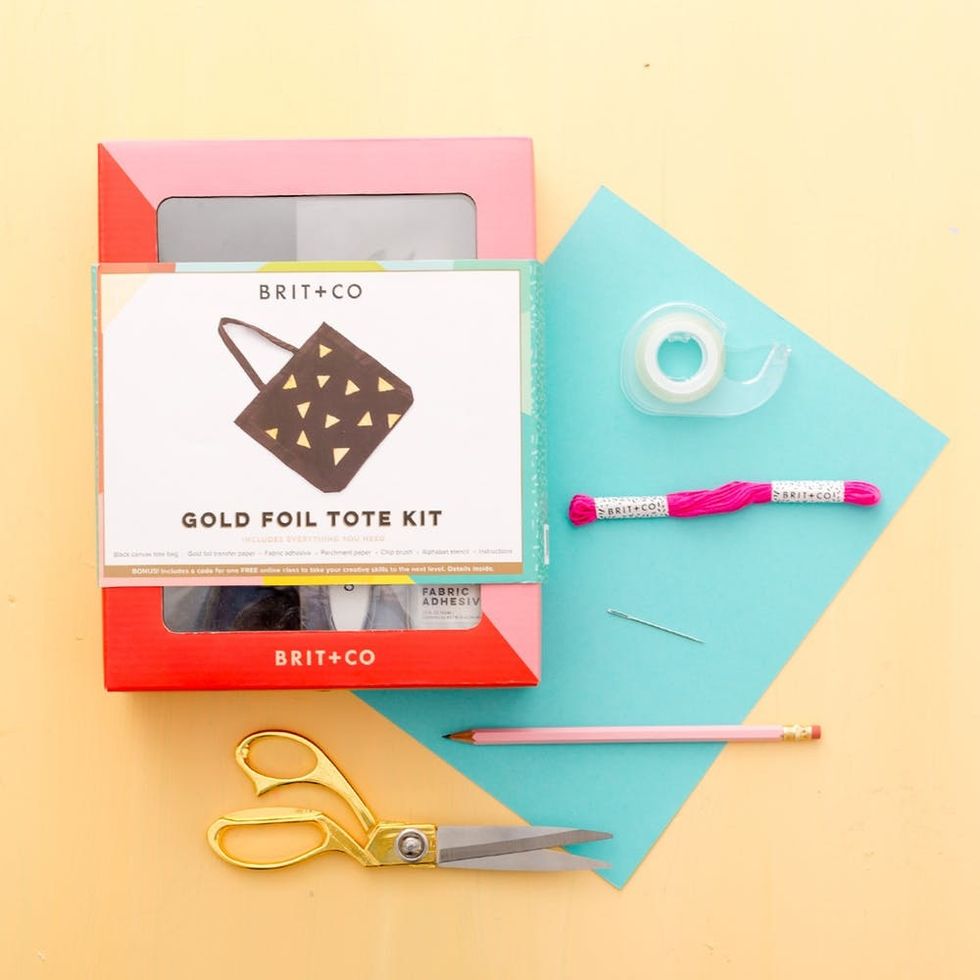
Mother’s Day is rapidly approaching! This year, why not mix it up and make something special to show your mom how much you appreciate her? With the hustle and bustle of everyday life, it can be difficult to muster the motivation to create. I feel you! That’s why I’m a BIG fan of our new Brit + Co DIY Kits (available exclusively at Target). These kits are the real deal. Seriously! They’re easy, accessible, and even have super cute B+C-branded tools. So, for this Mother’s Day grab a Gold Foil Tote Kit and make a custom bag for the number one woman in your life. Read on for some tips, tricks, and easy embellishments to have this gift done in no time.
Materials + Tools:
● Brit + Co® Gold Foil Tote Kit
● double stick tape
● embroidery floss
● embroidery needle
● pencil
● scissors
● cardstock
● iron (not pictured)
Instructions:
1. Create a stencil by drawing out your design onto the cardstock paper.
2. Cut out your design and tape onto your tote.
3. Spread the fabric adhesive onto your tote, using the stencil as a guide.
4. Place the gold foil transfer paper (gold side up) on top of the adhesive glue, cover with the parchment paper and iron on a low setting.
5. Once the paper cools, slowly remove the gold foil transfer paper.
6. Use the embroidery thread to whip stitch or blanket stitch the top of your tote for some added color and you’re done.
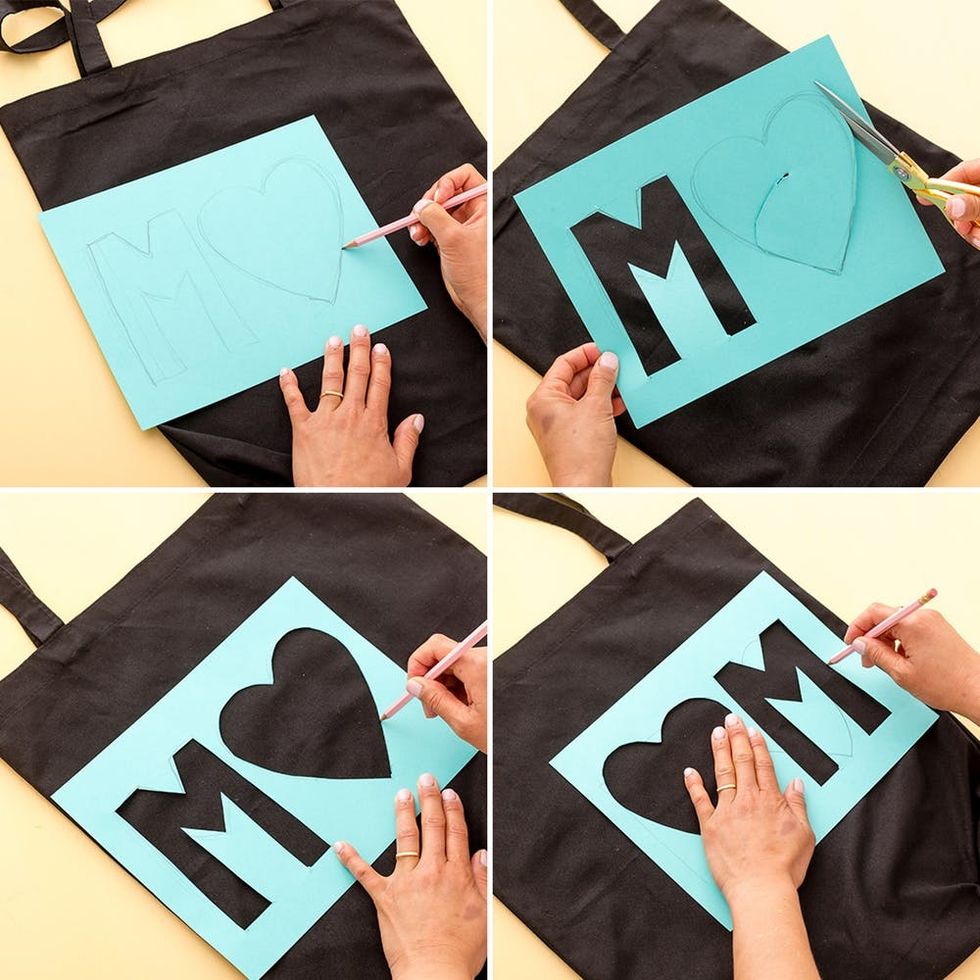
Create your own stencil with cardstock and trace it onto your tote. I made an M-heart-M stencil. Since the tote is bigger than the paper AND mom is a palindrome, you only have to make the M and the heart, then flip it.
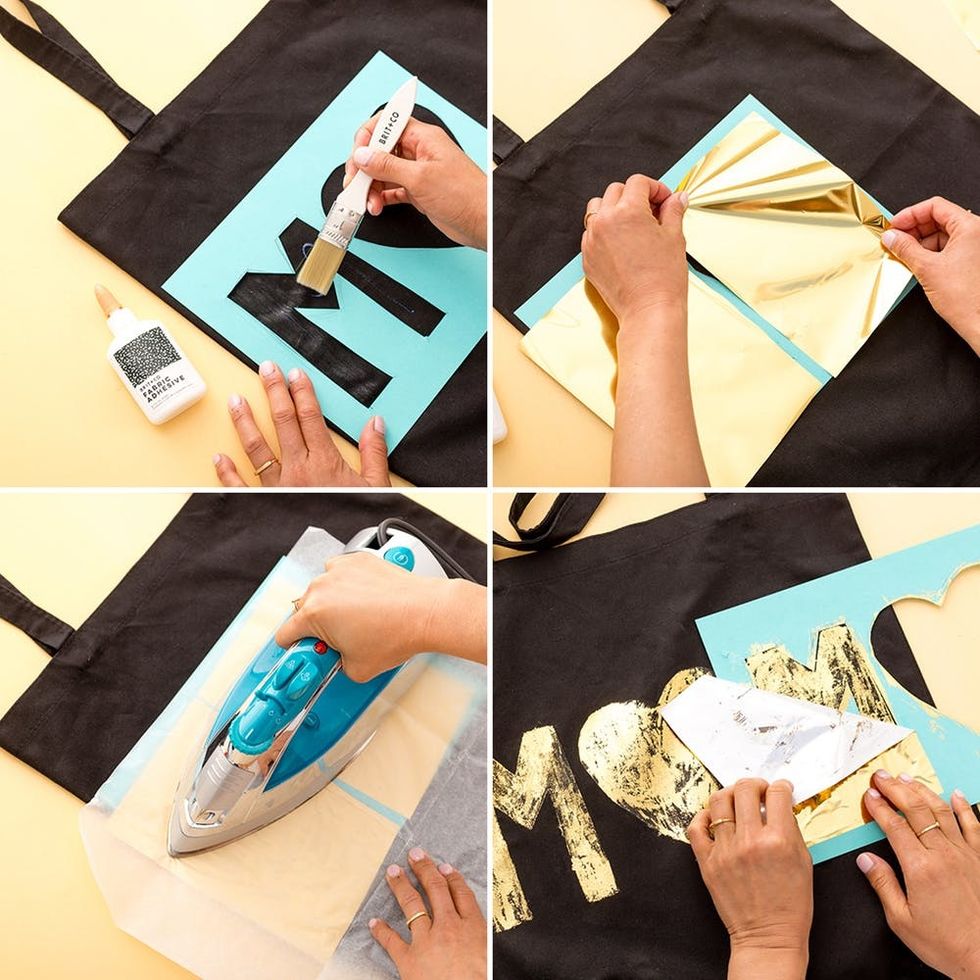
Tape down your stencil with the double stick tape and gold foil away. I like to put the glue directly onto the tote and then spread from there. I feel like I have more control staying within the stencil. But find what method works best for you! Once the glue is a bit tacky (we like to wait about 10 to 15 seconds) place the gold foil transfer paper down. Make sure the gold side is facing up (I have definitely made the rookie mistake of place the gold-side down). Use an iron to transfer the gold onto the tote. Give it a second to cool and then remove the transfer paper.
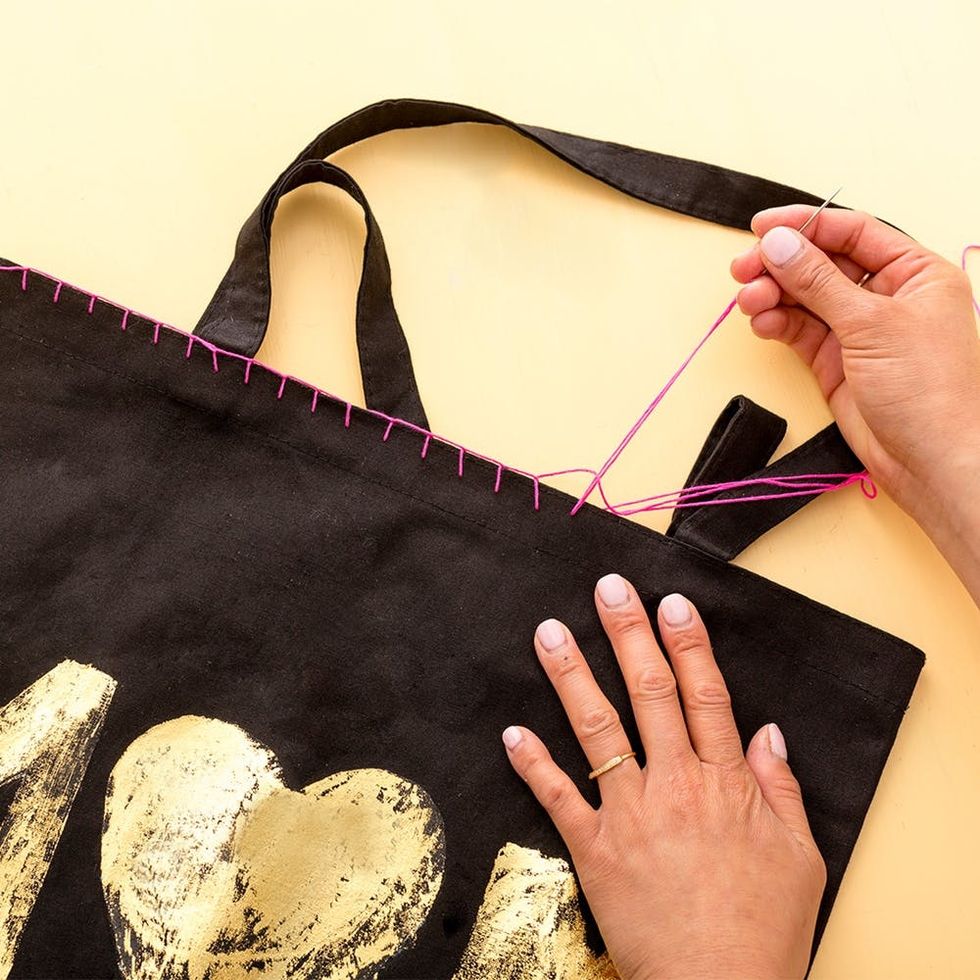
I added a blanket stitch to the top or you can even do a quick whipstitch to add a nice color pop. I used the embroidery floss and needle from the Embroider a Leather Cuff Kit. It’s a great way to repurpose the materials from other kits!
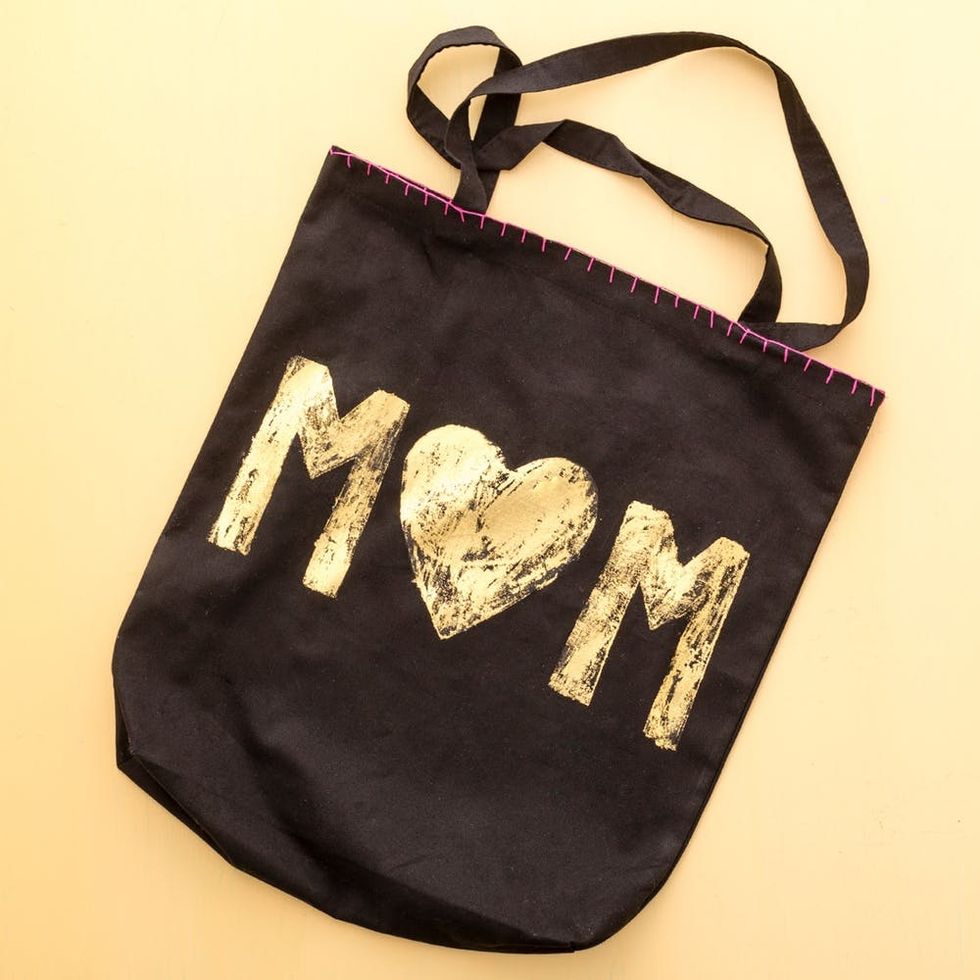
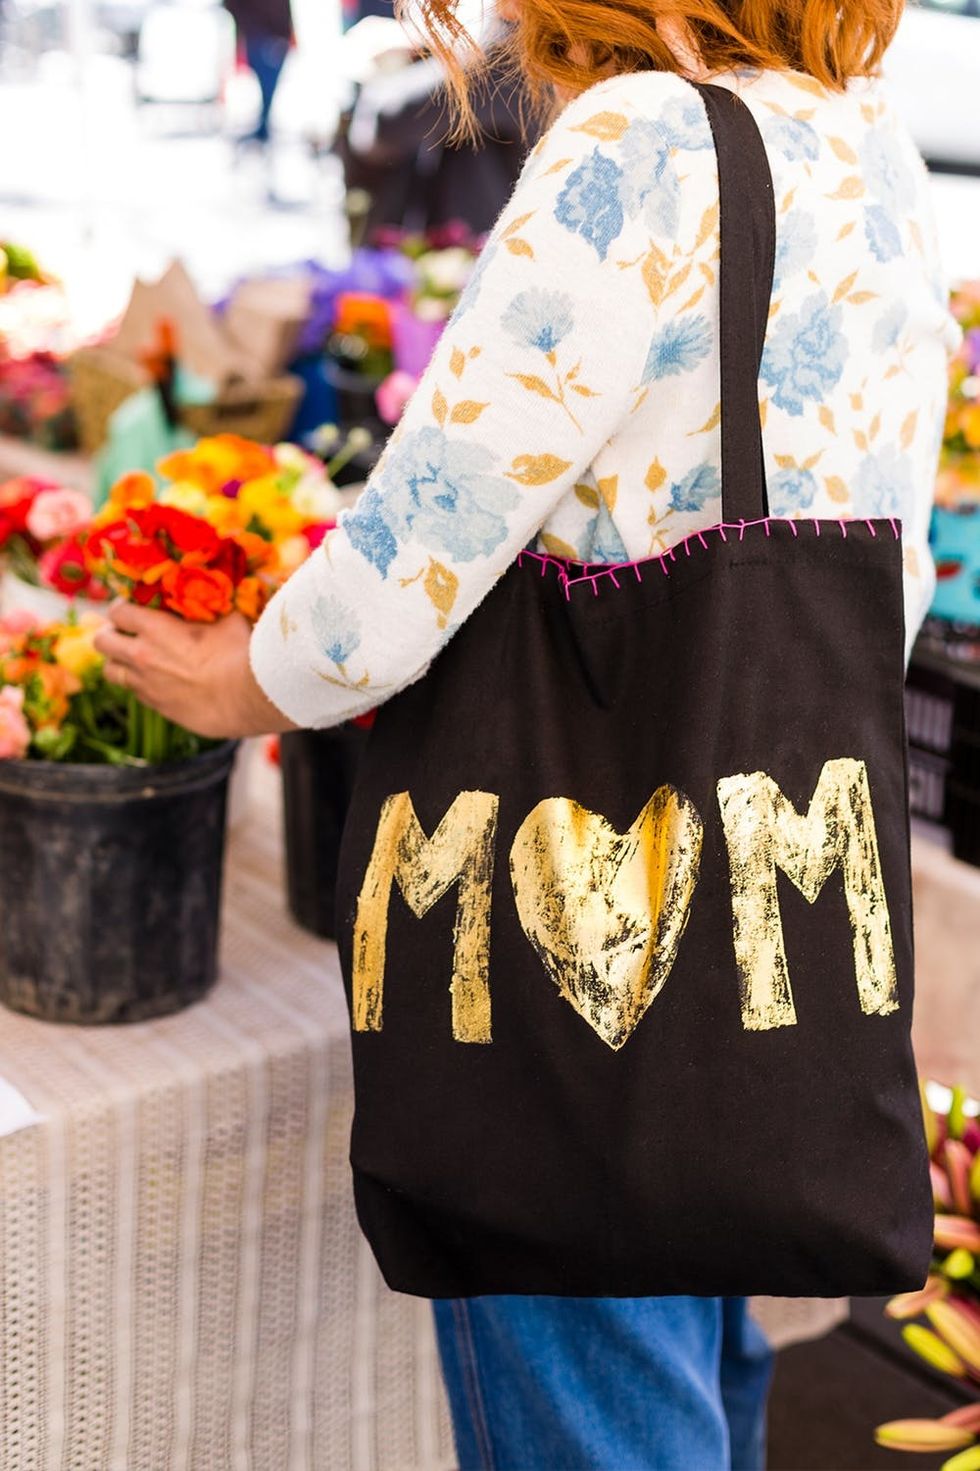
Boom! Done in a half hour. It’s the perfect gift to show your mom you really care. If you REALLY want to go the distance you can fill the tote with additional goodies.
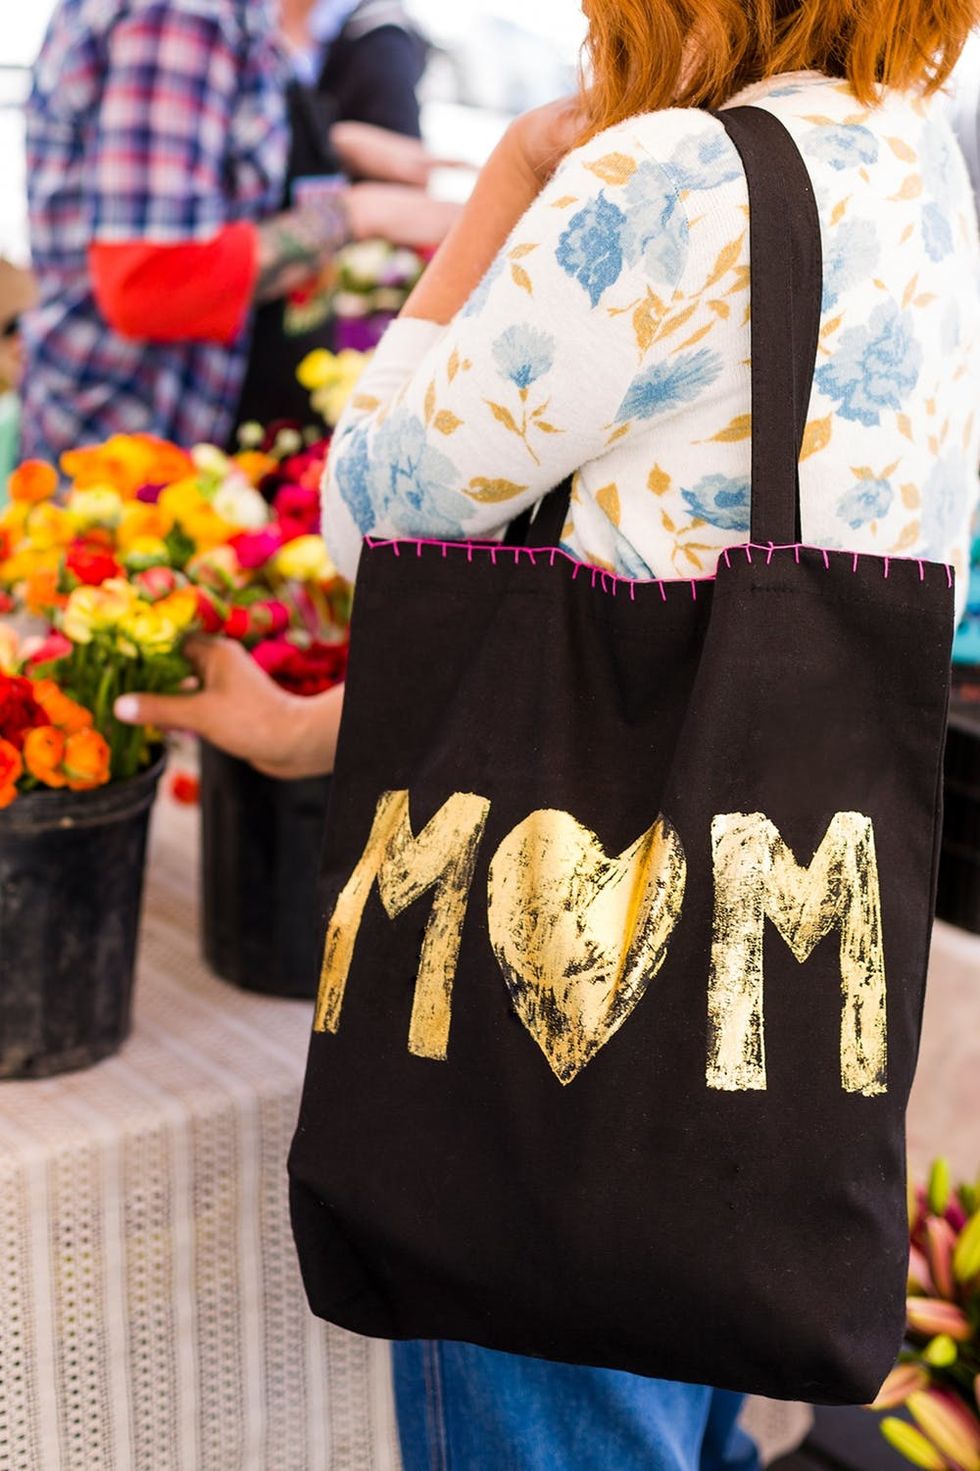
It’s just what moms needs to hit up the Farmer’s Market.
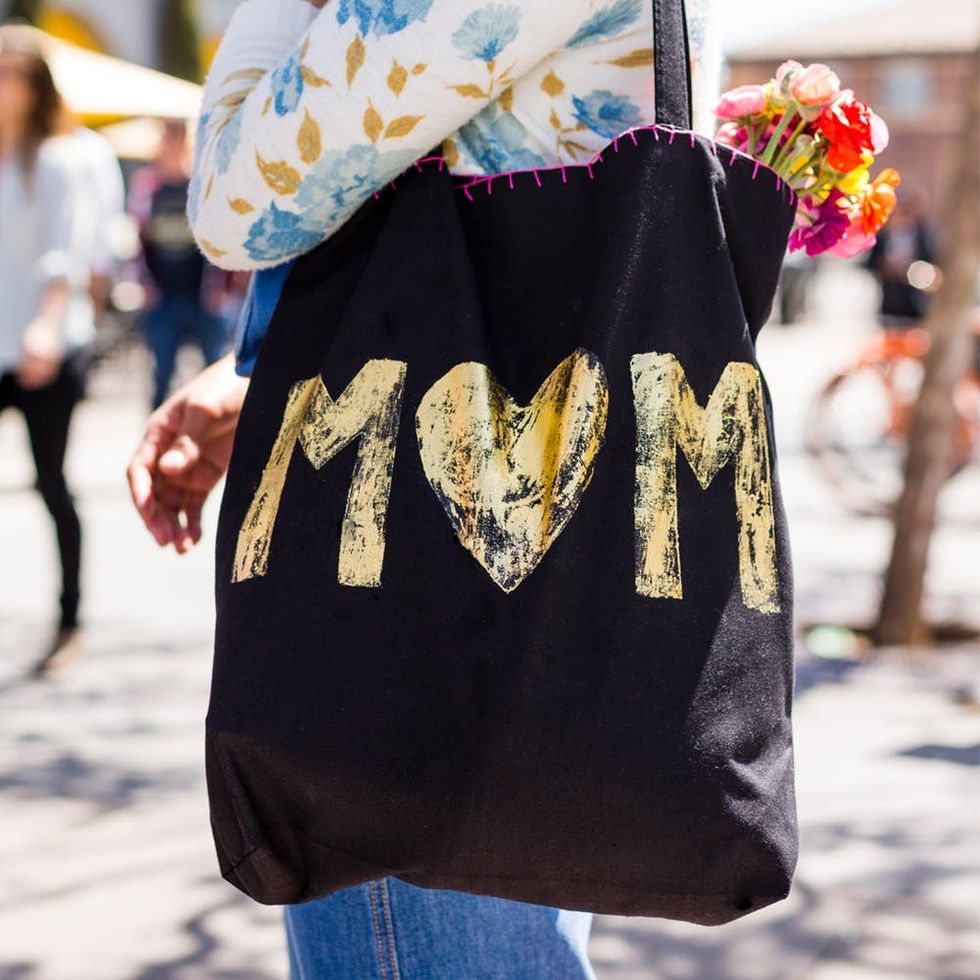
It’s just the thing for running errands around town. She’s gonna love it!
What are you making for mom this Mother’s Day? Will you be picking up a Brit + Co Kit on your next Target run? Share with us on Instagram by tagging @BritandCo, and don’t forget to use the hashtag #BritxTarget.
DIY Production + Styling: Lindsay Saito
Photography: Chris Andre


