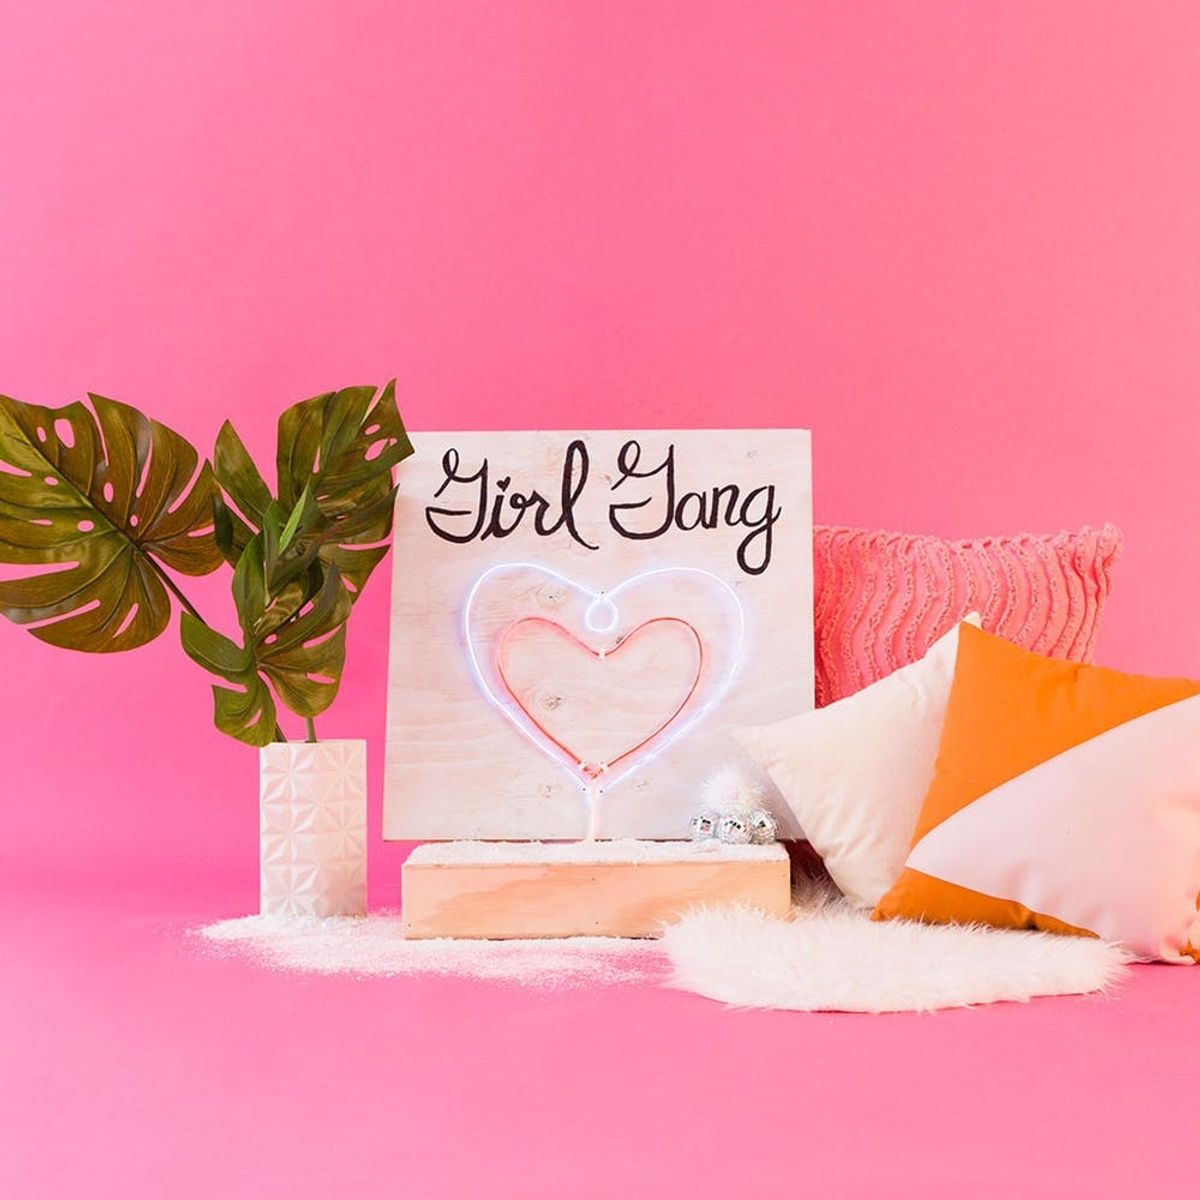
Neon signs don’t cost a fortune when you DIY.
Achieve Your Neon Dreams With This Simple Hack

Raise your hand if you’re always in a rut when it comes to getting presents for all of your besties. Girl, I feel you. Sometimes it just feels like there is nothing good enough out there! When this happens, I turn to DIY. I’m currently obsessed with every neon sign that I lay my eyes on — however, neon lights are costly! So we played around with different materials and have come up with a solution on how to hack your own neon sign. This is the perfect, unique gift for the BFF on your Christmas list. Follow along to learn how to make one of your own :)

Materials:

Tools:
Instructions:

1. Draw out your design on a piece of paper. Lay your tubing and el wire along the lines of your drawing. Trim the tubing to the length of your design.
2. Feed the el wire and aluminum wire through the plastic tubing.
3. Place the tubing on the picture and mold into its shape.
4. Secure tubing onto the wood board using cable clips and a hammer.
5. Cover the rest of the el wire with electrical tape and tape excess to the back of the board.
Real talk — my first design was a bit too complicated for this neon light hack, so I had to simplify it down. I suggest creating basic shapes before diving into words or intricate line work.

Measure your tubing along the lines of your shape. Trim the tubing to be about the right size — I always cut off more tubing, just in case.

Slide the el wire into the plastic tubing. This takes patience. It will slide through, but it often gets stuck. To have the wire snake through easier, cut off the plastic end coating on the tip of the el wire.

Once your el wire is through, send the aluminum wire through the tubing as well. Again, slow and steady wins the race.

Bend the tubing into your desired shape and then place onto your wood board.

Use cable hooks to keep the lights in place.

Use pliers to connect the two ends of wire together.

Cover the extra el wire with electrical tape. You will want a couple of layers, because it will shine through.

The top of our board was looking a bit empty, so I went and added “Girl Gang.”

Check out that flash! No need to drop tons of money on a neon sign. El wire is the perfect solution.

Make these wall decor pieces for your apartment and all of your besties. This is a great DIY gift that your friends will have never expected to receive.

Show us your project by tagging us on Instagram + using the hashtag #iamcreative!


