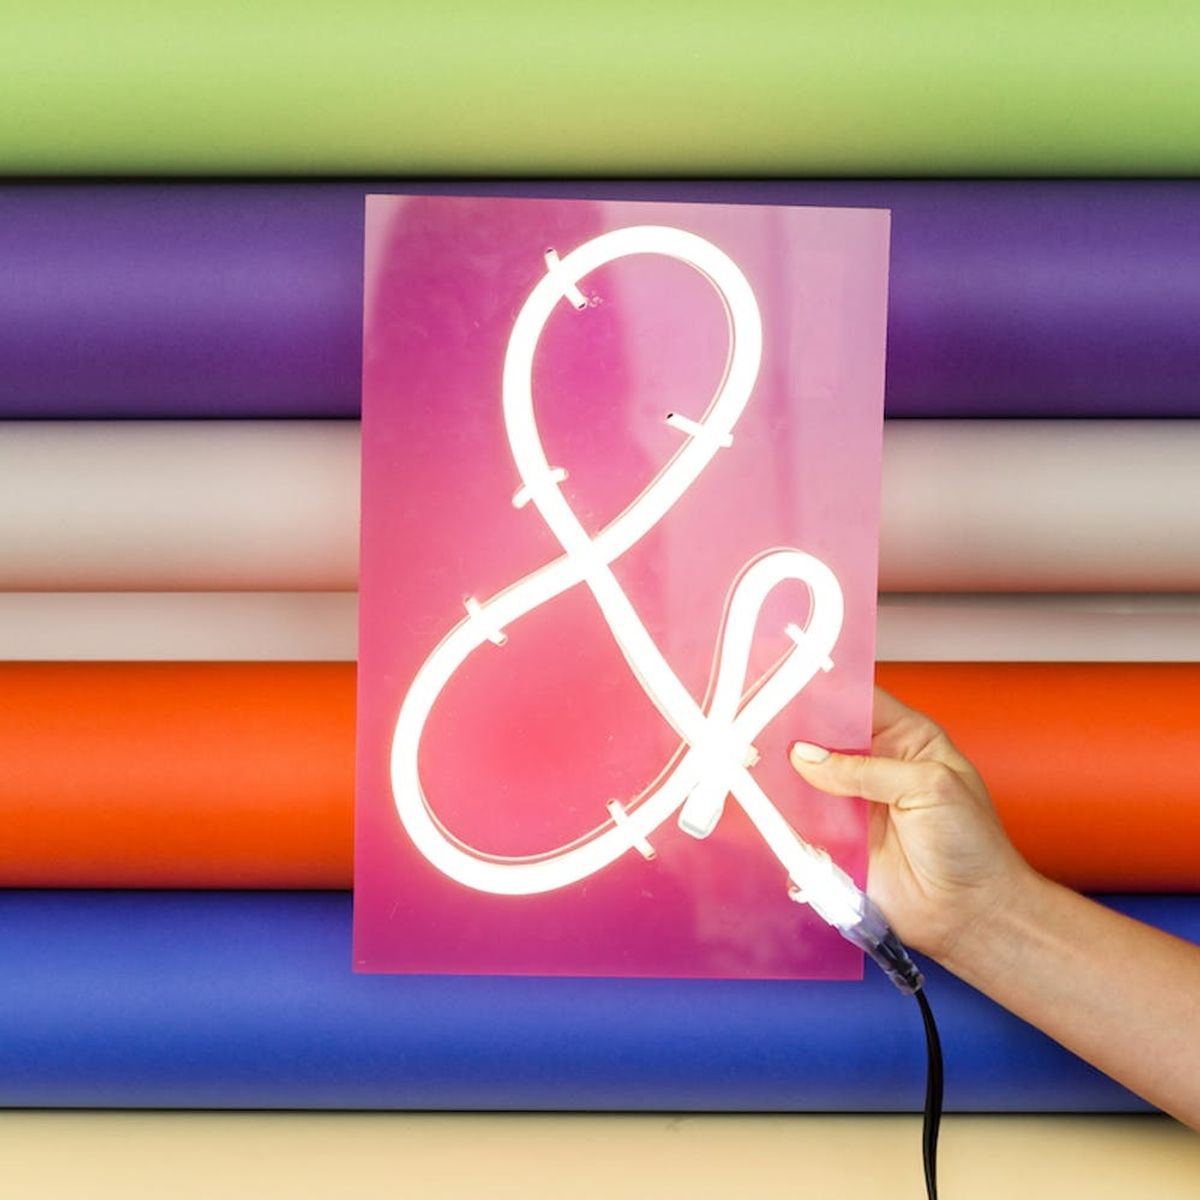
Channel some neon vibes.
This DIY Neon Sign Will Make Your Room Lit

By Sarah SchuhApr 18, 2018
Sarah Schuh
Home Decor. Entertaining. Travel. Lifestyle.
'Grammer, dreamer, trip planner. Forever coming up with my next creative endeavor. Until then, I'm documenting everything I like on paper, er, the digital world.
If your walls are feeling dull, brighten things up! This DIY neon sign is a B+C-approved way to liven up your decor. Customize it with letters or designs for a cool-girl approach to an old-school fave. Then plug it in, switch on the lights, and enjoy the electrifying glow.
Materials and Tools:
- 1 printed monogram or design
- 1 piece of colored 8 x 10 acrylic
- tape
- drill
- 7-8 zip ties
- flexible neon
- marker

Instructions:
- Find a design (like an ampersand) you like online and print it out.
- Lay a piece of acrylic (the size of your paper) over your design, and tape each side to fasten them together.
- Lay the flexible neon over the design and keep it in place with tape.
- Mark drill spots every four to five inches along the outside of the design. Then, use a drill to create the holes.
- Insert zip ties through the holes to secure the flexible neon in the shape of your design to the acrylic board.
- Remove the tape from the acrylic board.
- Plug it in and enjoy your glowing fixture!
Which projects are you DIYing this spring? Tell us @BritandCo!
(Photos via Brittany Griffin / Brit + Co)
The Latest
Make Your Inbox Your Happy Place
Get freebies, inspo, & more delivered to you.


