
 Recommended for you
Off-the-shoulder shirts are clearly the trend of the summer and we are totally on board. Not only are they adorable, they also add a touch of boho flair to any look. Plus showing off your shoulders is pretty fun — just be sure to avoid getting major bathing suit tan lines before you do ;) We decided to make an off-the-shoulder shirt and found it to be surprisingly easy. Keep reading for the instructions and then get ready to make these for your entire squad.
<br/>
 — fabric
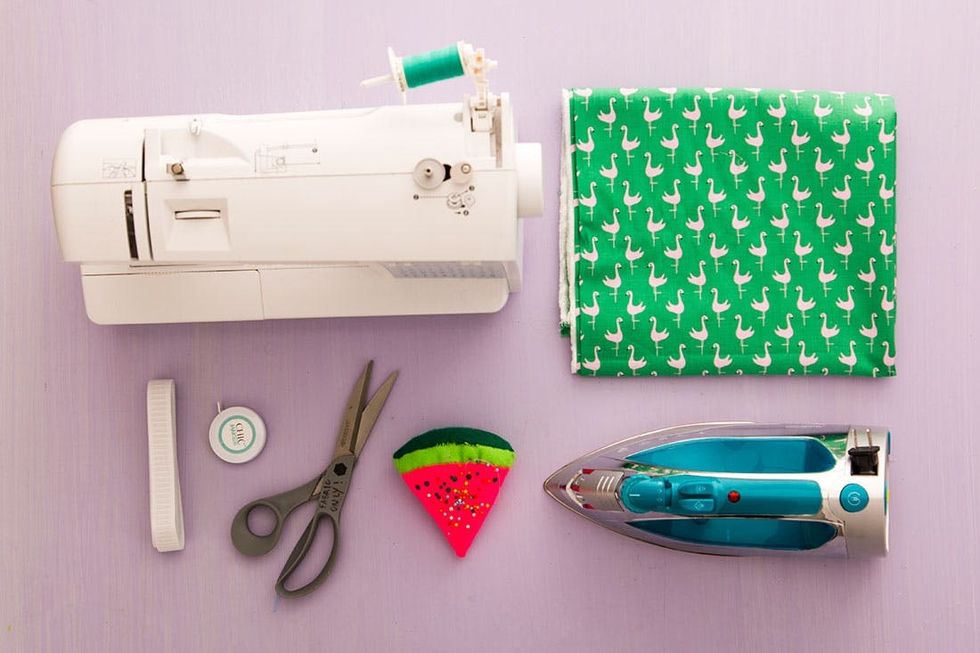
— elastic
— pins
— sewing machine
— iron
Instructions:

1. Measure your chest, around your bicep and the length of your torso.
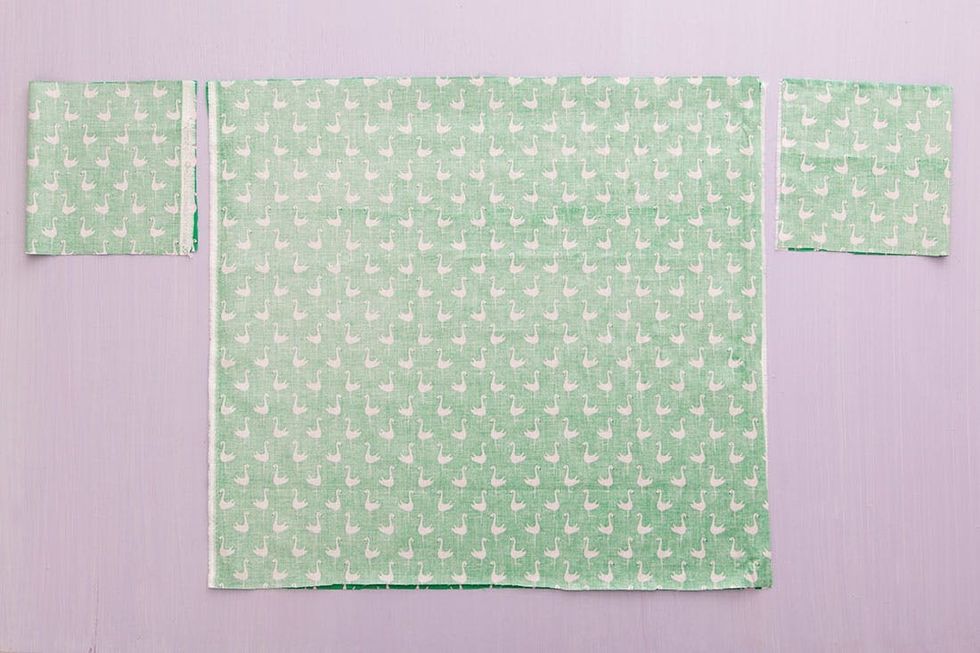
2. Cut two pieces of fabric – one for the front of the shirt and one for the back. These pieces need to account for the elastic so cut them slightly wider than your chest measurement. Also, you’ll be folding over the top to create a loop for your elastic to go through, so make the length of the fabric at least two inches longer than you want the shirt to be.
3. Cut out two rectangles (one for each arm) that are larger than the measurement of your bicep. You don’t want the sleeves to be too tight around your arms, so add 2-3 inches to your measurement.
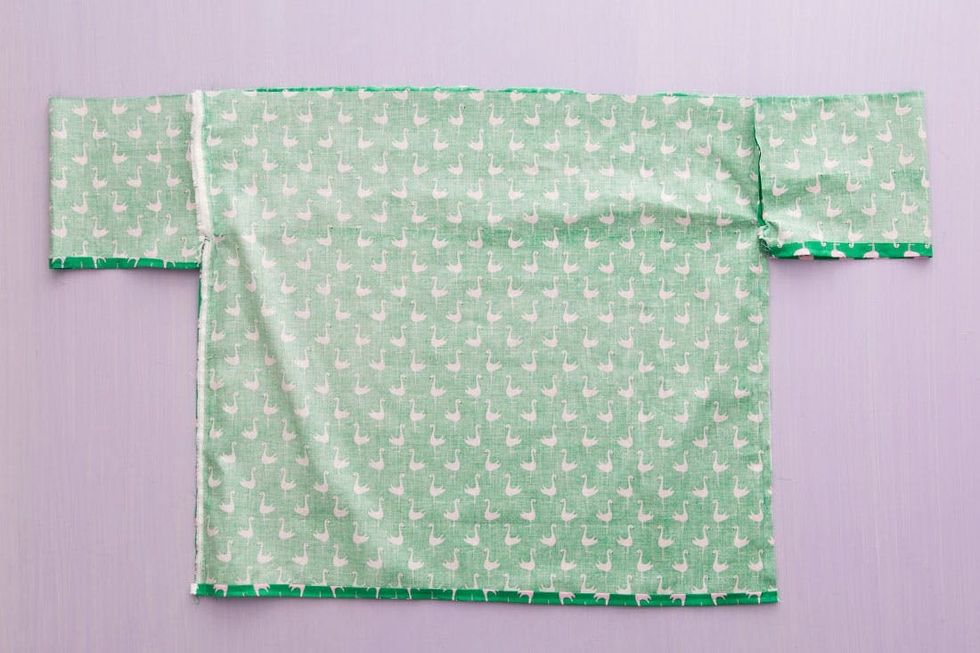
4. Lay out your fabric. Stack the two pieces for the body of the shirt on top of each other. Fold the fabric for your arms in half and line them up against the sides of your shirt, even with the top.
5. Pin the sleeves to the body of the shirt, then pin down the sides of the body. Pull the bottom inch of the sleeve away from the side of the shirt and pin that together. This way the sleeves aren’t completely attached and you’ll have some room to lift your arms.
6. Turn the shirt inside out and sew along the pinned lines.
7. Hem the bottom of the shirt and the bottom edge of the sleeves.
8. Cut a piece of elastic that is an inch shorter than double your chest measurement. This way the elastic will stretch a bit when you put on the shirt.
9. Fold the top edge of the shirt over the elastic to measure the size of the loop you need. Pin and sew in place, leaving a space to add the elastic, then thread the elastic through the loop. Sew the ends of the elastic together and close the opening.
10. Turn your shirt right side out and you’re done!
Get your measurements and mark them down so you don’t forget. If you want your shirt to have a bit of flare, give it more of an A shape. Cut out pieces of fabric that will comfortably fit around your arm.
Let’s put this shirt together.
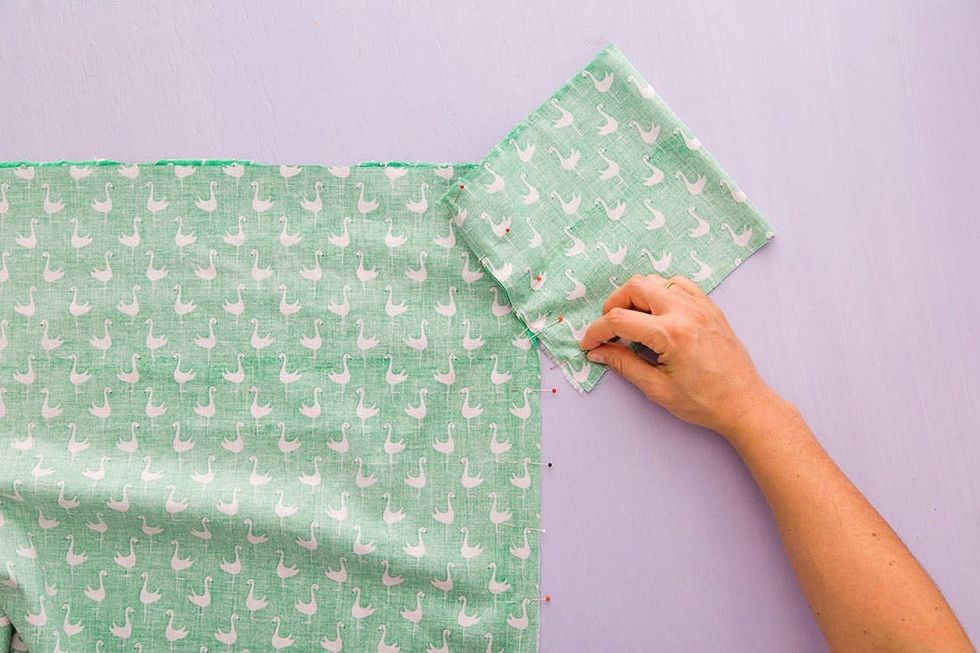
Lay out the pieces and pin everything together, making sure to separate the very bottom of the sleeves from the side of the shirt.
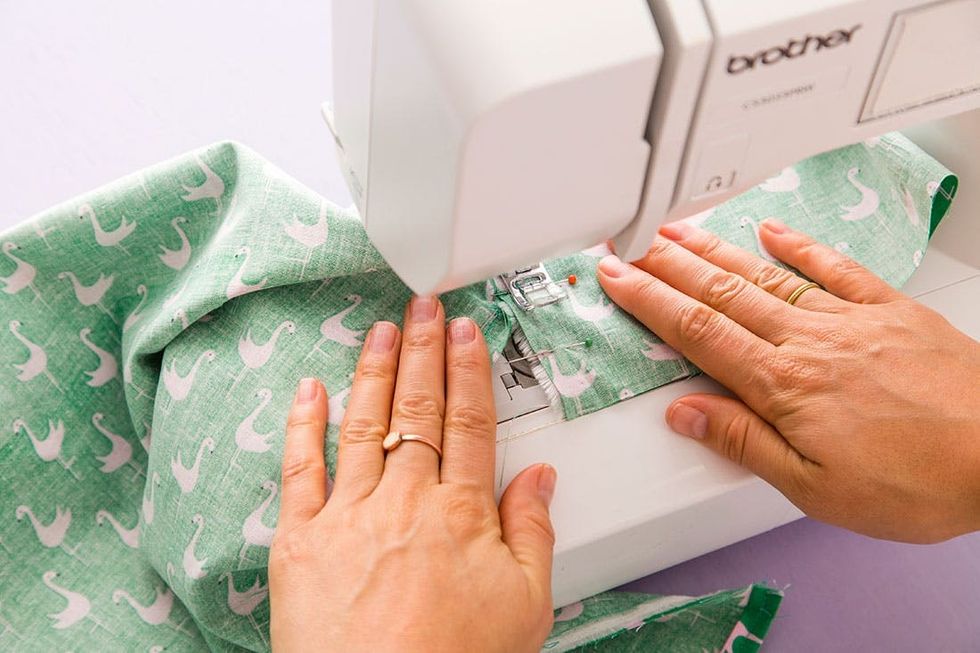
Turn the shirt inside out and sew along the pins.
Hem the bottom edge of the shirt and the sleeves. Use your iron to make the hem easier to sew.
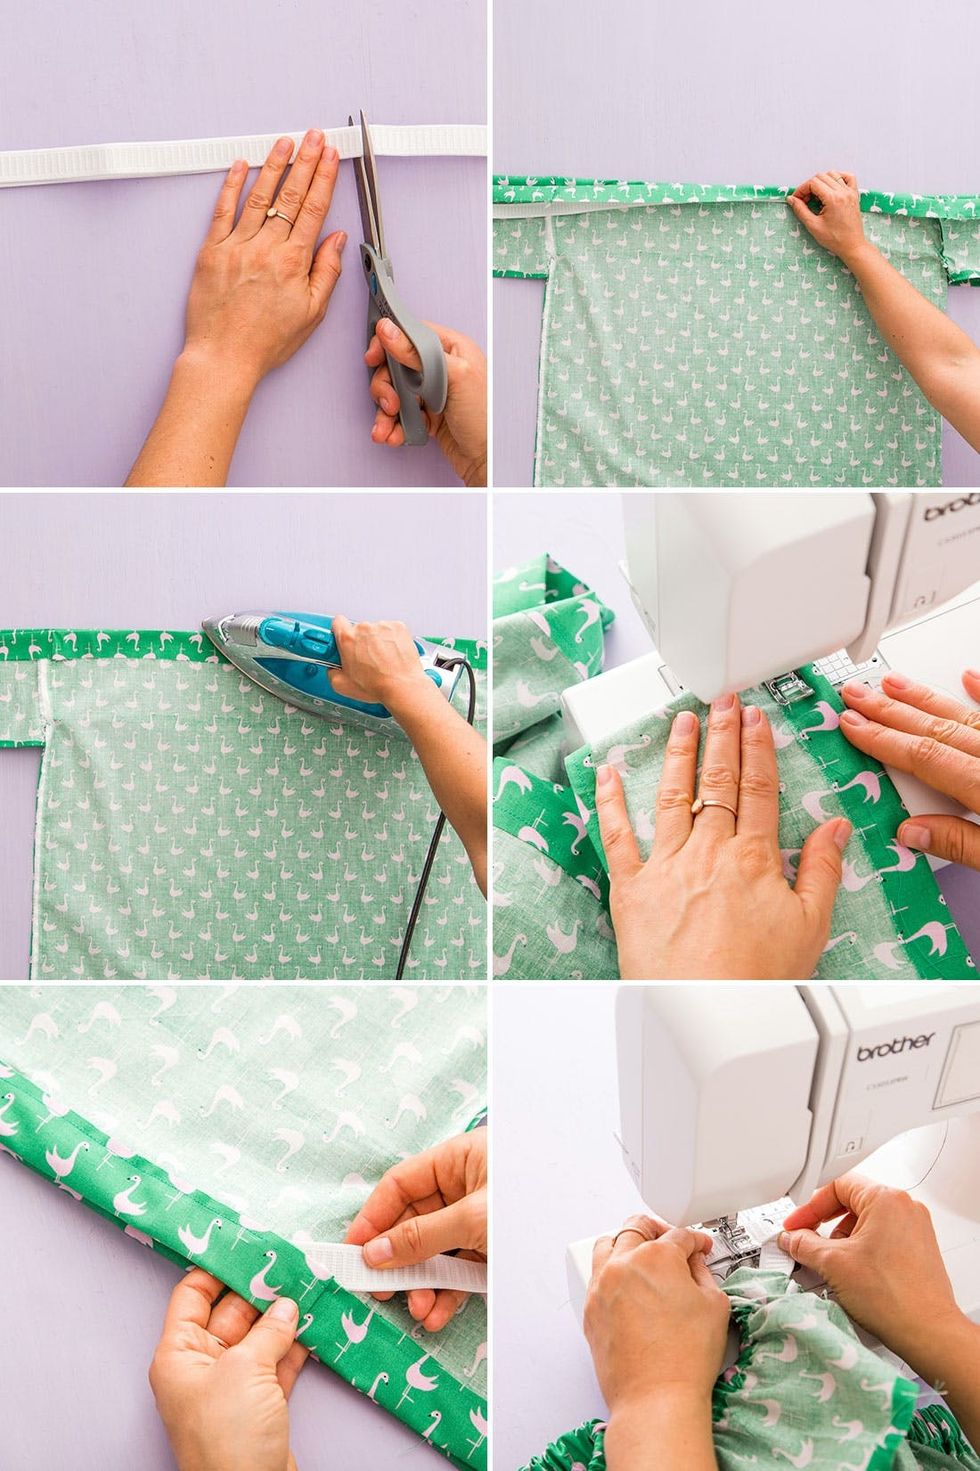
Time to add the elastic. Cut a piece that is slightly smaller than double your chest measurement (to account for your front and back). You want it to stretch a little when it’s on your body so that the shirt stays on. Now use the elastic to measure the size of the loop you need. Pin and sew, leaving an opening to send the elastic through. Add the elastic and sew the ends together.
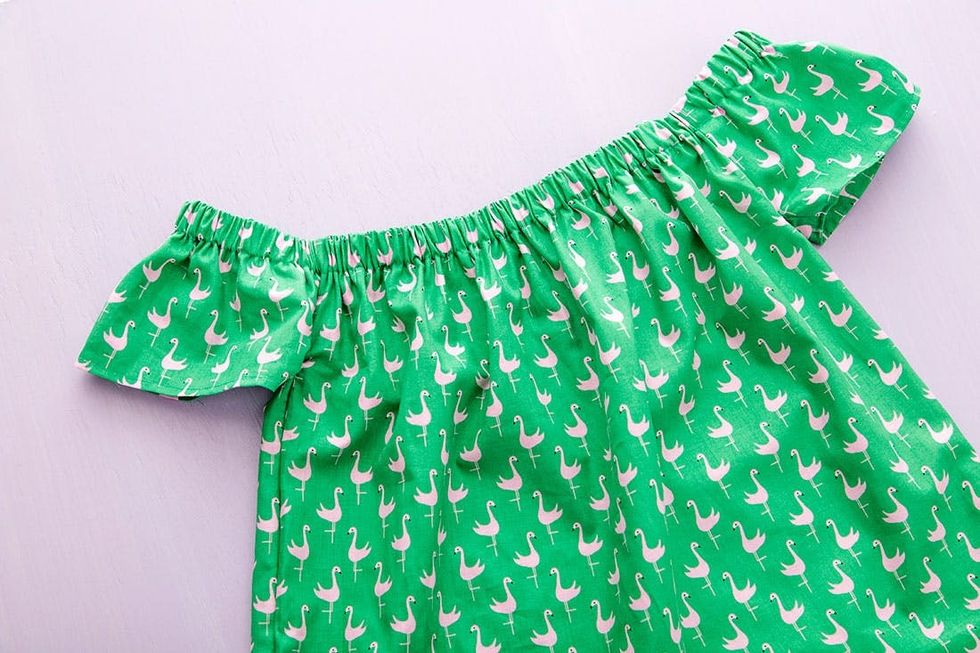
Close the gap, turn your shirt right side out and that’s a wrap!

For more summer style inspiration, follow us on Pinterest.