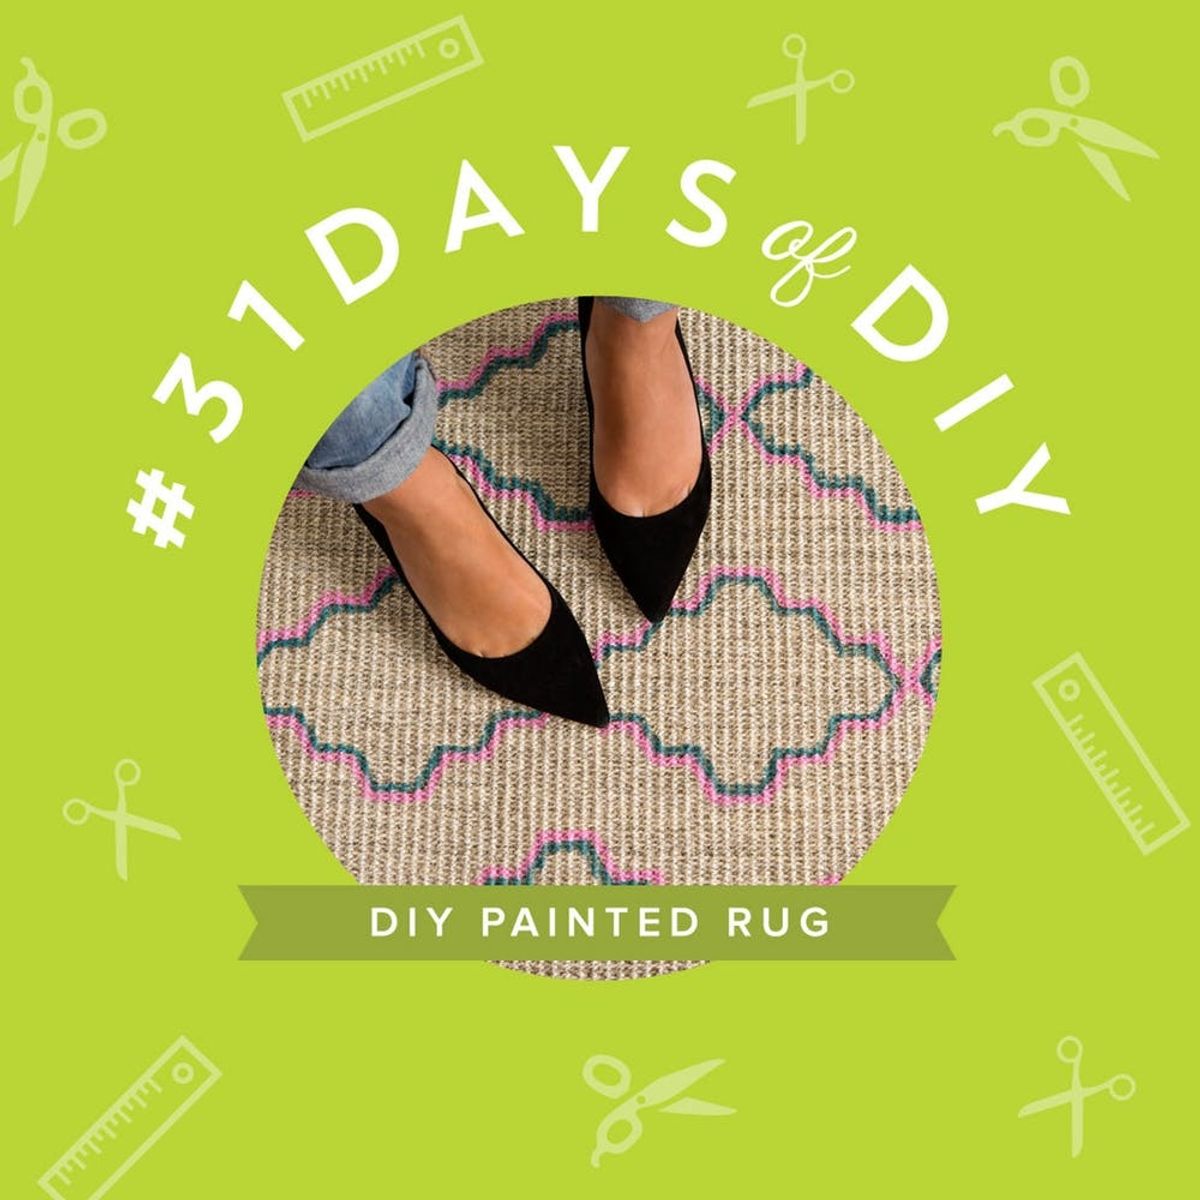
Forgetting cutting a rug — it’s time to paint one!
Paint Your Own Patterned Rug on the Cheap

To buy or DIY, that is the question… At least, that’s often the question for us gals and guys here at Brit HQ. When it comes to patterned rugs, there are SO many gorgeous options out there — that are also way too pricy. So we thought to ourselves, why not save a few bucks and paint our own patterned rug? For today’s installment of #31DaysofDIY, we’ll show you how to give a plain old rug a fun facelift on the cheap. It’s easier than you think, we promise :) Now, let’s get to it!
No idea what #31DaysofDIY is? It’s a brand new tradition here at Brit + Co that’s all about kicking off 2015 right. We’ve challenged ourselves to make or learn something new every single day for the month of January, and we’re inviting all of you along for the ride. From DIY basics like Sewing 101 to learning to design and laser cut our own stencils, we hope this month of making inspires you to make all year long.
Tools + Materials:
– rug in a solid color (we used this 2-foot x 3-foot Sisal rug)
– fabric paint (2 colors)
– paintbrushes
– printable stencil template (download here)
– cardboard
– Sharpie pen
– measuring tape
– scissors
Instructions
1. Print and cut out our stencil template, then trace it onto a piece of cardboard. Cut out the cardboard stencil.
2. Measure your rug to determine where to paint. Use a Sharpie pen to trace the cardboard template onto your rug. Repeat until you’ve traced all of your patterns.
3. Using your first fabric paint color, outline the inside of each pattern, making sure you cover your Sharpie marks. Let dry.
4. Outline the painted line with your second fabric paint color. Let dry. Voilà!
First, download and print out our nifty stencil template. Or, if you’re feeling adventurous, create your own template — the shape options are endless here.
Cut out the template and trace it onto a piece of cardboard. Cut out your cardboard shape.
Next up, determine where you’ll paint on the pattern. We used a 2-foot x 3-foot rug and decided that three staggered rows of shapes would look the best. With a Sharpie pen, stencil in a row in the very middle of the rug, ensuring that there is equal space between each stencil. Next, stencil in the outside rows.
Pro Tip: To evenly space apart each row, measure from the outermost point of the middle line’s stencil to the edge of your rug. The halfway point of this distance will be the line that the stencil should follow.
Time to paint! Using your first fabric paint color, outline the inside of each stencil, ensuring you cover your Sharpie pen line. If your rug has a lot of depth, you can paint into the nooks and crannies with a smaller paintbrush. Let dry.
Lookin’ good, eh?
Next up, outline your painted lines with your second fabric paint color. We chose a bubblegum pink to give our rug a fun lil’ pop. Let dry. You’re done!
Now THAT is one rad rug. Bright colors and repeating patterns FTW.
Have you ever painted a rug? If so, be sure to snap a photo and share it to Instagram, Facebook, Tumblr or Twitter using the hashtag #31DaysofDIY. We’ll feature our favorite projects and makers throughout the month of January here on Brit + Co.


