Create this weekender tote to help fulfill all your wanderlust dreams.
DIY This Hand-Painted Weekender for Your Next Getaway
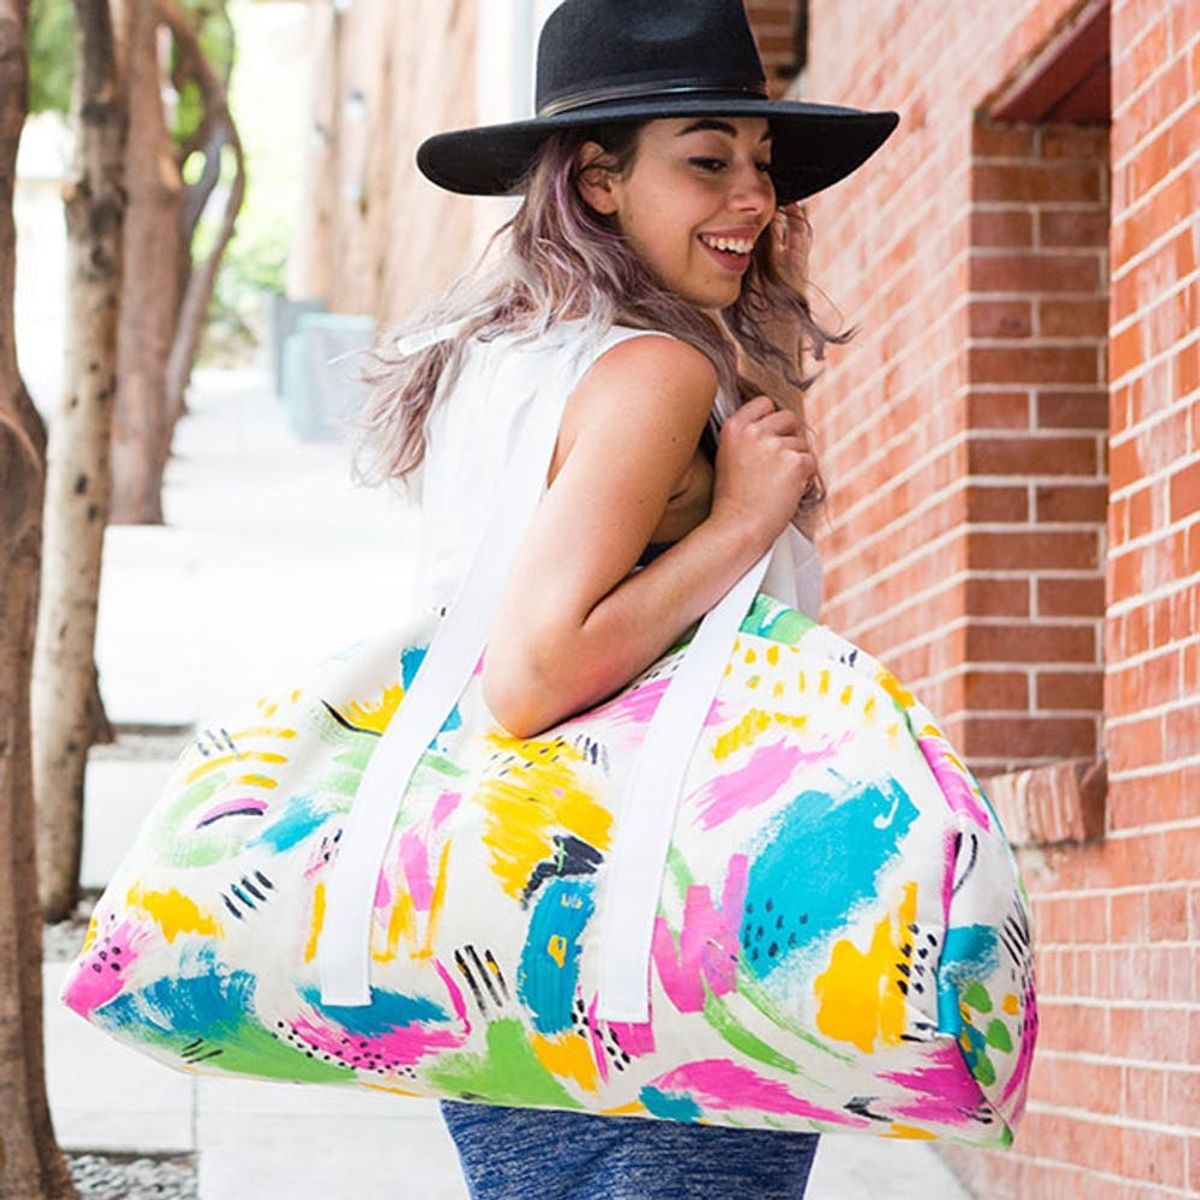
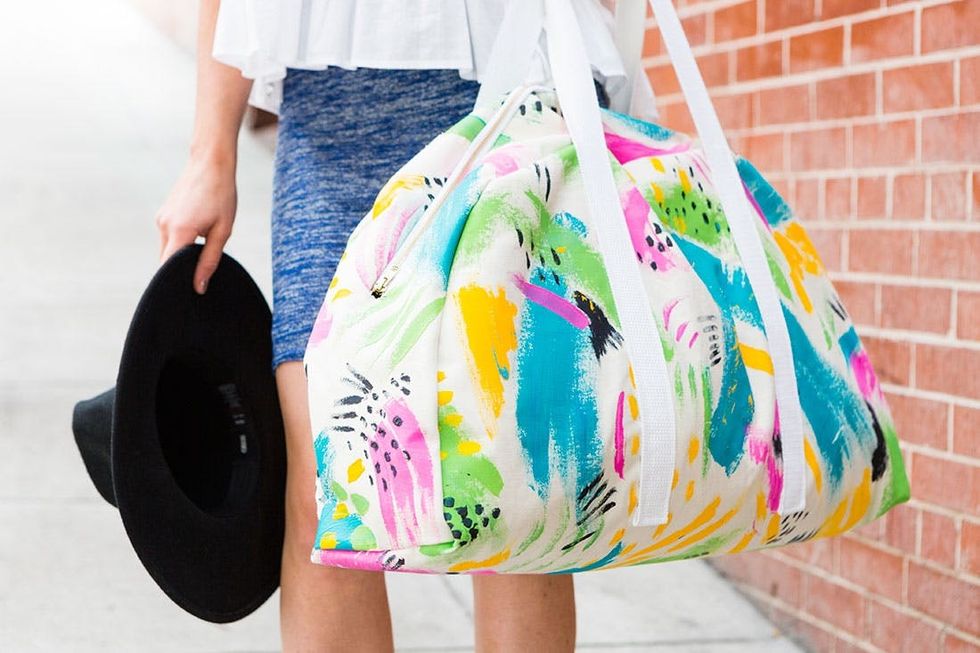
Whoever invented the weekend is our true hero – those two days of spontaneous freedom help make the work week a lot more bearable. All in all, it’s true – weekends we love you <3 — so we decided to make a duffel that fits all of our weekend wanderlust dreams. Not only do you need to dust off your sewing machine, but also your paint brushes because this tutorial involves two different creative skills. First, we’ll create our own custom fabric by hand painting abstract designs and patterns. Then, sewing time! If you need a little DIY warm-up before diving in, we recommend you take a stab at our Sewing 101 Class and Intro to Acrylic Painting Class. It’s the perfect rainy weekend project — and it will make all the weekends to follow so much more stylish ;)
Materials:
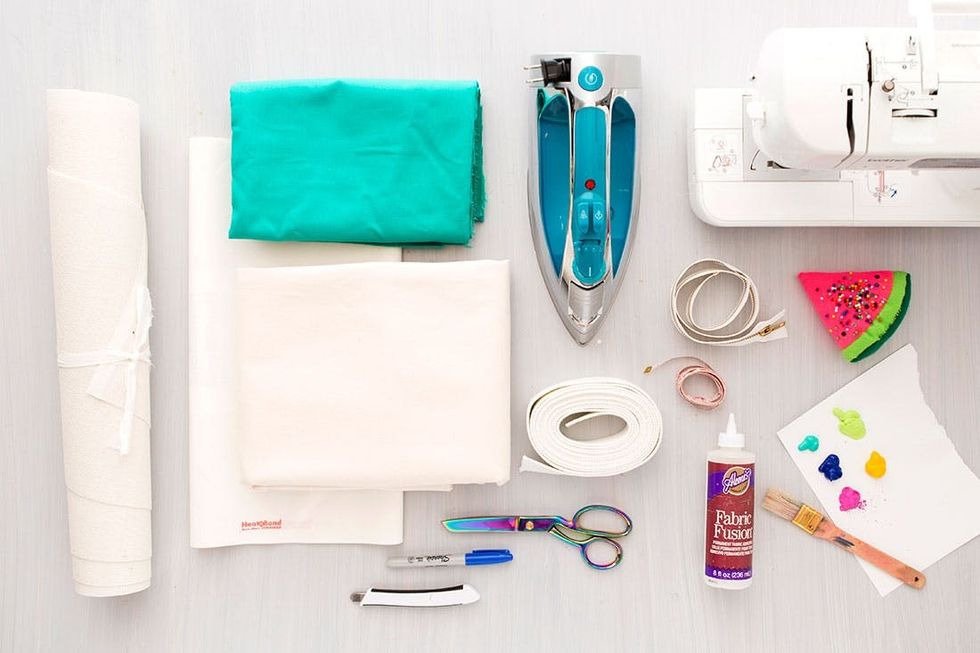
— 1 1/2 yards of canvas (outer fabric)
— 1 1/2 yards of thick cotton (lining fabric)
— 3 yards of 2-inch-thick cotton straps
— fabric paint
— 1/2 yard of buckram
— 4 yards of Heat N Bond
— 26″ zipper
— fabric fusion
— duffel template
Tools:
— sewing machine
— iron
— fabric scissors
— box cutter
— sewing pins
— marker
— measuring tape
— paint brush
Instructions:
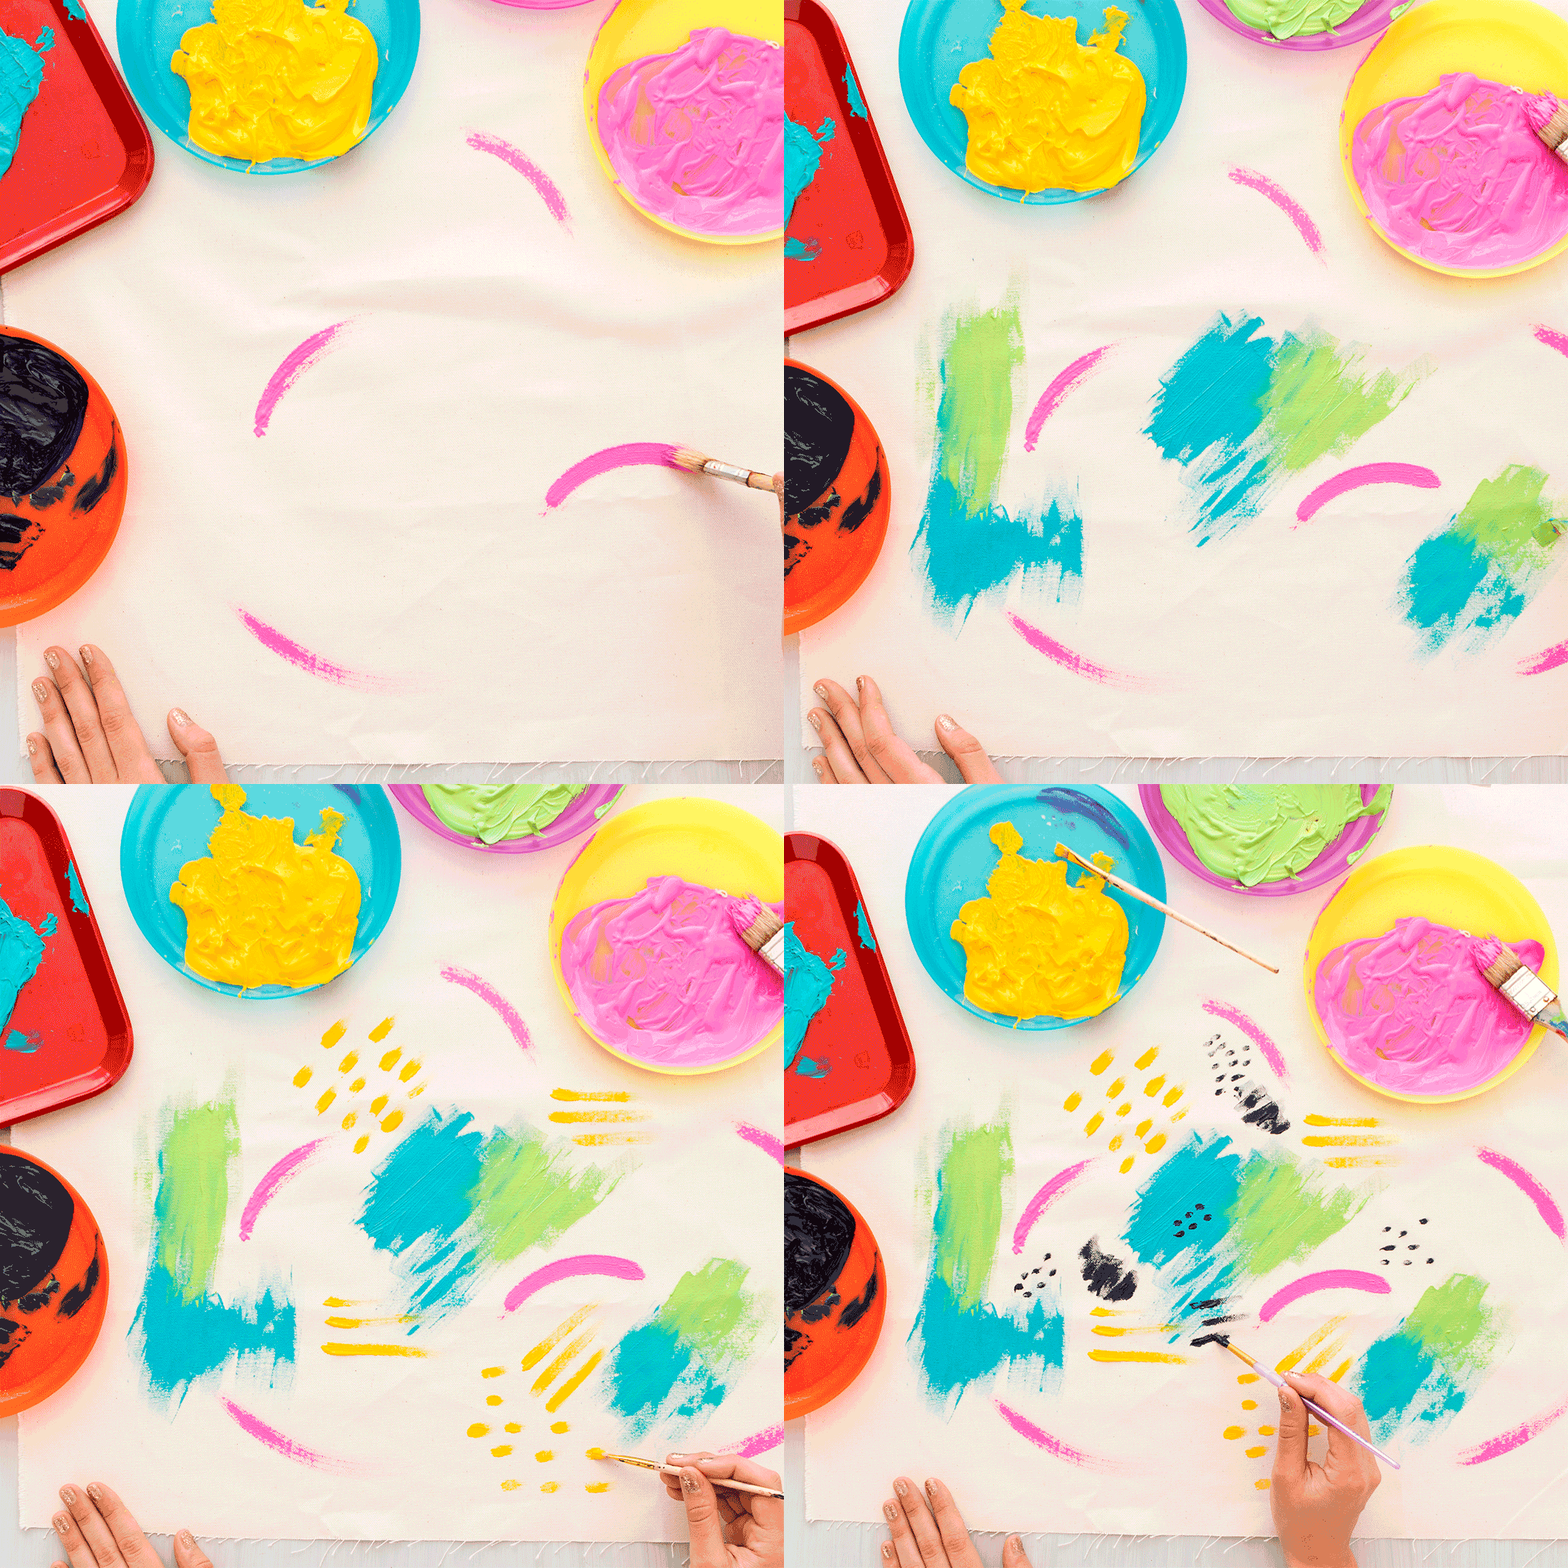
1. Channel your inner artist and adorn your blank canvas material with an abstract pattern. Follow instructions on fabric paint to set the paint to the canvas before you begin creating the duffel.
2. Print out your duffel pattern, trace, and then cut out the curved shape onto your painted canvas and solid inner fabric. Next, cut out a long rectangle 50 x 8 inches out of both fabrics.
3. Cut out Heat N Bond to fill the shapes, and then using an iron, attach the two fabrics together.
4. Grab your long rectangle fabric and find the center. Measure out the length of the zipper and then cut to reveal an opening in the fabric.
5. Pin the zipper into the fabric with poor sides facing inward. Sew along the sides of the zipper and then two small perpendicular lines at the edge of the zipper to help hold it in place.
6. Measure out the bottom of the duffel using the dotted line as your guide. The bottom will measure 7 inches in length. Pin and sew the rectangle band in place.
7. Pin the rectangle in place following the curve of the duffel. Once pinned, sew the curved edges.
8. Finish off the bag by pinning the last edge of the rectangle to the bottom of the duffel. Sew this edge, allowing the two triangles to form at the edge of the tote.
9. Cut two strips of cotton strap measuring 53 inches in length. Pin to the front sides of the bag and sew into place.
10. Measure out a 7 x 27 inch rectangle of buckram and cut out using a box cuter. Use fabric glue to glue into the base of your duffel.
Squirt out your paint and get to it! Cover the canvas with abstract brush strokes and shapes. There is really no right or wrong way to create your print — just have fun!
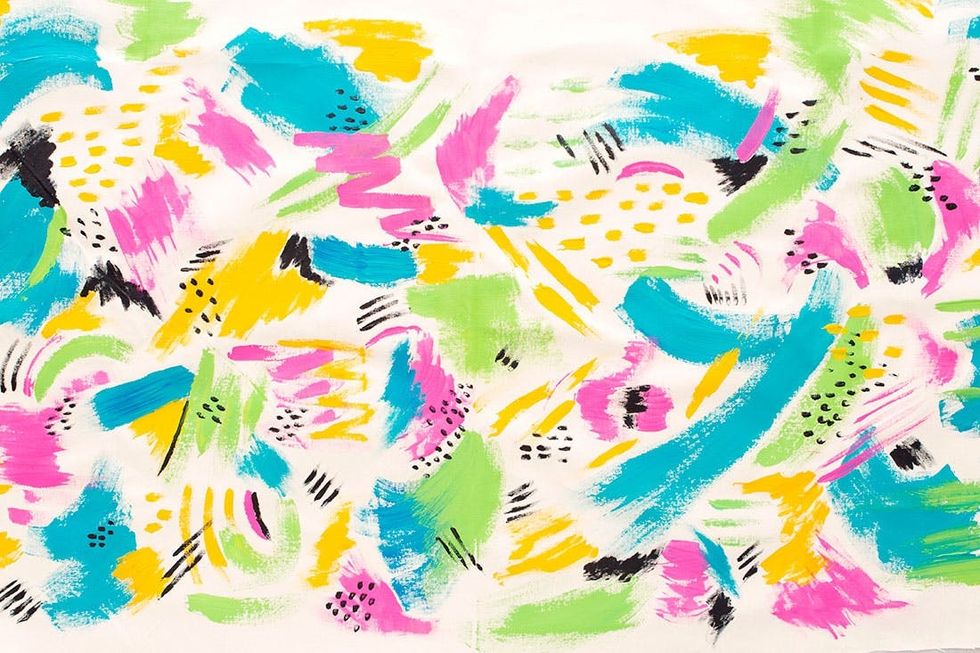
This is how our final canvas turned out just by placing a bunch of squiggles and dots next to each other. Remember to let your paint dry completely and then follow the bottle’s directions on how to set the paint to the fabric.
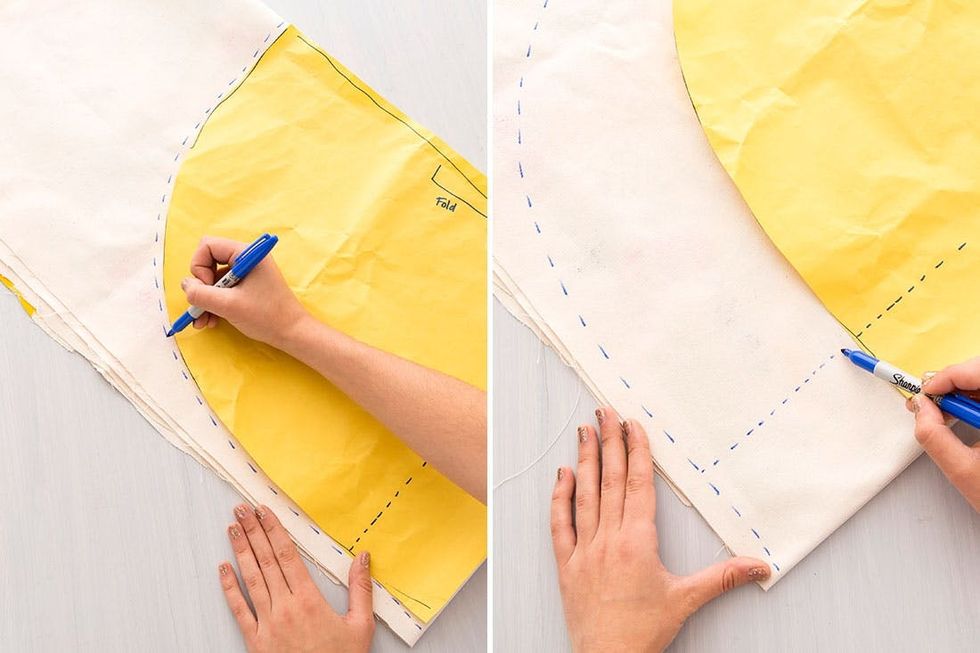
Print out your duffel template and place onto your painted canvas. The two straight edges need to lay on folds so fold your fabric accordingly (good sides facing inward). Trace the curve of the fabric and mark the dotted line for the bottom of the bag. Note: The dotted line is more of a guide so don’t stress :)
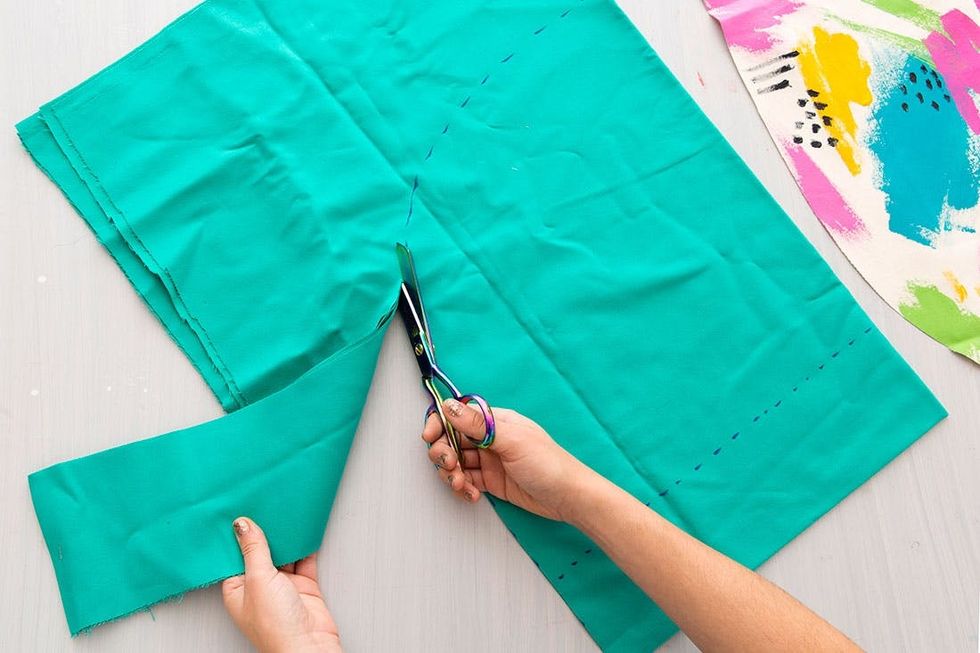
Trace the same pattern onto your inner fabric and then cut out. Also, these scissors?! They are my new love <3 <3
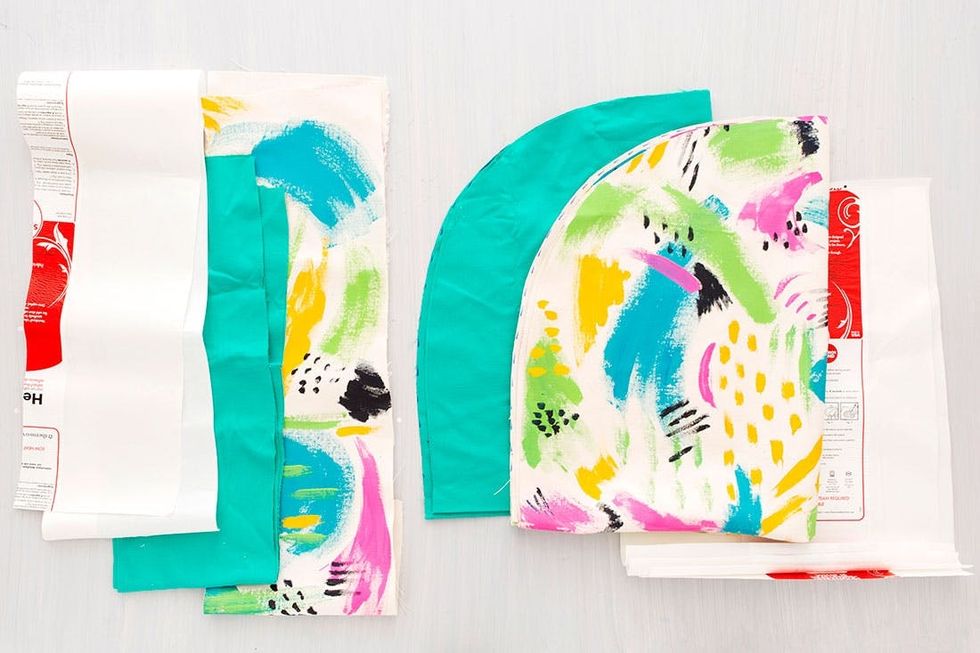
Once you have your curved base cut you will need to cut a 50 x 8 inch rectangle out of both of your fabrics. This will be the band to wrap around your duffel and give it shape. Once these pieces are cut out of the fabric, cut out Heat N Bond accordingly. It doesn’t need to be one long strip; you can attach Heat N Bond in sections.
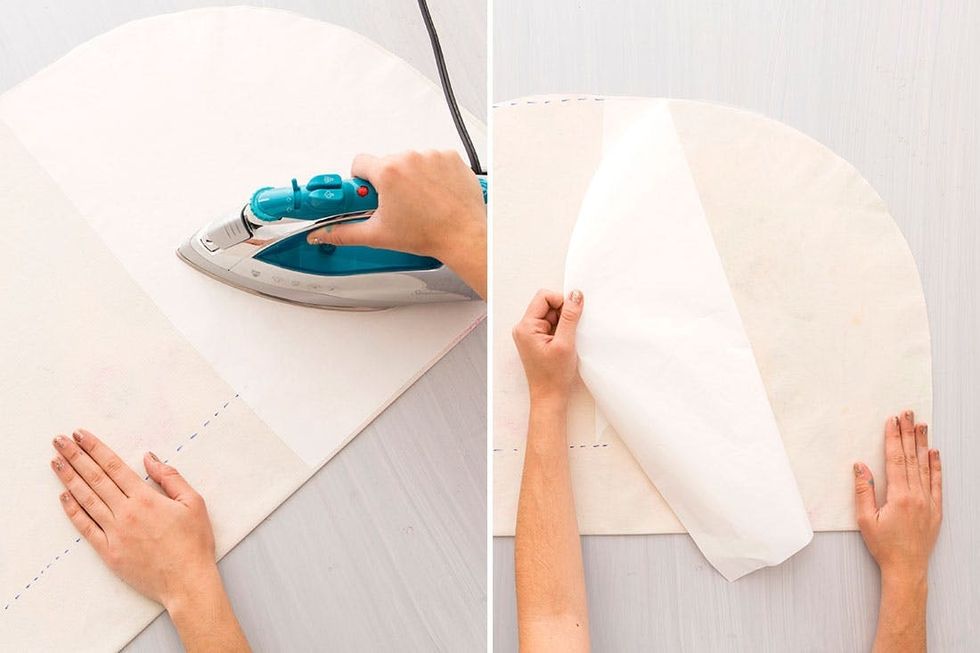
Iron the Heat N Bond onto the fabric and, once cool, peel off the paper.
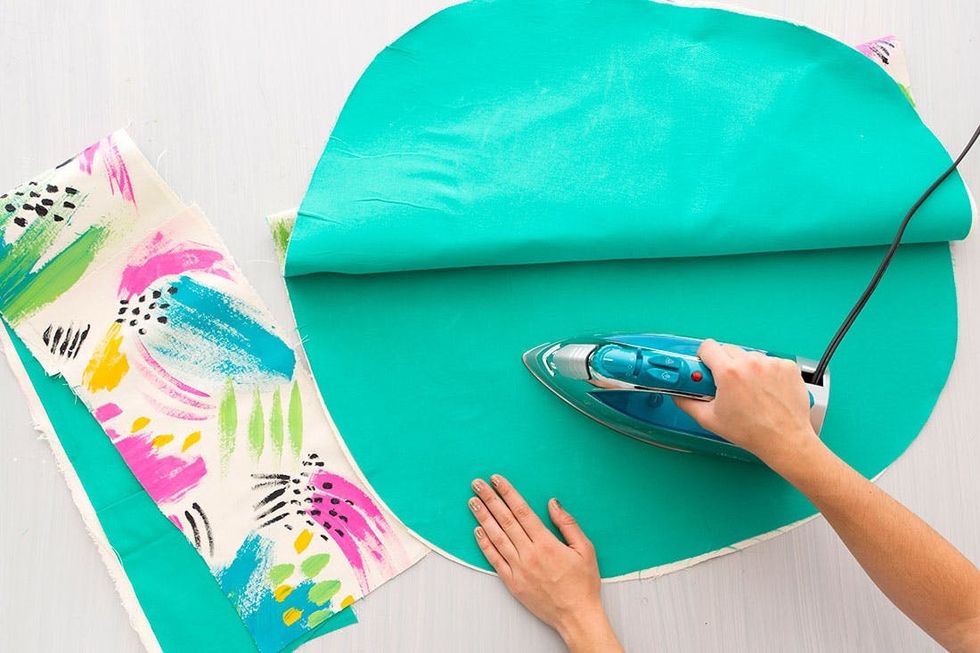
Place your second piece of fabric (the liner) on top of the Heat N Bond and iron them together. Since this is thick fabric, it may take some time to get these two pieces really bonded.
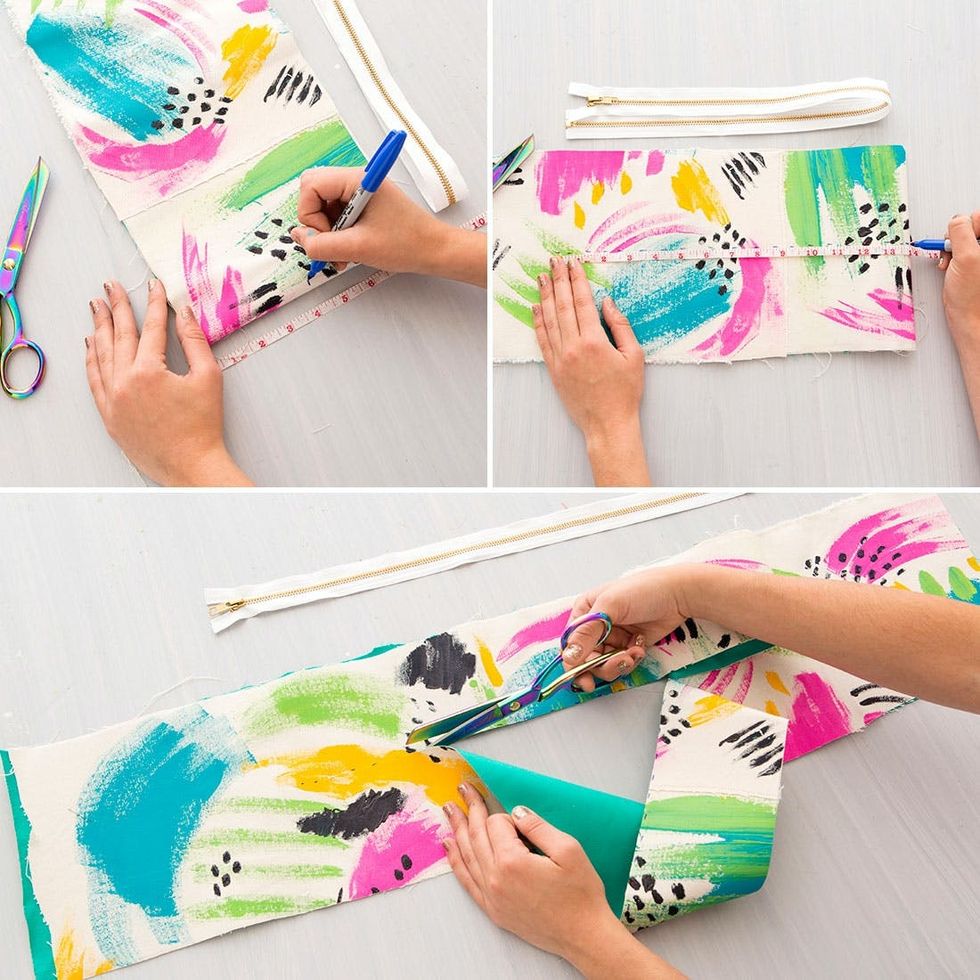
Now, onto the zipper. Find the center of your 8-inch-thick rectangle and mark the length of your zipper. Cut on this line to reveal an opening in your fabric where the zipper will be placed.
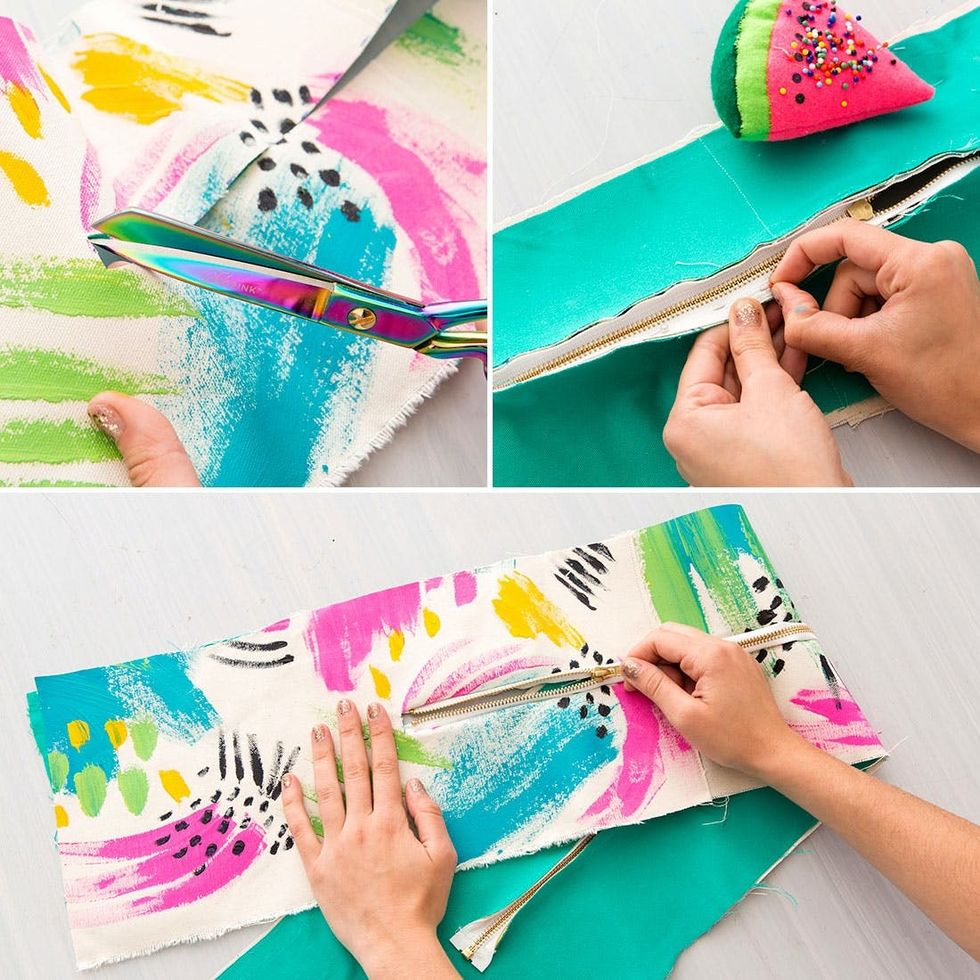
DIY Confession: Here is where I made a mistake. Make sure you buy an *all purpose zipper* – this means that the ends of the zipper are held together and don’t come apart. I bought a zipper made for a jacket, and it’s a pain in the butt to zip up every time I want to close the bag. #diyproblems
Cut small tabs at the end of your zipper line to allow the fabric to fold backwards. Pin the zipper into the fabric with poor sides facing inward. One of the lovely things about sewing a zipper is the fact that you can separate the zipper when you sew each side. I find this makes it a lot easier to maneuver in the machine. Cap the ends of the zipper off with two small perpendicular lines of stitches; this will help hold it in place when you are frantically zipping and unzipping your bag, freaking out over the fact that you may have lost something.
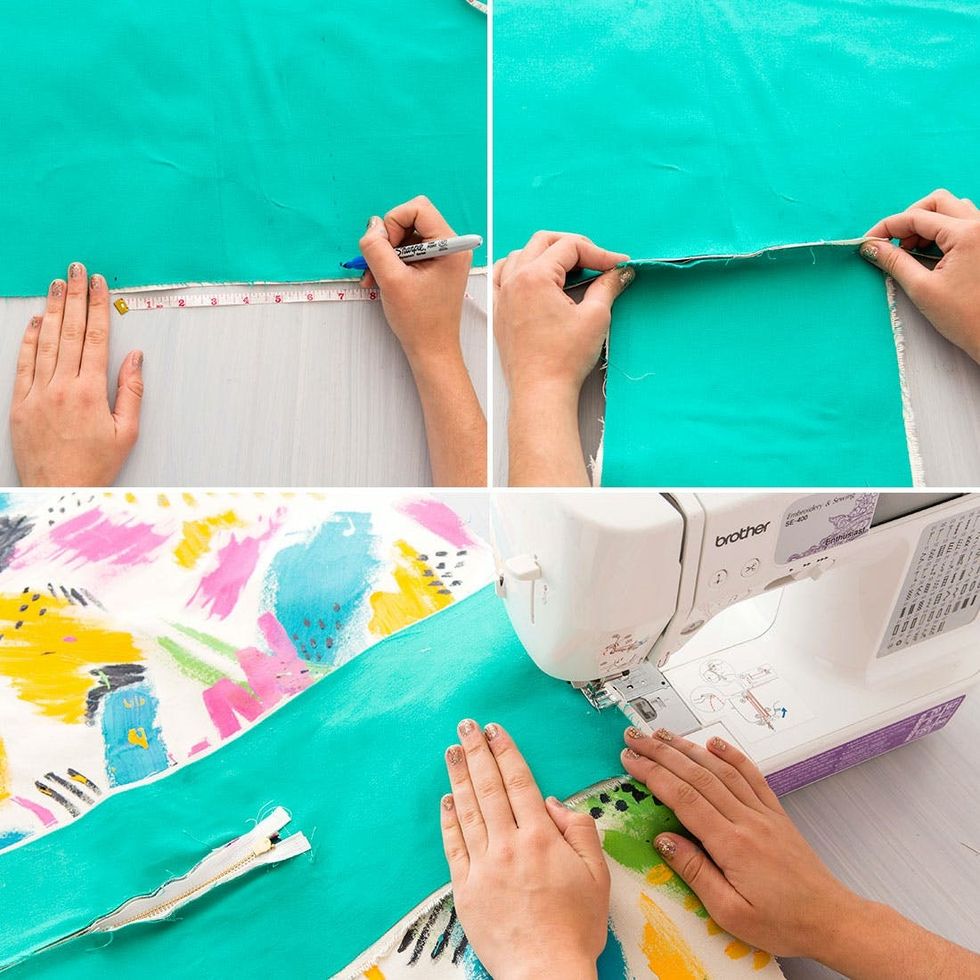
Remember that marking we drew a while back? Well, this will be one edge of the base of your bag. Measure out 7 inches (with the crease of the fold in the fabric hitting at 3.5 inches) and pin the long rectangle in place. Sew this edge – once again, make sure the good sides are touching each other.
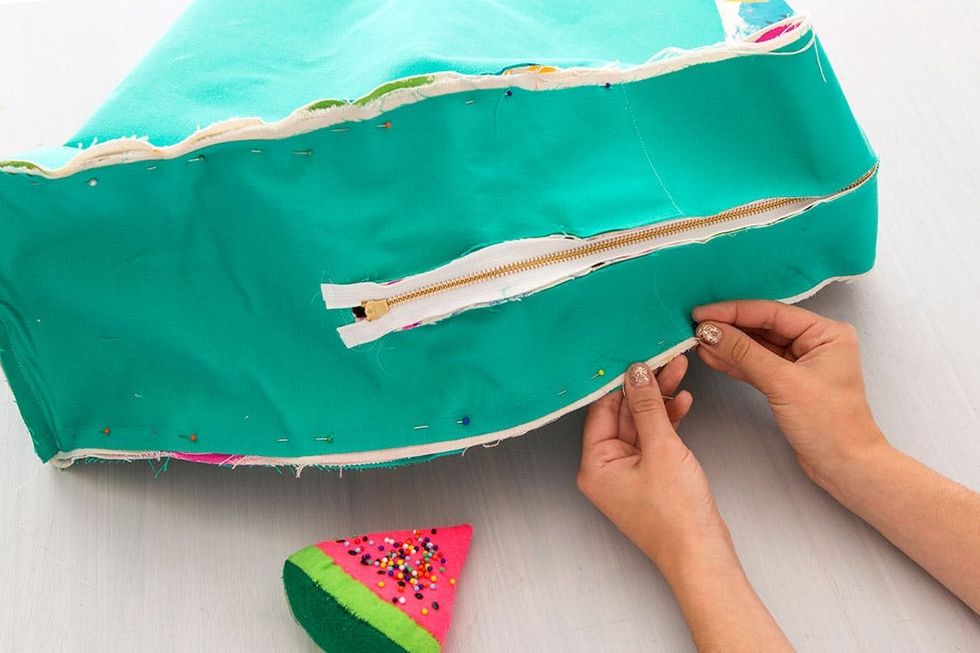
Pin the rest of the band in place. Be patient and work the fabric to the curve of the duffel. (P.S. How cute is our new pin cushion? I just picked it up from an amazing lady in South Africa. Check out her felt masterpieces at Angelpie Creations).
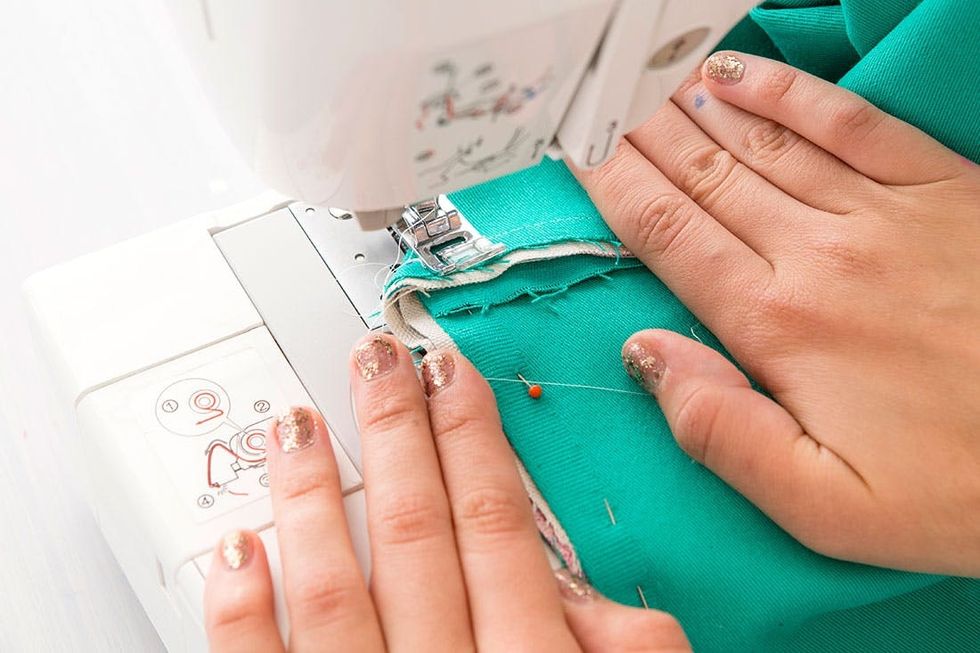
Start sewing the two curved edges of the duffel. When you begin your stitch, fold over the bottom edge slightly to form a small triangle with your stitch in the previous step. Sew slowly — this fabric is thick.
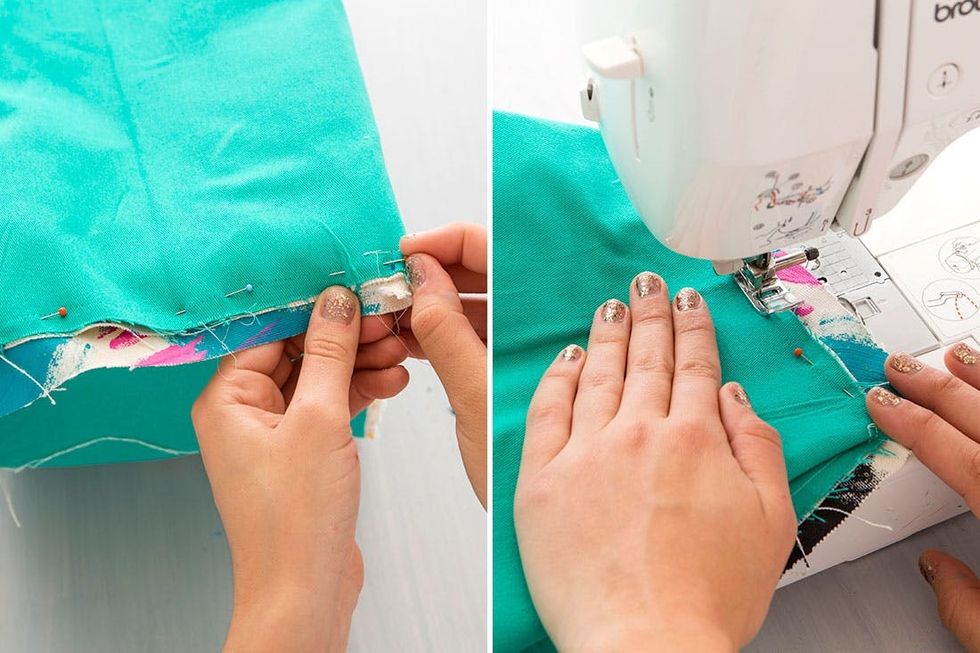
Once you’ve sewn the two curved edges, pin the edge of the rectangle to the base of the duffel. Sew and allow the fabric to fold, creating small triangles on the edges.
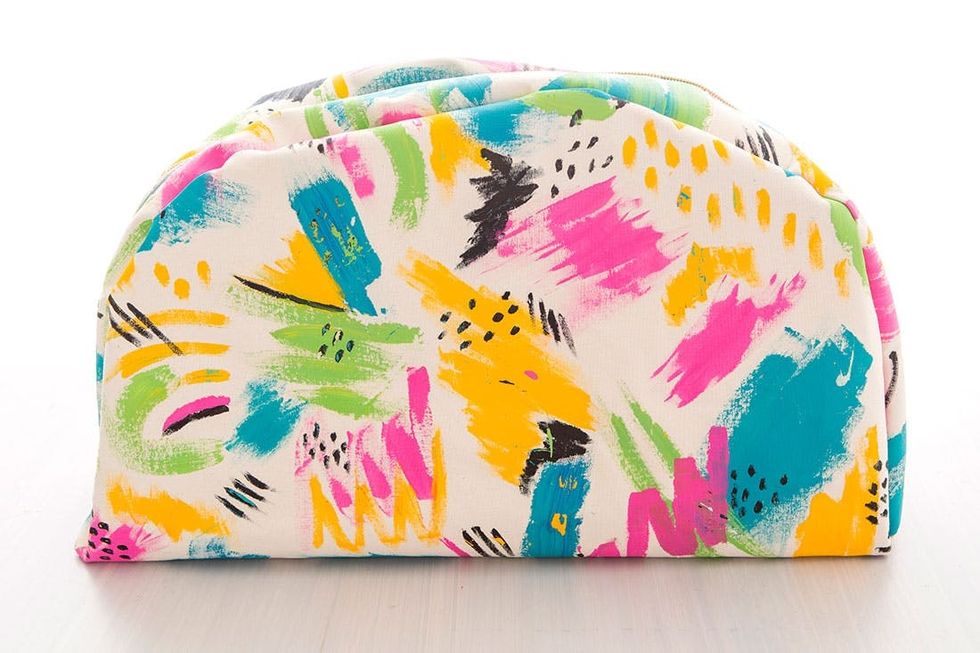
Check it out! So fun to see the reveal of your custom painted duffel. Now we need to add straps.
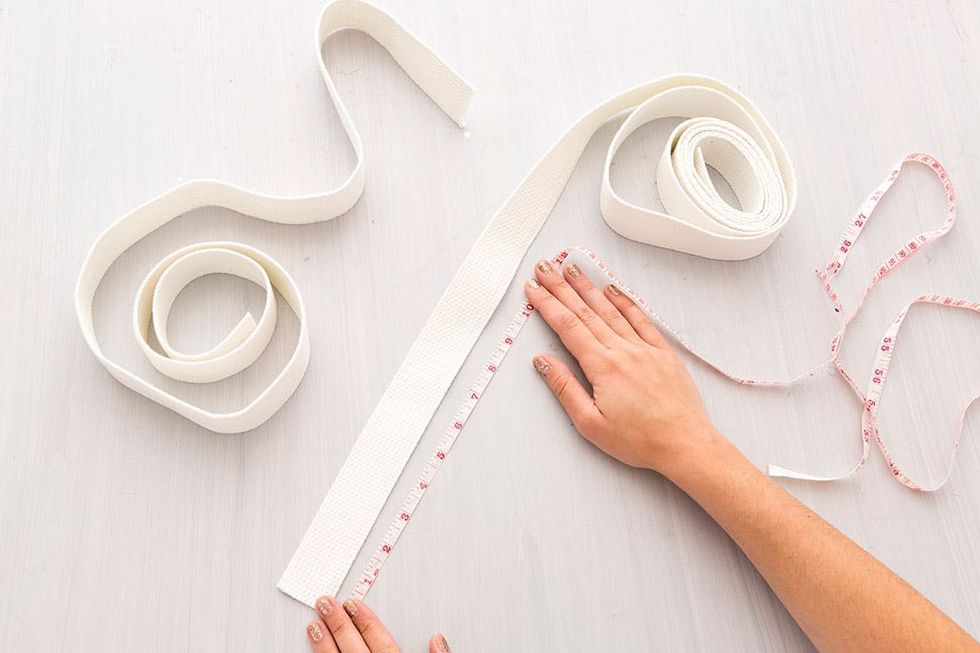
Cut two pieces of cotton straps that measure 53 inches in length. It seems crazy long, but I’ve measured it three times and that length is the winner.
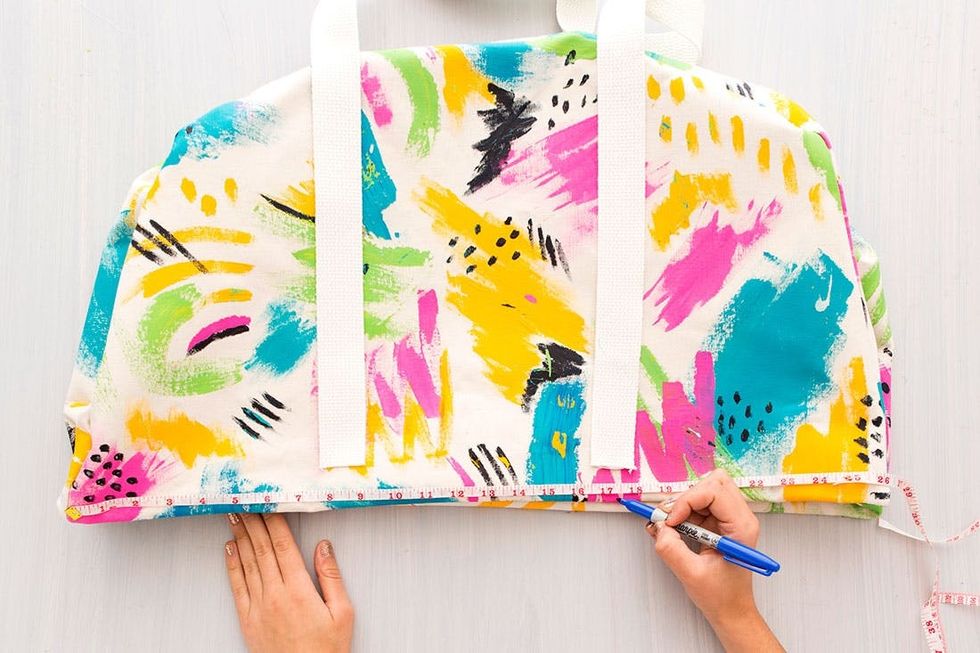
Measure 8″ from each edge of the bag and lightly mark where your straps will be placed. You can even create a line extending upwards so you can make sure your straps will lay pin straight and not warp around.
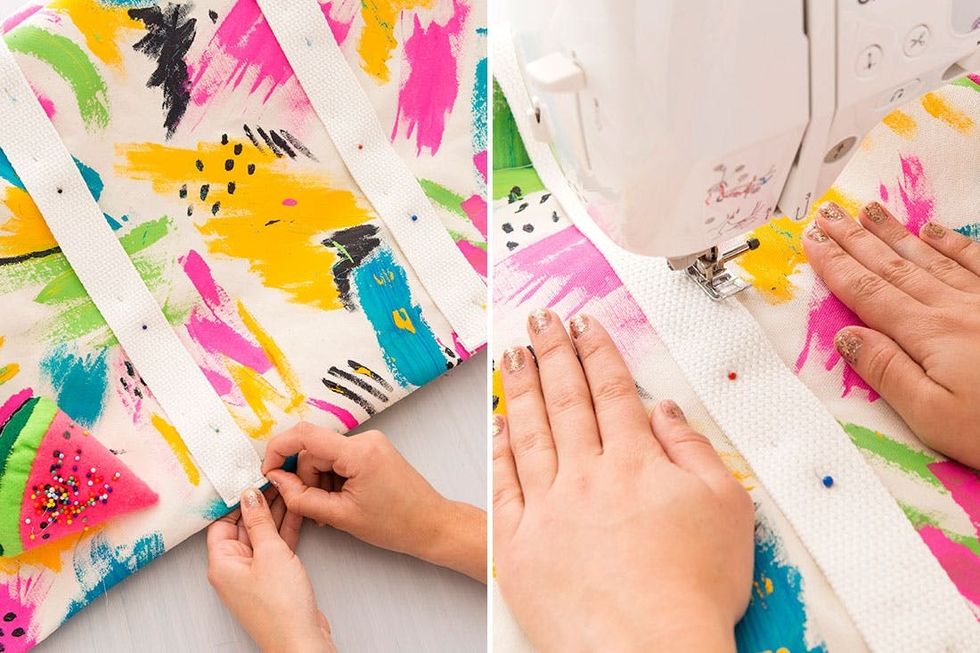
Pin the straps in a straight line and then sew to the bag. Make sure you are only sewing to one side of the bag and don’t accidentally sew your bag closed ;)
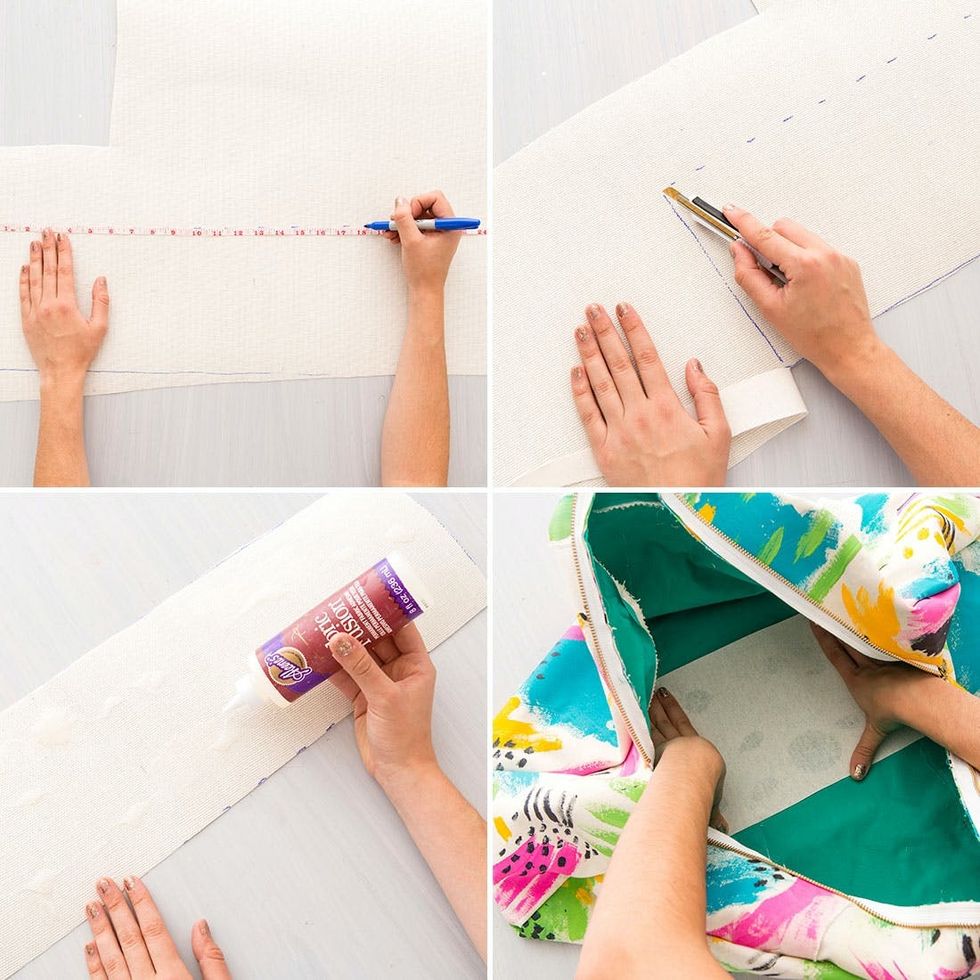
This was my first time using buckram, and I was pleasantly surprised. It comes tightly rolled so you will need to give it time to flatten out. I even found that running an iron over it helped flatten it out faster. Using a box cutter, cut out a piece that measures 7 x 27 inches, and glue into the bottom of the bag. If you’re not a fan of the canvas color, feel free to glue a piece of leftover fabric on top of the buckram.
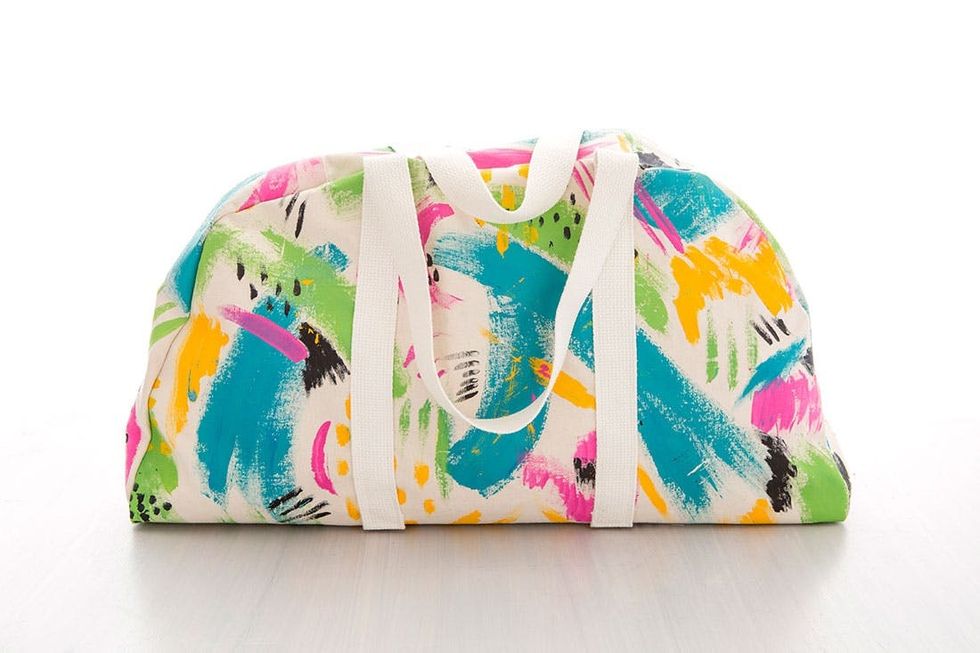
Saying that we are obsessed with this weekender is an understatement. I may or may not have just booked a long weekend trip to Nashville just to debut this fabulous duffel ;)

Show us your project by tagging us on Instagram + using the hashtag #iamcreative!


