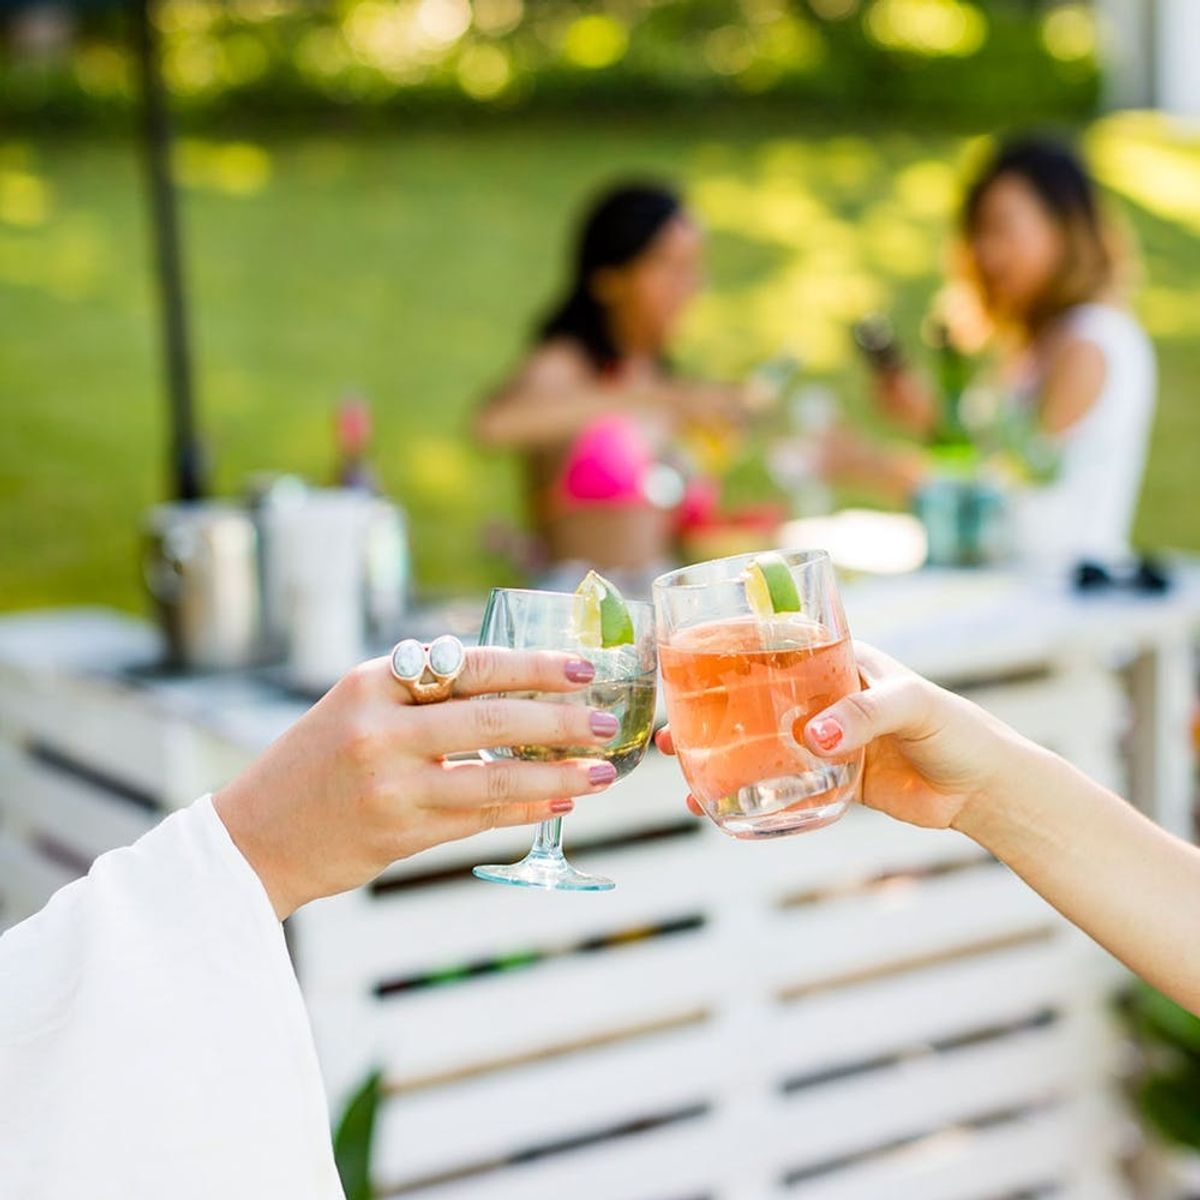
This bar is the perfect addition to your summer parties.
DIY This Pool Bar Made from Pallets to Step Up Your Backyard Game

Woodworking is a skill that I dream to one day master. Knowing my way around saws, wood grains, and stains sounds like the perfect life. But, as of today, I am nowhere near that level. I still make wrong cuts and choose wrong screws — but I’m learning! This pallet bar is the perfect piece to practice basic woodworking skills — it’s foolproof and you’ll have it built within one afternoon. Follow along below to make one for your backyard.


Materials and Tools:
- three pallets (try to find ones that are lightweight)
- 57.5-inch x 24-inch plywood
- (2) 15.5-inch x 8-inch wood boards
- (2) 11.5-inch x 8-inch wood boards
- 55-inch x 8-inch wood board
- (12) 8-inch tiles
- (26) 4-inch tiles
- grout
- grout sealer
- wood glue
- 2-inch wood screws
- 1.5-inch wood screws
- white outdoor paint
- saw
- screw driver
- grout float
- paint brush
- tarp

Let’s get started!

Cut down the left side of the center pallet beam using a hand saw. Complete this step for two pallets. We won’t be using the rest of the pallet, so throw it in the trash or save the boards for another pallet project.

Screw the two cut pallets onto either end of the main pallet. Use the two-inch wood screws and send them in on an angle. Add a screw to each area that the two pallets meet.

Screw the eight-inch boards to the middle support of the pallets to create your bar shelving. The 55-inch piece will go along the main pallet and the two 15.5-inch pieces will add a ledge to the side pallets. Use the 1.5-inch screws to attach the wood shelving onto the pallets.

Look at that — our bar is really shaping up into something fantastic!

Lay your piece of plywood on top of the bar, giving it about a 12-inch lip. This is perfect for the addition of bar stools :)

Screw the plywood into place using the 1.5-inch wood screws.

Place the 11.5-inch boards on the top of the pallets to finish off building the bar. Screw in place with 1.5-inch screws.

There we have it! Our bar made out of pallets — now let’s spruce it up.

Not all pallets are beautiful (no offense, pallets), so a quick coat of white paint will make everything look brighter and cleaner.

Next up — let’s tile our bar! We chose these AMAZING handmade tiles from Fireclay tile. They just released a new line that’s inspired by Northern California, which is perfect for us :) We are absolutely in love with all their colors and patterns, but wait — it gets even better. Fireclay lets you customize their tiles to your own color pallet! It is safe to say I am in tile heaven.

We mixed the Fireclay tiles with four-inch gray tiles to give it that mixed tiled look that we all love. Once you’re happy with your design, use wood glue to adhere the tiles to the wood.

Time to grout! Now I’m going to be honest — it was super hot out when I was building this bar and the grout dried really quickly — which is not a good thing. Make sure you work in small areas at a time. Use your grout float at a 45-degree angle to push the grout into the cracks. Then use the float to wipe up the extra grout that didn’t make it into the cracks.

Use a towel or sponge to remove all the grout left behind. Work in circular motions. Let the grout sit for 24 hours to set completely.

Time to stock the bar! Add your favorite liquors, spirits, and mixers to your inner shelf. Don’t forget your tools — because what use is a bar without a bottle opener and a cocktail shaker?

Set up shop and invite your gang over for a poolside happy hour.

Cut up some summer fruit and display them on the bar. They can double as cocktail inspiration or snackable pieces for guests.

Oh yeah, we can get used to this :)

Now let’s hop in the pool! Cute floaties are a MUST.

We are currently obsessed with this YAY floaty that you can pick up from AlwaysFits.com. I mean, it even has glitter — favorite floatie forever.

Happy summer, y’all!
Show us your latest project by tagging us on Instagram + using hashtag #iamcreative!
Brit + Co may at times use affiliate links to promote products sold by others, but always offers genuine editorial recommendations.
DIY Production and Styling: Kelly Bryden
Models: Kelly Bryden, Beth Wischnia, Alyssa Rusin, Michelle, Lolly Dormino
Photography: Brittany Griffin and Kurt Andre
Tiles: Fireclay Tile
YAY Pool float: AlwaysFits


