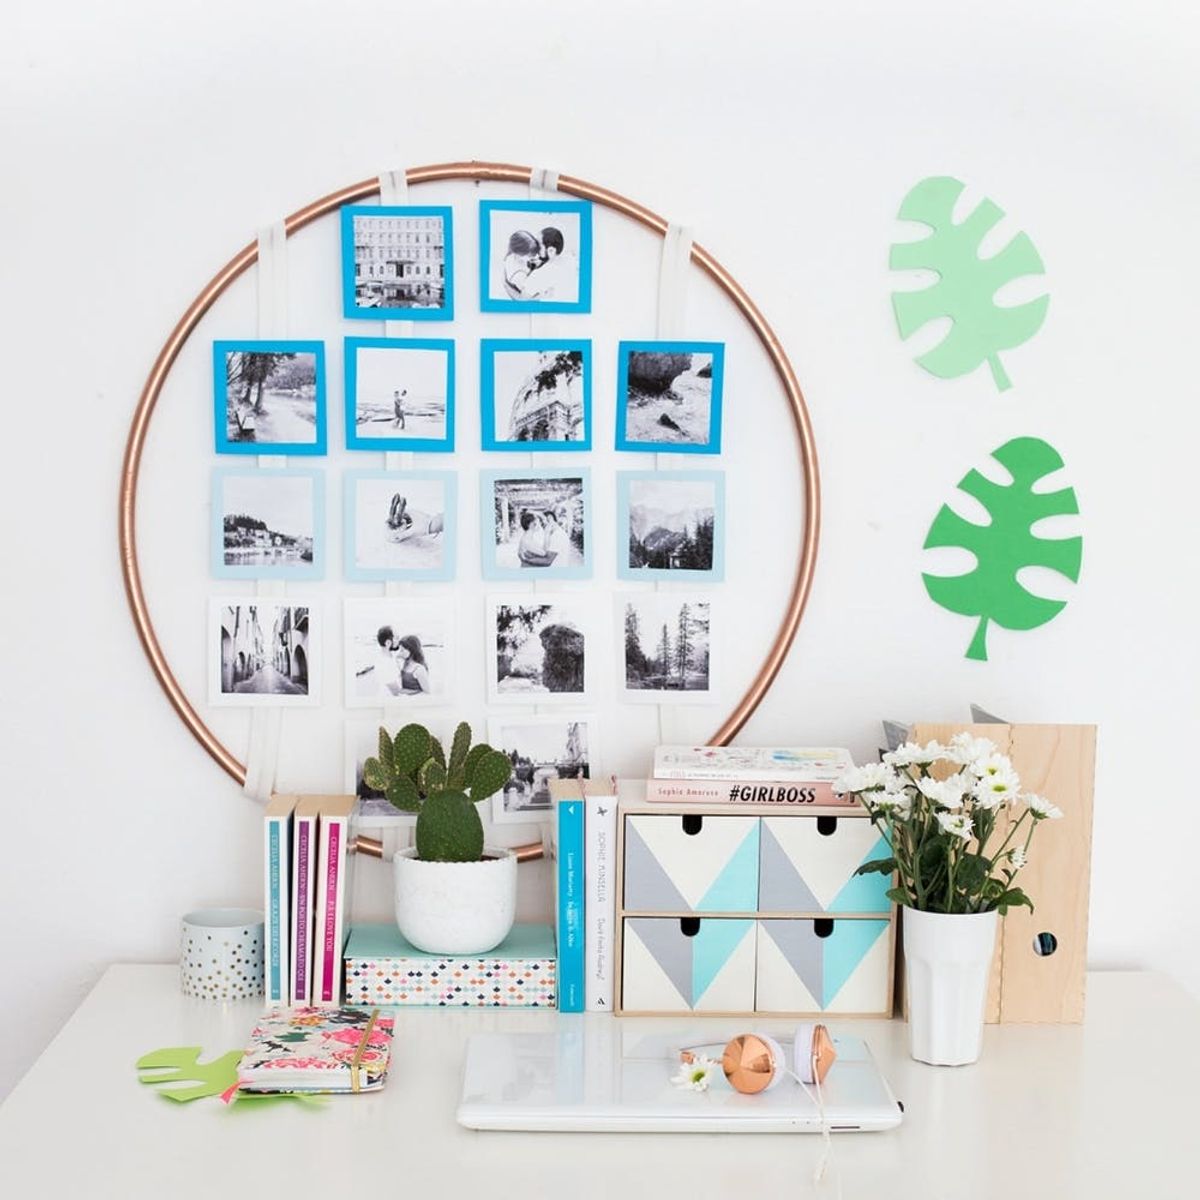
Add a colorful touch to your dorm with this easy DIY photo display.
Try This Easy Photo Display DIY to Spruce Up Your Dorm Room

You probably know how much we love well-decorated rooms and colorful pieces of furniture. Well, girls, dorm rooms are no different. Just because you’re living in a tiny space for a few months, doesn’t mean you can’t add some chic (yet affordable!) dorm decor to your space and express your style from floor to ceiling! So if you’ve already spent your summer money on cute clothes, textbooks and ’90s-inspired clogs and mules, check out this inexpensive DIY to decorate your workspace with photos.
Materials and Tools:
— hula hoop
— photos
— ruler
— scissors
— pen
— ribbon
— copper spray paint
— glue gun
— A4 card stock
Instructions:
1. Protect your surface, then spray paint your hula hoop. Let it completely dry.
2. Use your pen and ruler to draw a 5 x 5-inch square on a colorful piece of card stock and cut it.
3. Repeat to create 15 more square pieces. Use different colored card stock to create an ombre effect.
4. Glue the 9 x 9-inch photos onto the card stock.
5. Take the ribbon and cut into four pieces. Then glue it to the hula hoop as shown below.
6. Glue the photos to the ribbons and you’re ready to hang your brand new photo display.
First, protect your surface and spray paint the hula hoop using a metallic shade. If you are concerned about ruining your manicure or any rings, I suggest you wear plastic gloves. Next, use a pen or pencil and a ruler to draw a 5 x 5-inch square on a colorful card stock. Cut it out and repeat to create some more squares. I decided to use some dark blue, light blue and white card stock to create an ombre effect, but you can definitely opt for any shade you like.
At this point, glue the 9 x 9-inch photos onto the cardboard, then take the ribbon, cut in four and glue to the hula hoop as shown above. Last, glue the photos to the ribbons, and you’re done!
Hang it close to your desktop and you’ll brighten up your study space in no time!
Follow us on Pinterest for more dorm room decor inspiration!


