Amp up your indoor garden with these DIY terrariums.
You’ll Never Believe What We Used to Build This Terrarium
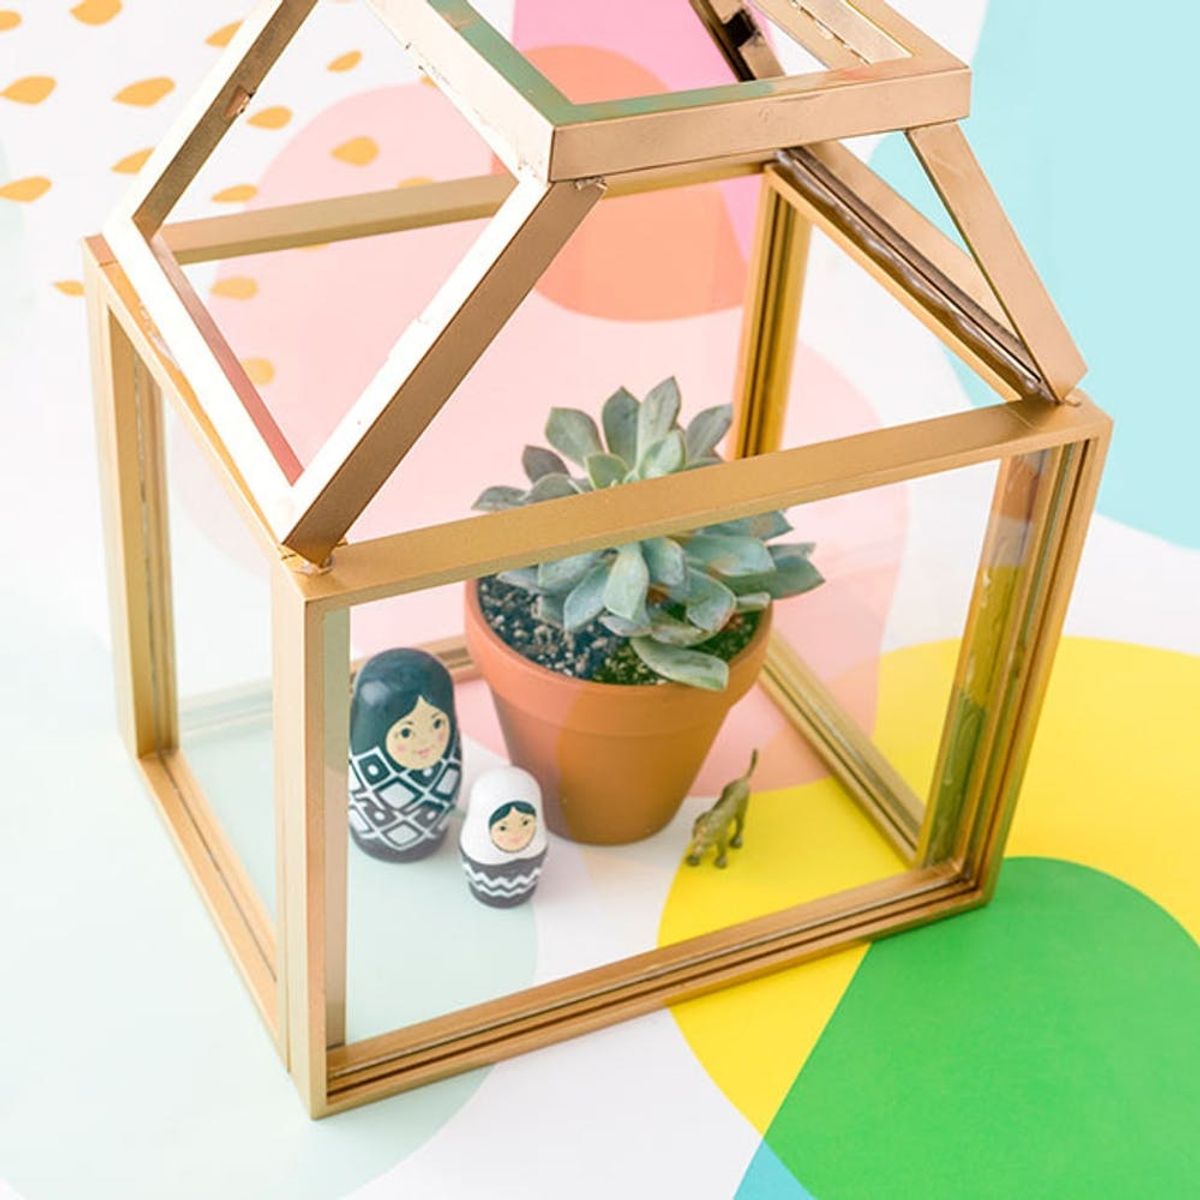
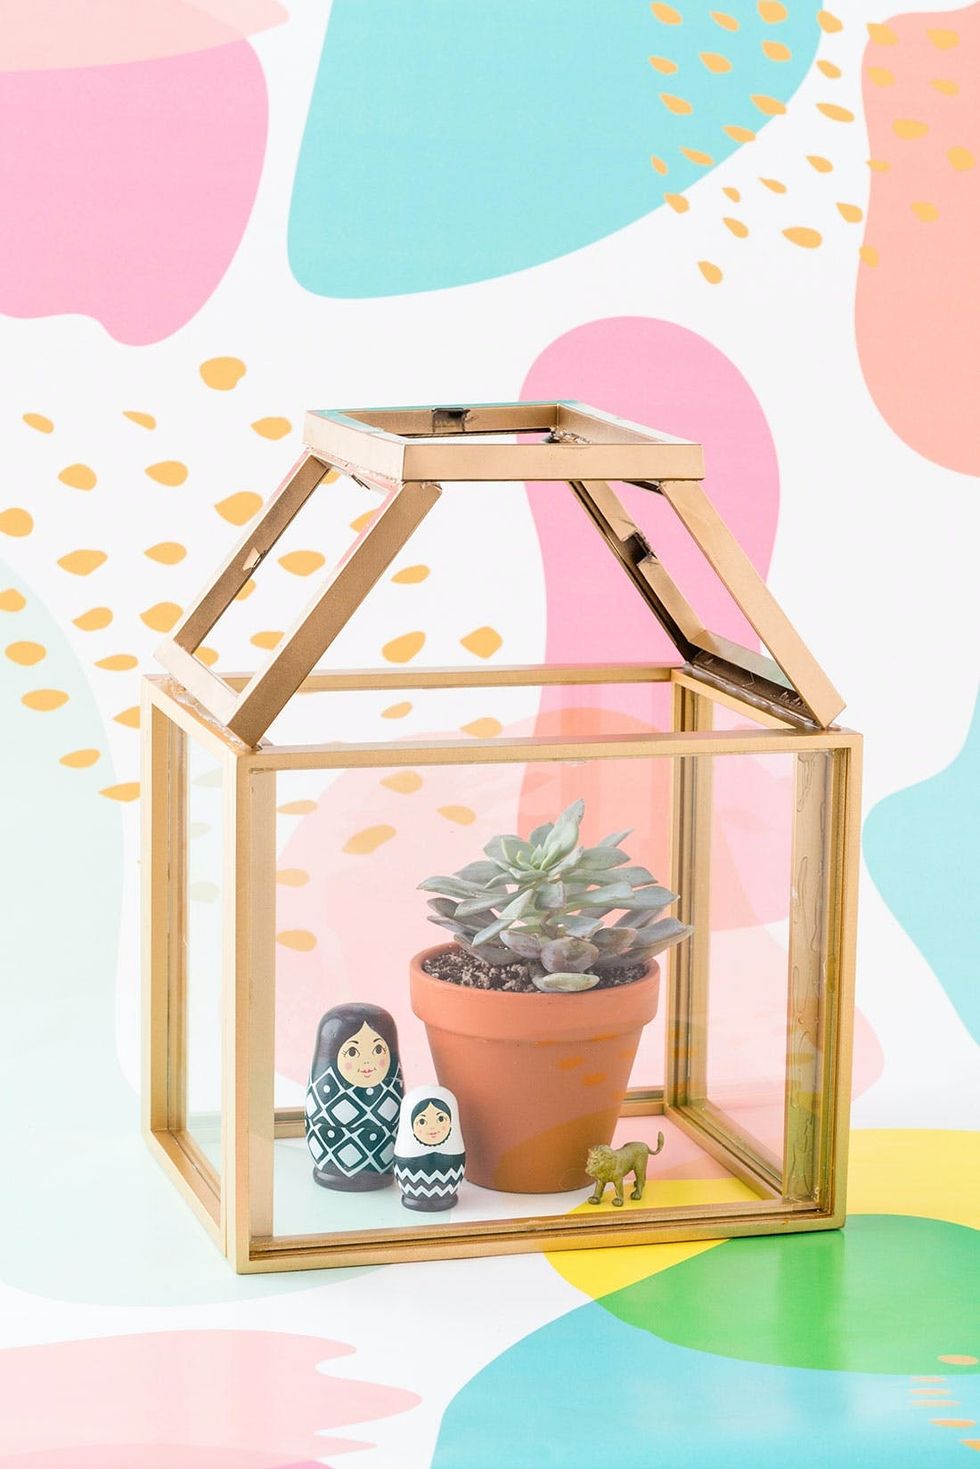
One of the biggest struggles with city living is limited nature. Here at B+C we like to counteract our (mostly) cement living with camping trips and indoor plants everywhere. Unlike some of my coworkers, I can safely say I don’t have a green thumb. I love plants and flowers but constantly forget to water and take care of them. Whoops! That’s why I stick with my favorite desert plant — the succulent. Follow along below to learn how to amp up your indoor garden space with a terrarium made completely out of picture frames!
Materials + Tools:
Instructions:
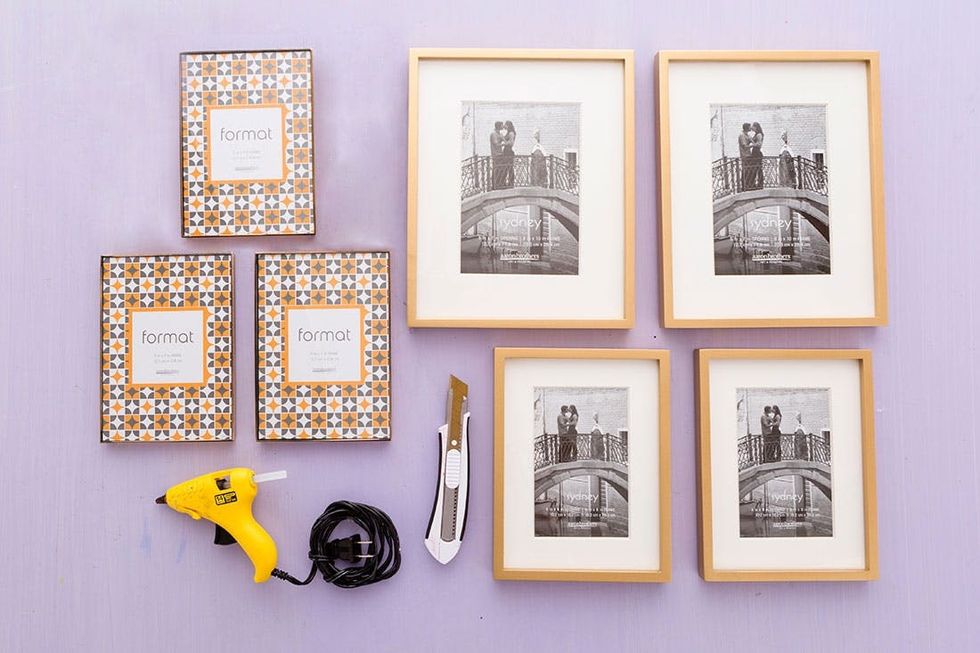
- (2) 8 x 10 picture frames
- (2) 8 x 6 picture frames
- (3) 5 x 7 picture frames
- hot glue gun
- box cutter
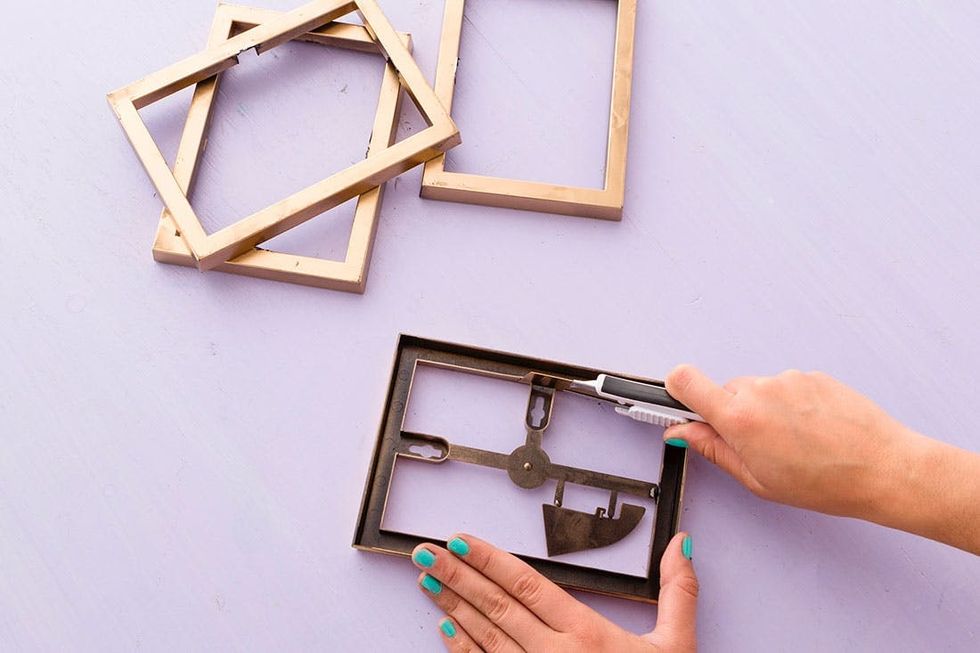
Our smallest picture frames had plastic backs used to hang on the wall — great if you were using it as a conventional frame, but not so great for your see-through terrarium. Use a box cutter to remove the unwanted pieces.
- Remove unwanted backs from picture frames using a box cutter.
- Take out the backs of the frame and hot glue the glass into the frame.
- Hot glue the edges of the 8 x 10 frame to the 8 x 6 frame to create a box.
- To create the top of the terrarium, glue the five-inch side of the three smallest frames together to create a bridge structure.
- Finish off the terrarium by gluing the top of the terrarium to the base.
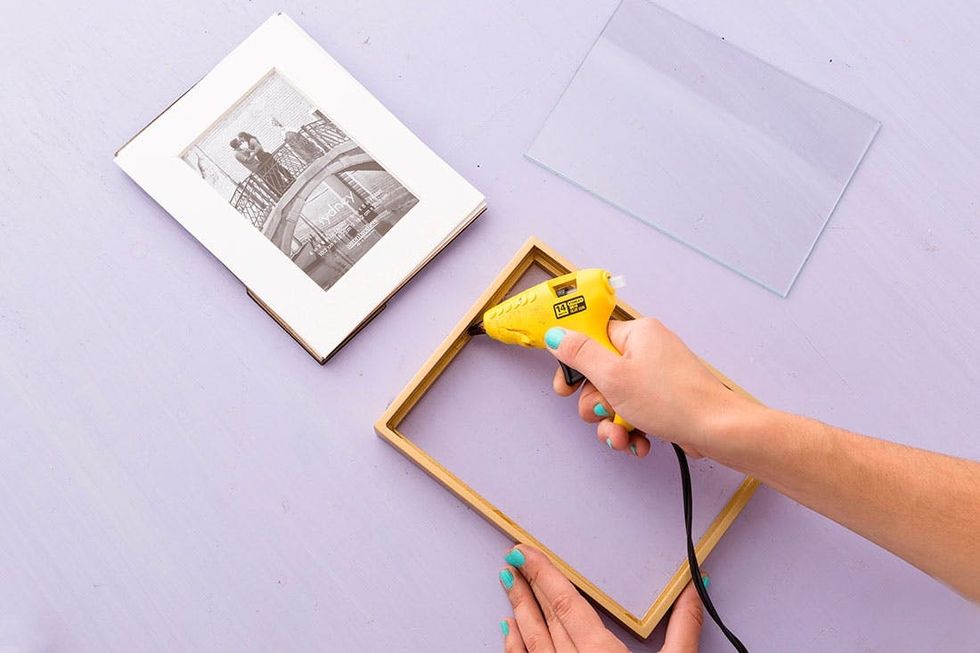
Remove the back of the frame and hot glue the glass into place. Glue the glass back into all four frames on the base of the terrarium.
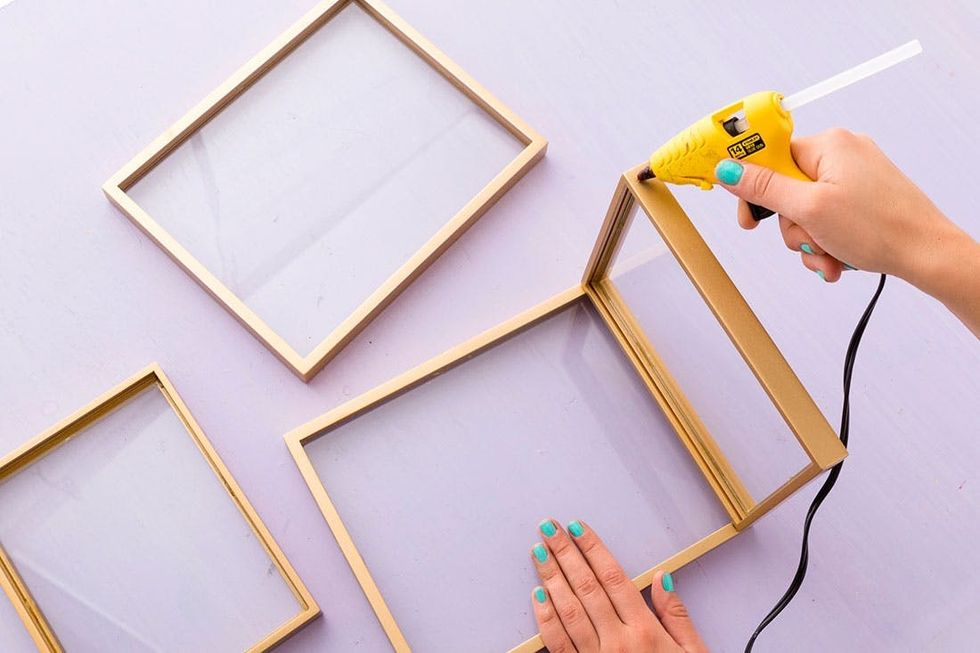
Use a hot glue gun, E6000 or super glue to attach the frames together to create a box.
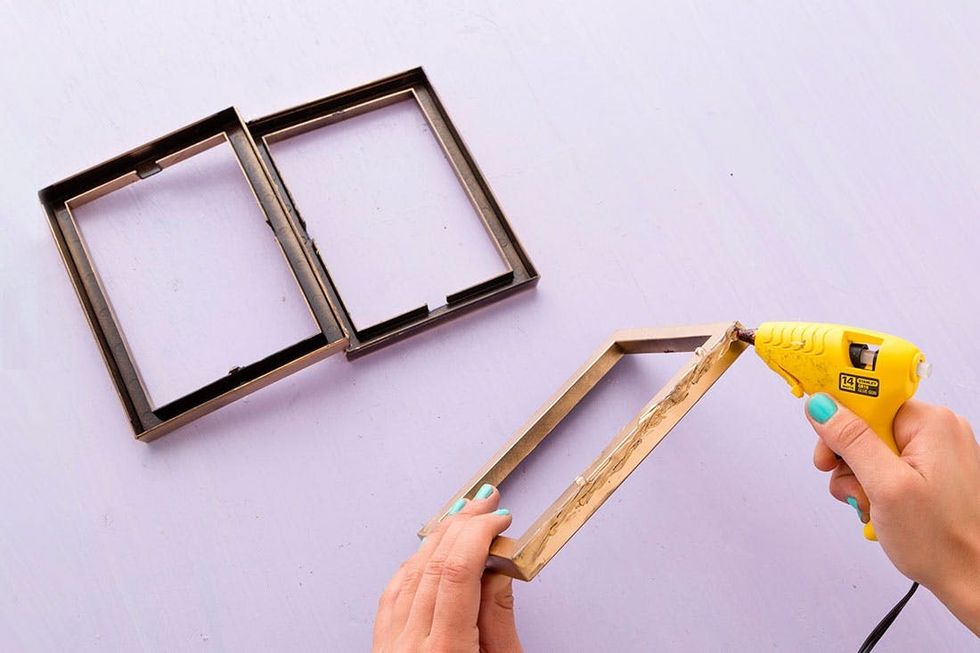
Glue the smallest frames together on their longest edge. Hold the frames in place so they can dry in a bridge structure.

Hot glue the top section of the terrarium to the base, then fill with your favorite plants.
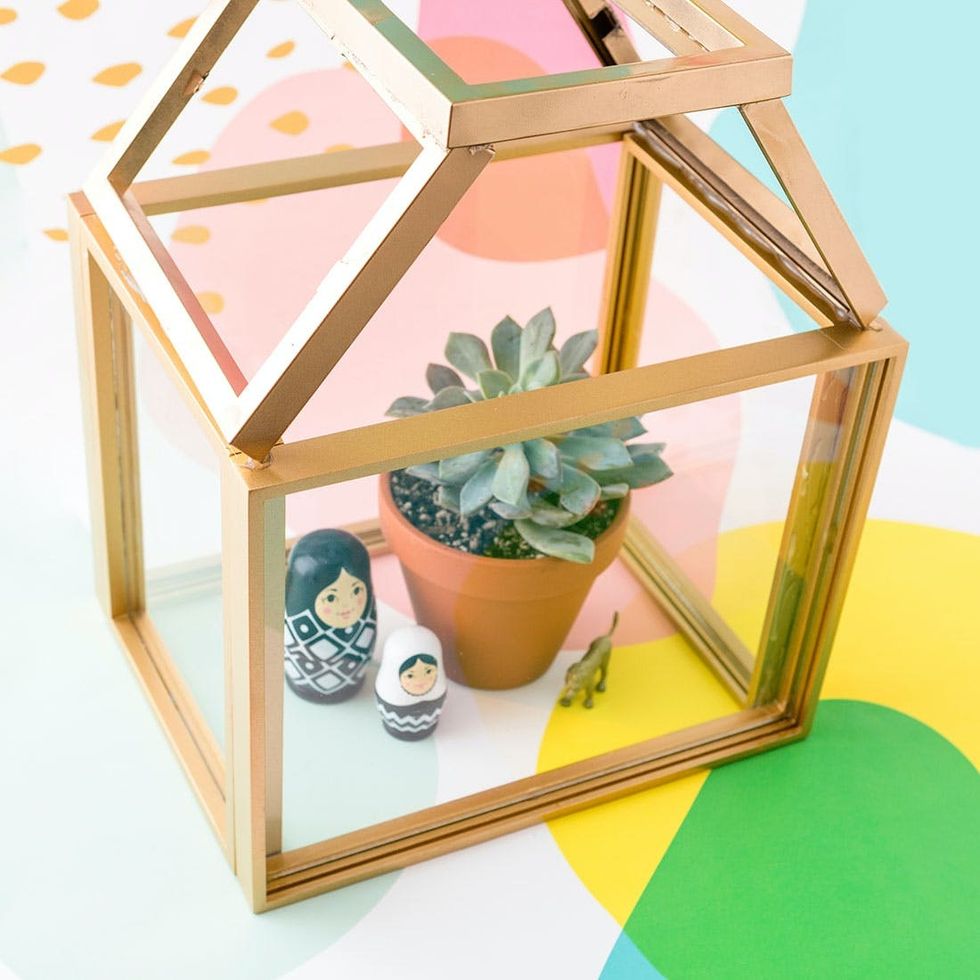
PS: Just don’t forget you still need to water the plants ;)
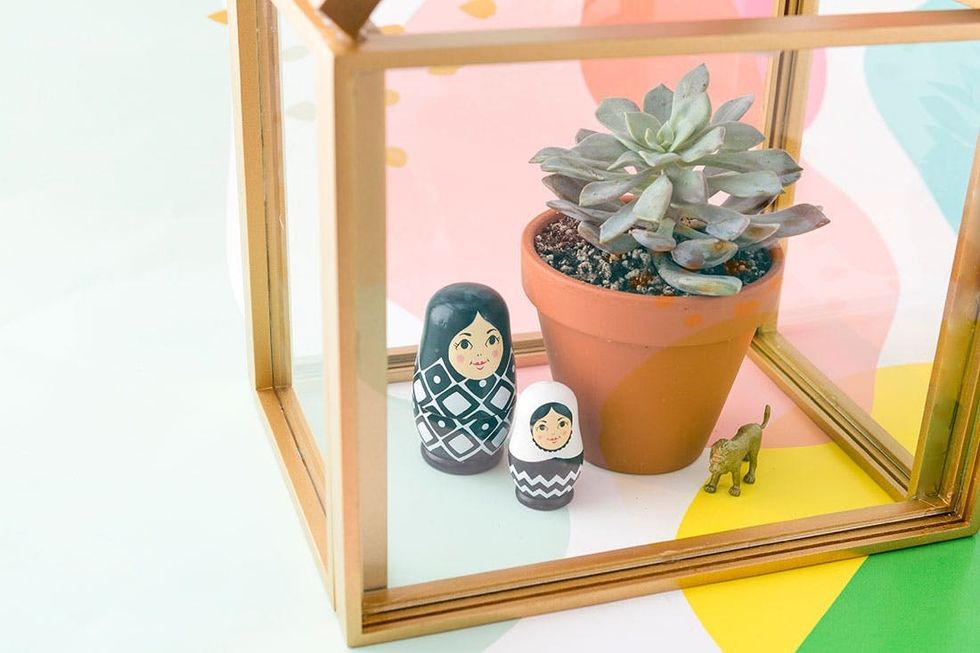
Show us your project by tagging us on Instagram + using the hashtag #iamcreative!


