Easy as pie.
The Best Way to Serve a Pie at Your Friendsgiving Dinner
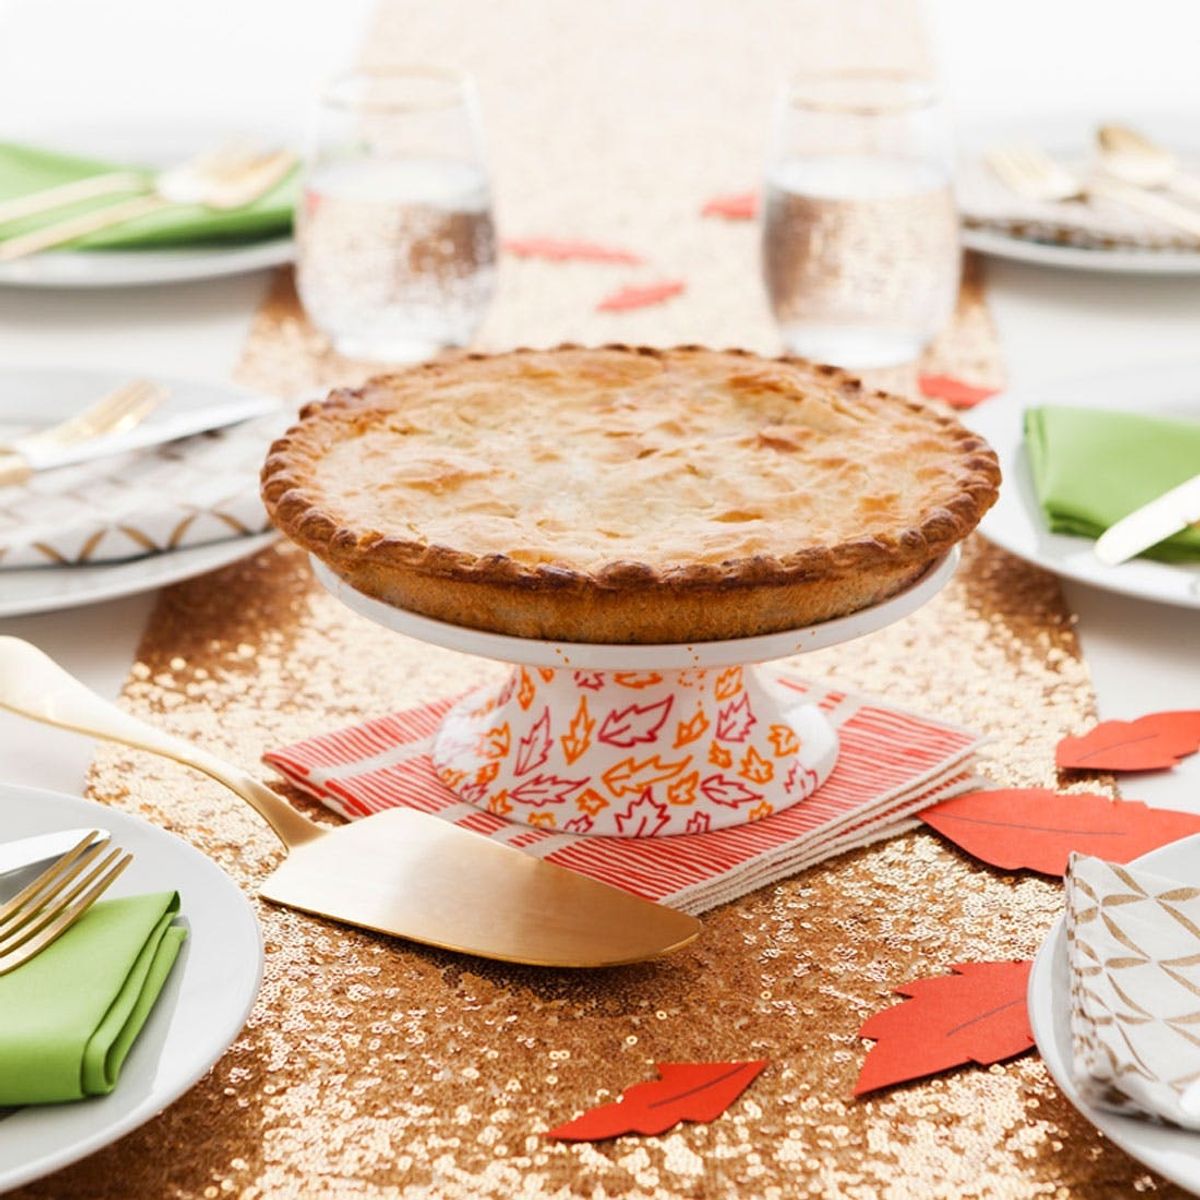
Don’t tell mom, but we secretly love Friendsgiving just a little bit more than Thanksgiving. A day dedicated to eating with people you love, but without all the fuss of cooking everything yourself? We’re in! To make this year’s Friendsgiving dinners even easier, we’ve teamed up with MRS. SMITH’S® to put a DIY spin on plain pie stands — because even though we may be taking a few shortcuts in the kitchen, we still intend on displaying our desserts in style.
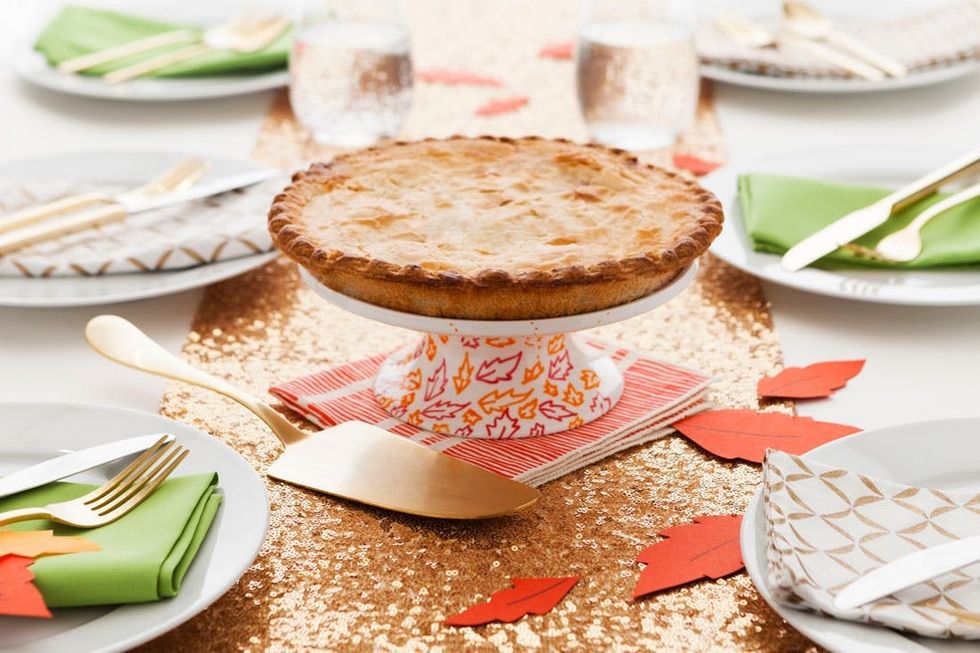
Top off your pie stand with a MRS. SMITH’S® pie and no one will know you didn’t make it from scratch! ;) Whether your pie preferences lean towards the classic pumpkin and apple, or you’re more of a tangy cherry or very berry kind of gal — these pies, made with real butter for the flakiest crust ever, have got you covered!
<br/>
 – 8 inch white ceramic pie stand
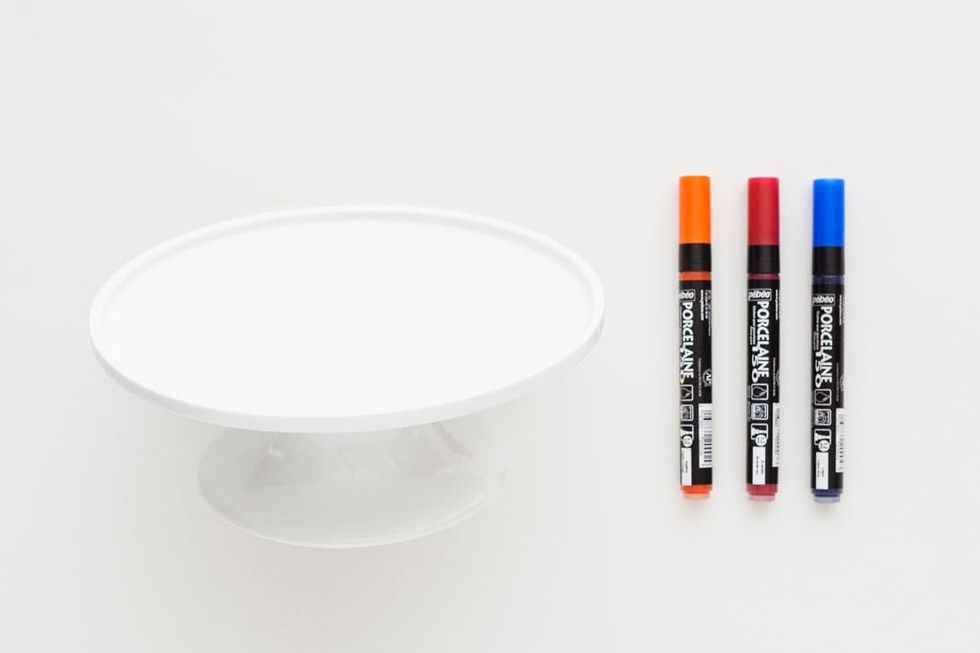
– porcelain pens
Instructions:
1. Press down repeatedly on the porcelain pen tip to start the ink flowing.
2. Begin drawing shapes, words and patterns of your choice onto your pie stand.
3. If you make a mistake, simply wipe it away with a wet paper towel, dry it off and then continue drawing your design.
4. Let your paint pen design dry for 24 hours and then bake in your regular household oven for 35 minutes at 300º Fahrenheit.
That’s it – seriously. Easiest DIY ever and dishwasher safe after you bake it in the oven! So grab your supplies and follow along!
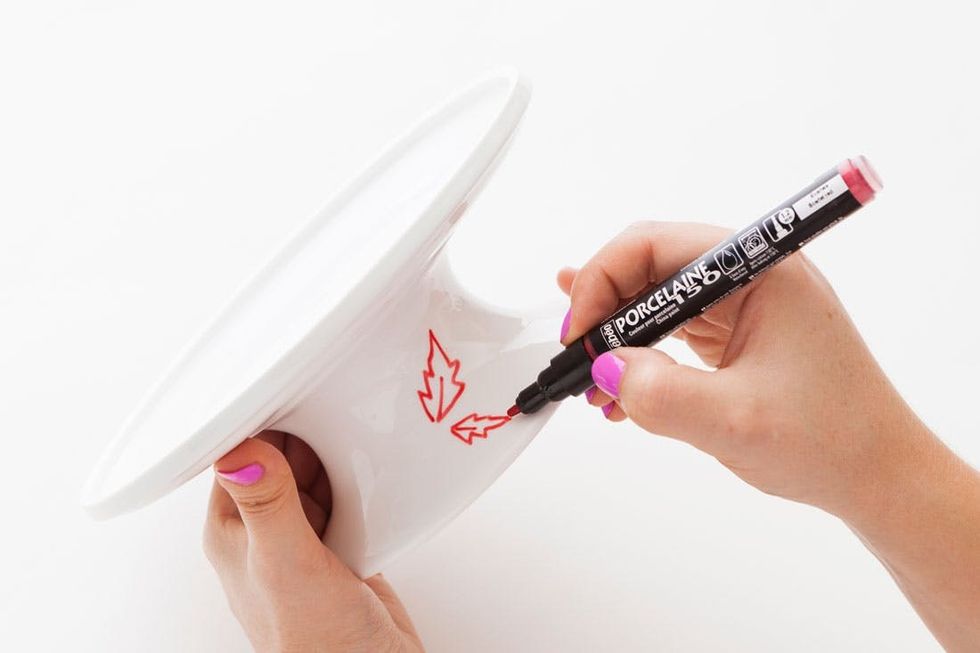
Press down repeatedly on the pen tip to start the ink flowing, and then start drawing shapes, words and patterns of your choice onto your pie stand. Note that these pens, while dishwasher safe after being baked, are not meant to come in contact with food, so make sure to keep your design on the base of your stand.
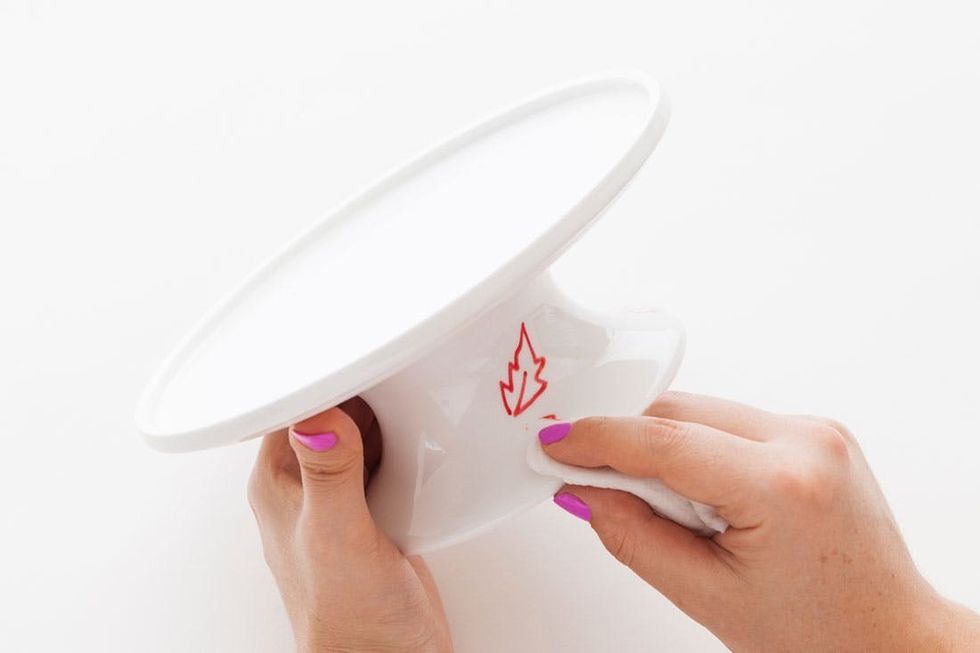
Remember, if you make a mistake, it’s easy to start over. Simply wipe your design away with a wet paper towel, dry it off and then continue drawing your design.
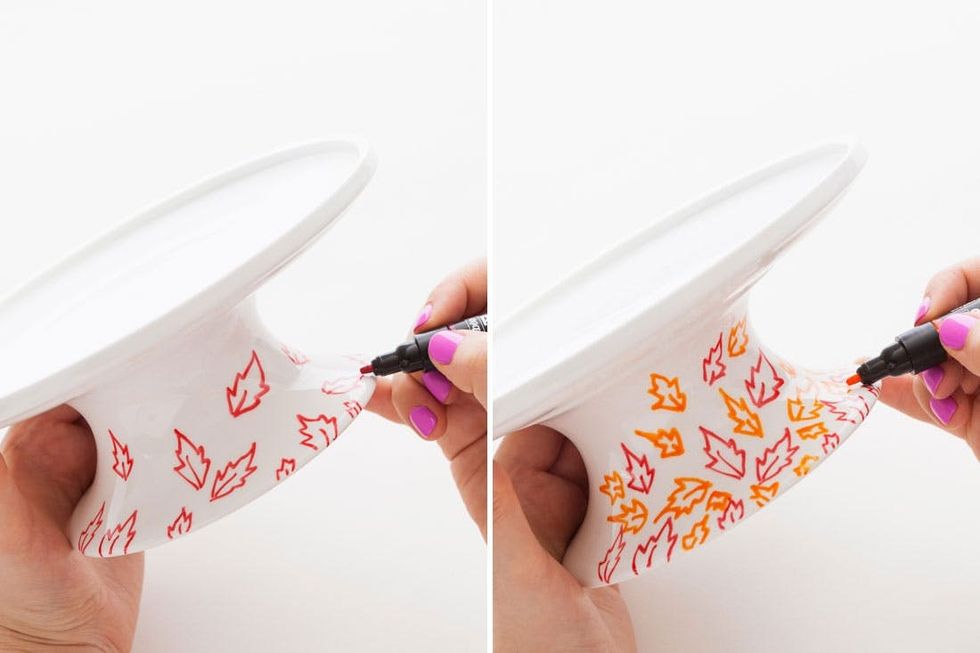
We started this first design off with a bunch of red leaf shapes, followed by some orange ones to fill it in.

To give the feeling that these fall leaves are blowing in the wind, we added a few swirling dotted lines.
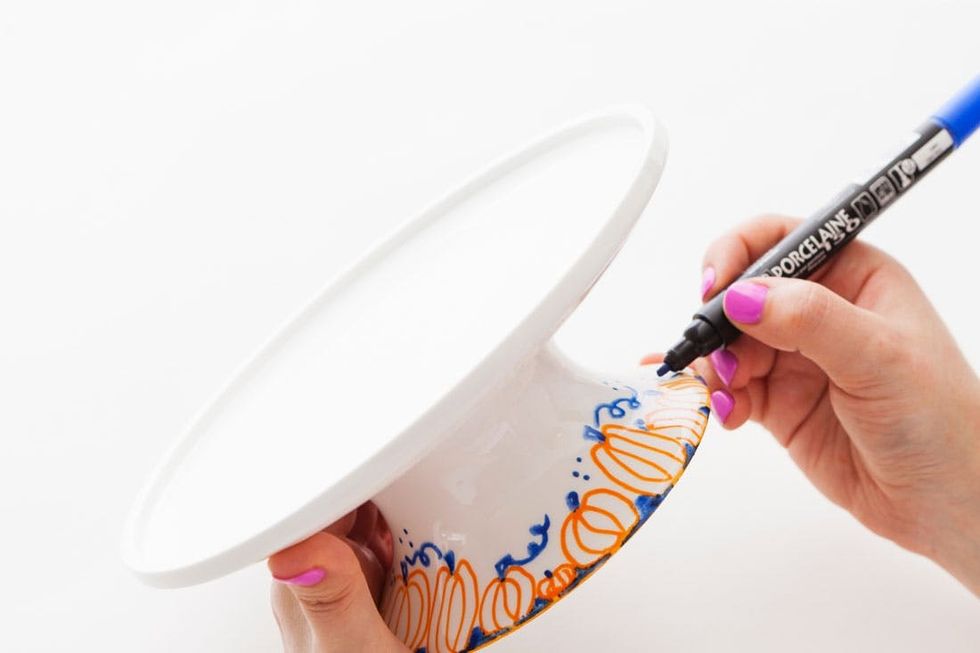
For a second festive pattern we drew a little pumpkin patch all the way around the base of the stand. Add little stems and vines on top of orange pumpkin shapes to complete the look!
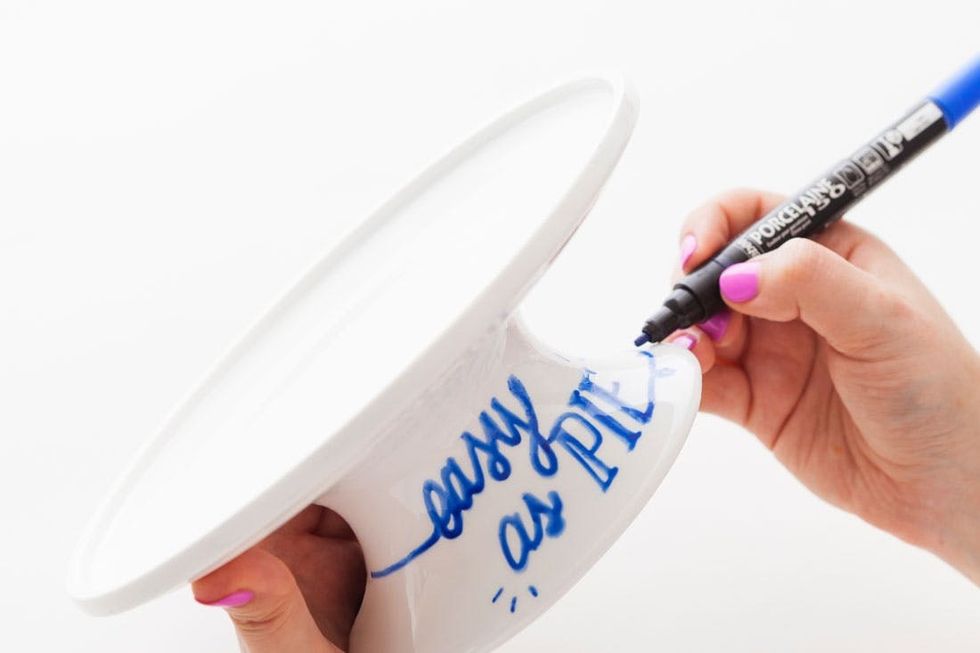
Or if lettering is more your jam, write a little custom phrase onto the base of your pie stand. See? Easy as pie ;)

Once you’re happy with your design, let your stand dry for 24 hours and then bake in your regular household oven for 35 minutes at 300º Fahrenheit to seal the deal and make the whole thing dishwasher safe!
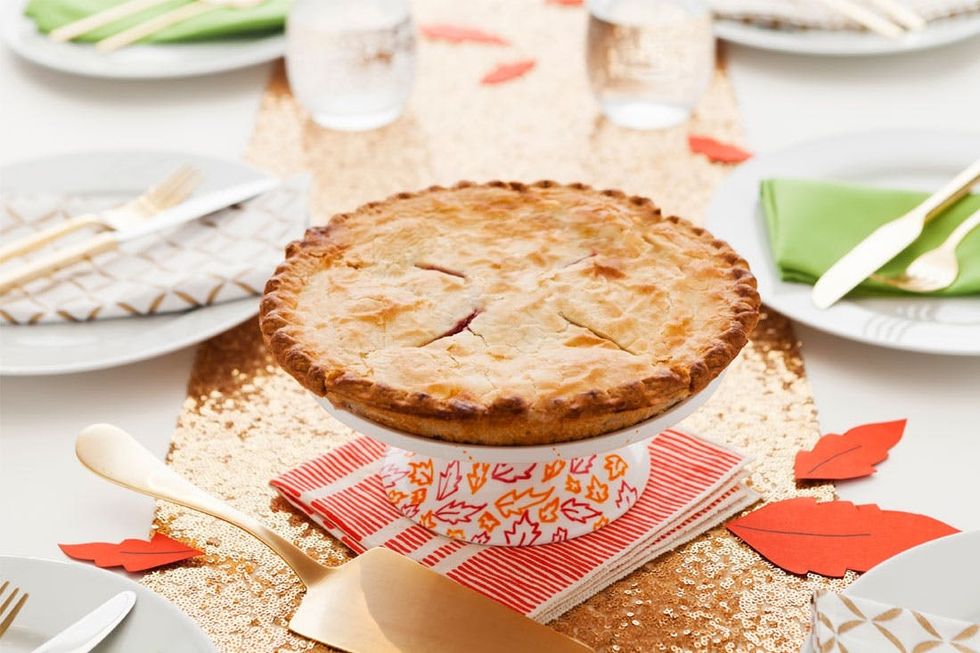
Intimidated by baking a pie from scratch, but still want that homemade taste? No problem, just pop a warm MRS. SMITH’S® pie on top of your new pie stand and your dessert course is complete! We wanted our Friendsgiving table to feel fun and festive so we paired a sparkly gold sequin table runner with white, gold and green linens and then scattered some burnt orange paper leaves around the whole table.

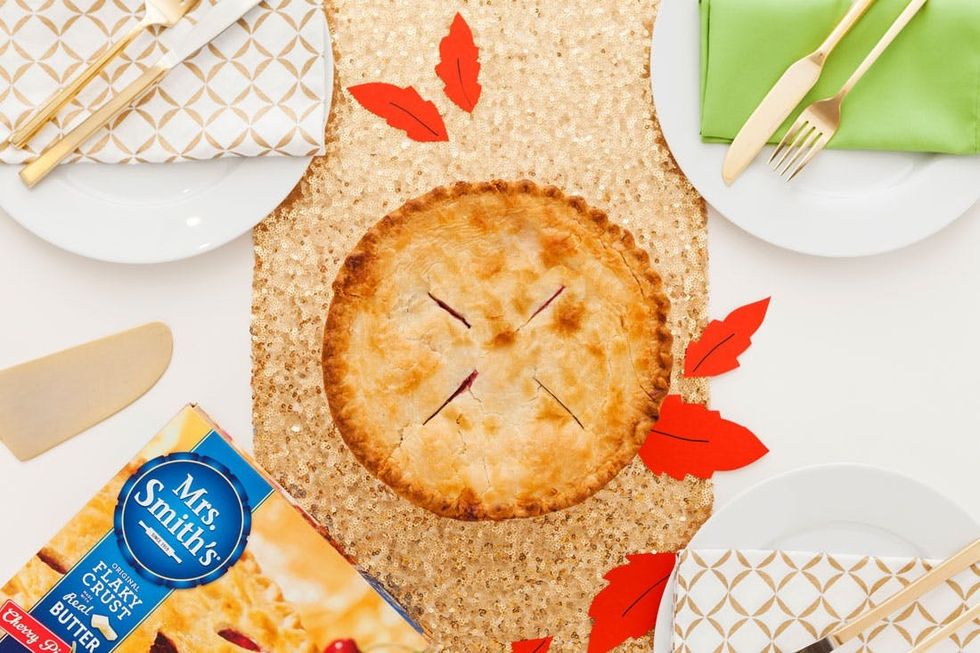
And while we love a good pumpkin pie, we decided to add a little zing to our pleasantly non-traditional Thanksgiving dinner with a MRS. SMITH’S® Original Flaky Crust Cherry Pie. And even better – these pies have one of the cleanest branded pie labels out there, with no high fructose corn syrup, 0 trans fats and no artificial flavors, sweeteners or colors.
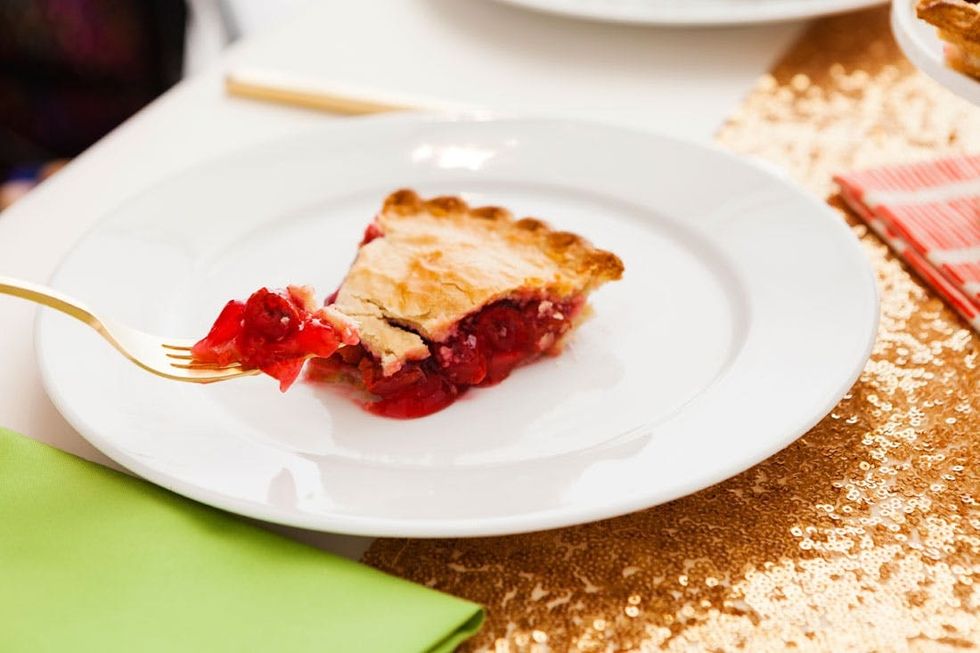
YUM. We’re definitely going back for seconds ;)


