Life Changer: Use Planters As Legs for Your Outdoor Patio Bench
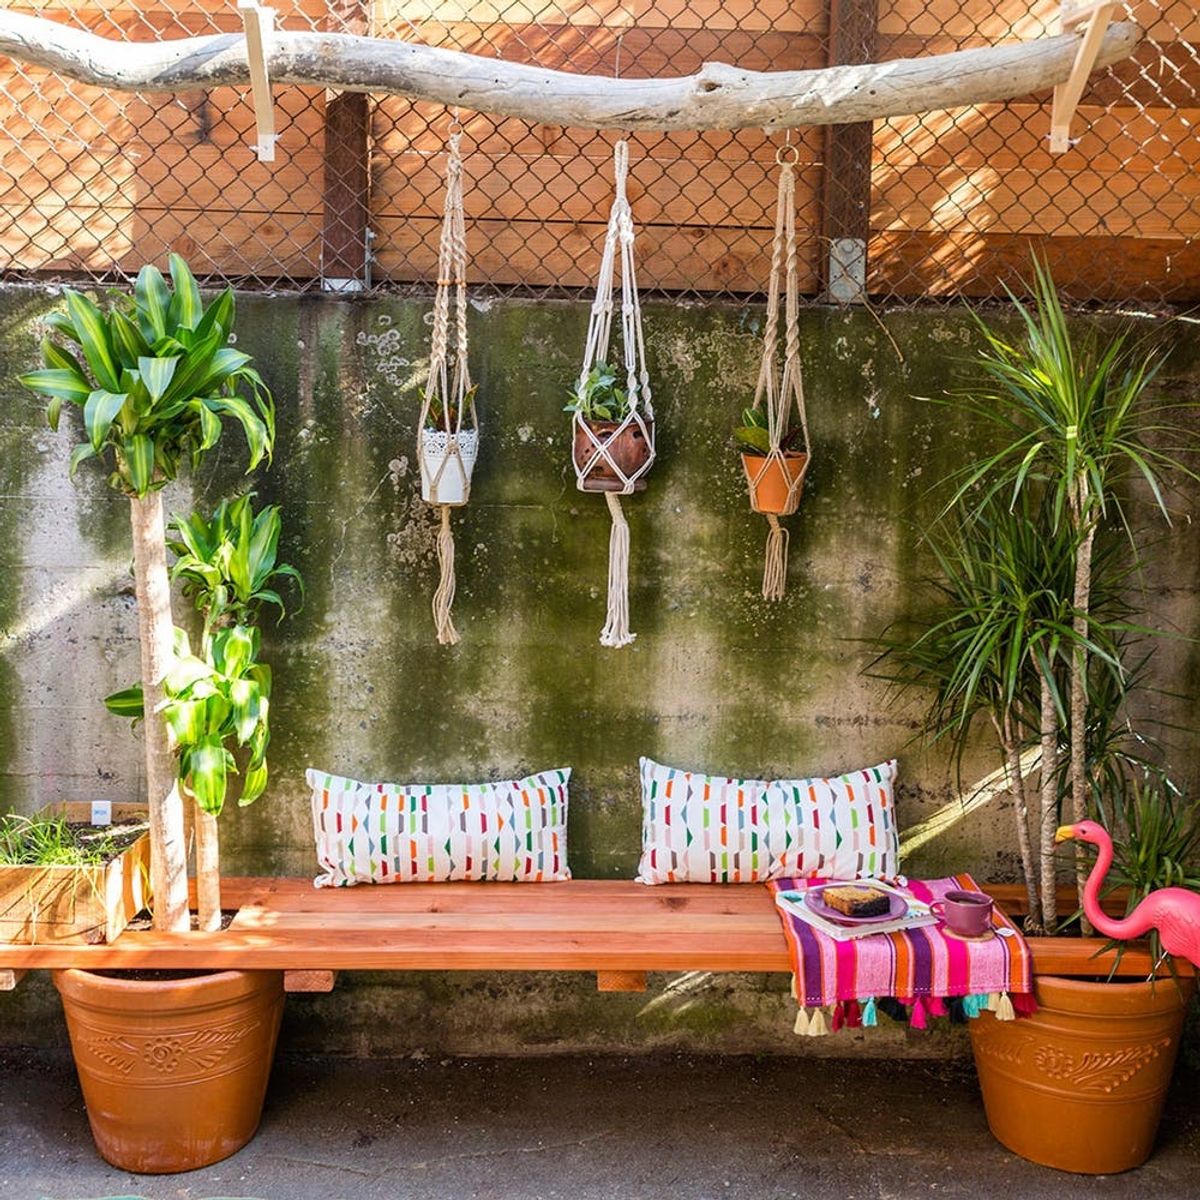
One of the hardest changes when moving from the suburbs to the city is the tremendous loss of backyard space. One minute you have tons of room to run, do cartwheels, and spread out your DIYs, and the next you barely have room for a table. Today we decided to make an outdoor patio bench that provides some greenery while also providing seat-tery. And guess what?! Depending on the types of plants and wood you buy, this bench could cost you a total of $120. Not too shabby :) Follow along below for step-by-step instructions to create the perfect outdoor bench for small-space living.

Materials and Tools:
- two 18-inch pots
- two plants (we bought ours at IKEA)
- two 5-foot 2x4s
- two 8-foot 2x4s
- five or six 15-inch 2x4s (five will be fine, but use six if you want extra support)
- stain
- drill and screw driver
- 2.5-inch screws

Instructions:
- Place your planters about seven feet apart and lay down your strips of wood on top. The two eight-foot pieces will go on either side of the plant and hang over the edge of the pot, and the two five-foot pieces will lay in the middle, resting on the edge of the pot.
- Starting at one end, measure and mark 3.5 inches plus the diameter of the pot on each of the eight-foot pieces. Next, place one 15-inch 2×4 perpendicularly on either side of the planter, lining up one with the edges of the two eight-foot pieces and the second with the marks you just created. This will create a rectangle with the two eight-foot 2x4s. Complete this step on both sides of the planter.
- Line up the 15-inch 2x4s underneath the eight-foot boards (in the rectangle shape discussed above). Drill two pilot holes in the center of each board. Only screw in the 15-inch 2×4 that is lined up with the mark you made in step one, not the one that is on the edge. Complete this step for both sides of the bench.
- Measure 18 inches from the edge of the eight-foot 2×4 — line up the five-foot boards with this mark. Space the two five-foot boards evenly between the two eight-foot boards. Drill and screw into place on each end of the bench.
- Drill and then screw into the 15-inch 2×4. Again, complete this for both sides of the bench.
- The last one (or two) 15-inch 2x4s will be support for the bench. This piece will be drilled in from the underside of the bench, so flip it over. Measure 48 inches from the edge of the bench and line up the 15-inch piece in the center. Drill and screw the support piece in place.
- Stain your wood!
- Slide the wood slats onto the planter and secure the last two 15-inch pieces on the ends of the bench with screws.

Place your planters about seven feet apart and lay down your strips of wood on top. The two eight-foot pieces will go on either side of the plant and hang over the edge of the pot, and the two five-foot pieces will lay in the middle, resting on the edge of the pot.
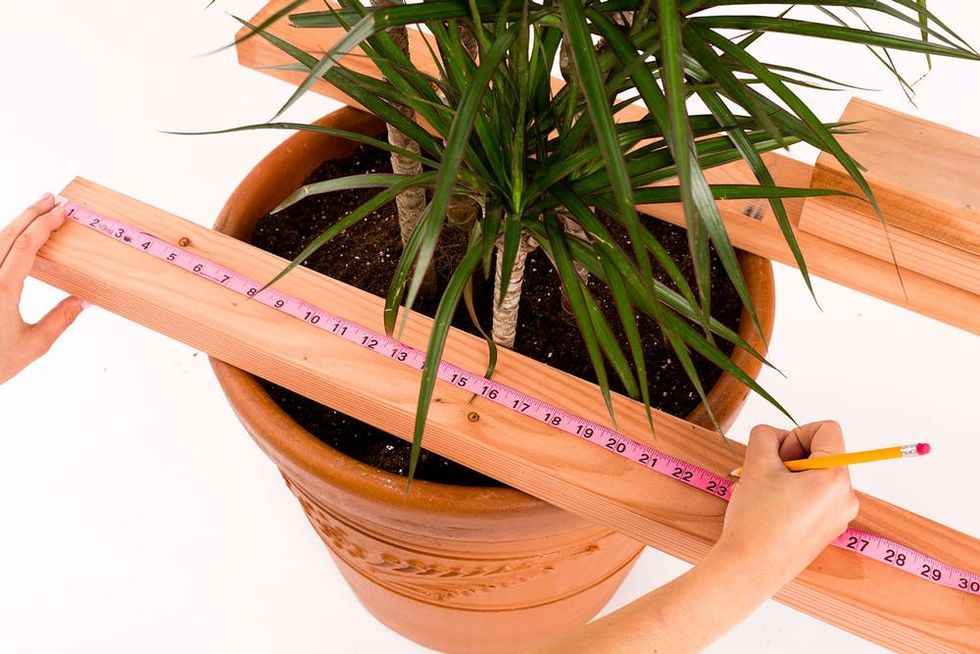
Starting at one end, measure and mark 3.5 inches plus the diameter of the pot on each of the eight-foot pieces. Next, place one 15-inch 2×4 perpendicularly on either side of the planter, lining up one with the edges of the two eight-foot pieces and the second with the marks you just created. This will create a rectangle with the two eight-foot 2x4s. Complete this step on both sides of the planter.
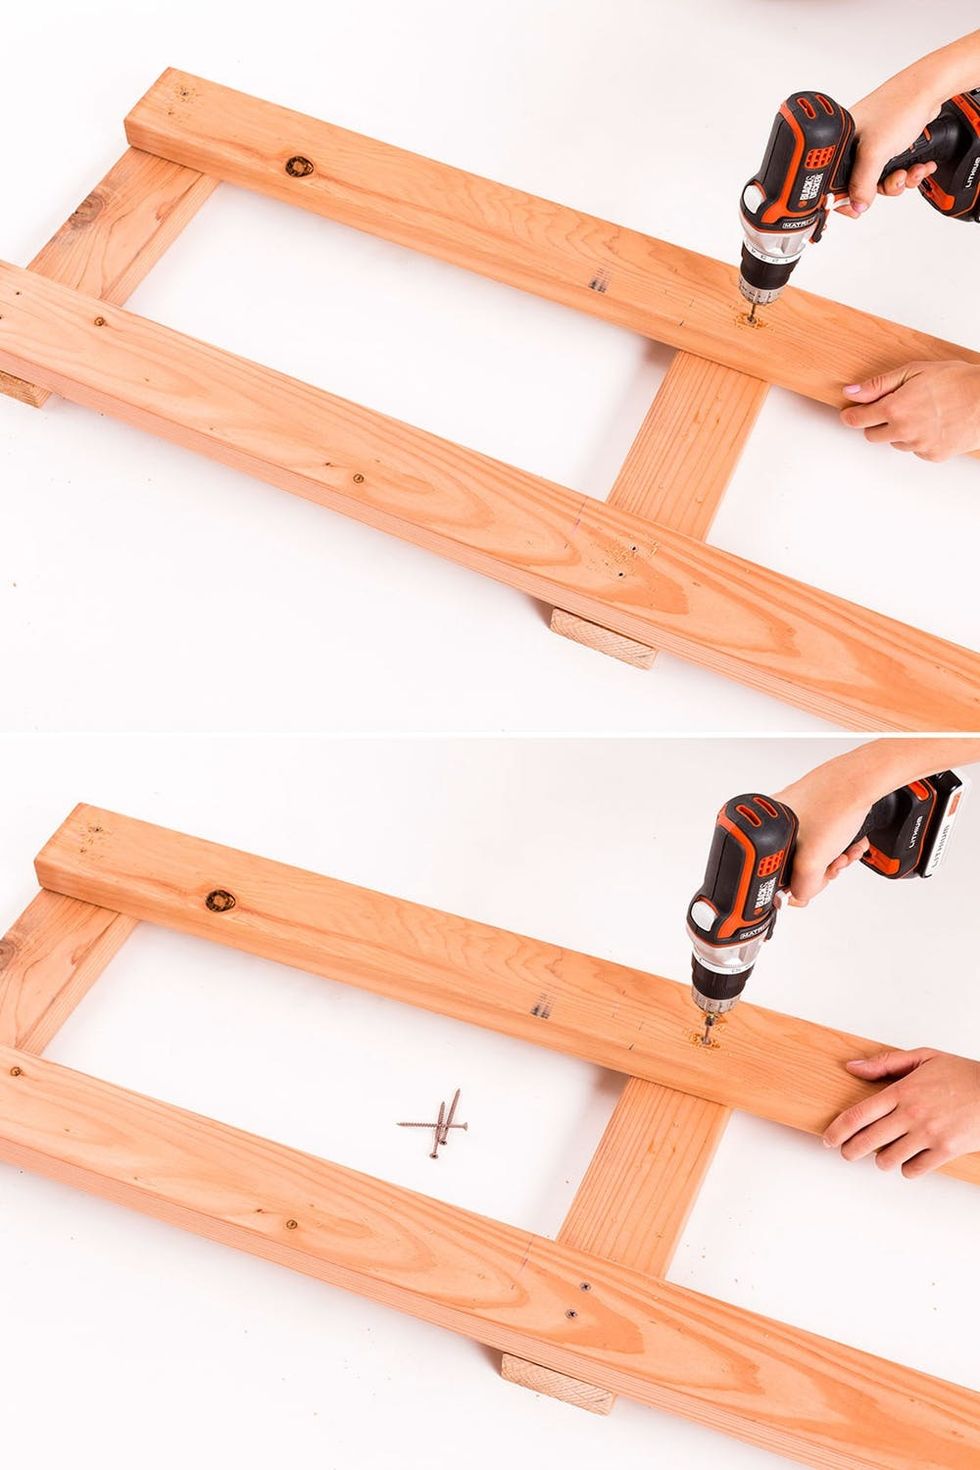
Line up the 15-inch 2x4s underneath the eight-foot boards (in the rectangle shape discussed above). Drill two pilot holes in the center of each board. Only screw in the 15-inch 2×4 that is lined up with the mark you made in step one, not the one that is on the edge. Complete this step for both sides of the bench.
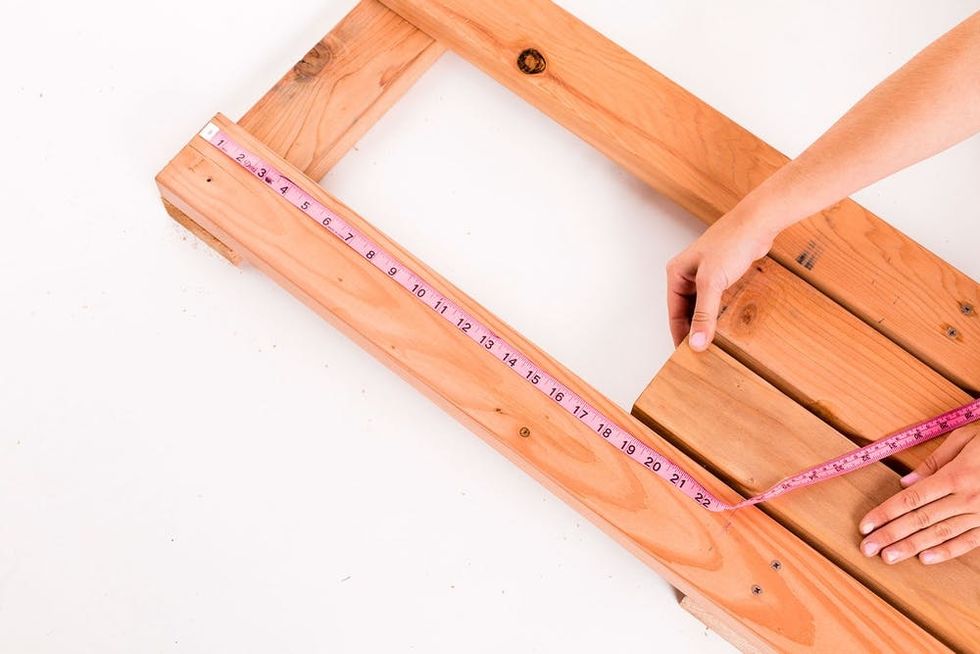
Measure 18 inches from the edge of the eight-foot board and make a mark. Match up the two five-foot boards with this mark. Evenly space them out between the two eight-foot boards.
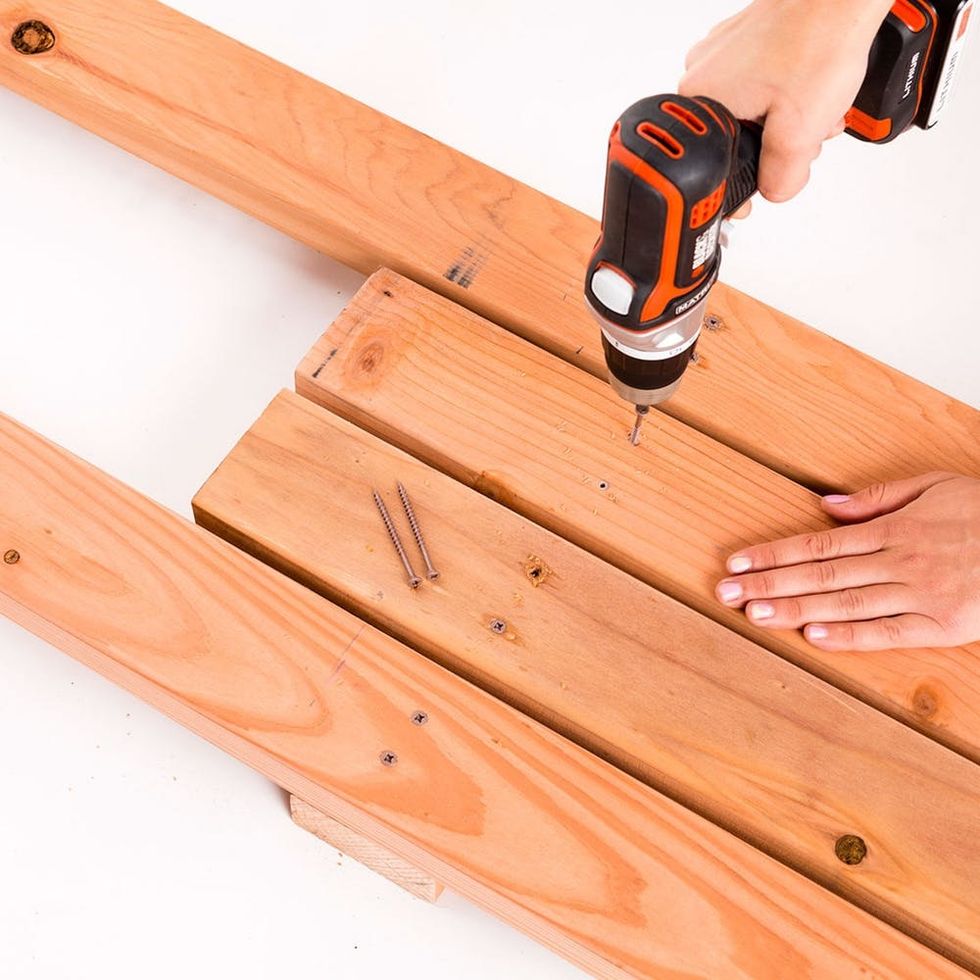
Drill and then screw into the 15-inch 2×4. Again, complete this for both sides of the bench.
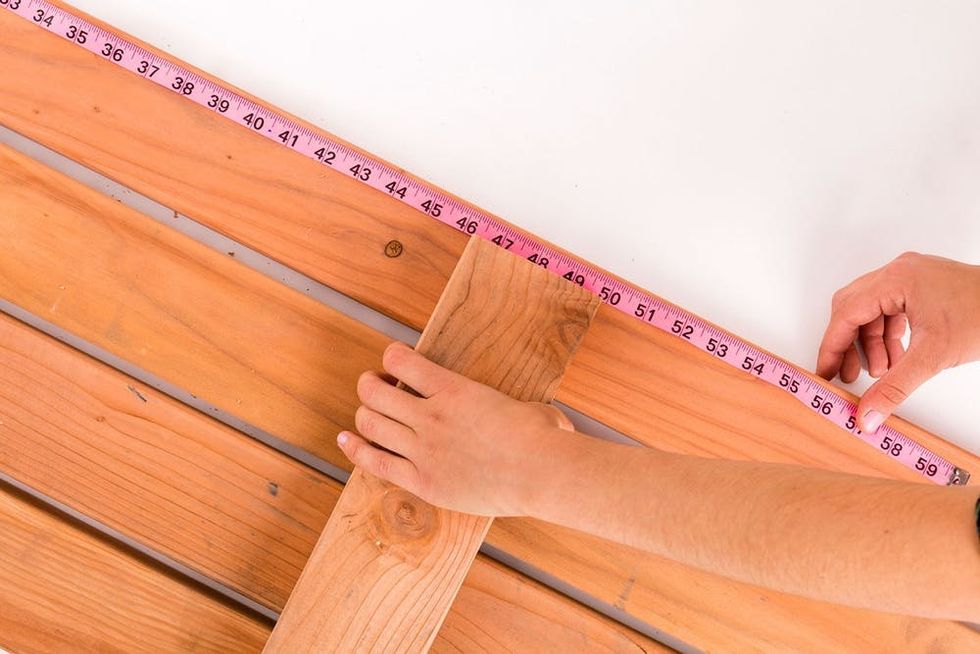
The last one (or two) 15-inch 2x4s will be support for the bench. This piece will be drilled in from the underside of the bench, so flip it over. Measure 48 inches from the edge of the bench and line up the 15-inch piece in the center.
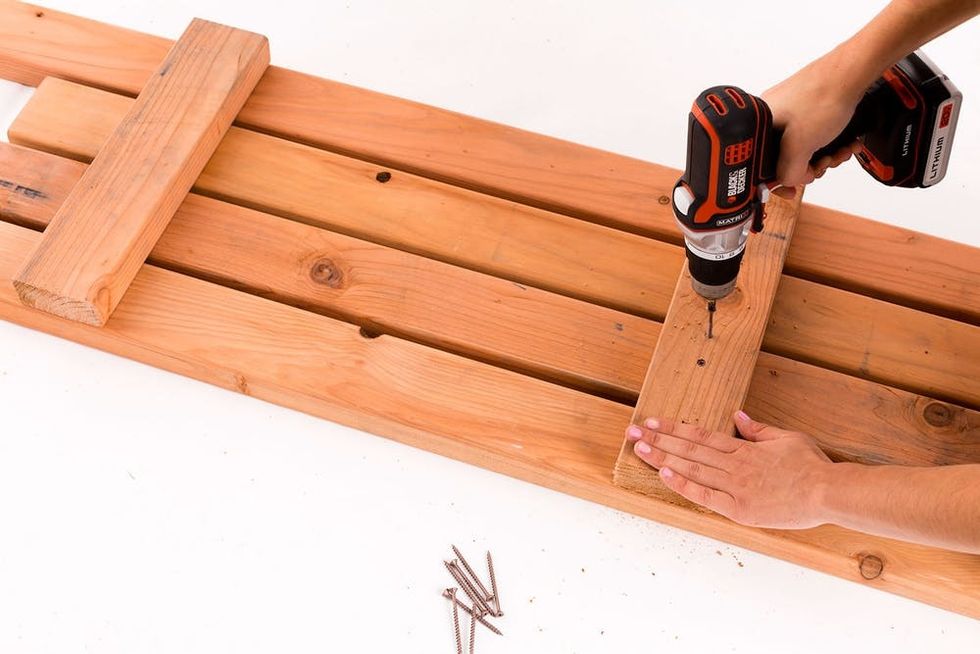
Drill and screw the support piece in place.
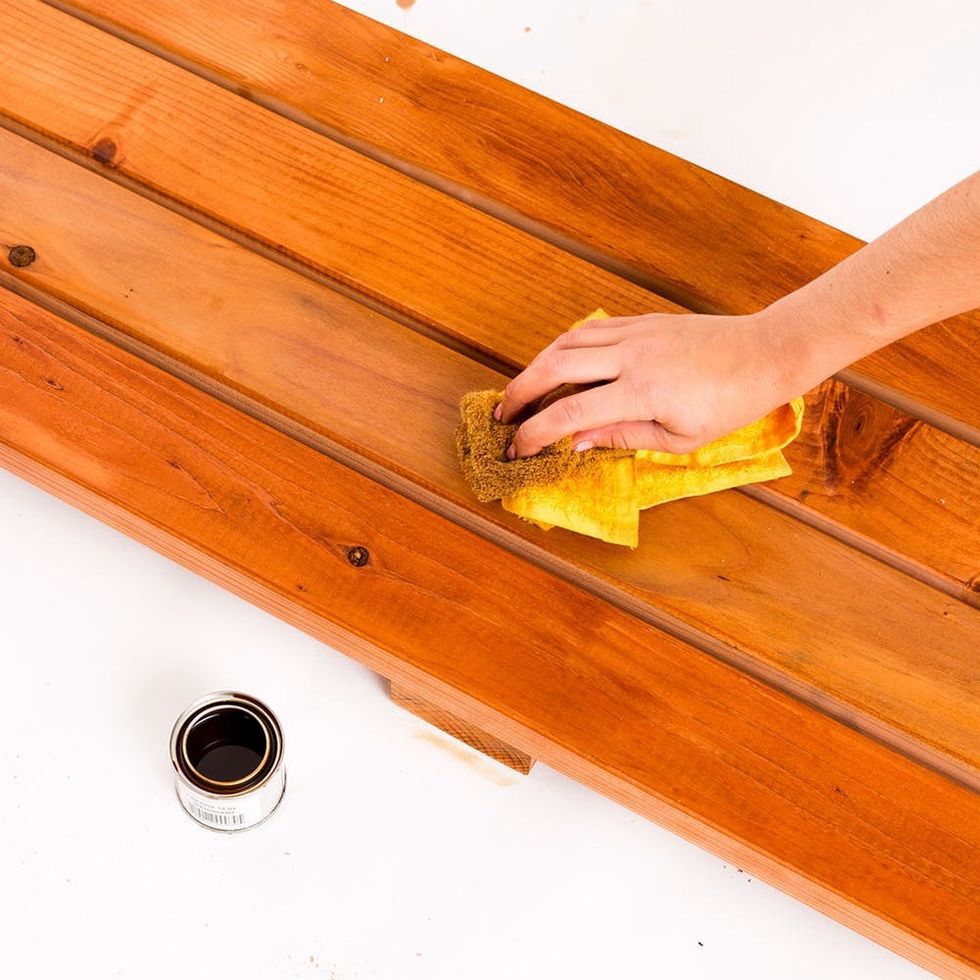
Time to stain this bad boy! No need to buy a whole can of stain — this was a free sample and was just the right amount. Dip a rag into the stain and rub it onto the wood.
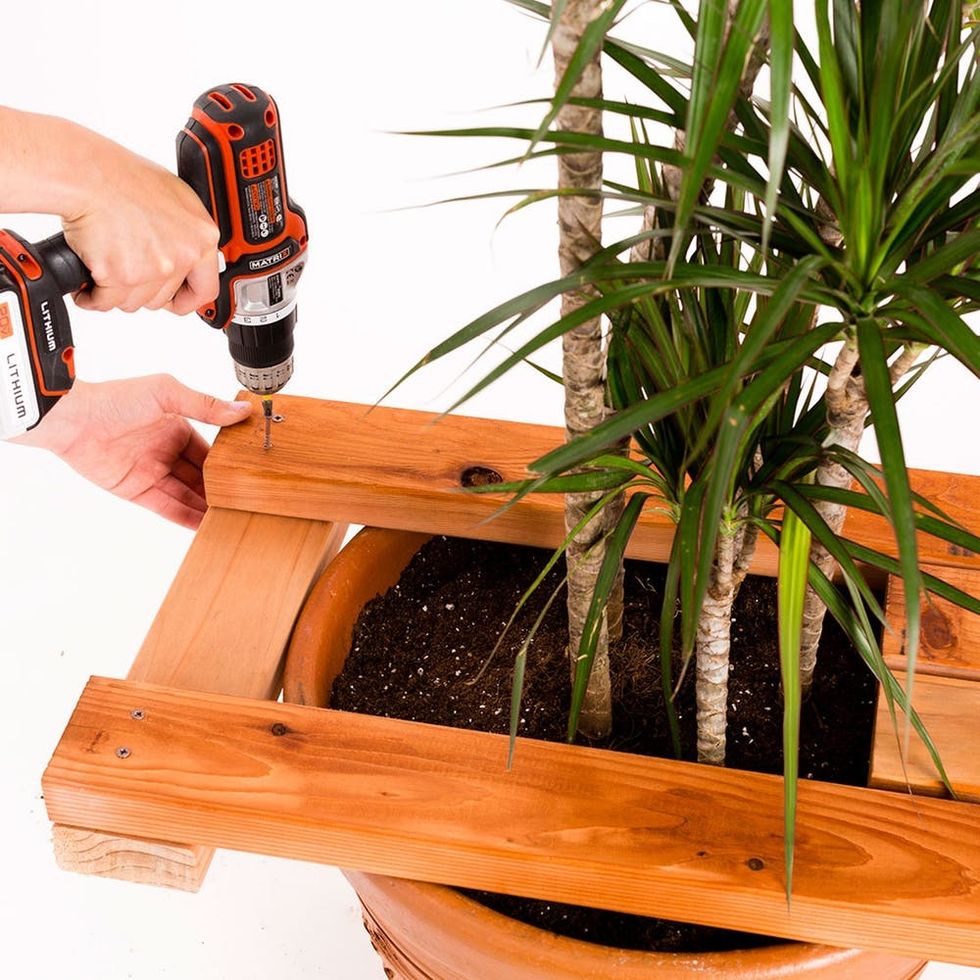
Slide the wood slats onto the planter and secure the last two 15-inch pieces on the ends of the bench with screws.
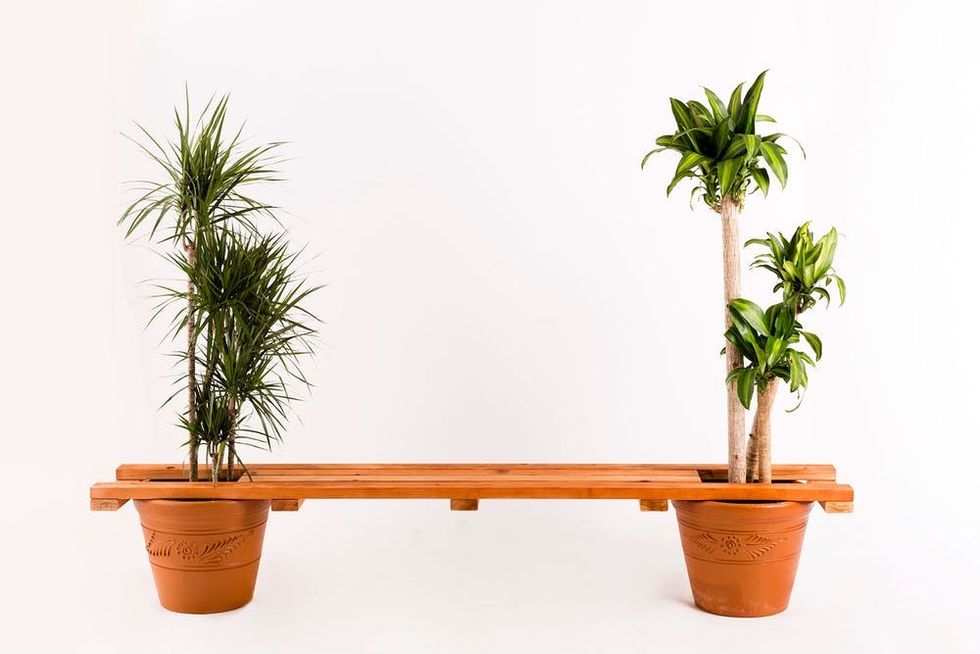
Look at that sexy plant bench!
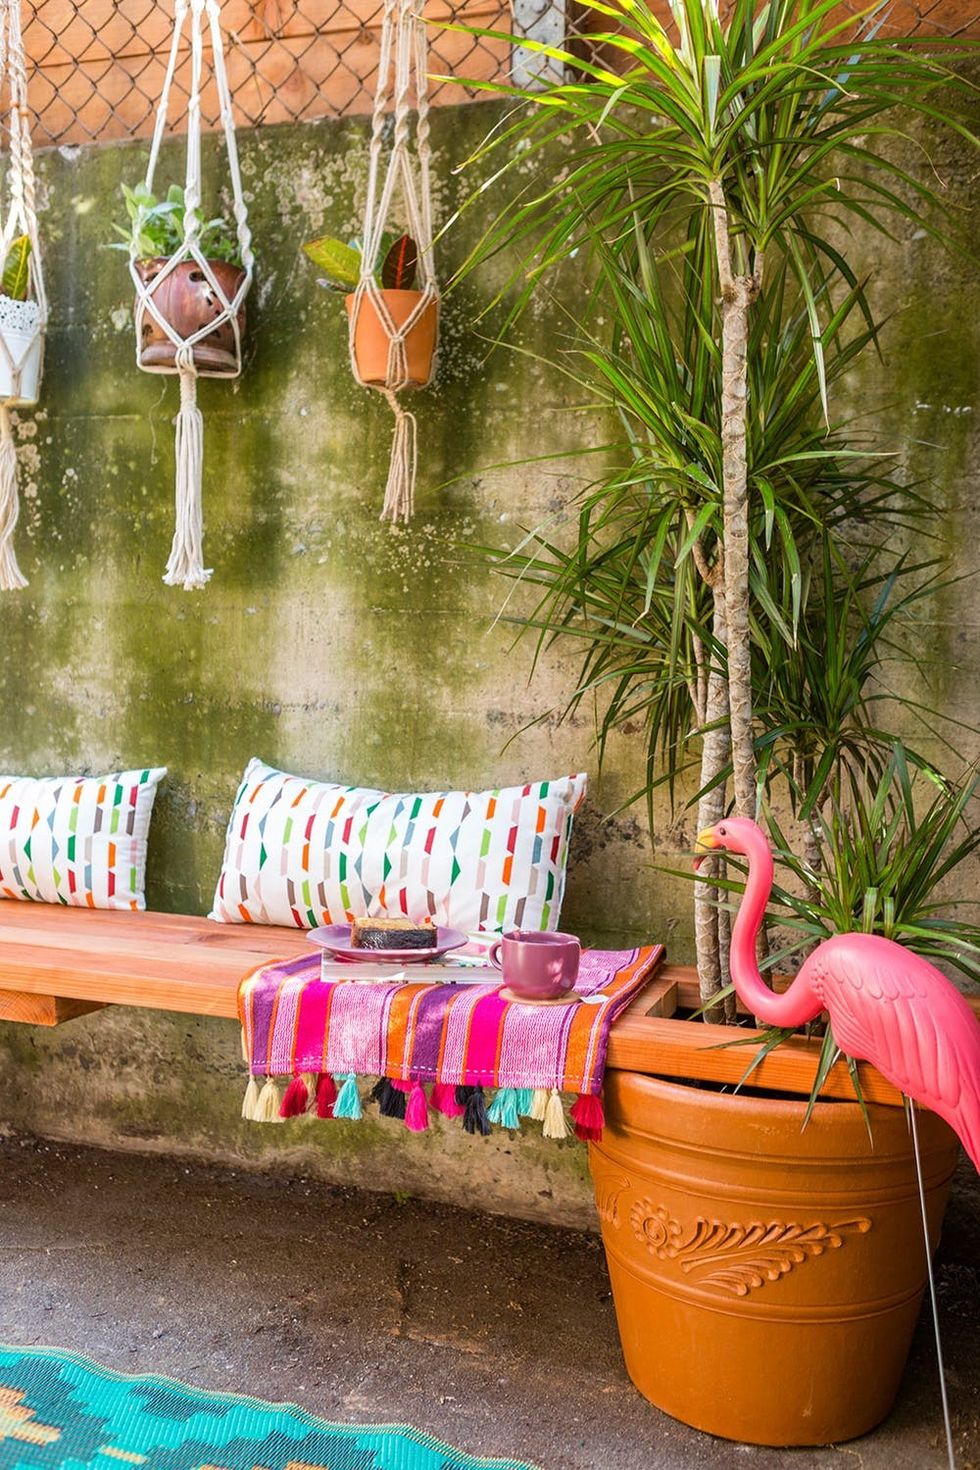
We slid this beauty into my backyard where all I have is a small little walkway to the garbage room and a teeny bit of space for a small patio table. This bench is the perfect way to add more plants to a space while providing seating.
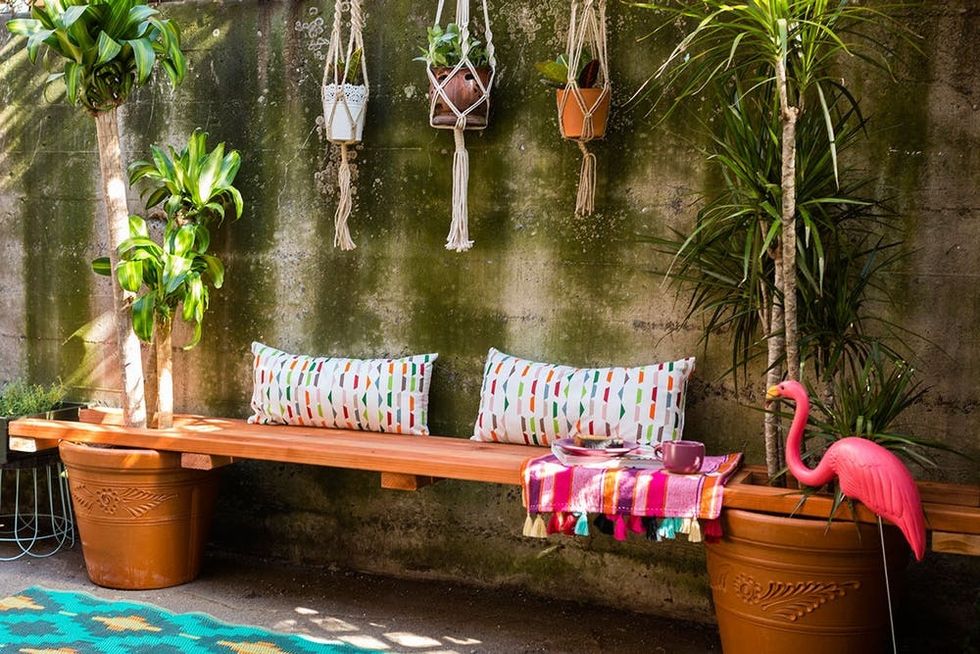
Stay tuned for a full post on small ways to update your drab outdoor patio, including tips on an outdoor gallery wall and hanging chandelier.
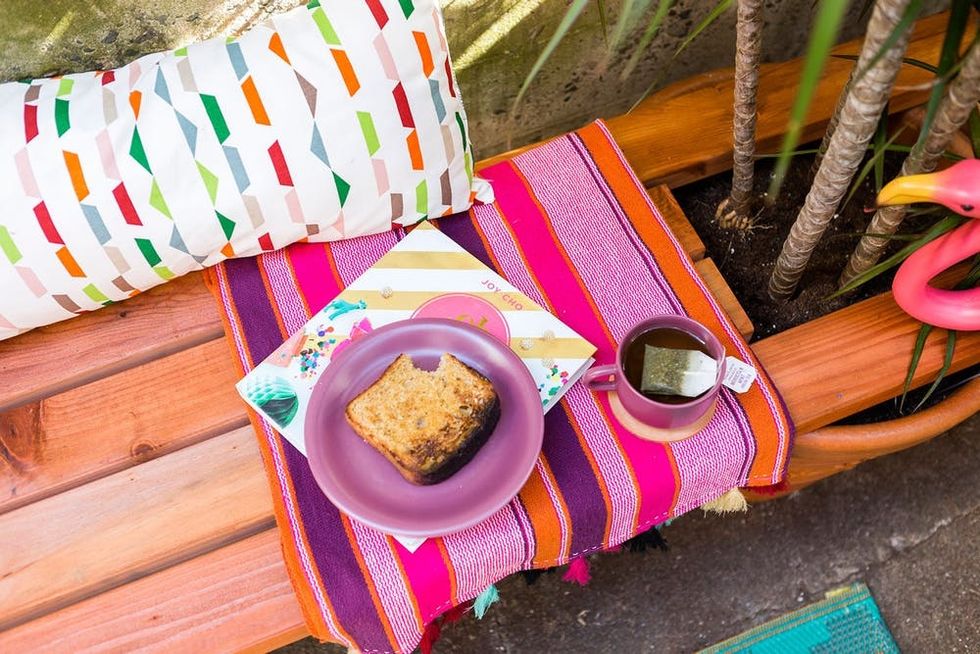
This bench will forever be my morning breakfast spot :)
Show us your latest project by tagging us on Instagram + using hashtag #iamcreative!
DIY Production and Styling: Kelly Bryden
Photography: Brittany Griffin and Chris Andre
Brit + Co may at times use affiliate links to promote products sold by others, but always offers genuine editorial recommendations.


