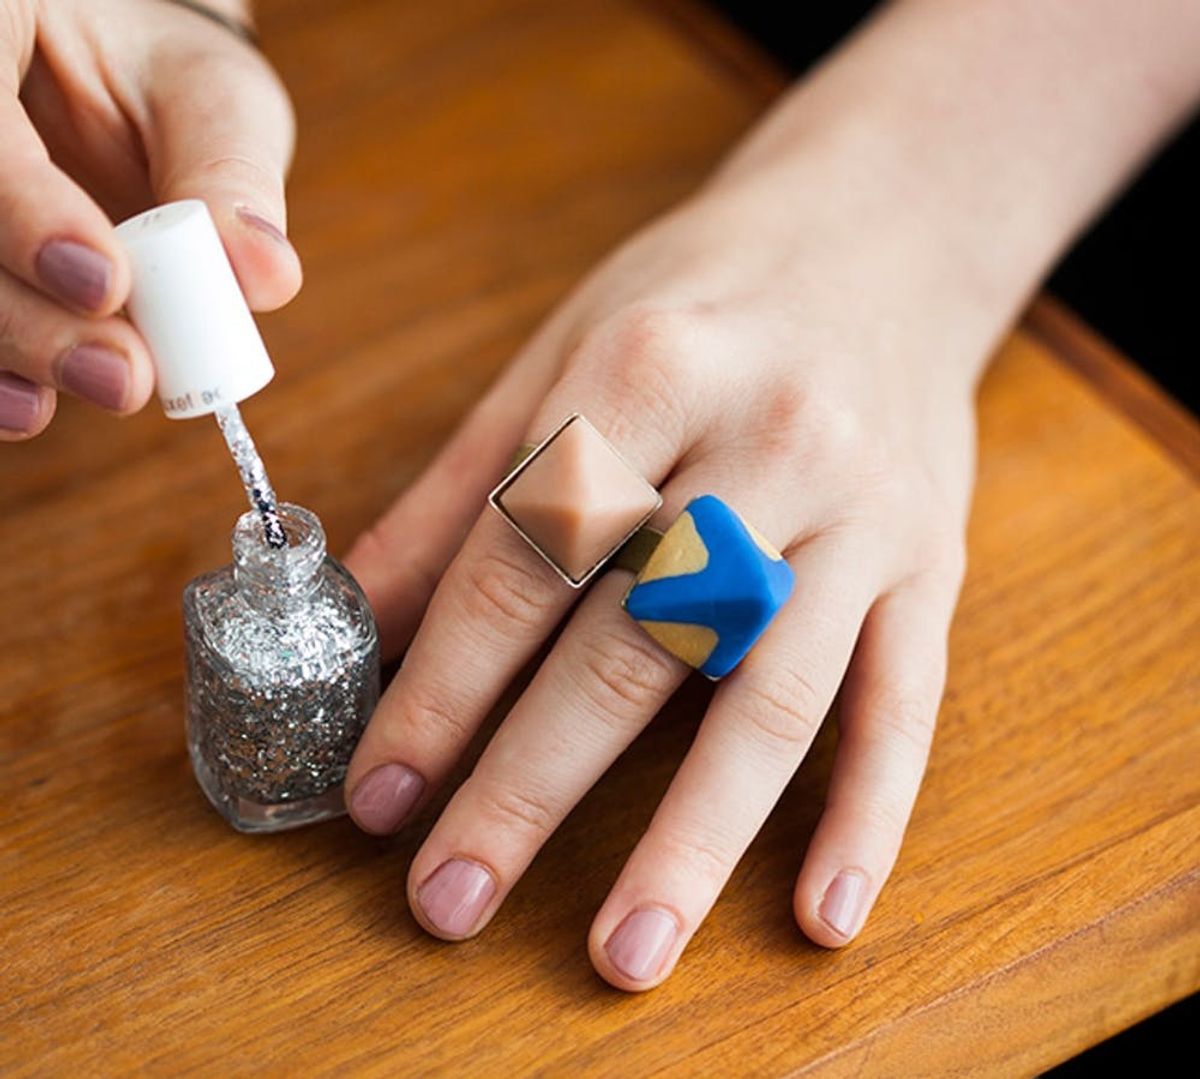
After rounding up our 40 favorite DIY rings, we realized that we haven’t made a ton of our own finger bling! We had indulged in our love of all things color with these neon painted stone rings, but now to get us back in the game, we’re switching gears to make a ring that’s both fun and glamorous. Introducing our clay pyramid rings! These angular, ancient shapes are pretty stunning on their own—especially when you use colored or marbled clay—but once we added on some gold paint for extra luxe, we knew these rings were fit for a Pharaoh.
Make These Chic Gilded Pyramid Rings

After rounding up our 40 favorite DIY rings, we realized that we haven’t made a ton of our own finger bling! We indulged in our love of all things color with neon painted stone rings before, but now we’re switching gears to get back in the game with a ring that’s both fun and glamorous.
We played around with two different sizes of square ring bases, which means our designs ended up as either colossal cocktail rings or more petite, yet equally eye-catching everyday rings. You can make whichever size suits your style, though we love having the option to mix and match these elegant and edgy statement pieces.
Materials:
– Premo! Sculpey clay
– gold acrylic paint
– E-6000 glue
– silver square ring backs (or gold if possible)
To make ring backs gold:
– gold spray paint
– clear glossy sealant
Tools:
– clay cutting tool
– paint brush
Instructions:
1. If you have gold square ring backs, you can skip to step 2, or spray paint silver ring backs gold. Let dry then spray with a coat of clear glossy sealant.
2. Once the clay is pliable, shape it into a square the same size as your ring back and about an inch high.
3. Cut clay squares into pyramids by cutting each side on an angle to a center point. Smooth out the edges if necessary. Then cut off any excess bottom clay to give it a flat base.
4. Bake clay according to package instructions—we baked our pyramids at 250 degrees F for 15 minutes.
5. When pyramids have cooled, use gold paint to glam ’em up! Or keep your pyramids unpainted.
6. Attach pyramids to ring bases with a dab of E-6000. Let dry completely.
Full disclosure: the ring backs we had were silver, so to accommodate our gilded obsession we spray painted them gold. It was an easy “make it work” moment that let us use up materials we had on hand. If you prefer silver or happen to have gold ring backs, then you can totally skip this step. Otherwise, once your ring backs are a glimmering gold, finish ’em with a shiny clear sealant to make sure the paint won’t chip away.
Once your ring backs are dry, it’s time to make your pyramids! Get your clay nice and pliable—we chose this ridiculously beautiful royal blue shade to work with first—and shape it into a square the same size as your ring back. Then using a blade, cut one side on an angle toward a center point. Repeat on all three sides to make your pyramid and finally, slice off any extra clay on the bottom so that it’s as flat as a pancake.
We made a few pyramids out of blue clay and some in a punchy peach, then thought it would be way fun to make a few more in a mix of these two contrast colors! The result of rolling and twisting the two together is this gorgeous marble pattern. It looks almost cosmic.
Just like before, measure the clay square to fit the size of your ring back, then slice it into shape. If your edges look a little rough, just use your fingers to smooth ’em out!
And there you have it! We’re in awe of these great pyramids, especially those two-toned marbled ones. Next, toss these in the oven and bake according to your clay’s packaging instructions—we left ours in a 250 degree F oven for 15 minutes, let them cool, then whisked them away to be painted!
The gold paint adds a glamorous shimmer to these rings, making them true statement pieces. You can pretty much paint on any design imaginable—from stiff chevron to playful polka dots! But we decided to keep it pretty simple and play up the pyramid’s triangular shape. So we color blocked some panels, gave one a freeform scalloped top, and even painted triangles on triangles. How meta! These pyramids are so pretty on their own that we even left a few unpainted.
Now all that’s left to do is glue your pyramids to their ring backs! Our larger ring backs were completely flat, so if you’re using this kind, take extra care to make sure that the bottom of your pyramids are super flat.
Our smaller ring backs had a cap-like base, which ended up framing the pyramids perfectly. For these ring backs, just dab some glue into the ring cap, and place in your pyramid. These ring backs ended up being our absolute faves since they made the pyramid bottoms look perfectly polished. Ready to see them all together?
These pyramid rings are tops! From that darling scalloped tip to the awesomely untouched marbleized giant, we just can’t wait to slip ’em on our fingers…and even give a few to a friend. Maybe statement rings are the new friendship bracelets?
Those painted gold triangles make the blue ring really pop, especially next to that super chic all-peach pyramid.
We’re happy to add these geometric jewels to our collection. So much so that we may just start wearing two at a time all the time!
Which of our pyramid rings would you rock? Have you made rings out of clay before? Tell us about them in the comments below!


