No sew, no problem.
How to Make Beautiful No-Sew Rope Bowls
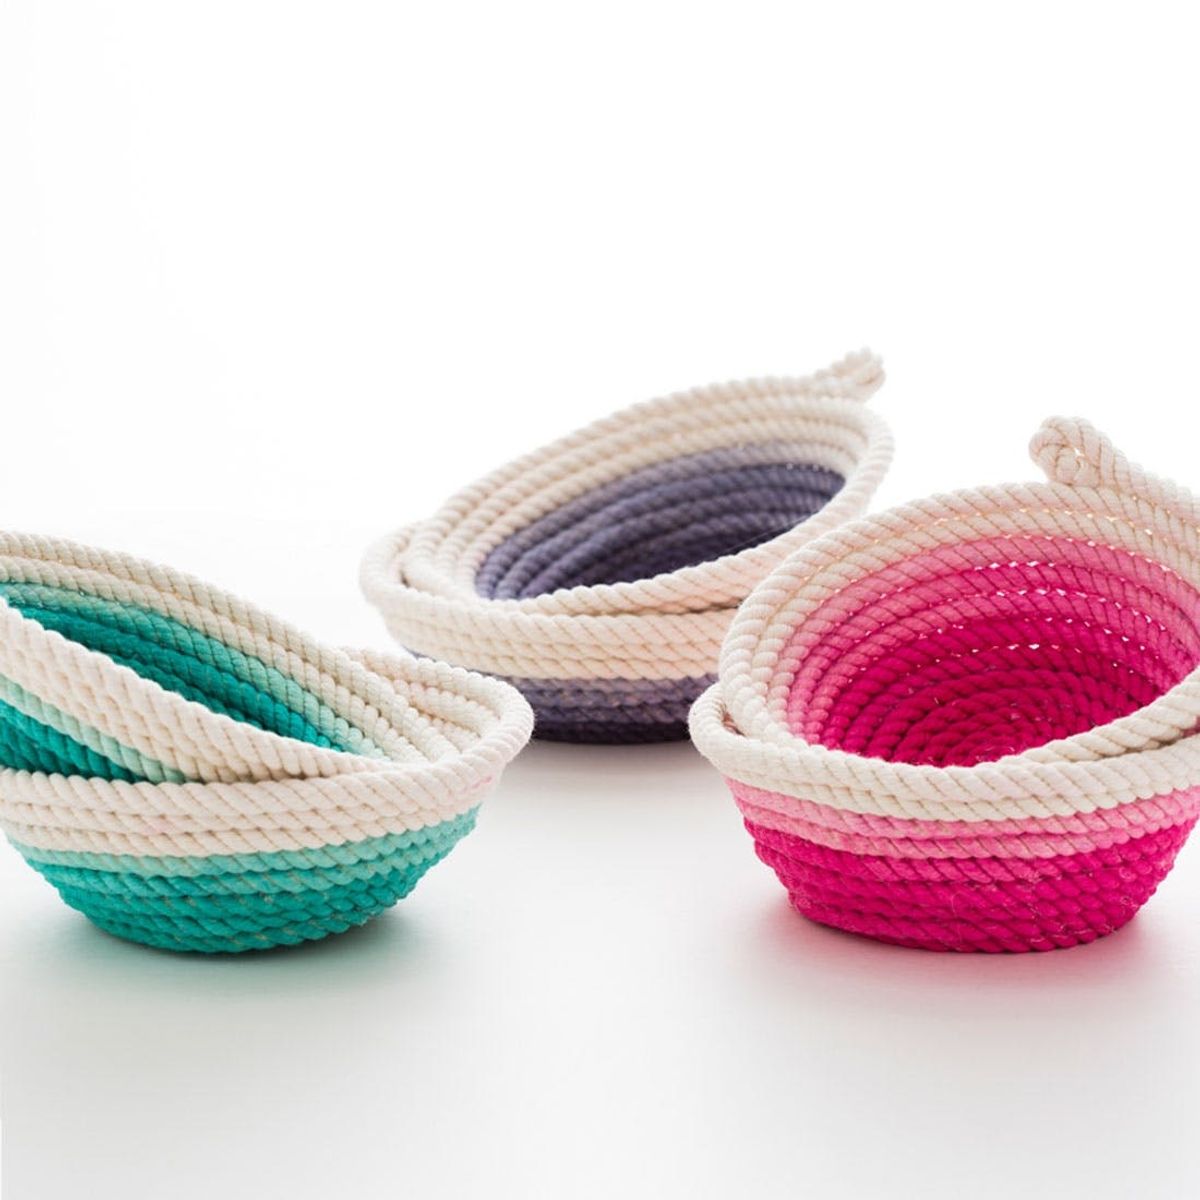
In need of a playful pop of color in your kitchen and not sure where to start? We’ve been admiring the beautiful rope bowls that are dominating the cozy kitchenware scene, so we decided to make a no-sew DIY version that anyone can make at home. Take the plunge into the world of dip-dying with the tutorial below!
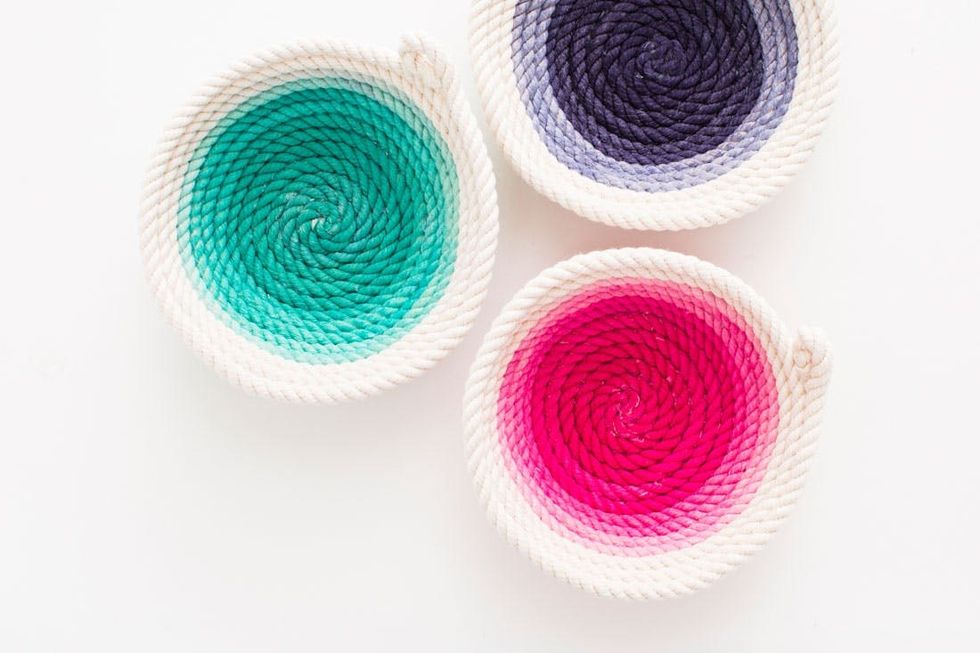
Our kit includes 30 feet of cotton rope to make either two snack bowls or one large fruit bowl in your choice of three colors.
Materials:
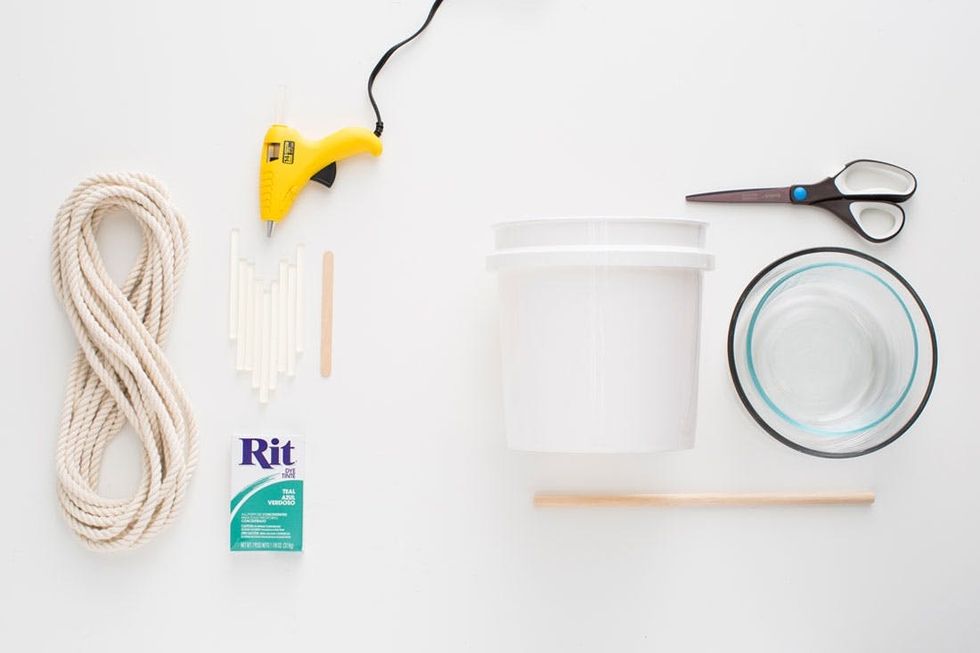
– 30 feet cotton rope
– fabric dye powder
– popsicle stick
– hot glue gun
– glue sticks
– gallon bucket
– dowel (or other mixing instrument)
– mixing bowls
– 1 cup measure
– scissors
– latex or rubber gloves
Instructions:
1. Cut your 30-foot rope in half to make two small bowls, or leave as one long piece to make one large bowl.
2. Soak all cotton rope in a bowl of water for a few minutes so that it becomes saturated with water.
3. Mix half of the dye powder into one cup of hot water and stir with a dowel until dissolved.
4. Once dissolved, pour your hot water and dye mixture into a gallon bucket of water and mix.
5. Place 2/3 of your rope into the dye and then immediately pull out 1/3 to dry over the side.
6. Leave the last third in the dye for about an hour before removing and leaving to dry overnight.
7. Once dry, trim off any unraveled ends and draw a line of hot glue onto the darker end of your rope.
8. Wait a couple seconds for the glue to cool, and then curl the end around itself in a tight spiral.
9. Continue adding lines of glue around the flat rope circle, firmly pressing the rope in as you go.
10. Once you’ve made a flat circle about the size of a coaster, start gluing and wrapping slightly higher.
11. Gradually wrap higher and higher as you work around the bowl, then tuck the end into a loop and glue.
12. Repeat this process for a second small bowl or just make one large bowl with all 30 feet of rope.
Grab all of your materials and let’s dive in!
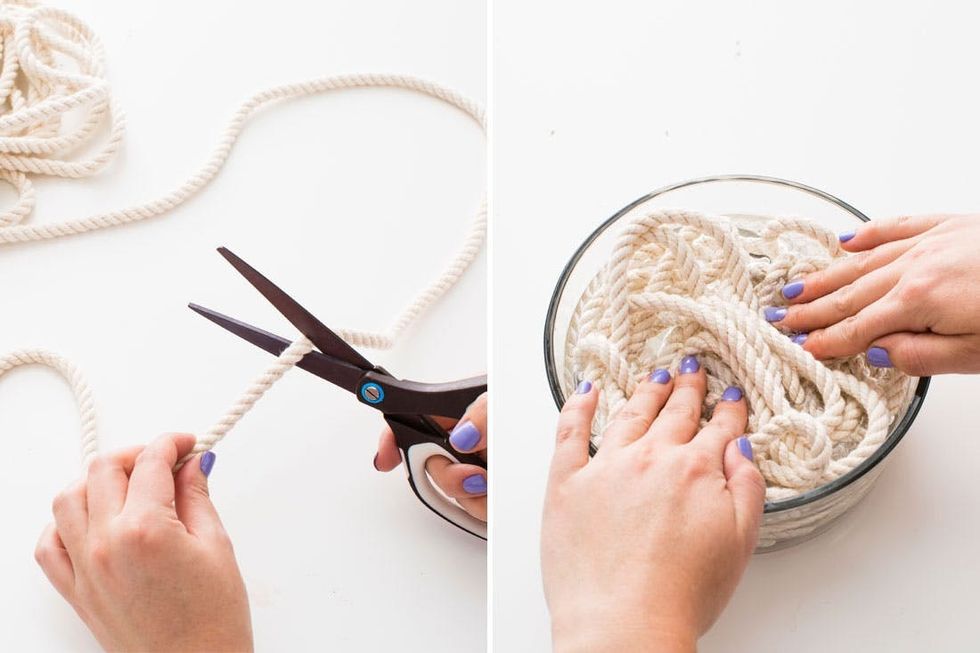
Decide if you would like to make one large bowl from all 30 feet of rope, or cut your rope in half to make two small bowls out of 15 feet each. Then soak all of your rope in a bowl of water for five to ten minutes.
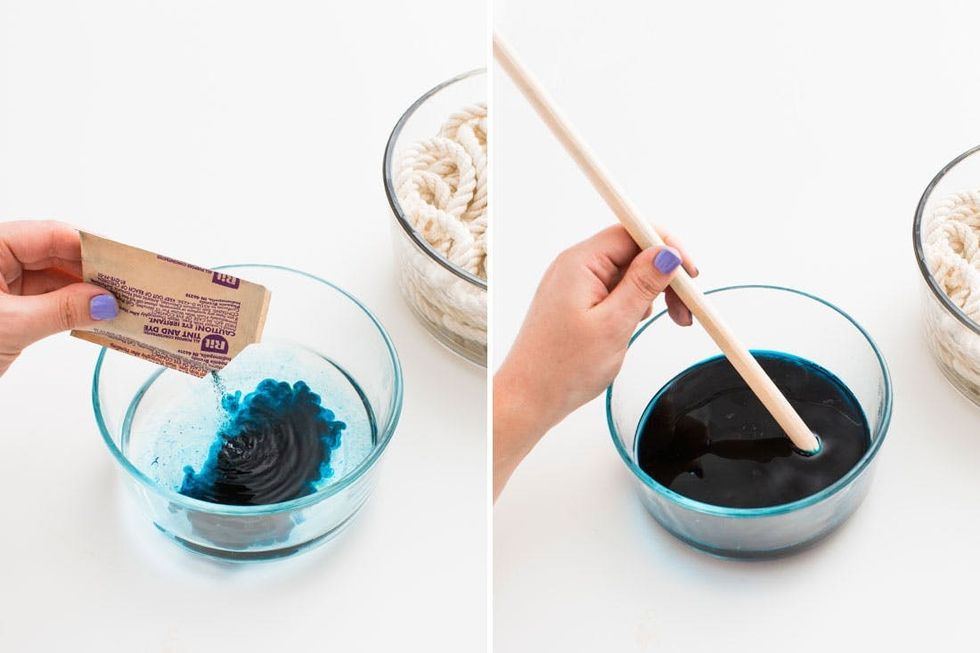
While your rope is soaking, mix half of the dye powder into one cup of hot water and stir with a dowel (or other disposable stirring instrument) until dissolved.
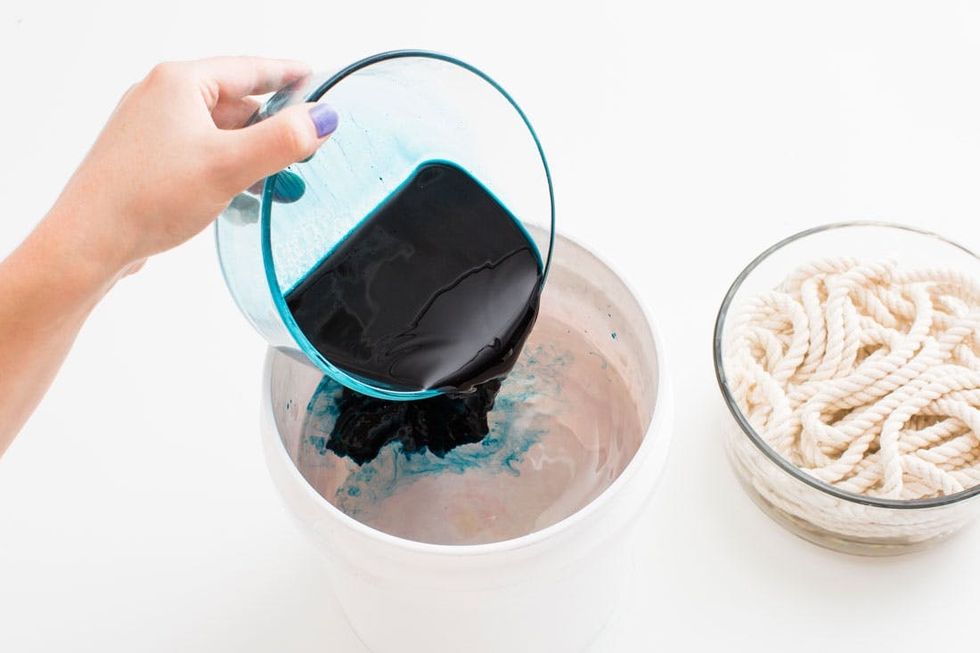
Pour your hot water and dye mixture into a gallon bucket of water and mix with your stirring instrument.
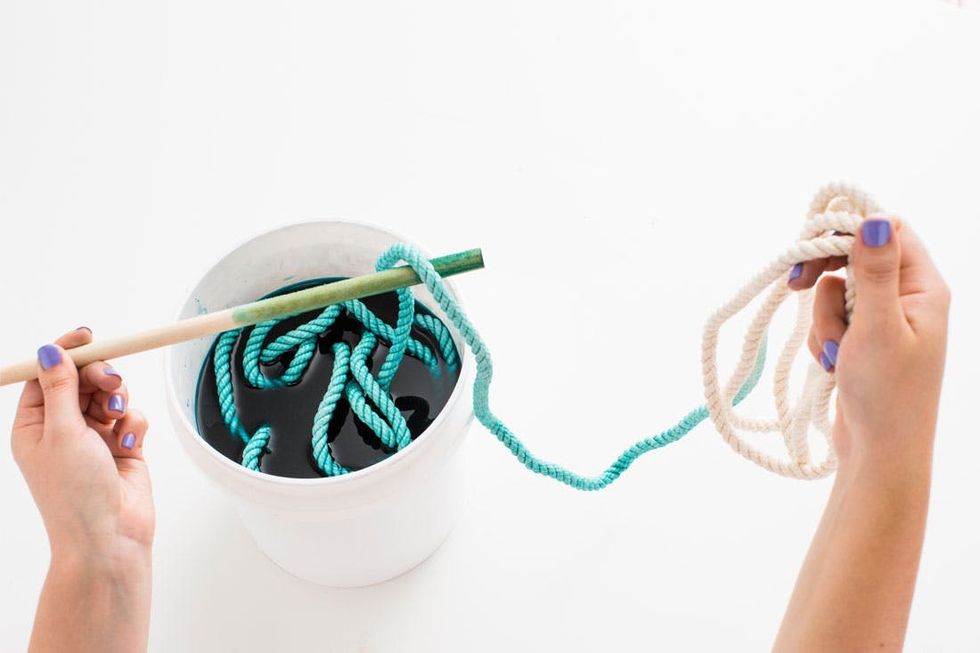
Place 2/3 of your rope into the dye bath and then immediately pull out 1/3 to dry over to the side. This will be the lighter part of your ombre rope. You may want to wear latex or rubber gloves while dying your rope so that you do not get dye on your hands.
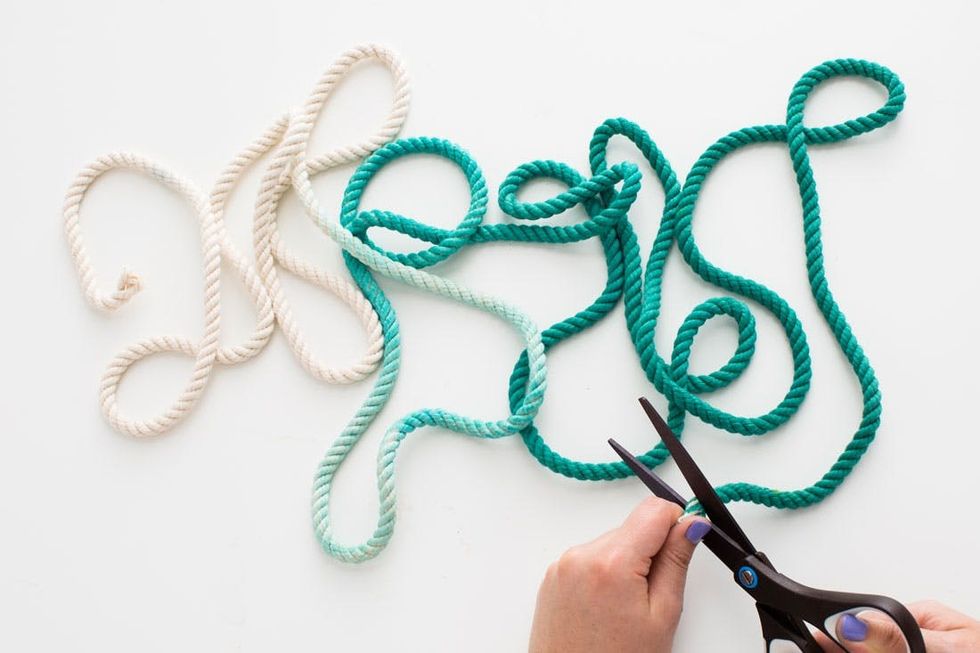
Leave the last 1/3 in the dye bath for about an hour before removing and leaving to dry overnight. Once dry, trim off any frayed ends and fire up the hot glue gun!
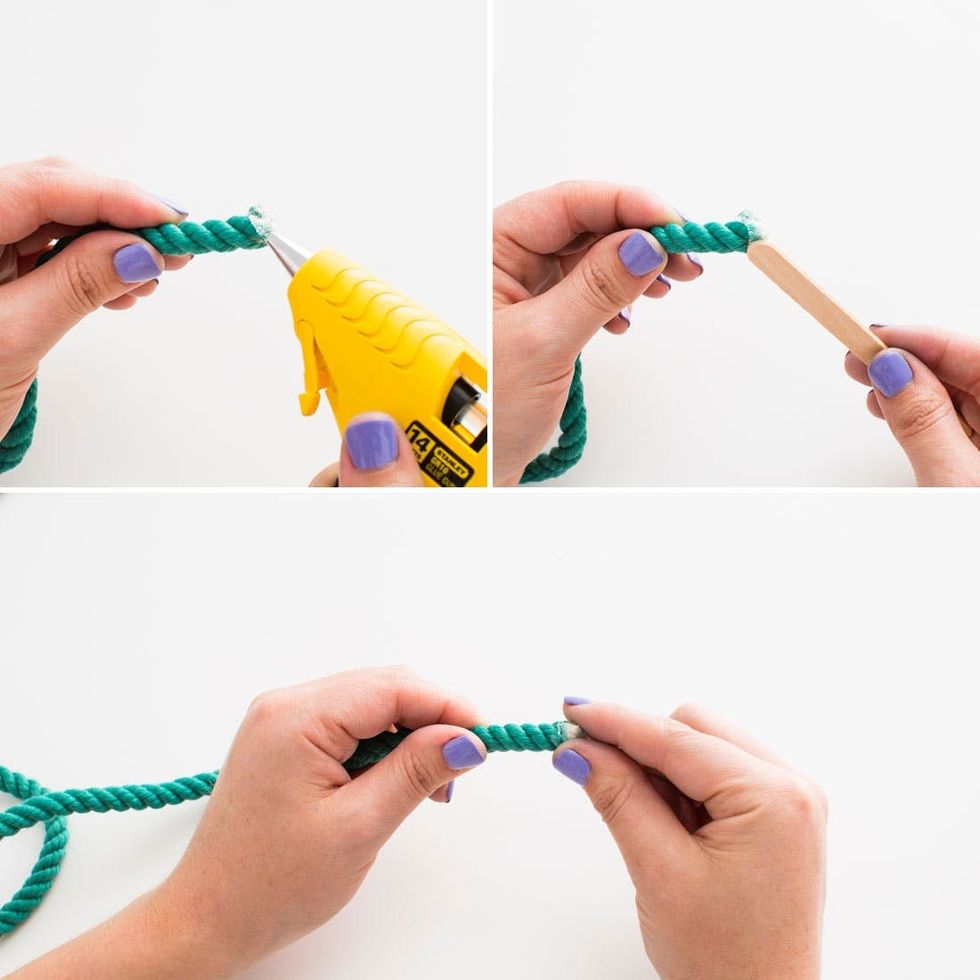
To secure the end and keep it from fraying again, place a generous amount of hot glue onto the darker end of your rope. Smooth the glue down with a popsicle stick first, and then wait a few seconds for the glue to cool down before twisting the end with your fingers.
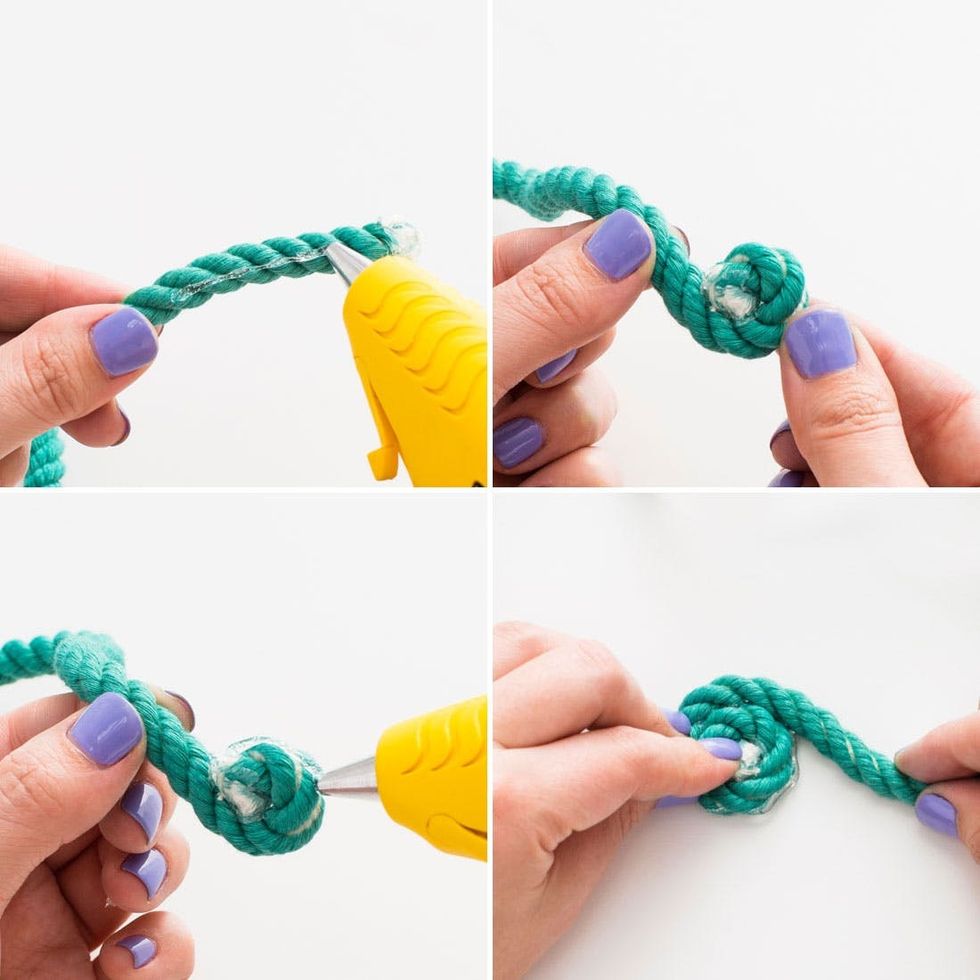
Next, draw a line of hot glue along the first two to three inches of your rope. Wait a couple seconds for the glue to cool, and then curl the end around itself in a tight spiral. Keep gluing around the outside of your spiral and wrapping more rope onto the glue.
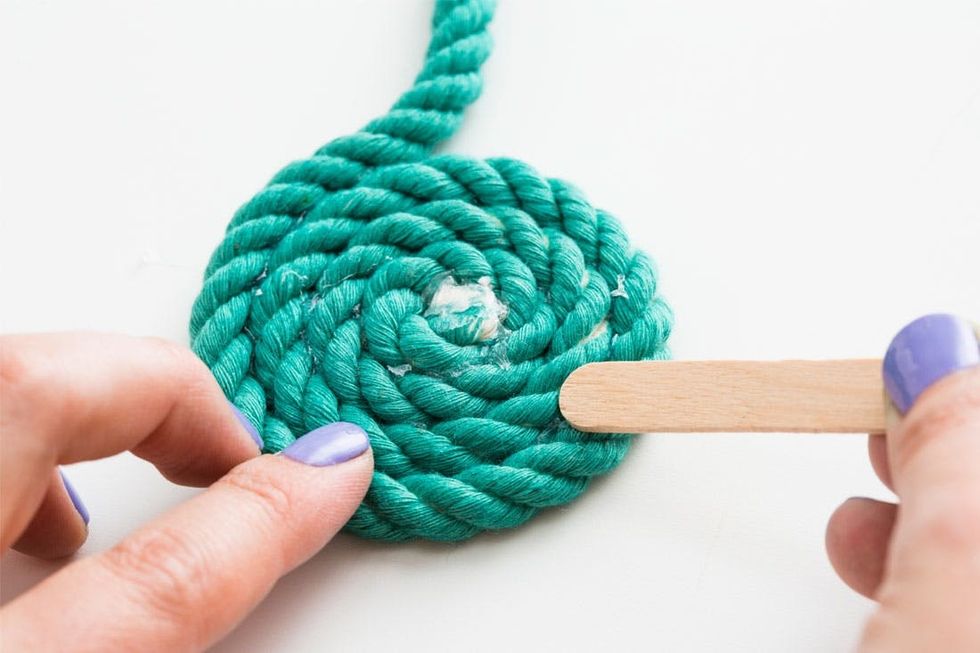
To make the base of your bowl, it helps to lay your rope circle flat on the table as you wrap. If you find you’re getting a lot of excess glue spilling out, simply smooth it down or scrape it away with your popsicle stick.
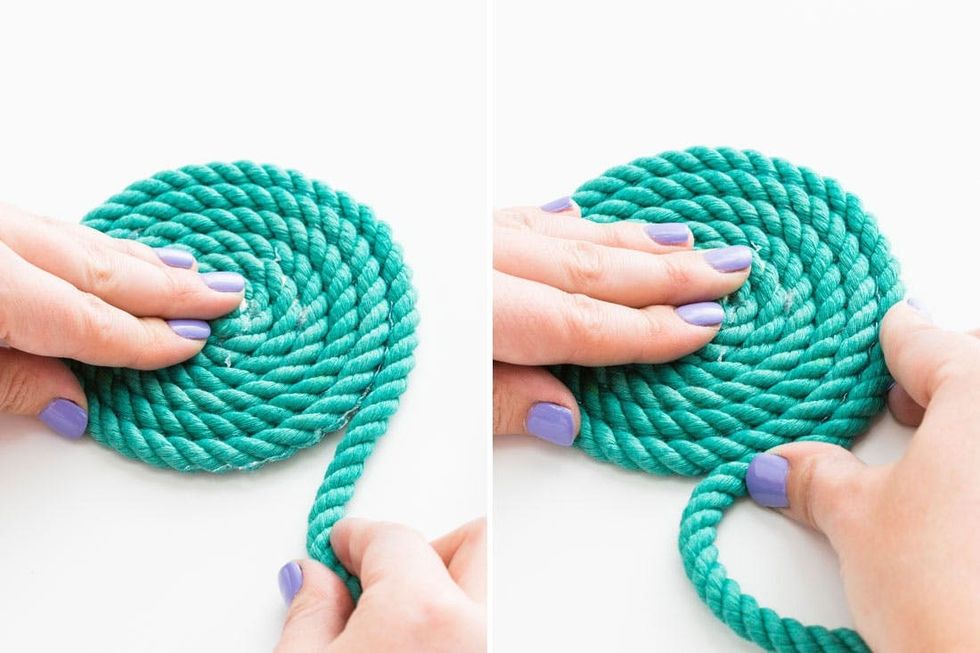
Keep adding lines of glue and firmly pressing the rope inward until you’ve made a flat circle about the size of a coaster.
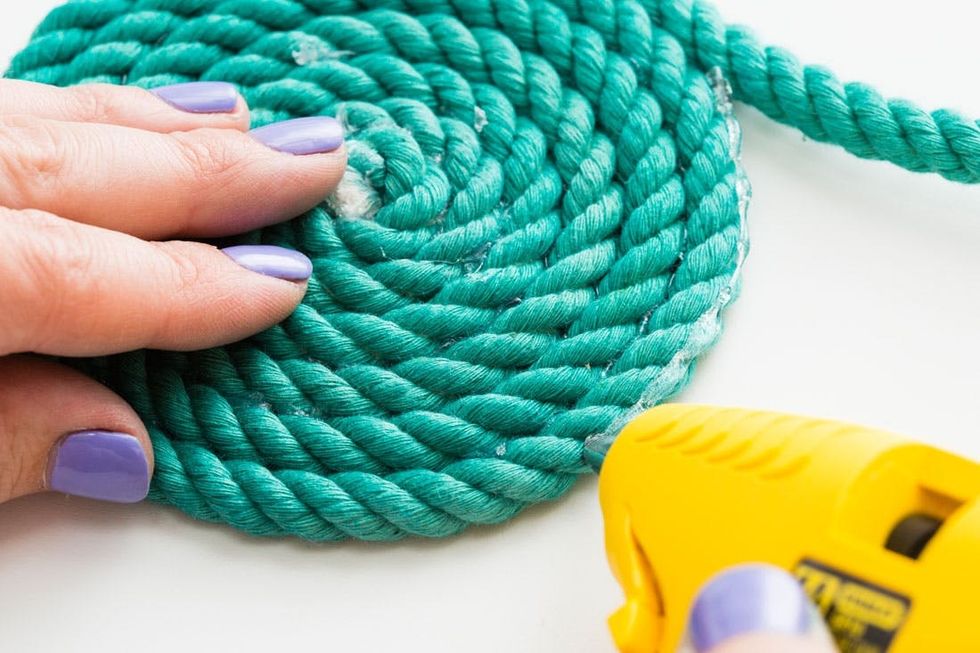
To start building up the sides of your bowl, begin adding lines of glue slightly higher on your rope.
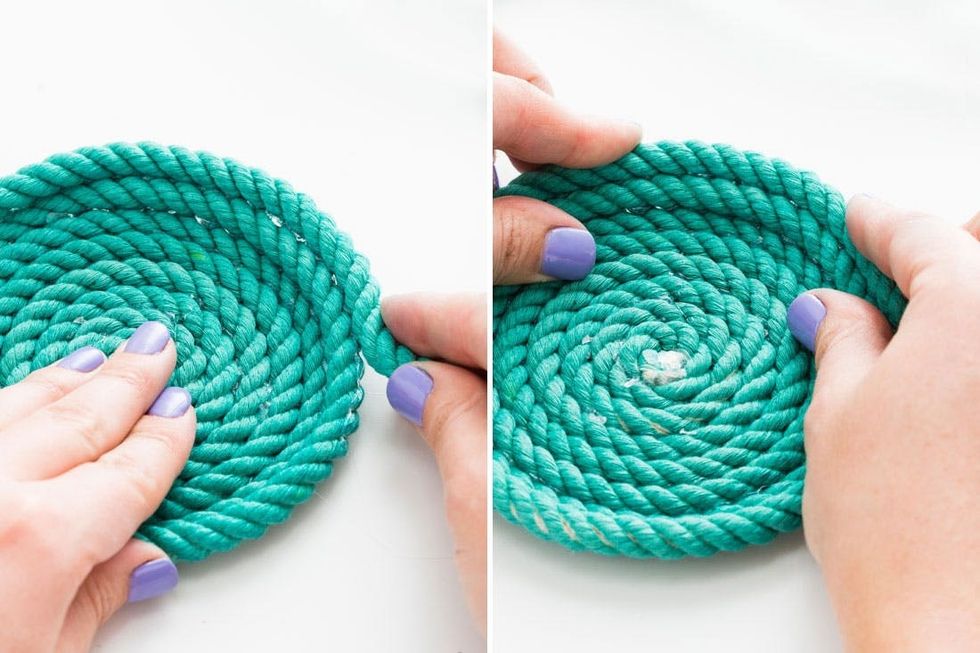
Gradually wrap higher and higher as you work around the bowl, and remember to press down firmly on each section after gluing and wrapping.
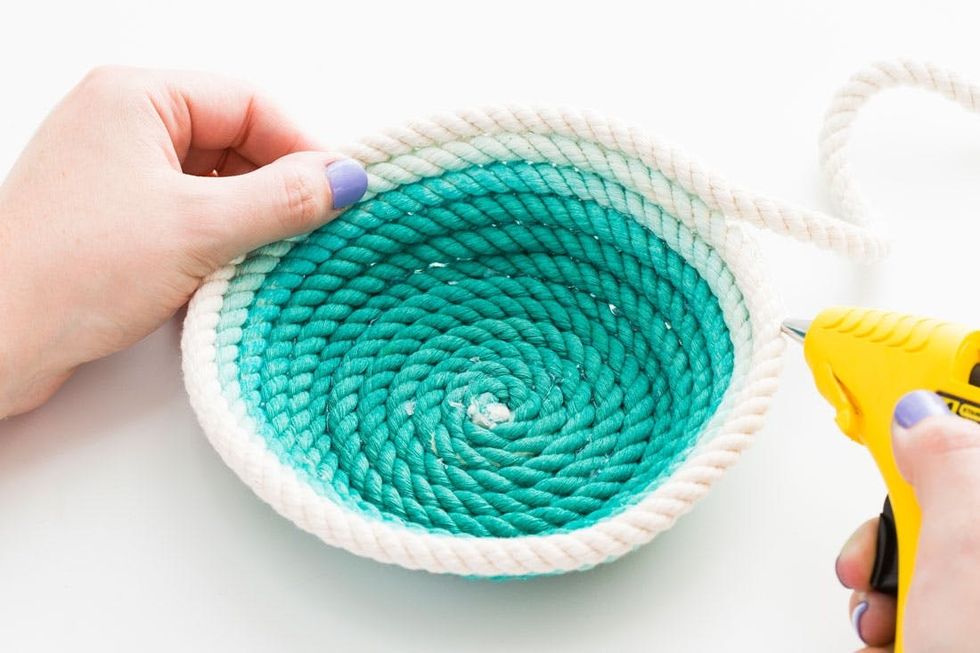
As you wrap upward you’ll start to see a pretty awesome ombre effect happening, ending with a couple layers of clean white rope at the top of your bowl.
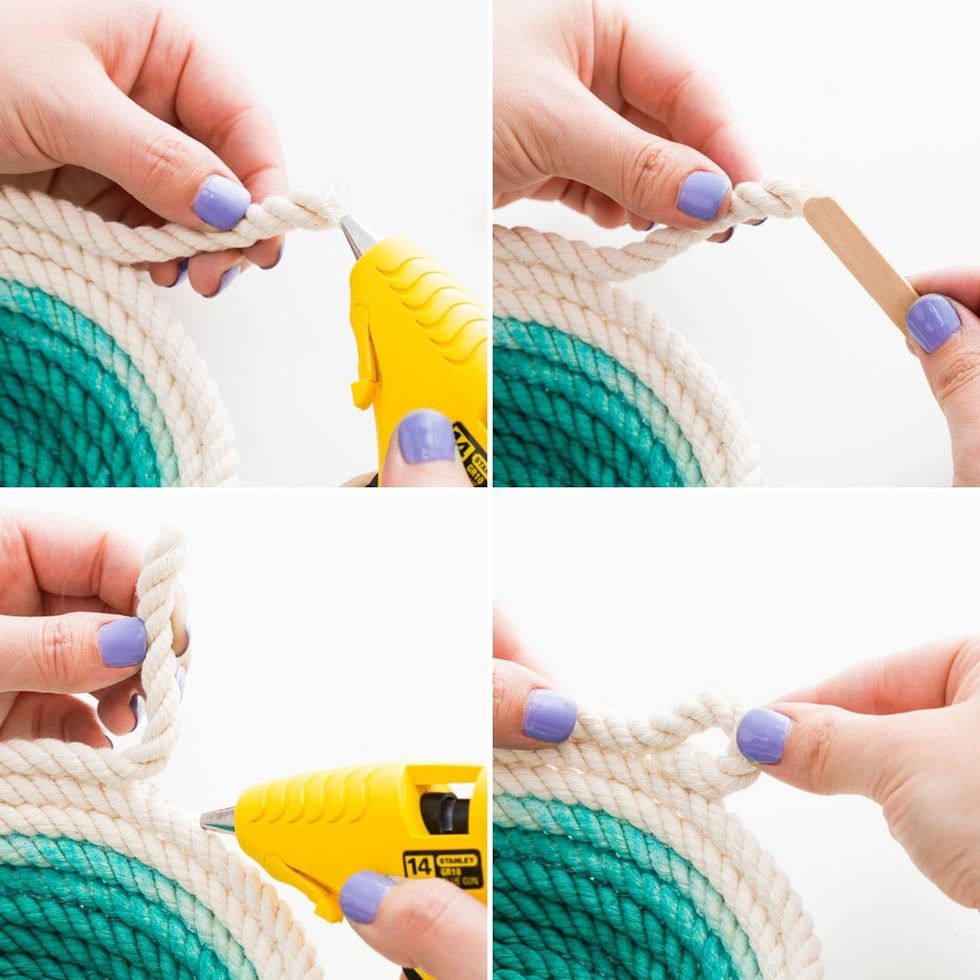
To finish the last two inches of your rope, apply glue to the end and smooth down with your popsicle stick so that it does not fray. Then draw a thick 1-inch line of glue underneath the end of your rope, loop it around and tuck it in.
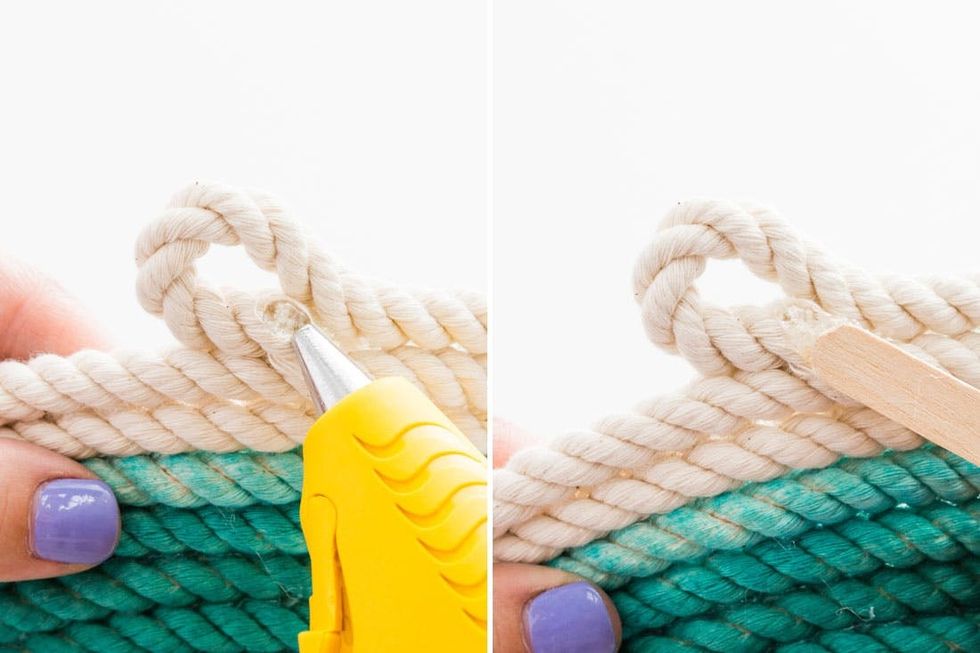
Add extra glue to both the inside and outside of this loop and smooth down the excess with your popsicle stick to secure the end.
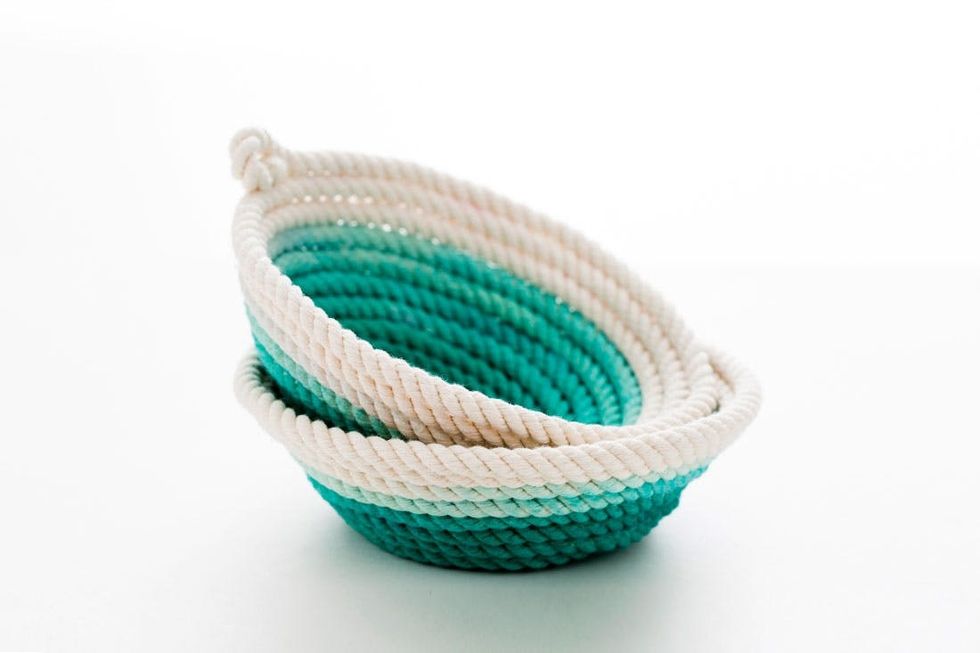
Instant-drying hot glue means these babies are ready to be put to use!
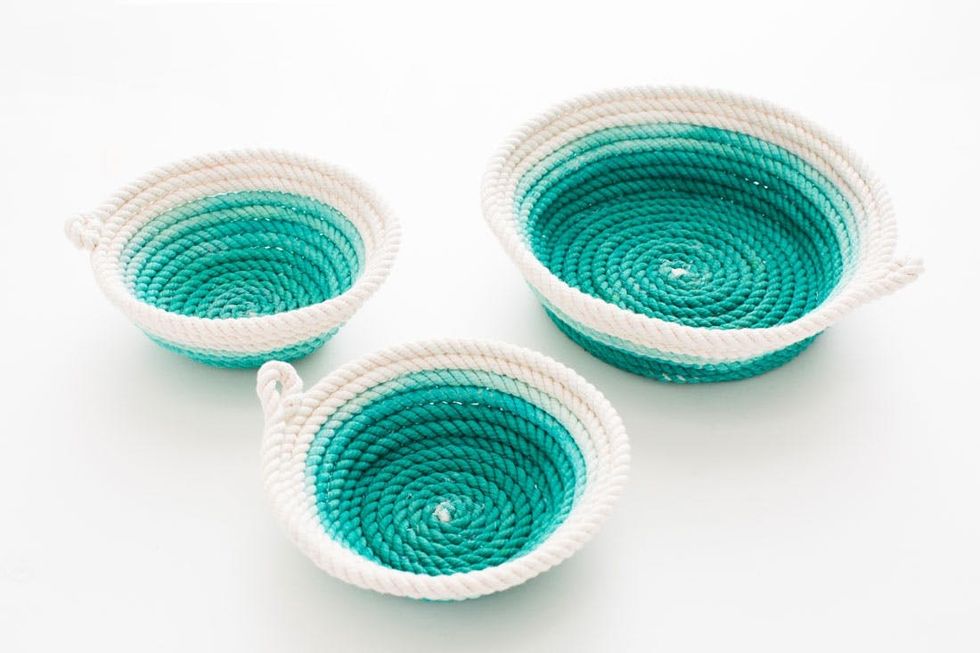
Repeat for your second bowl OR make one large bowl with all 30 feet of rope. Our kit comes with enough materials to make either option.
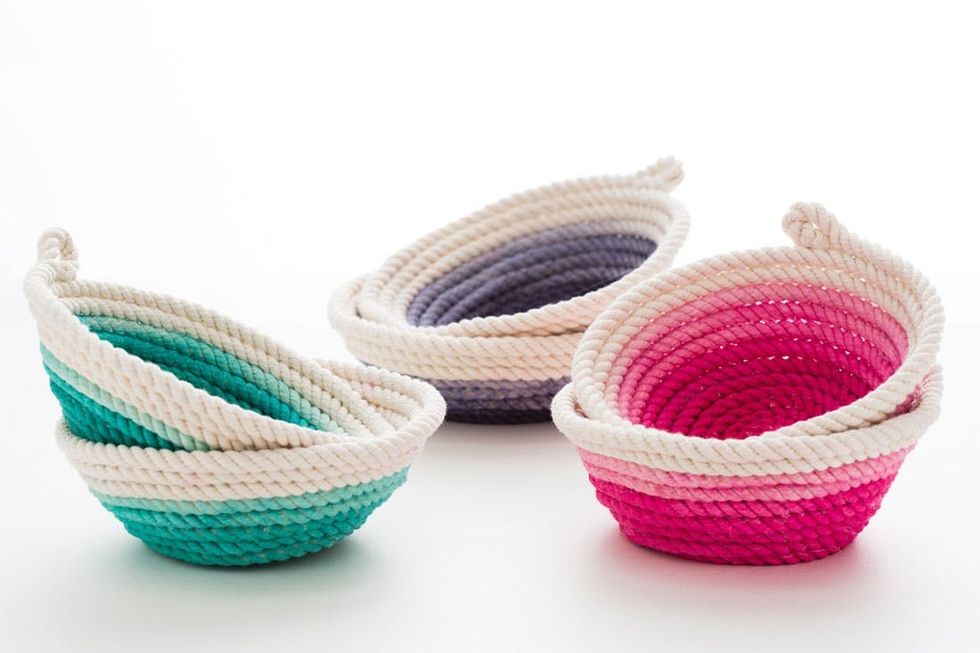
Red pill, blue pill… teal pill? Which will you choose?

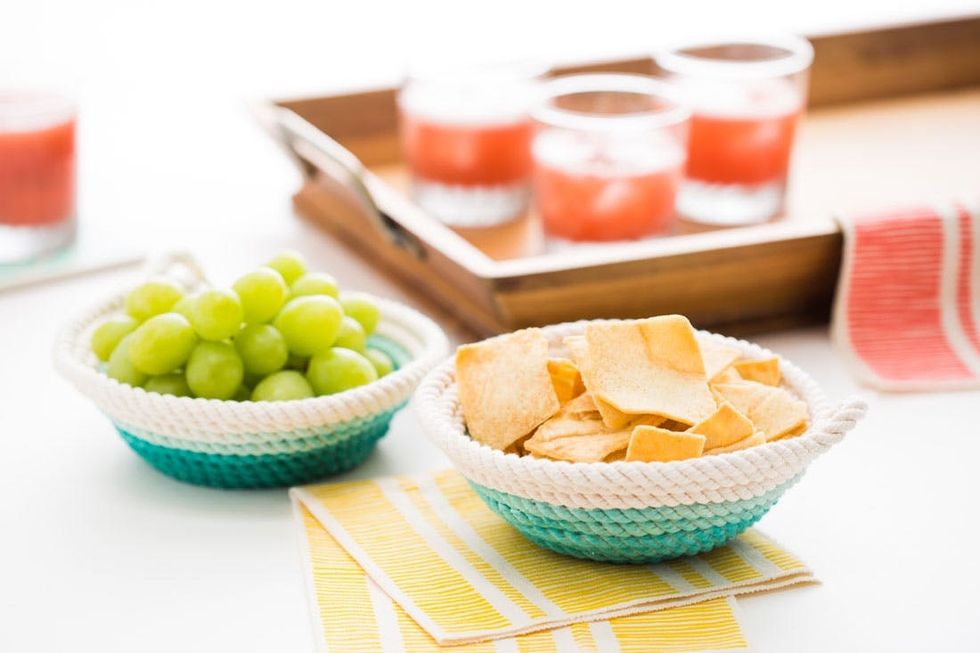
Fill ’em up with snacks at your next party!
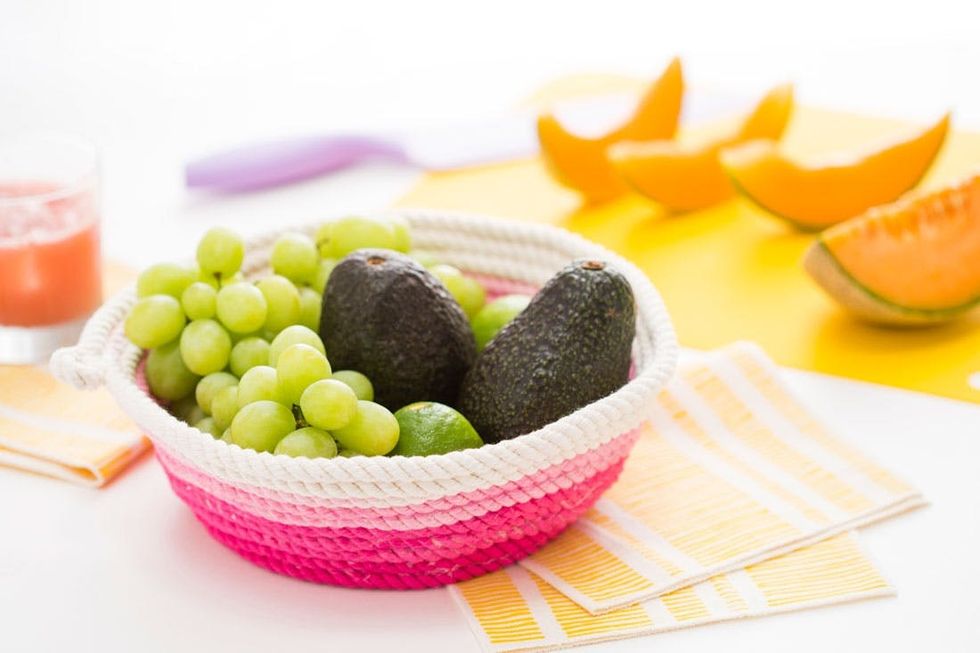
Or artfully display your fresh fruits and veggies on your kitchen counter or breakfast table!


