Ever wandered into a paper store and pined over all of their chic wrapping papers, gift tags and cards? You know what I’m talking about – those unique papers that have a little bit of homemade flair that you’re dying to buy. Here at Brit + Co. we decided it was time to revamp the classic holiday wrappings. What better way to do this then by creating your own custom stamps?
How to Make DIY Stamps For Holiday Gift Wrap

Ever wandered into a paper store and pined over all of their chic wrapping papers, gift tags and cards? You know what I’m talking about – those unique papers that have a little bit of homemade flair that you’re dying to buy. Here at Brit + Co. we decided it was time to revamp the classic holiday wrappings. What better way to do this then by creating your own custom stamps?
You could even get really crafty with them and customize your stamps with names. Plus, how awesome would it be to give a gift that was personalized? Everybody loves that. Just remember, if you’re going carve out letters, cut out their mirror image. And if you want your stamps to have clean edges, it’s always a good idea to wipe the excess ink off before you press them down onto your paper.
Materials:
– SpeedyCut rubber pad
– ink pad(s)
– pencil
– cardstock
– kraft paper
– boxes
– tags
Tools:
– Speedball linoleum cutter handle and blade
– Xacto knife
Brainstorm some design ideas. Use your Xacto knife to cut the rubber pad into appropriate shapes. We decided to make one large stamp and three small ones with simple geometric shapes.
Use a pencil to sketch designs onto the rubber pad.
Time to get down to business! Secure your linoleum cutter blade into the handle by twisting it into place.
Using the linoleum cutter, cut out your stamp designs. We started with a basic triangle.
Once you feel comfortable, get into more advanced designs like this geometric pattern.
Now we’re ready for the fun part! Press your stamp firmly onto the ink pad and lift it back up.
Place your stamp onto the surface and carefully lift it back up. Repeat!
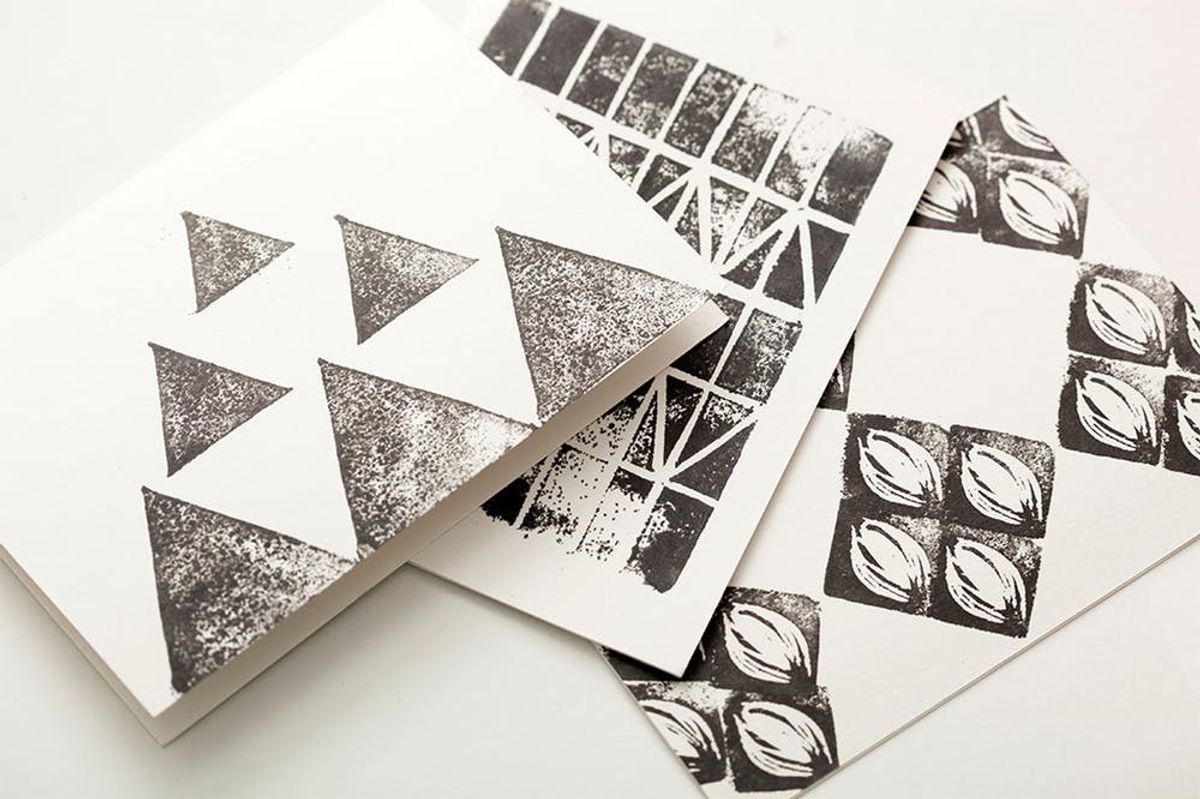
Get creative with what you stamp. We love these personalized greeting cards.
As you can see, we went to town with these stamps. There are so many fun designs and combinations you can make!
It’s such a fun way to add an even more personal touch to every gift you give.
What other things will you use your stamps on? Tell us in the comments below!


