We have a serious beef with decorative pillows. Sure they’re pretty, but often times too pretty to touch. What’s up with that? So we set out to create a throw pillowcase that not only looked super stylish, but was also 100% inviting, and we have to say, we’re pretty thrilled with the results (can’t you tell?). Introducing the snuggliest DIY ever: scalloped ombre pillows. Using soft felt as an embellishment in a playful scalloped pattern, we made pillowcases that are as cuddly as they are chic. Win-Win!
How to Make No-Sew Scalloped Ombre Pillows
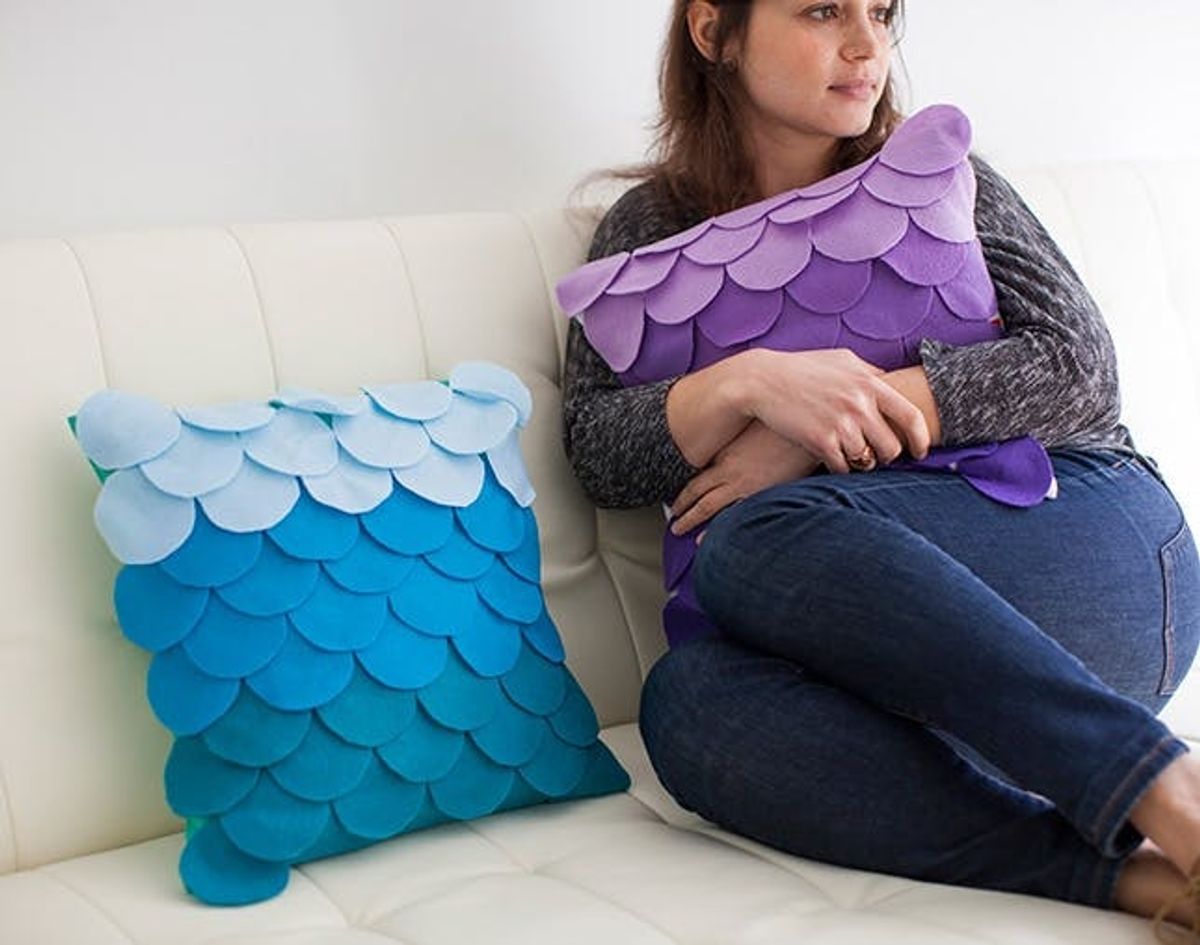
We have a serious beef with decorative pillows. Sure they’re pretty, but often times too pretty to touch. What’s up with that? So we set out to create a throw pillowcase that not only looked super stylish, but was also 100 percent inviting, and we have to say, we’re pretty thrilled with the results (can’t you tell?). Introducing the snuggliest DIY ever: scalloped ombre pillows. Using soft felt as an embellishment in a playful scalloped pattern, we made pillowcases that are as cuddly as they are chic. Win-Win!
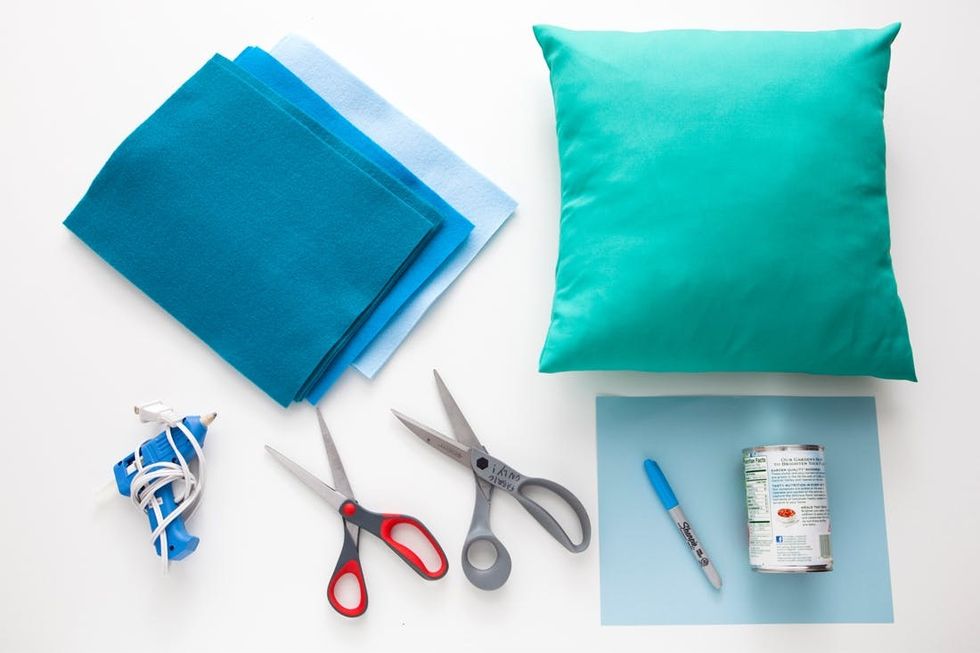
Materials:
– pillow with a solid-colored, removable pillow case
– felt (three colors for the ombre effect)
– card stock
Tools:
– scissors
– fabric scissors
– sharpie
– hot glue gun + glue
– circle stencil (we used a can of food!)
Instructions:
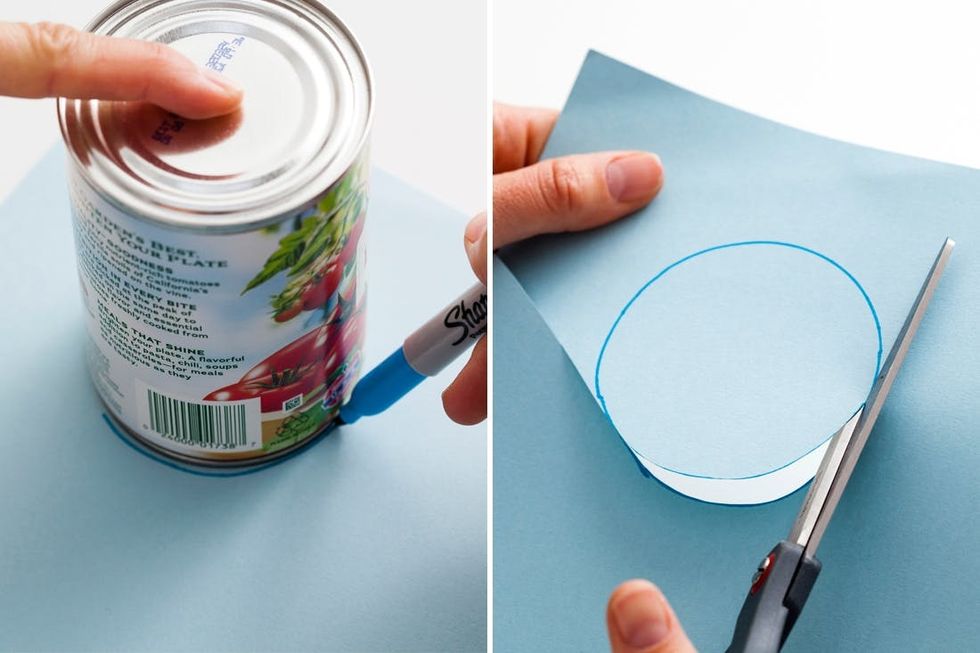
1. To make your stencil, trace a circle on your card stock—we traced ours using canned food—then cut it out.
2. Stack four sheets of the same color felt, then draw a circle on the stack using your stencil and cut the entire stack.
3. Keep tracing and cutting circles until you have enough same-colored felt circles to make three to four complete rows across your pillowcase—the circles should sit side-by-side with no space between them. Then, follow the same process with the other felt colors (this will create the ombre effect). The total number of circles will depend on the size of your pillow—we cut out 20 per color per pillow.
4. Line up your circles on a table, stacking them to create scalloped edges, and place the pillow case on top to make sure it’s fully covered. (Cut out more circles if necessary).
5. Add a line of hot glue to the top of your pillowcase and place on your first row of circles, pressing them down to secure. Continue to glue them to the pillow case until you reach the bottom.
6. When the glue has dried, stuff your pillow inside and snuggle away!
The first step is to find an object that will make the perfect circle stencil for your pillow. Since the scalloped pattern runs straight across the pillow, the spacing needs to be just right—you don’t want to end up needing a half circle at one end! Heads up: it may take some trial and error to find. After testing mason jars and other cups, we found that canned food worked best in our case. Trace and cut your circle stencil to celebrate!
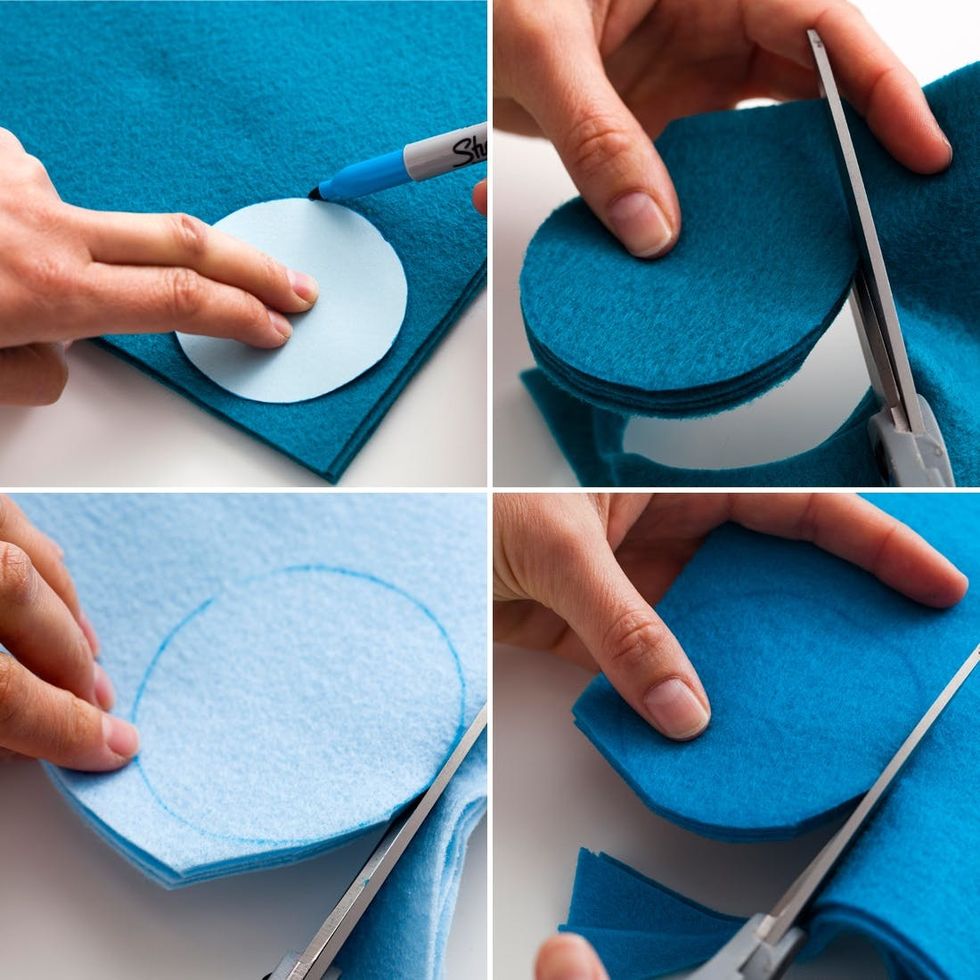
Now trace your stencil on a four-layer stack of felt. Cut and repeat as many times as you need to make four complete rows across your pillow, then switch to another color of felt and repeat—this will create an awesome ombre effect when it’s all laid out.
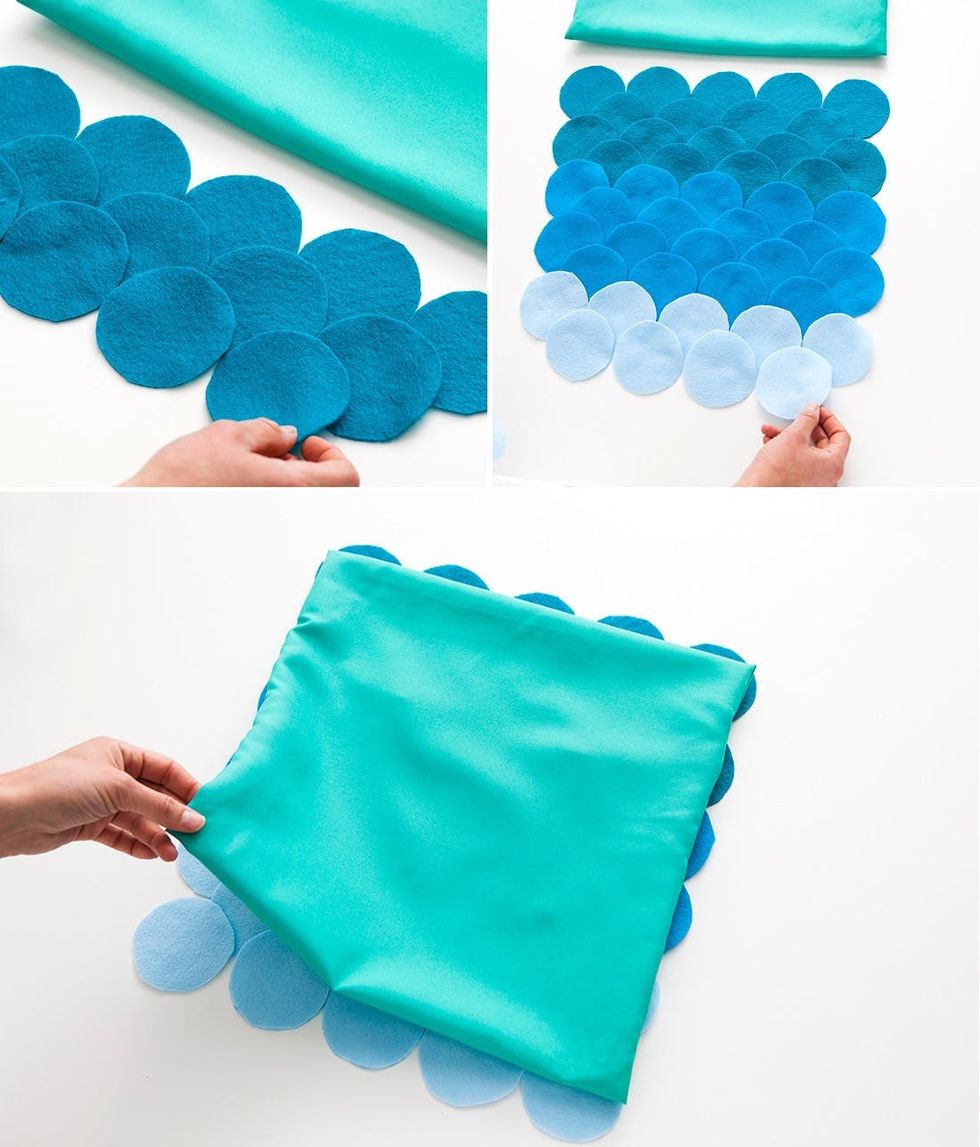
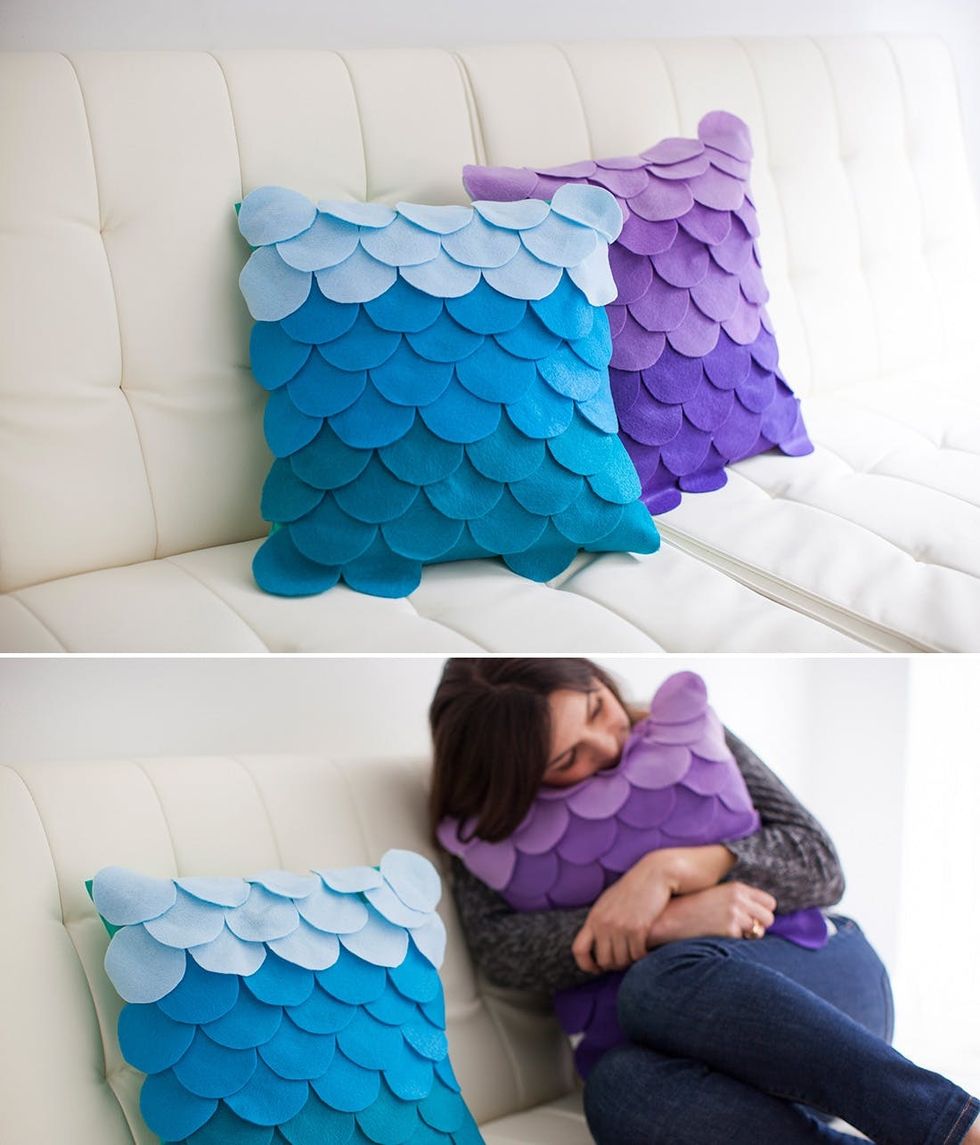
See, what did we tell you? Place all of the same colored circles side-by-side to cover the length of your pillowcase, then layer the next row on top to create the scalloped effect. Do this with the next row… and the next row… until you’ve got enough circles to completely cover your pillow.
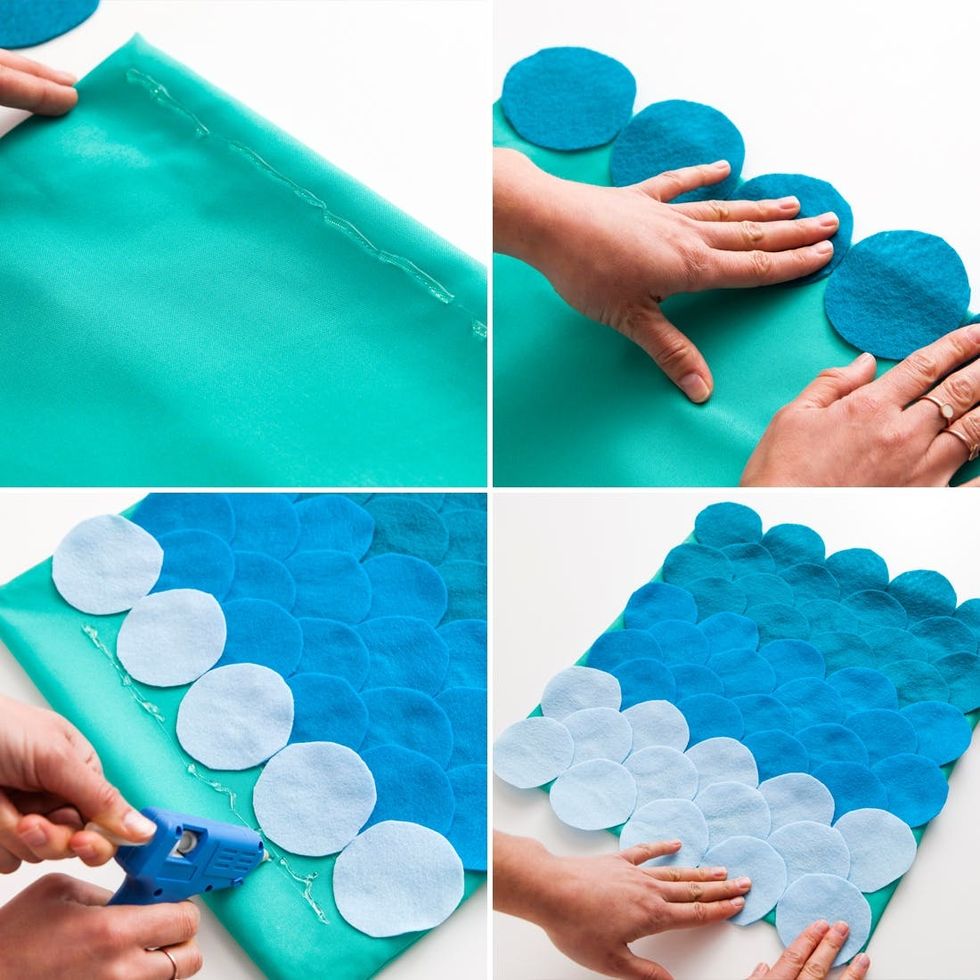
Okay, now it’s time to glue. Heat up your glue gun and then add a line of glue to the top of your case. Quickly add each circle in the order you’ve got laid out in your pattern and gently press them down. Continue adding glue and circles until the case is covered.
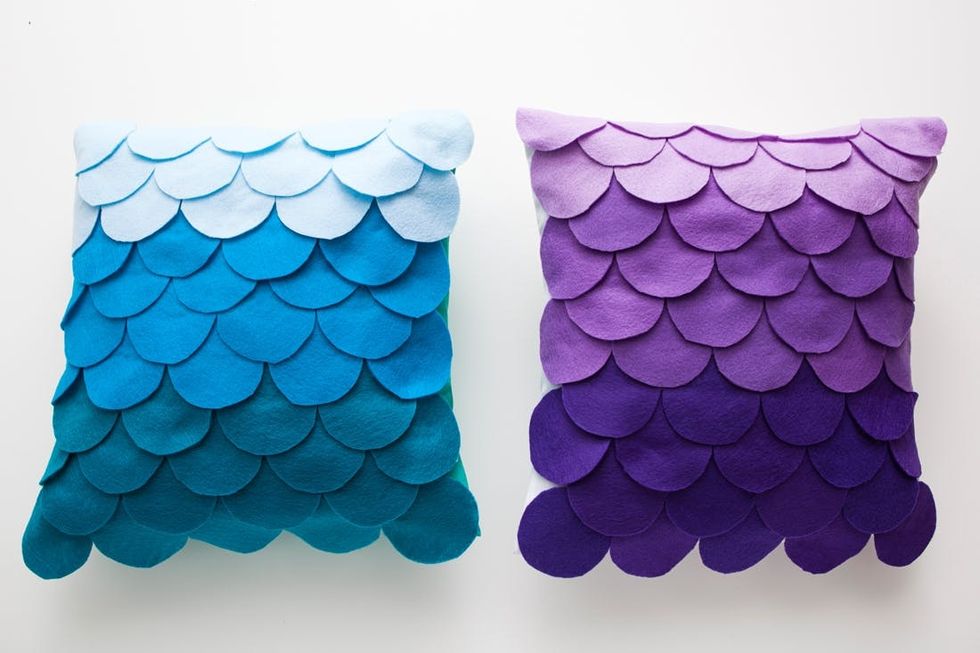
Slip that case back on your pillow and get ready to be wowed! See, it is possible to have a stylish and comfortable throw pillow (or two!). The soft felt scallops are so inviting, especially in a rich ombre hue—perfect for the playroom or any room that’s in need of a bold pop of color.
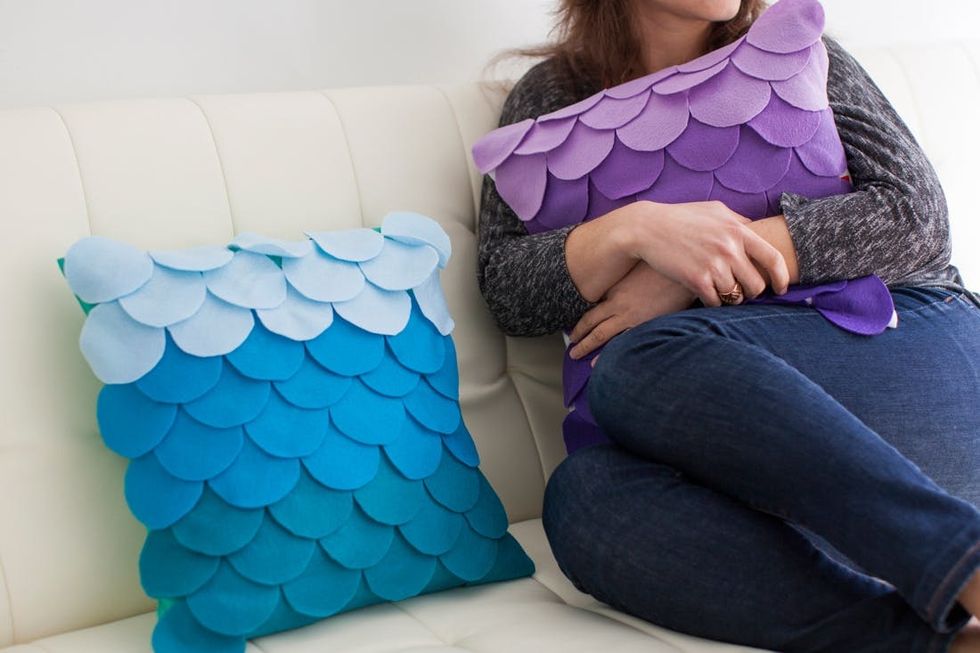
Now get your snuggle on! Don’t be shy ;)


