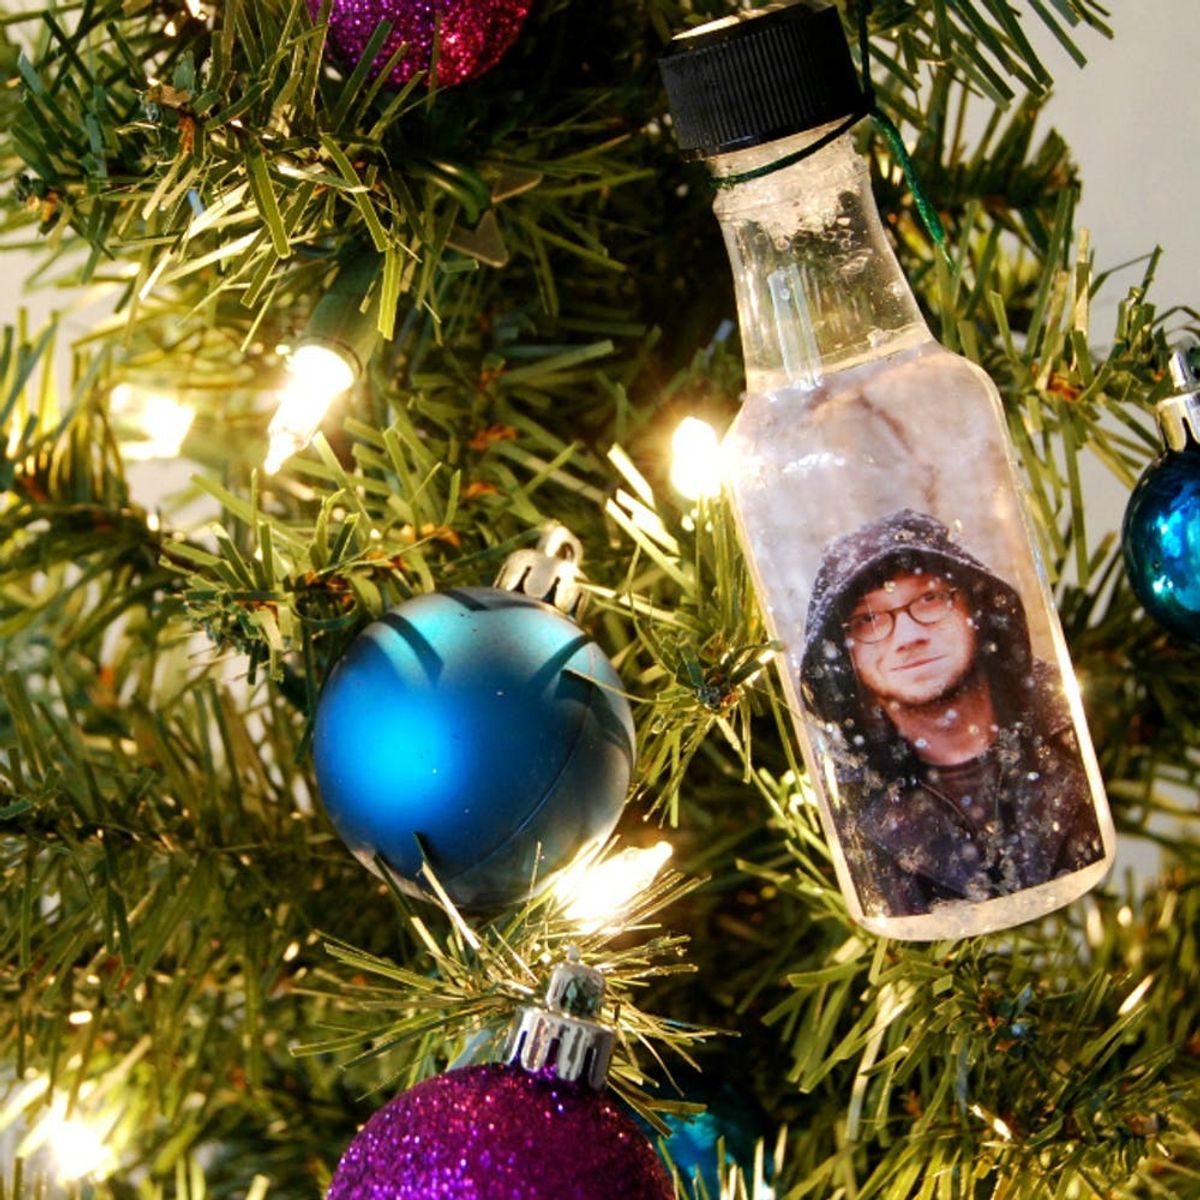
How to Turn Little Liquor Bottles into Photo Snow Globe Ornaments

Who said winter wonderlands can only be enjoyed outdoors? Stay warm by bringing the beauty of winter into your home instead — not by tracking snow inside (what a mess!), but by making shimmery snow globe ornaments! We teamed up with the DIY wizards at Photojojo to show you how to make these glittery globes with your very own photos. Your decorations will not only be pretty, but personalized too. Read on for the instructions.
Materials:
— little liquor bottles (have a pre-crafting drink to get the bottles empty!)
— wallet-sized prints
— light corn syrup
— water
— white or silver glitter
— scrap paper
— colored string
Tools:
— mixing container with spout
— ruler
— scissors
— pencil
— clear packing tape
Instructions:
1. Pour equal parts corn syrup and water into your mixing container. Make as much as you need to fill all your empty bottles. Put this aside.
2. Fold your piece of scrap paper in half and pour your glitter into the fold.
3. Using the scrap paper as a funnel, pour the glitter into your bottle. Sparkle, sparkle!
4. With your ruler, measure the width and height of the widest part of your bottle. Use these measurements to scale down and cut your photo so that it will fit into the bottle just right.
5. Waterproof your photo by sealing it with the packing tape. Cover both sides completely and cut off any excess tape around the border.
6. Gently roll up your photo (rolling it around a pencil is helpful) so that it can fit into the neck of the bottle.Once you’ve inserted it into the bottle, the photo should flatten out on its own. If not, use a pencil to push it into place. Pro tip: Try to keep your photo from pressing up against the front of the bottle — otherwise there won’t be a lot of space for the liquid and glitter to move around, ruining the snow effect (booo!). Ideally your photo will be placed in the middle of the bottle so there’s space in front of and behind it for tons of swirly snowy goodness.
7. Slowly pour your mixture of corn syrup and water into the bottle. Fill it all the way up and put the cap back on. You’re almost done!
8. Cut about six inches of string and tie one end in a knot around the neck of your bottle. With the other end, tie a larger loop so you can hang your ornament.
Pour equal parts corn syrup and water into your mixing container. Make as much as you need to fill all your empty bottles. Put this aside for now.
Fold your piece of scrap paper in half and pour your glitter into the fold.
With your ruler, measure the width and height of the widest part of your bottle. Use these measurements to scale down and cut your photo so that it will fit into the bottle just right.
Waterproof your photo by sealing it with the packing tape. Cover both sides completely and cut off any excess tape around the border.
Gently roll up your photo (rolling it around a pencil is helpful) so that it can fit into the neck of the bottle. Once you’ve inserted it into the bottle, the photo should flatten out on its own. If not, use a pencil to push it into place.
Pro tip: Try to keep your photo from pressing up against the front of the bottle — otherwise there won’t be a lot of space for the liquid and glitter to move around, ruining the snow effect. Ideally your photo will be placed in the middle of the bottle so there’s space in front of and behind it for tons of swirly snowy goodness.
Slowly pour your mixture of corn syrup and water into the bottle. Fill it all the way up and put your cap back on. You’re almost done!
Cut about six inches of string and tie one end in a knot around the neck of your bottle. With the other end, tie a larger loop so you can hang your ornament.
Such a fun and unique little snow globe! For more photography tips, tricks, projects and supplies, check out the Photojojo blog!
The holidays are the perfect time to get creative with DIY gifts, decorations, and more. Tell us about a holiday project you’ve created!


