DIY Rubber Stamps in Just 15 Minutes

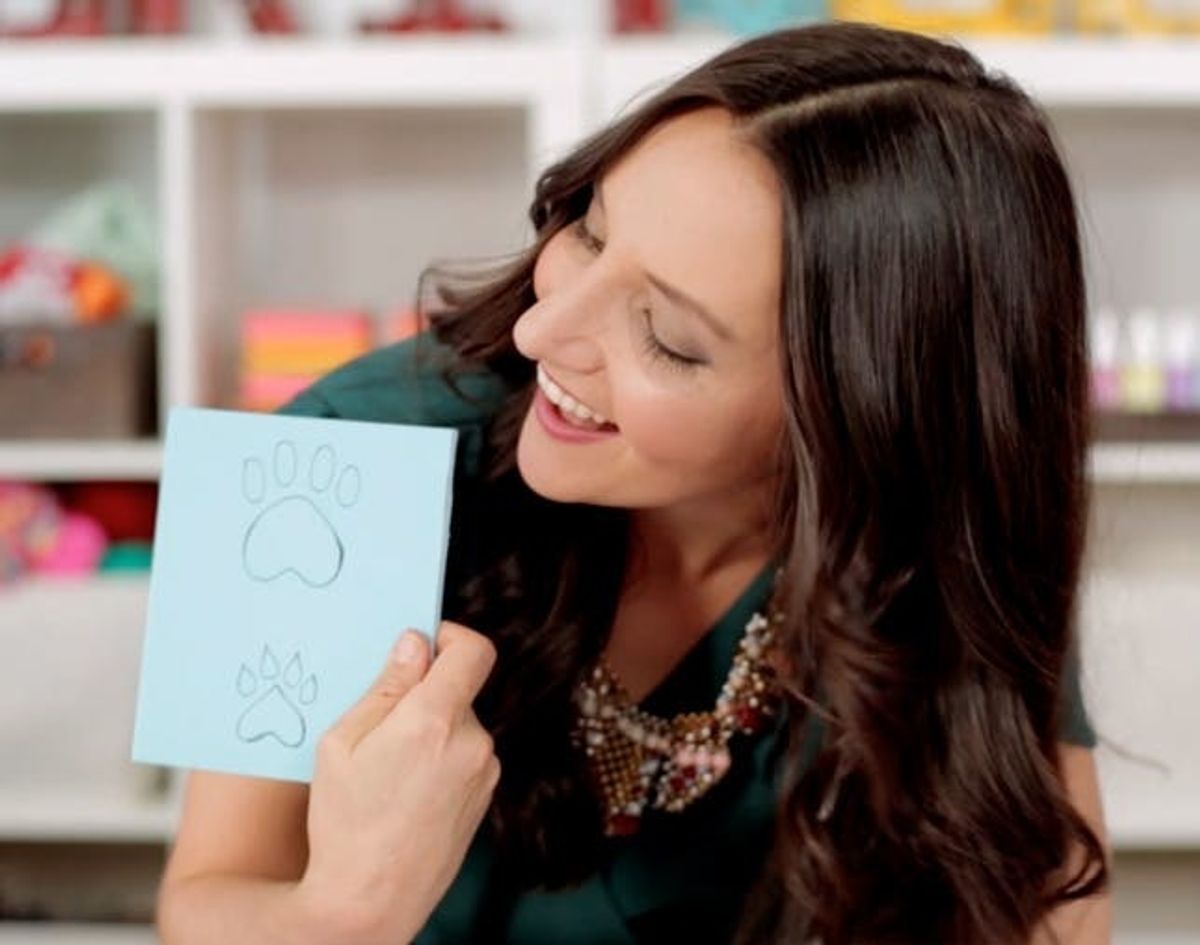
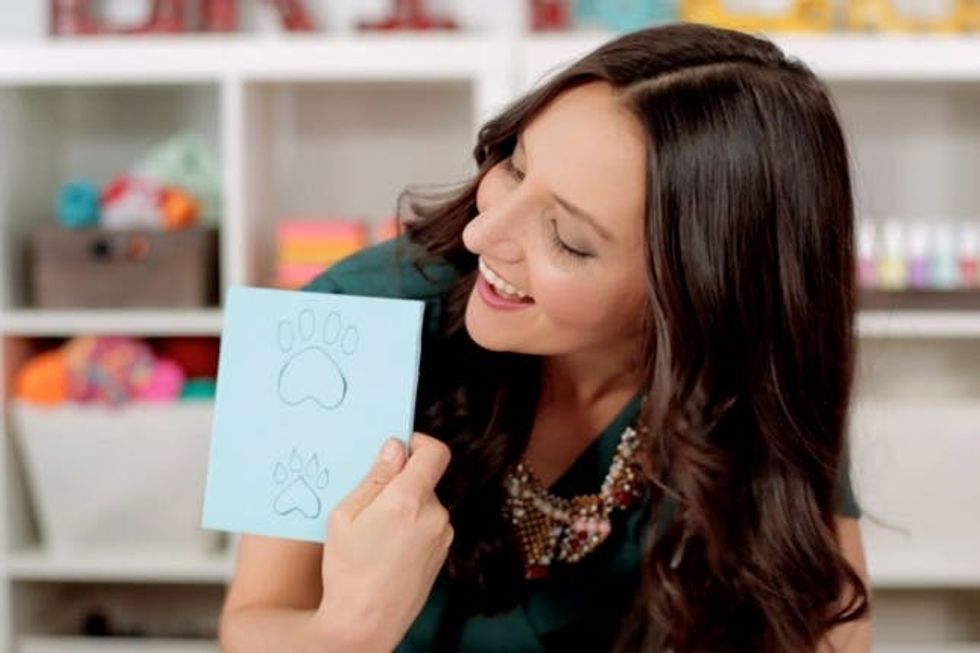
Ever made your own rubber stamp? We’re here to show you that it is way, way easier than it looks! Just a few weeks ago, we shared all sorts of tips on gift wrap using DIY rubber stamps, but today we’re taking inspiration from our favorite furry four-legged friends and creating custom paw print stamps. Check out the video above to see how it’s done.
This festive project is part of a series with PetSmart Charities that’s all about making holiday gifts for and with your pets this December. For more holiday ideas for pet lovers, check out these 5 DIY ideas we drummed up just last week! And in case you have any questions after watching the video above, here’s a materials list and step-by-step instructions for how to make your own set of custom rubber stamps!
<br/>
 – SpeedyCut rubber pad

– ink pad(s)
– pencil
– Things to stamp on: cards, kraft paper wrapping paper, boxes, tags, etc
Tools:
– Speedball linoleum cutter handle and blade
– Xacto knife
Instructions:
1. Draw out your designs using a ballpoint pen on your rubber pad.
2. Use an Xacto knife to cut your pad into individual stamps.
3. Secure your linoleum cutter blade into the handle by twisting it into place.
4. Using the linoleum cutter, cut out your stamp designs by stripping away at the rubber pad surrounding your design.
5. Cut off any excess rubber pad so you have one clean stamp.
6. Press into your stamp pad, and start stamping!
What pet-inspired gifts might you make this December? Talk to us in the comments below.


