 Recommended for you
The stamping saga continues with these bold patterned pillows. We tried our hand at hand-stamped scarves and decided to go big and go home… to the sofa, that is. We thought our cozy couches could use a little loving and whipped up the perfect hand-stamped accent to really tie the room together. To make this even easier, we put together this Hand-Stamped Pillow Covers Kit, available for $30 in the B+C Shop.
Grab one in black, navy or magenta and get stamping. We provide the pillow covers, paint and stamping materials. All you need are two 16 x 16-inch pillow inserts…. so make your way over to Amazon for those now.
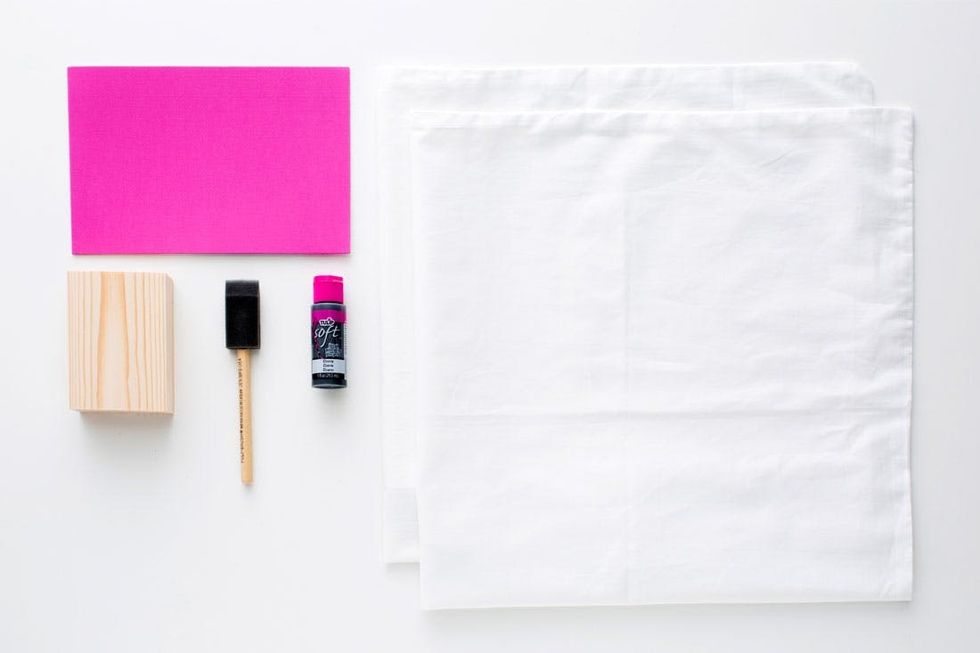
Materials:
– 16 x 16 inch Cotton pillow covers (2)
– Sticky back foam
– Stamping block
– Fabric paint
– Paintbrush
Additional Tools (not included in kit):
– Scissors
– Pencil
Instructions:
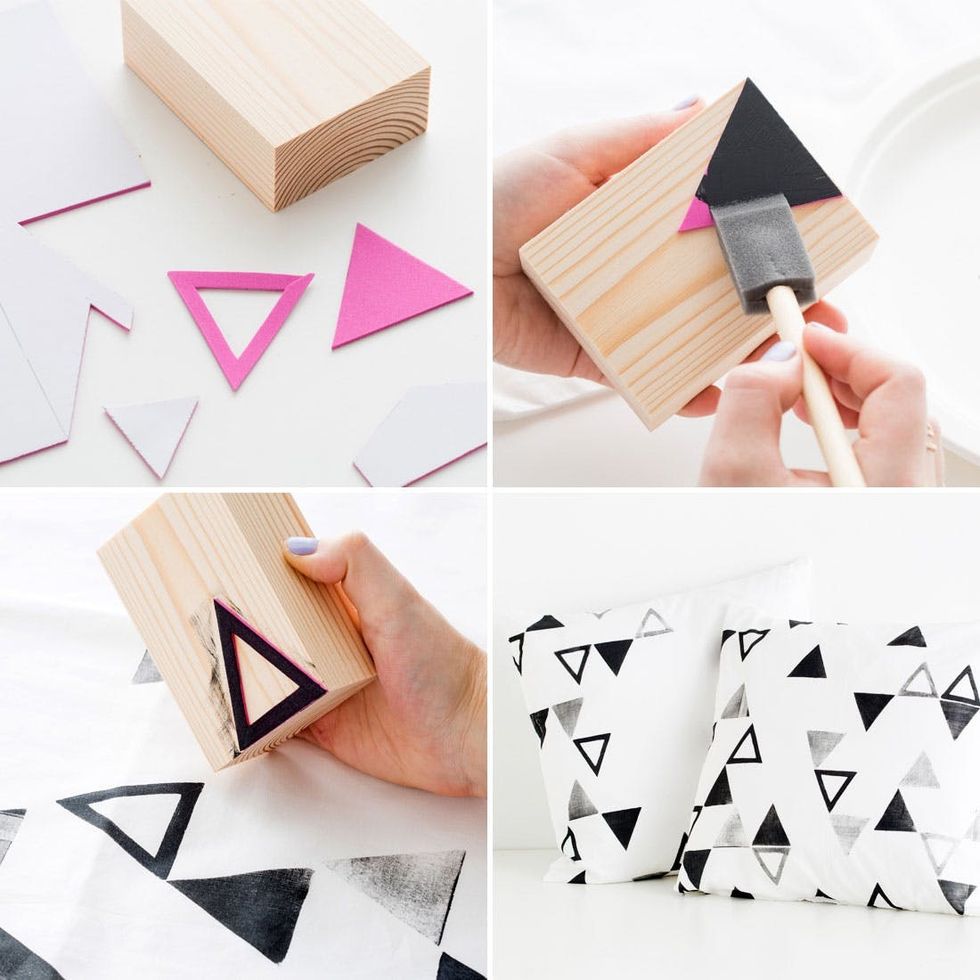
1. Trace around the wood block onto the back side of your sticky foam sheet.
2. Using scissors, cut out your desired shapes from the sticky foam.
3. Peel off the paper backing and stick foam shapes onto one side of the wood block.
4. Brush fabric paint onto your stamp, using the foam brush.
6. Press stamp down firmly onto your pillow covers, and reload with paint here and there.
7. To change shapes, simply peel off the sticky back foam and stick on a new shape.
8. Let fabric paint air dry for 4 hours before wearing, and 72 hours before machine washing.
Just a few simple steps to these punchy pillows!
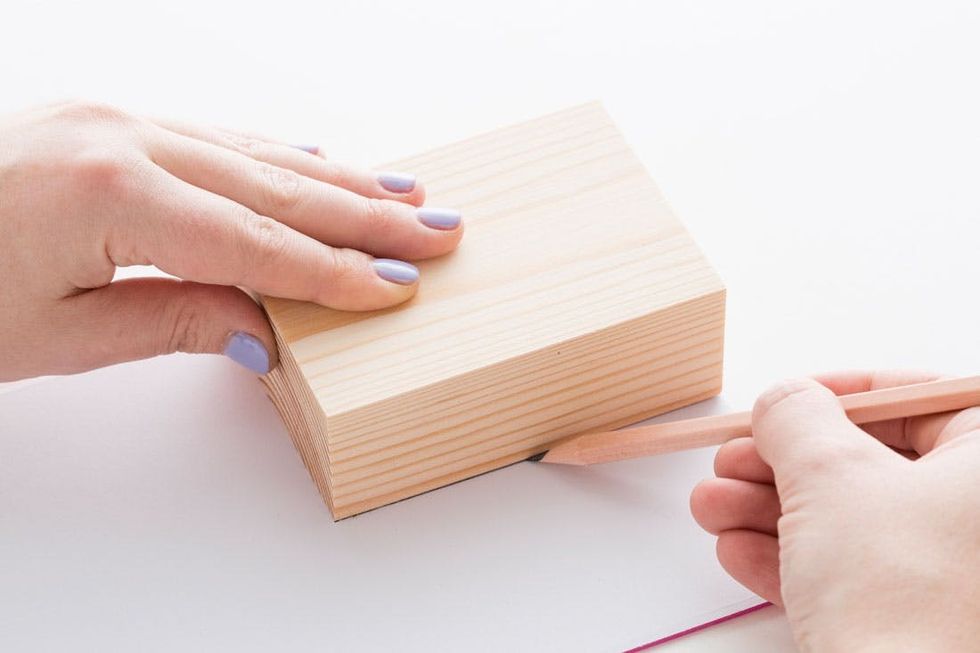
Trace the wood block shape onto the back side of your sticky foam sheets using a pencil.

Cut out some custom shapes with a pair of scissors, while staying within the size limits of the wood block. You can also make multiple shapes and set some aside for later.
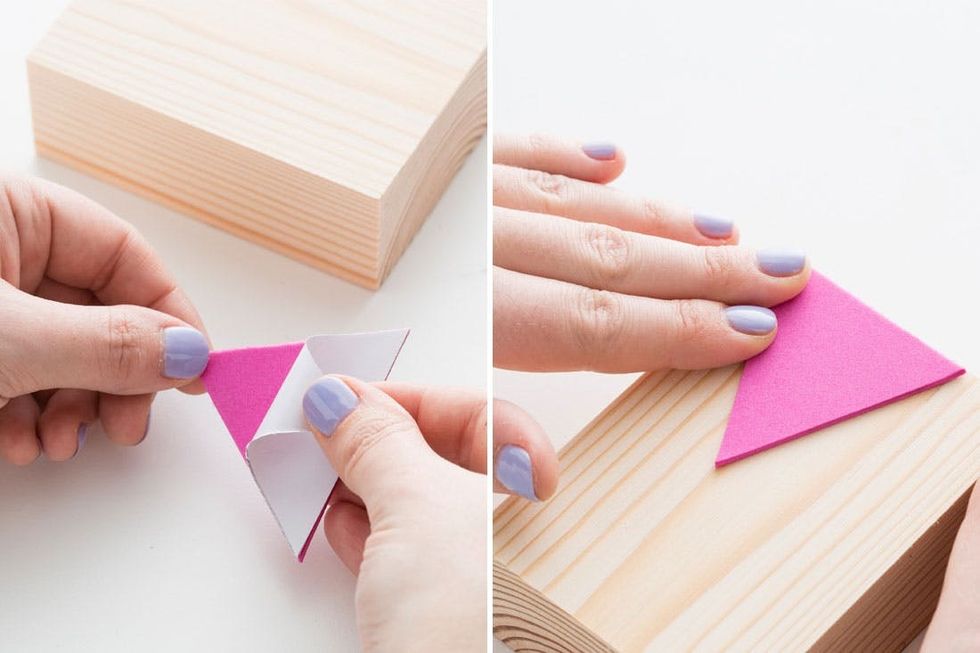
Peel off the paper backing and stick your first foam shape onto one side of the wood block.
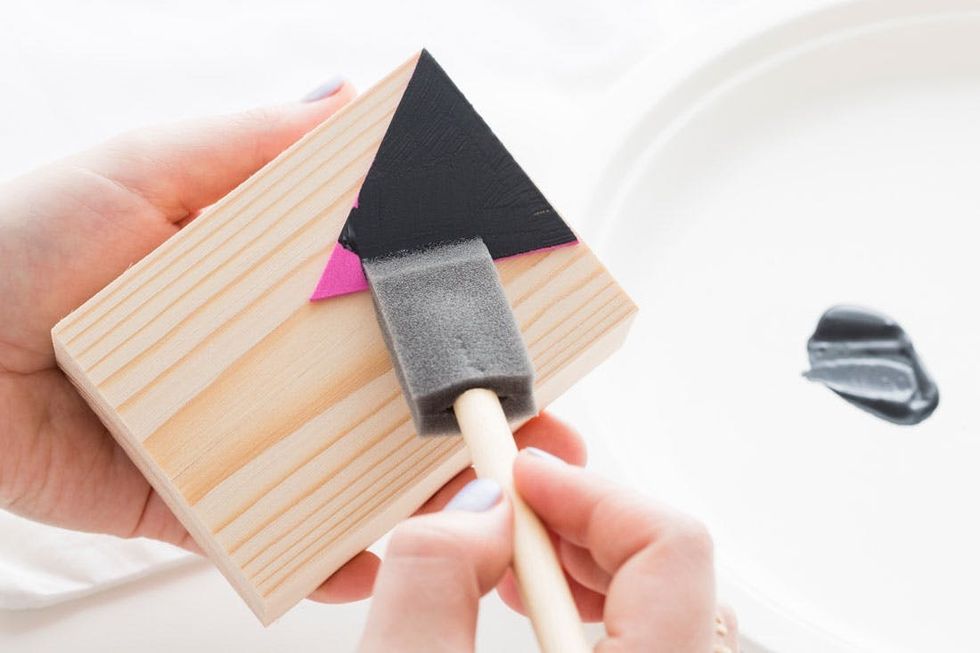
Brush a thin layer of fabric paint onto your foam stamp using the paintbrush, trying to keep the edges fairly clean.
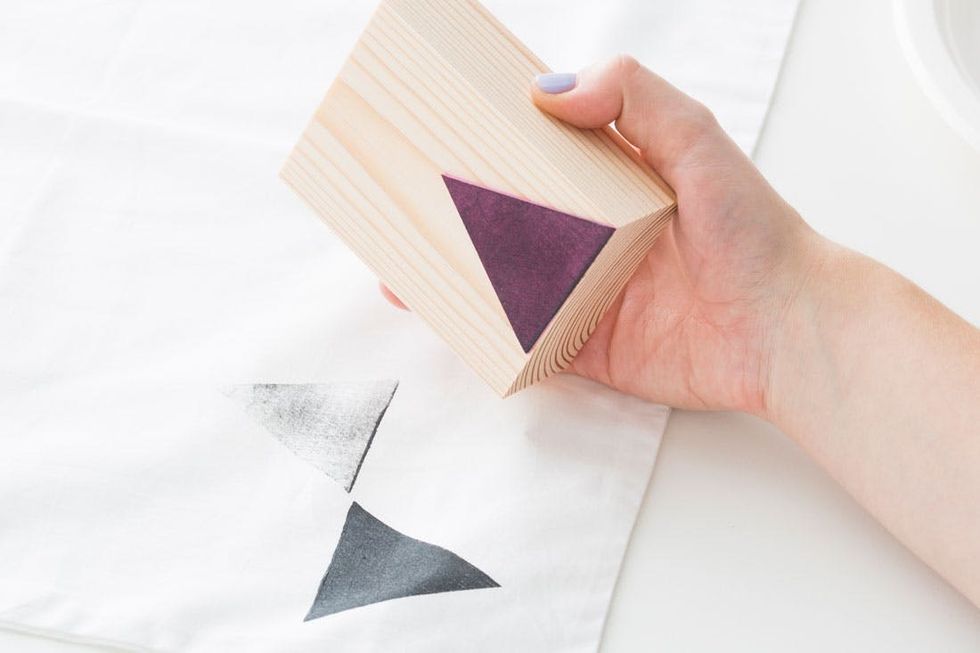
Press your stamp down firmly onto your pillow cover to transfer the fabric paint. Stamp down a second time before re-applying paint to create a lighter shape.

Changing up your shapes is as easy as peeling off the sticky foam and replacing it with a new shape. We’ve included plenty of extra foam in this kit so that you can play with multiple shapes.
So simple, but so good! Once you’ve finished stamping, let the fabric paint air dry for 4 hours before use and 72 hours before throwing in the washing machine.
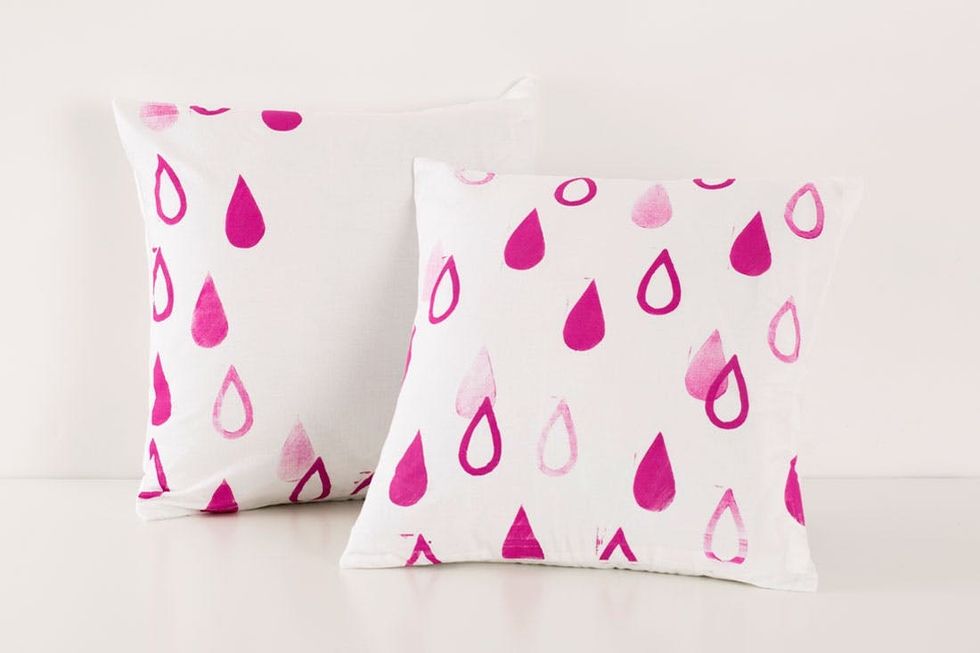
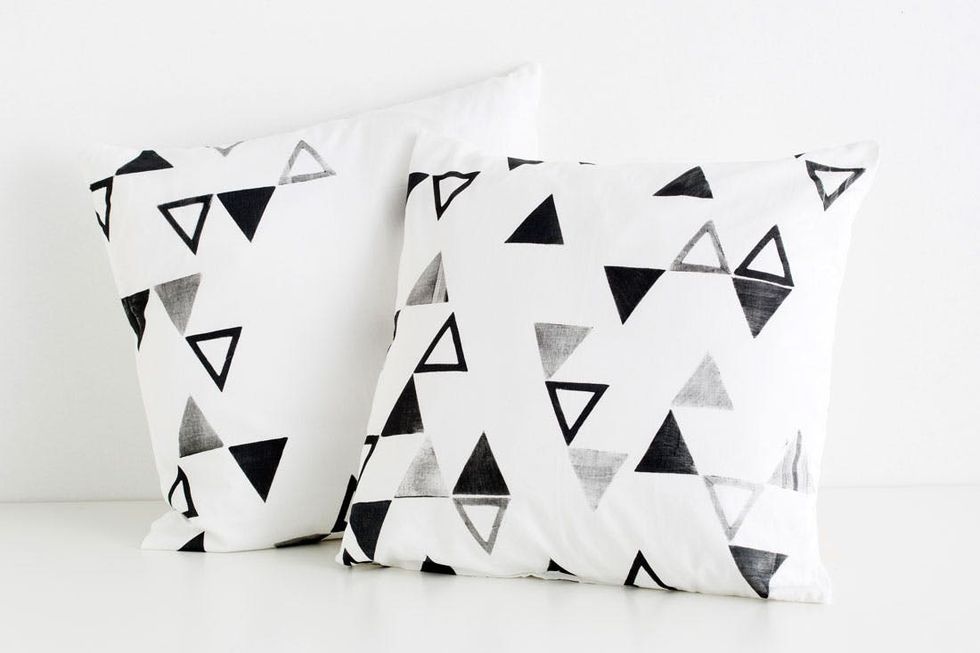
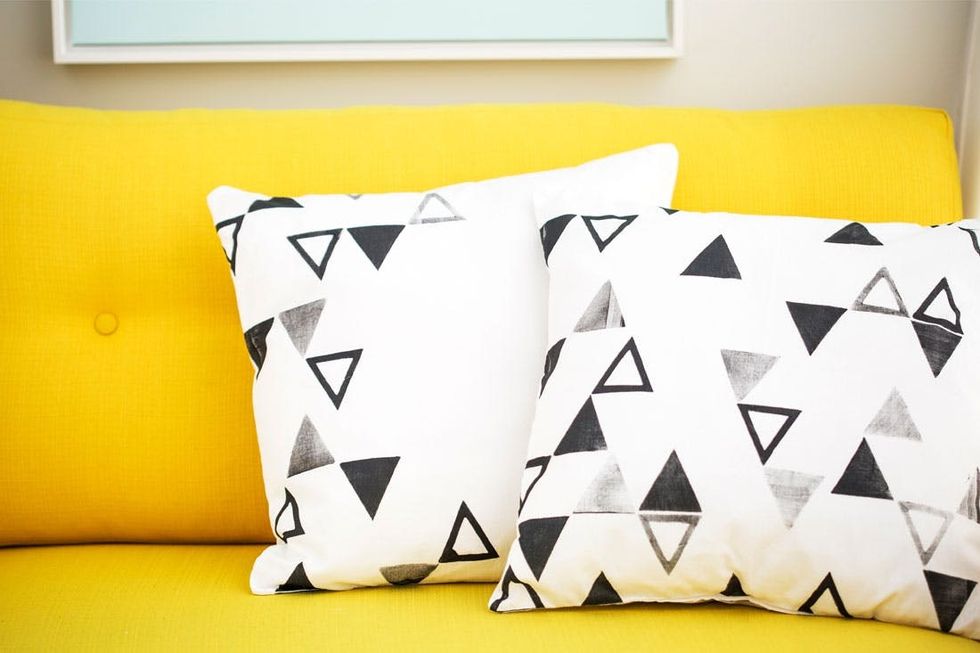
We chose these three designs to show how even the simplest shapes can make the coolest patterns. Take it to the next level with cutout monograms, origami cranes, your spirit animal… whatever strikes your fancy.
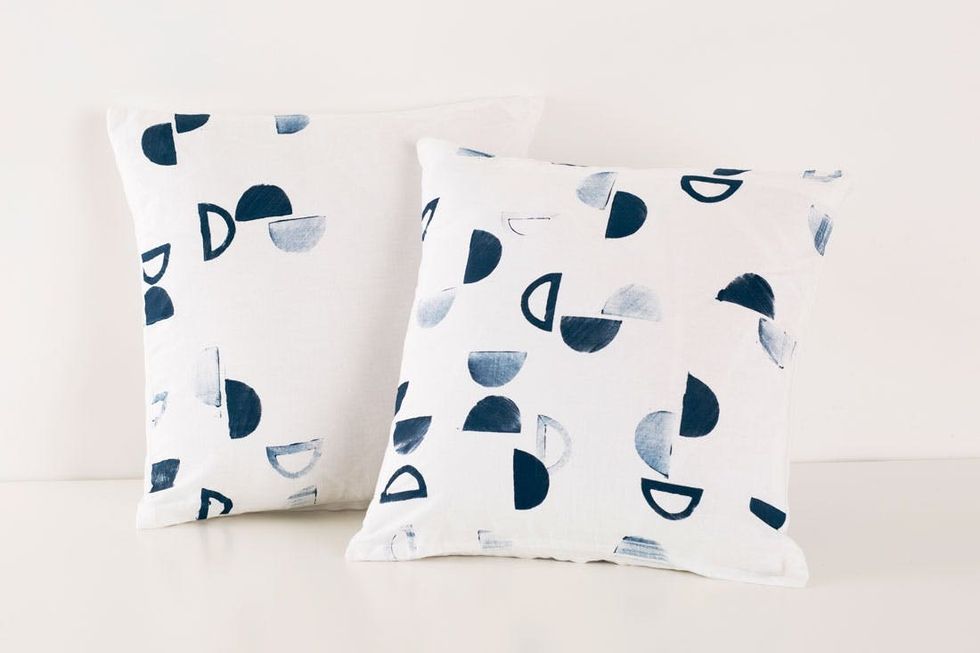
But if all else fails, these trusty triangles, tear drops and half moons always make a fun modern statement.
We’ve included the pillow covers, but be sure to grab a couple 16 x 16 inch pillow fills and get lounging.
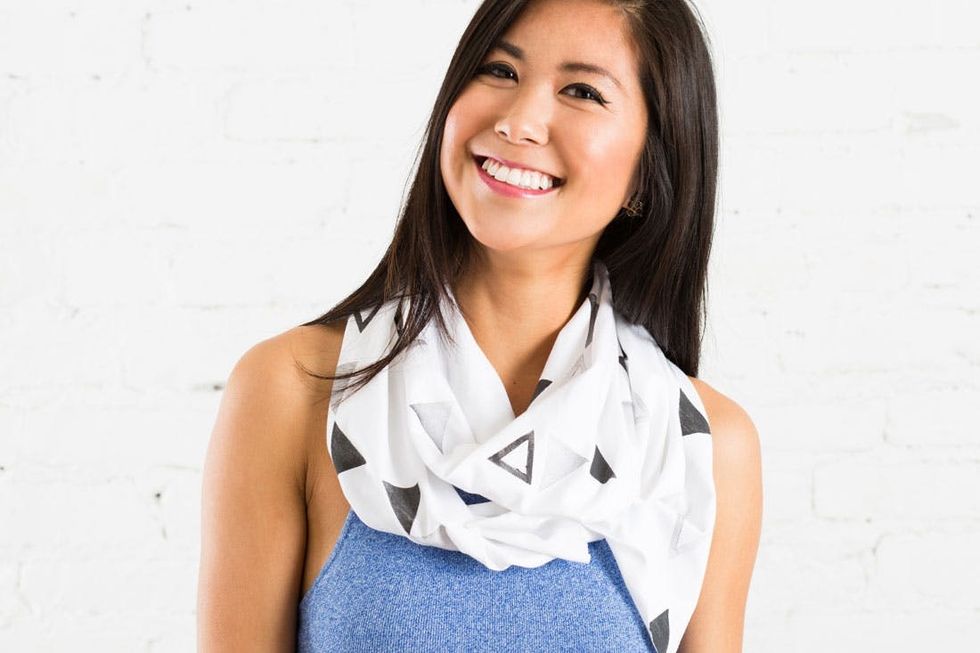
If you’re looking to pump up your street style with this same technique, check out these hand-stamped scarves, also available as a kit!