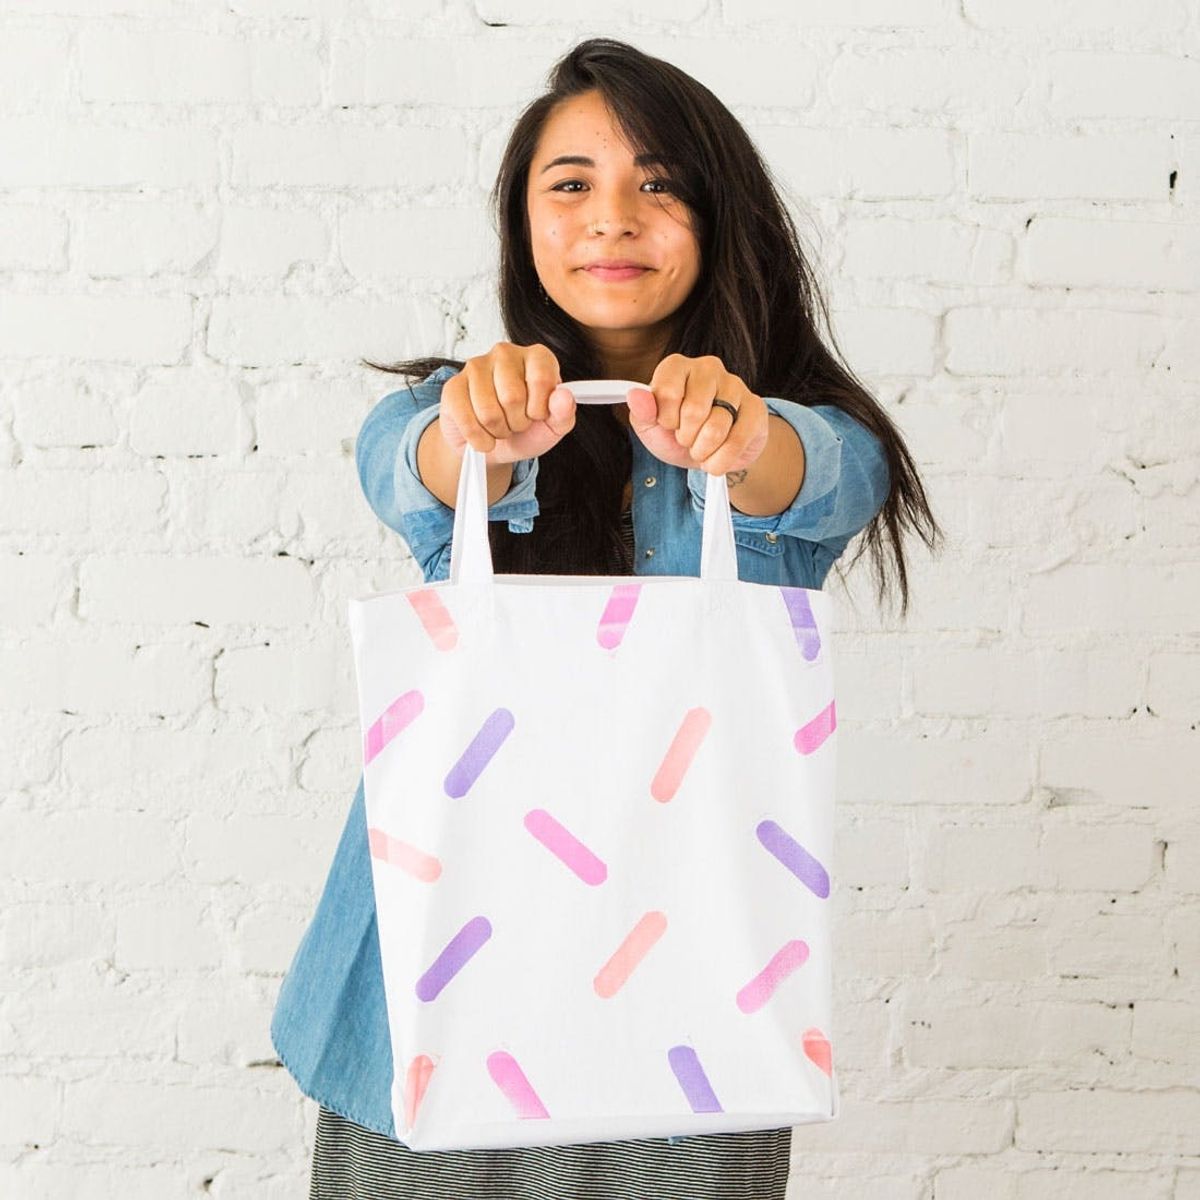
We’re always down for free tote bags (and so can you!).
A New Way to Make Hand-Stamped Tote Bags in Under 30 Minutes

We’re no stranger to canvas totes or the possibilities they provide for an awesome style DIY. So when our friends at Michaels wanted to team up with us for a DIY Tote Bag station at this year’s Re:Make, our reply went something like, “Oh, we got this.”

Materials + Tools:

– ink pad
– stamping block
– pencil
– scissors
Instructions:
1. Draw or trace your desired stamp shape onto the paper backing of the sticky back foam.
2. Cut out this shape with a pair of scissors.
3. Peel off the paper backing and stick the foam to your stamping block.
4. Pop out the color ink pad of your choice and load up the stamp with ink.
5. Press the stamp down firmly onto your canvas tote, and then carefully pull away.
6. Repeat with additional colors and/or shapes, and let dry for 30 minutes or so.
7. Optional step: Add lettering, patterns or other shapes in fabric pen.
8. Hand wash or spot clean if necessary.
Grab all the supplies listed and pictured above, and get ready to stamp it up!

This stamp-making process is super simple. Draw your desired shape onto the paper backing of your foam sheet in pencil or pen, and cut it out with scissors. Then peel away the paper backing and stick it to your wood block.

These beautiful, multi-color stamp pads are actually made up of 12 little removable pieces, so pop out your first color and let the inking begin.

Press the ink strip down onto your foam stamp until it is covered in ink.

Set aside your ink strip by placing it in the ink pad lid and firmly press your stamp down onto your canvas tote.

Repeat with multiple colors if you want. We added a bunch of oversized sprinkles to this bag for an abstract twist on our fave donut DIYs.

We love how simple yet playful this design is!

For our second design, we used multiple colors on one stamp for quick and efficient block printing. Carefully ink up one shape and then the other, making sure not to overlap the two shapes with the same color ink.

You know what to do here — stamp down firmly, then carefully lift the stamp to reveal your two-toned shape.

Time to grab those fabric pens and add a little extra detail. We added little black seeds to the watermelon shapes and teensy black dots to the orange rind.

Two fruits are better than one on this fresh tote!

As an ode to our beloved art supplies, we made paintbrush, paint tube and paint splotch shapes for our third design.

To really kick it up a notch, we added some hand lettering on top. You may want to lightly draw in pencil first before tracing your design in fabric marker.

Thicken those lines with another layer of fabric pen. In this case, leaving some gaps between your lines can look really cool as well.

No one will have any doubts as to what supplies we plan to carry in this tote ;)

There you have it. Three totes that are *almost* too cute for words.

Let your tote dry for 30 minutes or so before loading it up with goodies and carrying it around town!

Want to make one for yourself? Register (for free!) for Re:Make 2015’s Festival Day, and make your very own stamped tote!

What shapes will you stamp onto your tote? Share your plans in the comments!


