City living means no space can go to waste!
Reupholster a Storage Ottoman Inspired by That New Shade of Blue
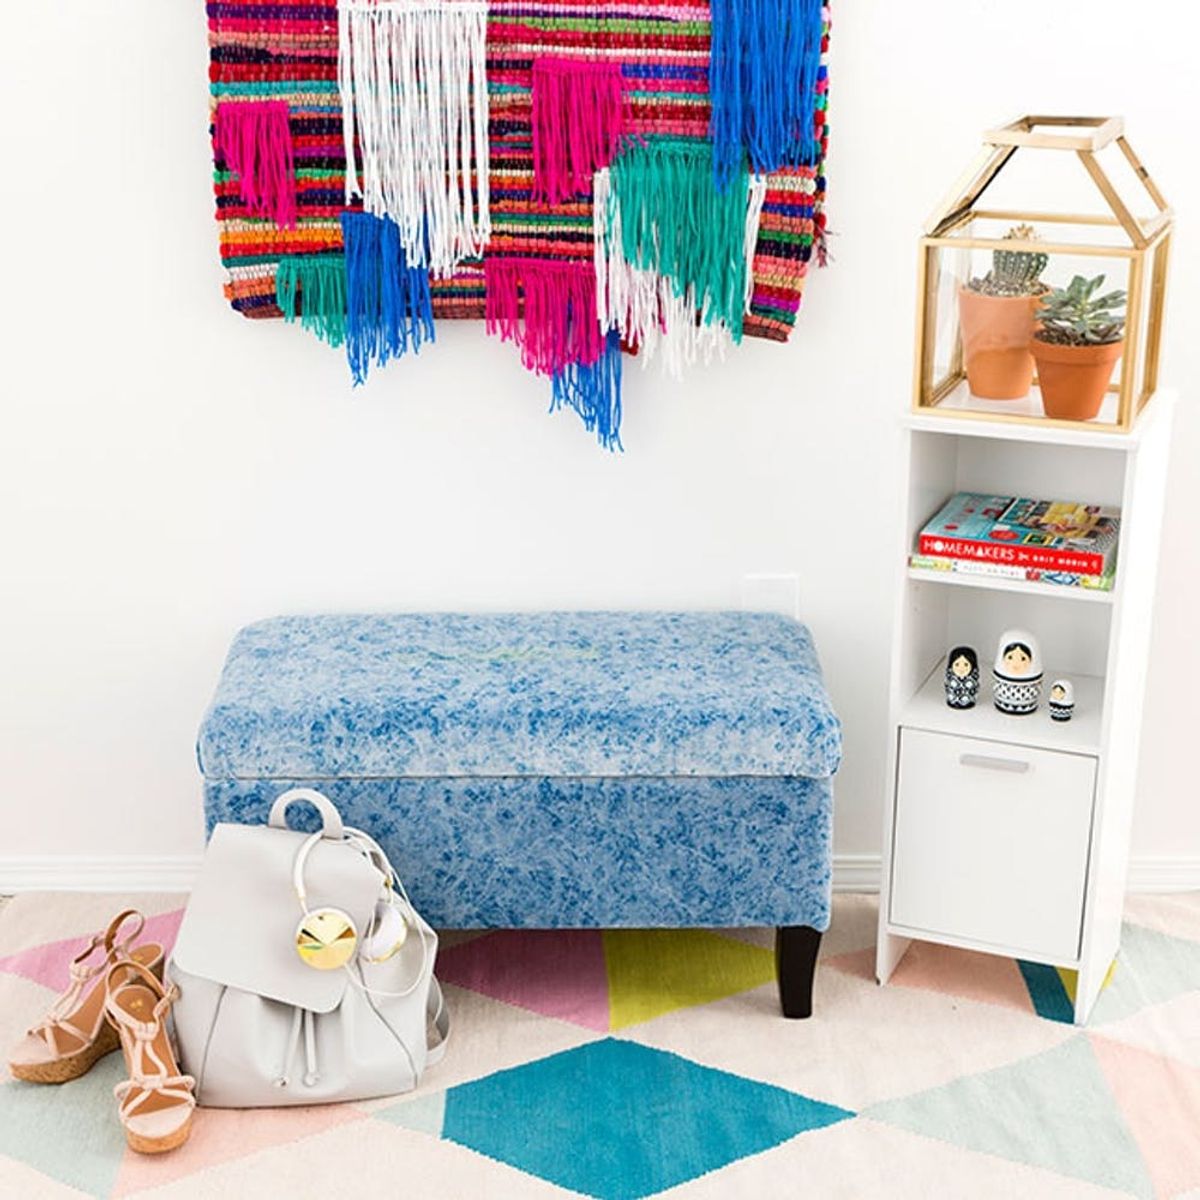
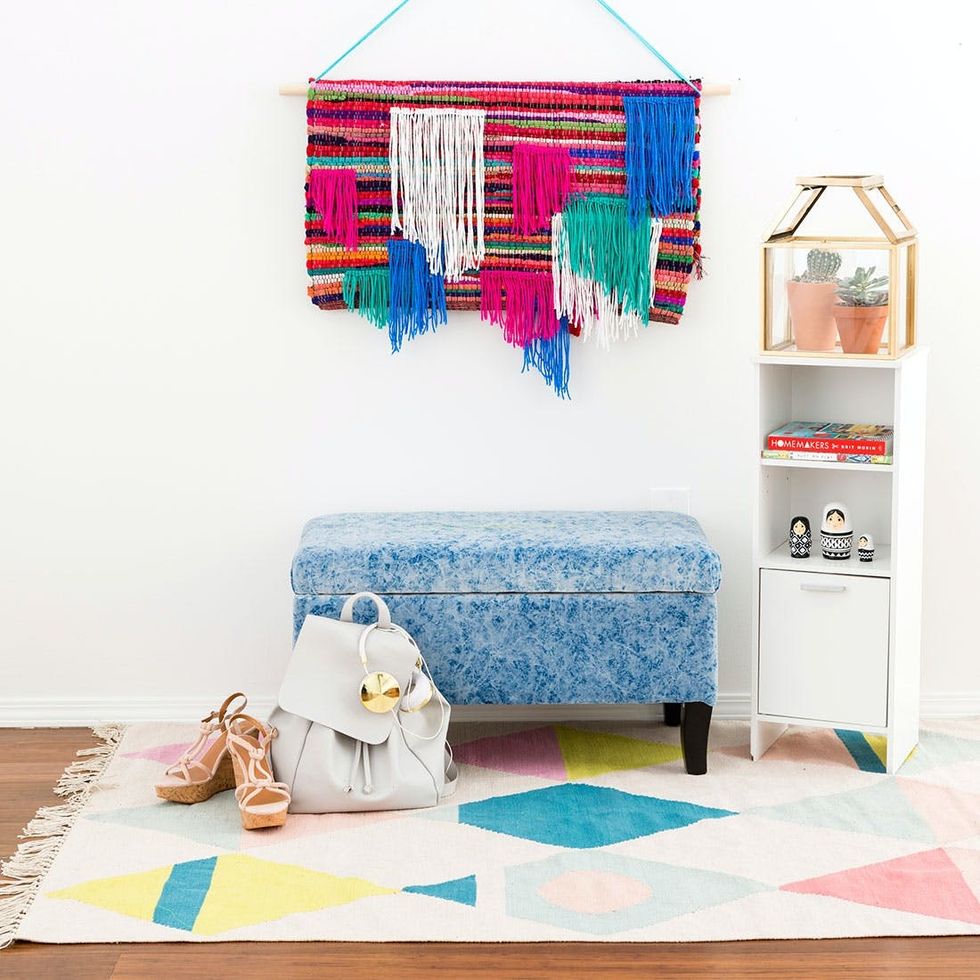
Tiny spaces are no joke. Every nook, corner and cranny matters when you live in only a couple hundred square feet of space. For this DIY, we focused on using a traditional storage piece in a new way. Follow along to see how we both turned this (in my opinion) “out of style” ottoman into a chic piece inspired by that new shade of blue, and updated a bench that would normally hold blankets into a storage solution for every type of accessory.
Materials:
Tools:
Instructions:
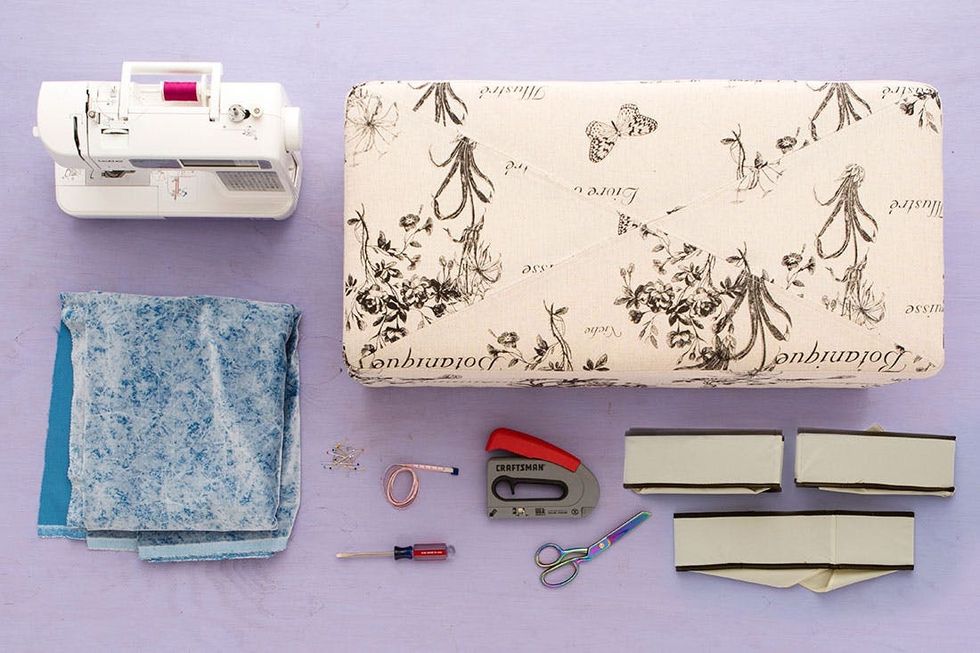
- storage ottoman
- upholstery fabric
- drawer organizer
- sewing machine
- staple gun
- fabric scissors
- sewing pins and tape measure
- screwdriver
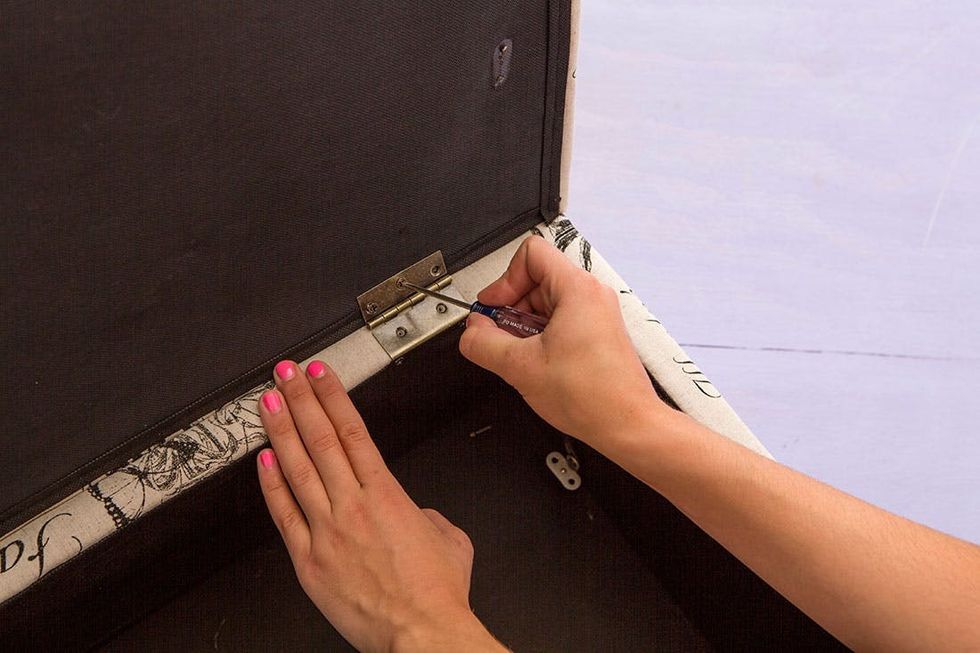
1. Disassemble the top of the ottoman and trace onto your upholstery fabric, leaving about a 5-inch buffer on each edge.
2. Pull the fabric taught and use the staple gun to adhere it to the underside of the lid.
3. Measure the bottom two rectangles and cut out two pieces of each size. Pin edges together and sew to create a larger rectangle.
4. Slide the rectangular cover over the ottoman, pull and staple gun into place.
5. Finish it off by screwing the provided legs in place. Then add in your drawer inserts to create maximum storage solutions!
No offense Amazon, but this antique upside-down patterned print has got to go. First step: unscrewing the lid from the ottoman. Remember to keep those screws somewhere safe; nothing is worse than losing or stepping on a loose screw.
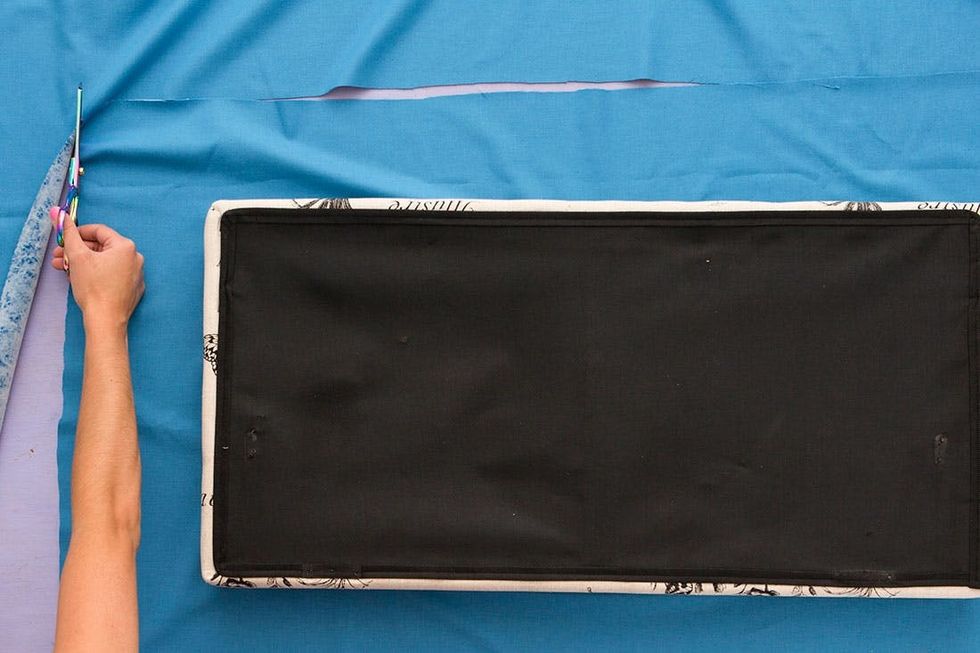
Lay the top of the ottoman on your upholstery fabric and cut out a piece that measures with a five-inch buffer on each side.
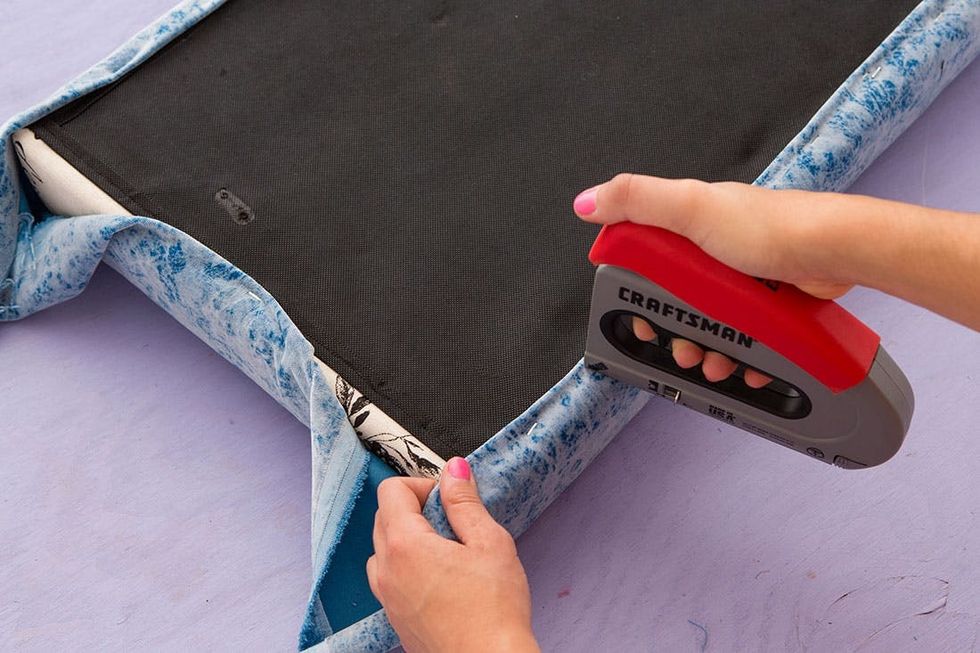
Pull the fabric tight and staple gun it to the underside of the ottoman lid. Fold the ragged edge under to avoid fraying and to give the piece a clean line.
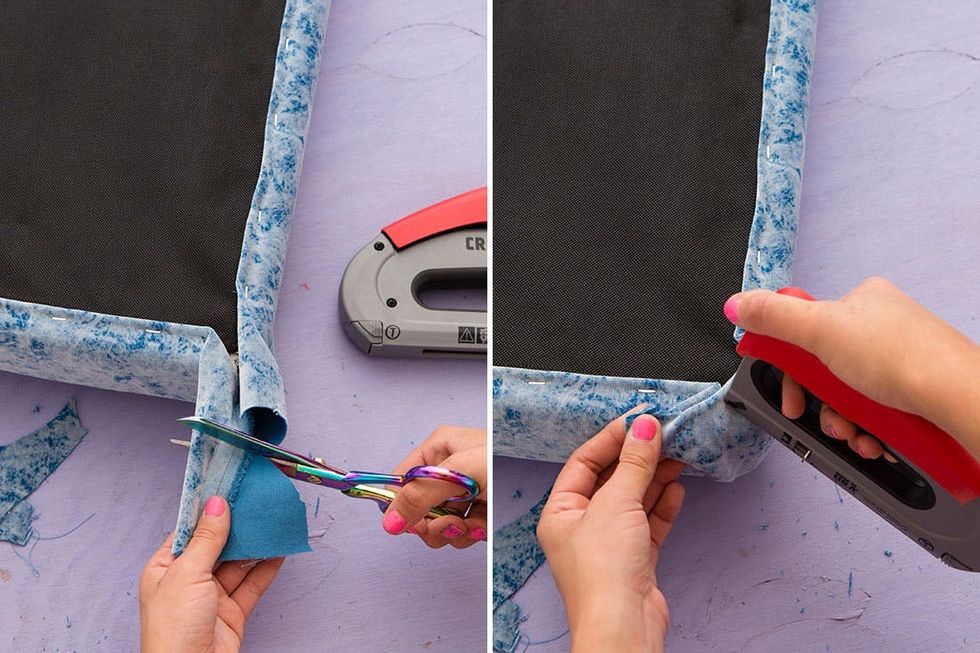
The corners are more tricky, but you’ve got this! Trim excess fabric, fold like a present and staple gun into place.
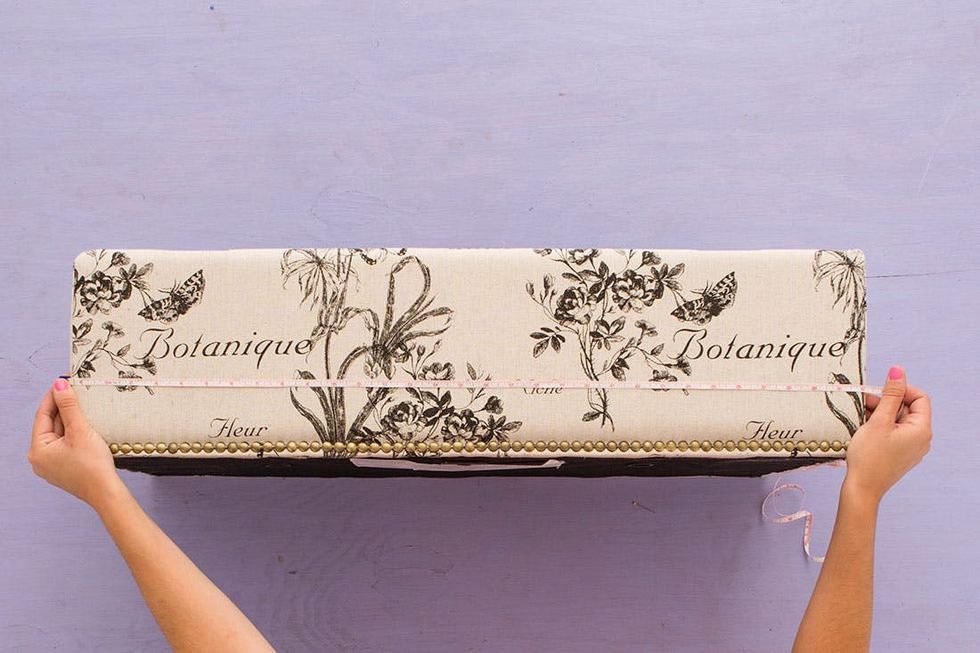
Grab your tape measure and measure the rectangles that make up your ottoman. Jot these numbers down on a piece of paper and then add about four inches to the height. This will give you more slack to pull when upholstering.
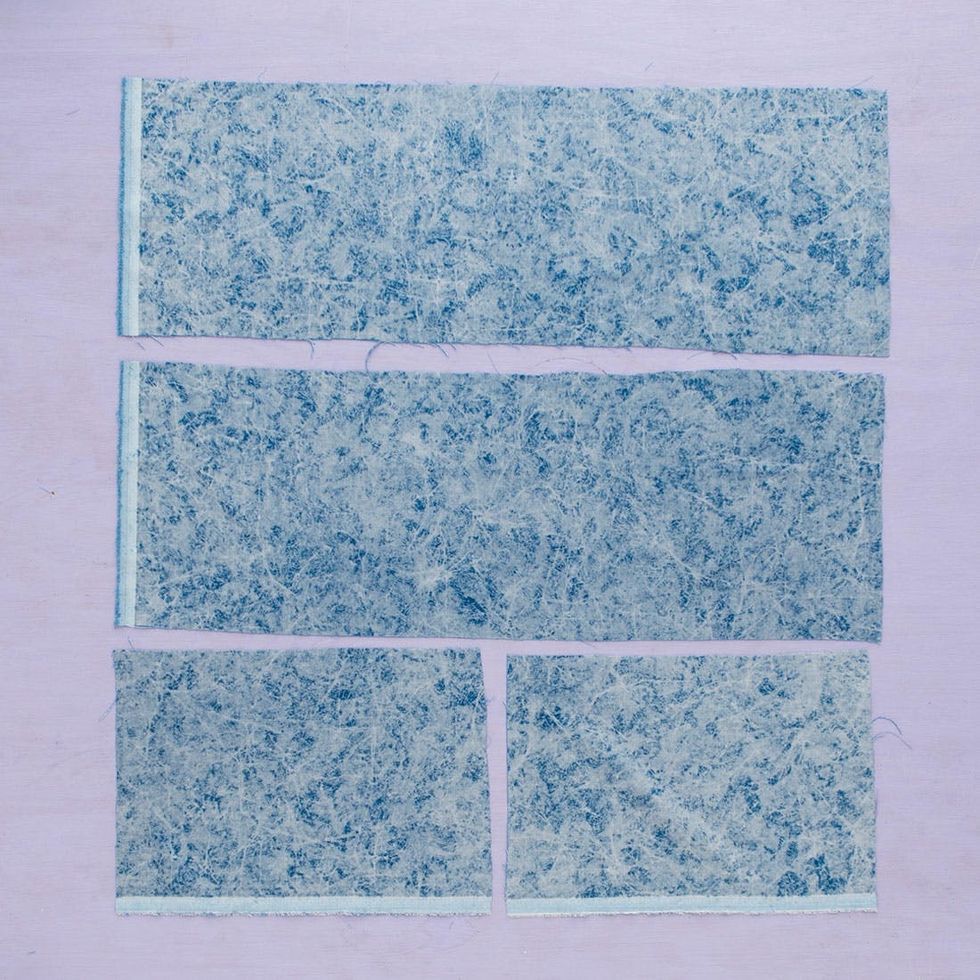
Cut out two rectangles of each size and then pin the heights of each rectangle together to create one large rectangular “fence” shape.
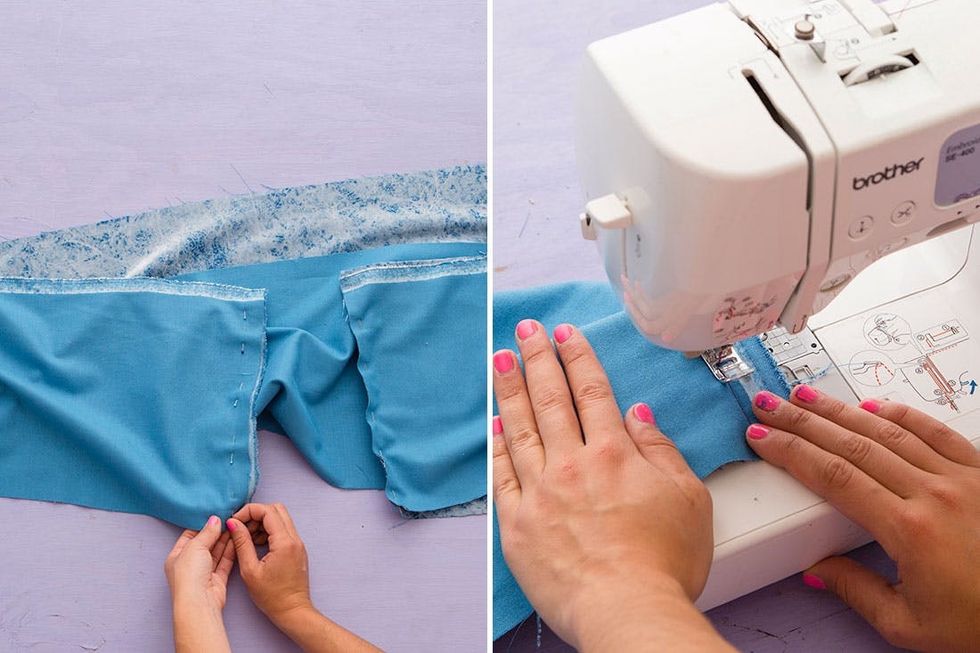
Sew these edges together with a quarter-inch-seem allowance. You don’t want to sew it too tight or you’ll never be able to slide the cover over the original ottoman.
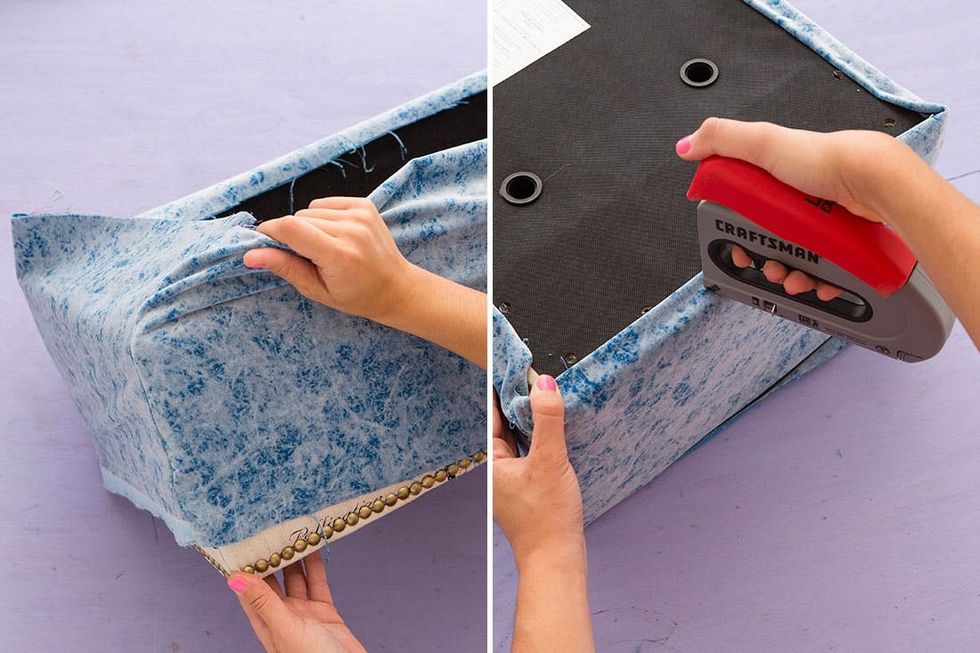
Slide your new slipcover over the ottoman and staple gun into place. Fold the ragged edges under to create a clean seam on the underside of the bench.
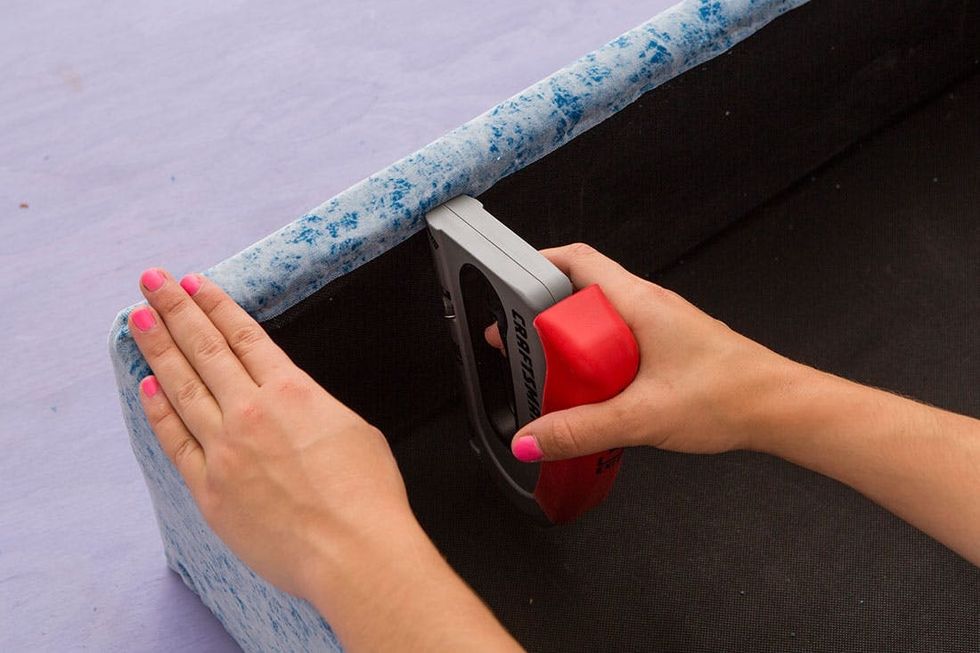
You’ll want to do the same for the top edge of the ottoman. Pull the fabric taught, fold the ragged edge under and staple gun into place.
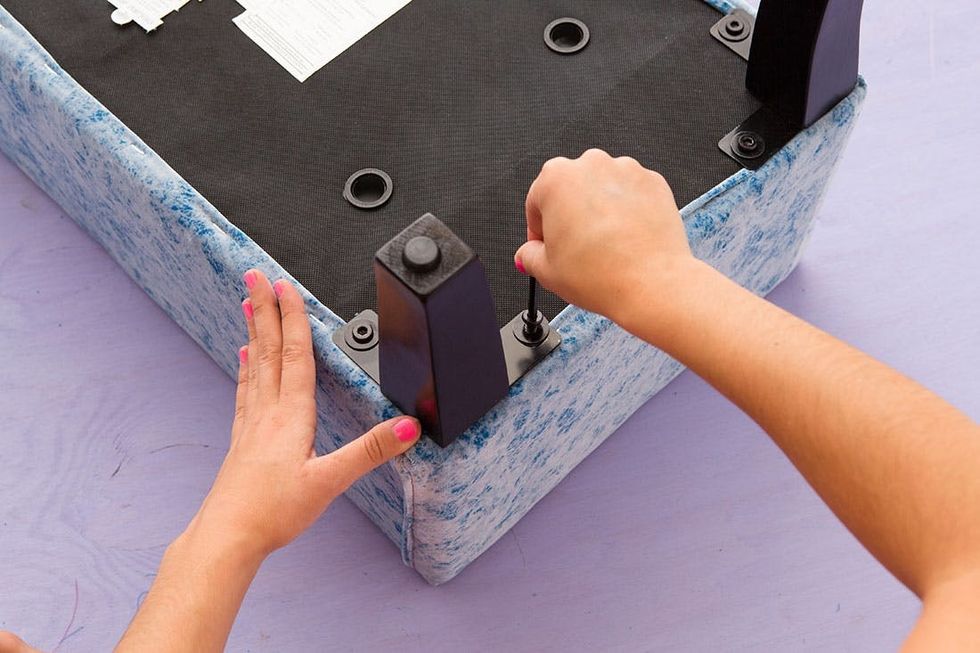
Finish it off by screwing the legs (that are provided with the ottoman) in place. Voila! A reupholstered storage ottoman in a new shade of blue.
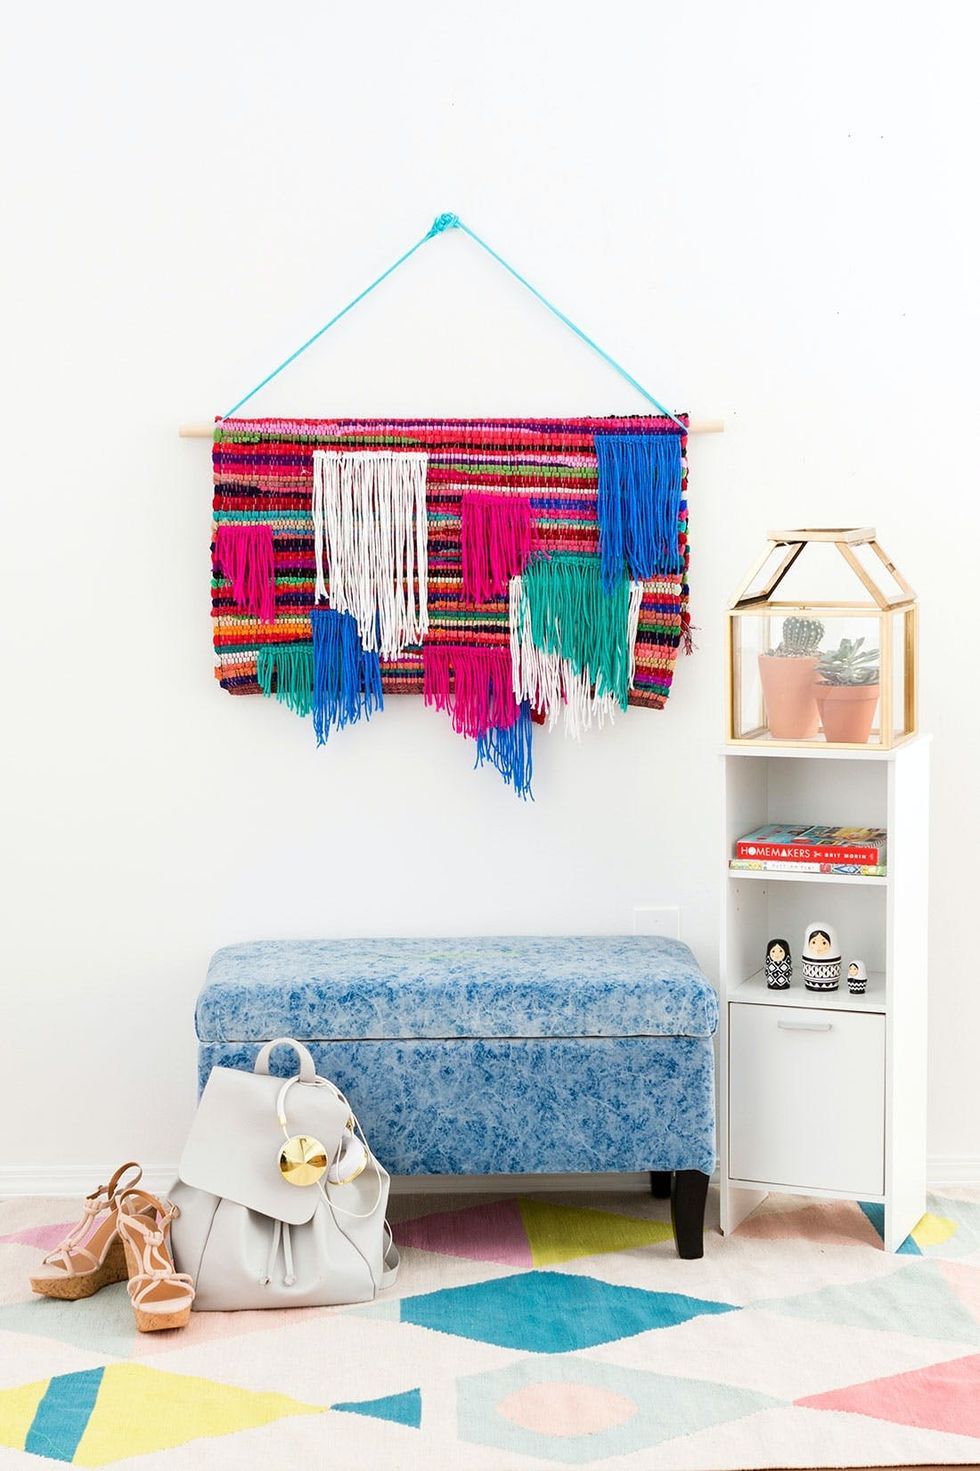
Small spaces mean that you probably don’t have a traditional entryway. Don’t you worry! You can fake it by creating your own nook for you to drop your bag, put on your shoes and store your umbrellas, hat and gloves.
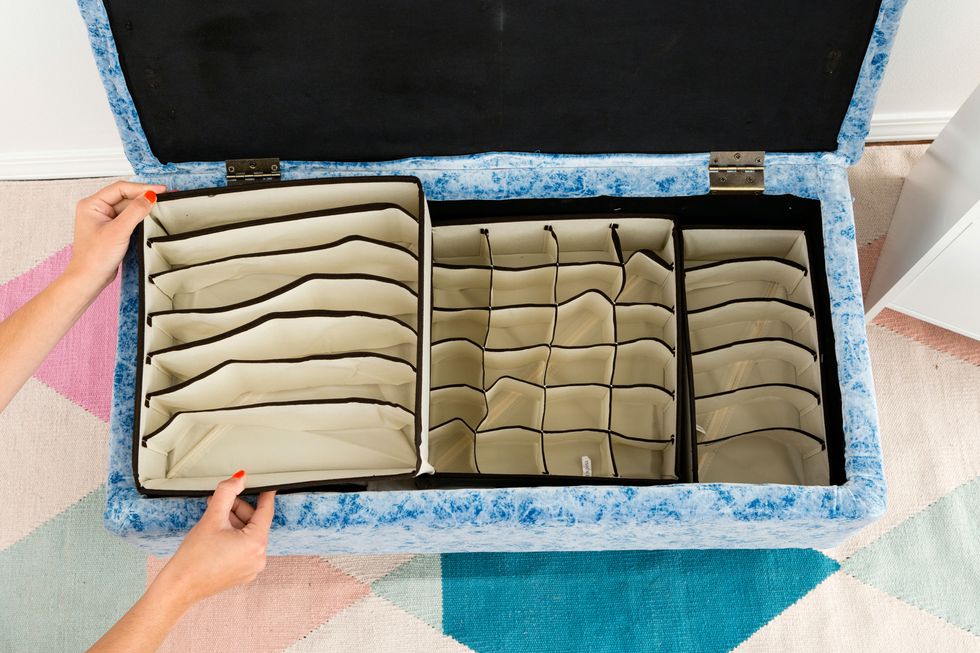
But what is more important is the way you use that space inside. We ordered a bunch of drawer organizers to turn this ottoman into extra drawer space. These three different-sized storage drawers fit inside the ottoman perfectly!
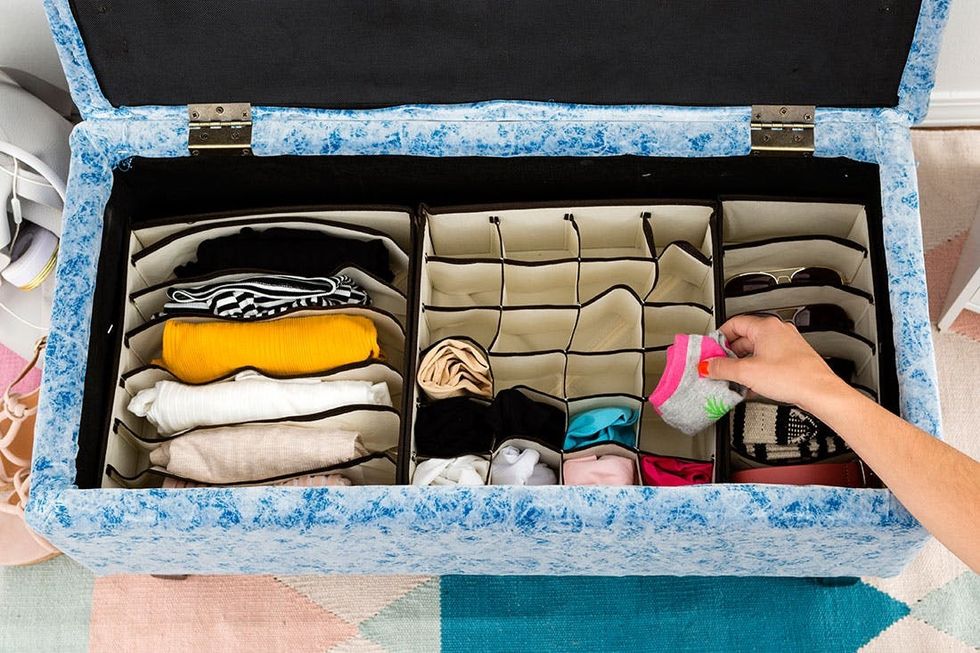
Fill the cubbies with socks and tights, camisoles, belts and other accessories.
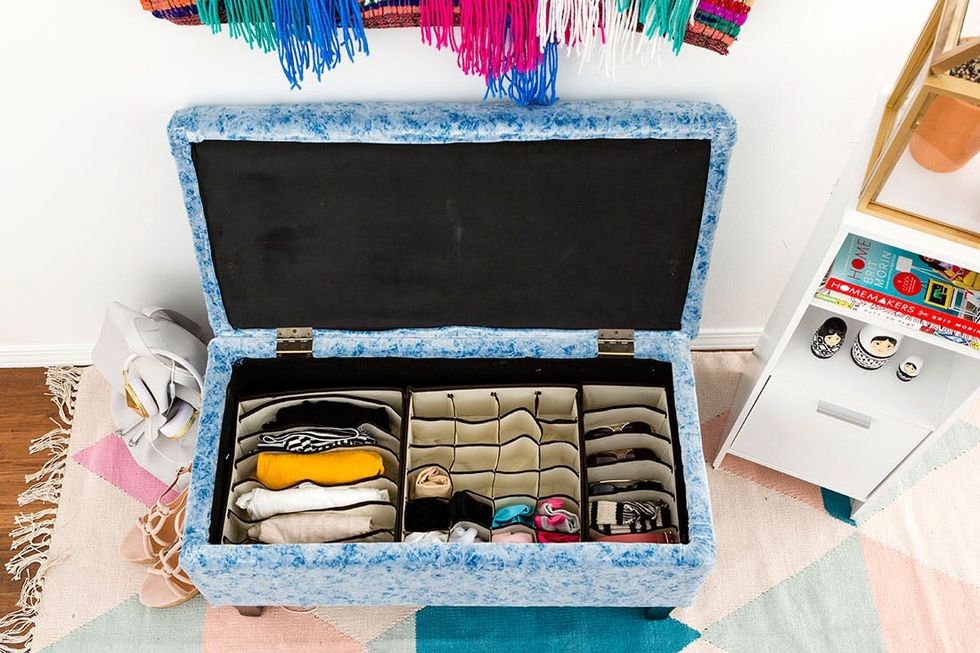
Doesn’t it just feel so rewarding to be organized! (Or is that just me…?)


