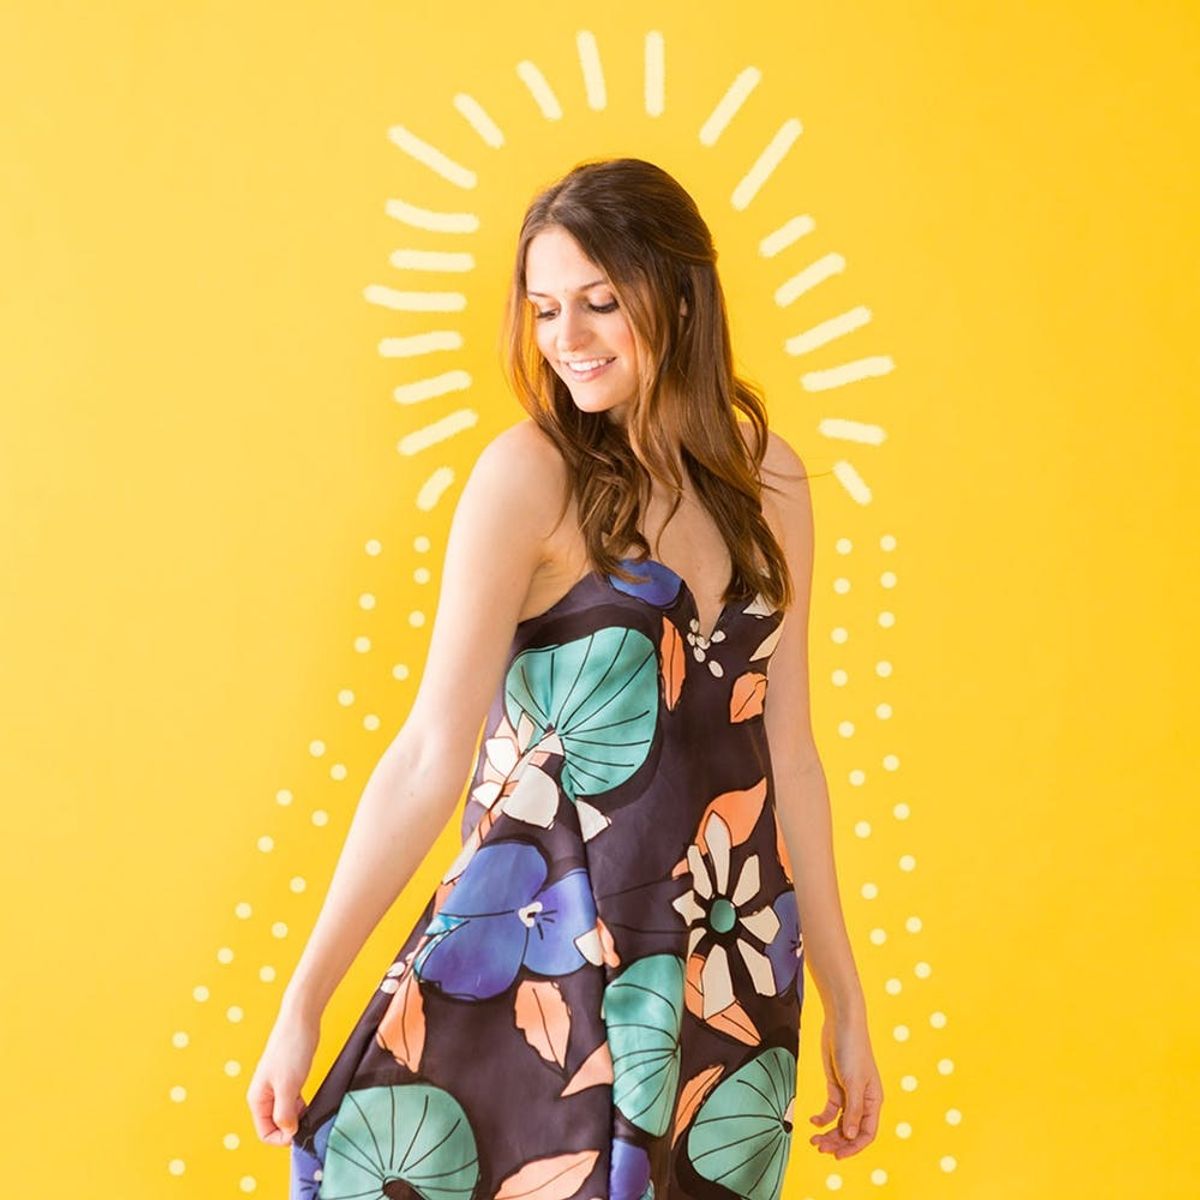
Time to stock up on those strapless bras that fit just right and turn them into dresses!
Use a Bra to Create This Strapless Dress Hack

Raise your hand if you have ever been annoyed by a strapless dress — me!!! They dig; they fall; they never seem to do the correct thing for your boobies — they are pretty much awful. We’ve thought long and hard about our toxic relationship with the strapless dress and have come up with a solution! If you have a strapless bra that is 100 percent doing everything right for you, then you can have a dress that does the same. Follow along below to learn how to sew a strapless dress right off of your bra.


Materials and Tools:
- 2 yards cotton fabric (we got ours from our friends at Britex)
- strapless bra
- Heat n Bond
- Fabric Fusion or Fabri-tac
- 20-inch zipper
- sewing machine
- measuring tape
- sewing marker
- sewing pins
- iron
- fabric scissors

Instructions:
- Measure out a rectangle that is the width of your chest plus four inches, and then your desired length plus about five inches. Ours measured 38 x 44 inches.
- Trace your bra onto Heat n Bond, and then cut out and iron onto your bra.
- Find the center of the width of your fabric and iron onto your bra.
- Cut the top edge of the fabric to mimic the curves of the bra. Fold the edges over and glue to the inside of the bra using Fabri-tac or Fabric Fusion.
- On each side of the dress, make a mark on your fabric that is three inches from the cup of your bra. Use a measuring tape to create a straight line and then cut up the fabric until you are about two inches from the bra band.
- Cut two rectangles of fabric that are 1/3 the width of your bra band and the same length as your dress length. Measure 15 inches down the rectangle and turn the top portion of the rectangle into a triangle point.
- Pin the triangles into the new slits you cut into the dress. Sew in place.
- Pin the zipper to the back panels of the dress and then sew in place.
- Meet the extra fabric at the end of the zipper together, then pin and sew to complete the back seam of the dress.
- Fold and hem the bottom edge of the dress.

Our model Paige has a bra band size of 34 inches, therefore we added on four inches to make the width of the fabric 38 inches. If you choose to fold your fabric in half, remember to take half the chest band measurement — in our case it was 19 inches. We decided to use the length of the fabric as the length for the dress and then hem to our desired length at the end.

Trace the cups of the bra onto a small piece of Heat n Bond. Cut out and iron onto the bra. This is tricky, but no need to make it look pretty — stunning fabric will be covering it soon.

Find the center of the width of your fabric and pin the bra in place. Be aware of the pattern on your fabric — ours had giant flowers and we didn’t want one falling directly on top of the cup of the bra. Iron the fabric onto the bra once it is in place.

Trim the fabric to mimic the cups of the bra and then glue down the edges using Fabric Fusion. Glue the fabric until you are about two inches down the bra straps on each side.

Measure out rectangles with widths of 1/3 the bra band measurement. In our case, we cut rectangles that were 10 inches wide. Starting at the center of the rectangle, cut two diagonal lines that reach the outer edge of the fabric. The diagonals should reach about 15 inches down the rectangle.

Measure two inches from the bra cup on each side, make a mark, and then cut up that line until you are about two inches from the bra band on either side of the dress. This will turn your fabric into three panels.

Pin your triangles into the new cuts and then sew.

You’re almost done! Grab the outer pieces of the dress, fold over, and pin onto the zipper. Test this on your body before sewing; you may need to give each side of the zipper a two-inch seam allowance.

Turn the dress inside out and meet the edges of the fabric (below the zipper) together. Pin and sew to create the rest of the back seam.

Lastly, hem up this bad boy! Pin and sew for the hem of your dreams.

A custom flowy strapless dress for your summer parties. Cash me outside — howbow dat.

Of course this dress needs killer shoes! We scored these from our favorite affordable European store, Primark! These were from Summer 2016, but you can find similar ones for 2017 on Primark’s website :)
Show us your project by tagging us on Instagram + using hashtag #iamcreative!
DIY Production and Styling: Kelly Bryden
Photography: Brittany Griffin
Brit + Co may at times use affiliate links to promote products sold by others, but always offers genuine editorial recommendations.


