Obsessed with all those haute stud earrings that have been popular lately? Make your own with just a few ingredients in only 20 minutes! Here’s how :)
20-Minute DIY: How to Make Stud Earrings

We love a good pair of dangly earrings, but we are also obsessed with all those haute studs that have become crazy popular lately. Of course we had to make some of our own, so we got out our Sculpey clay and made stud earring in five different ways. Check out our new ear candy in this quick tutorial!

Materials:
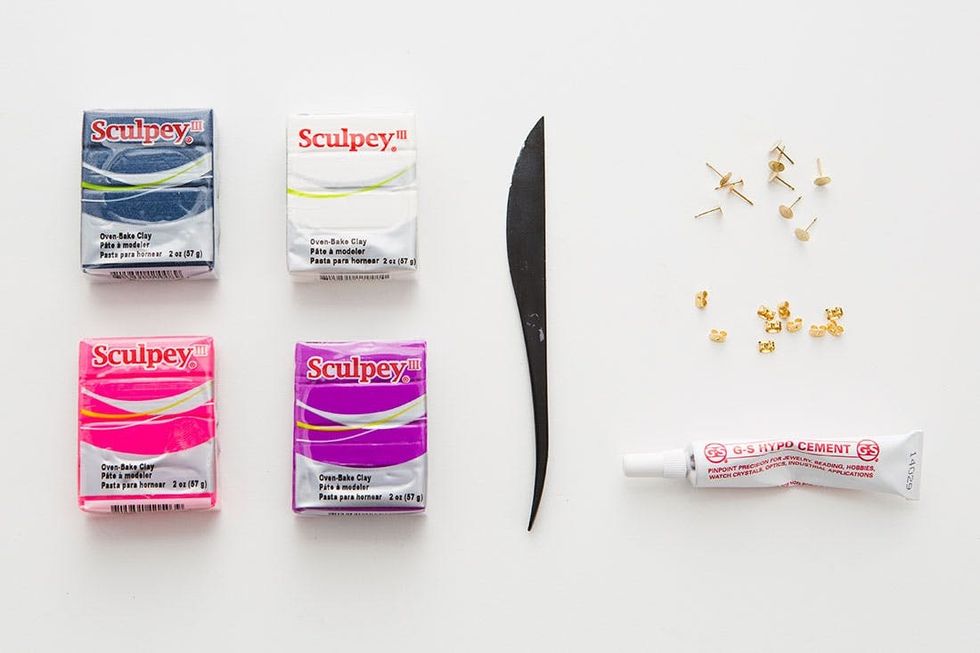
– Sculpey clay (we used four different colors, use your faves!)
– stud earring backs and backings
Tools:
– Sculpey knife
– GS Hypo Cement
Instructions:
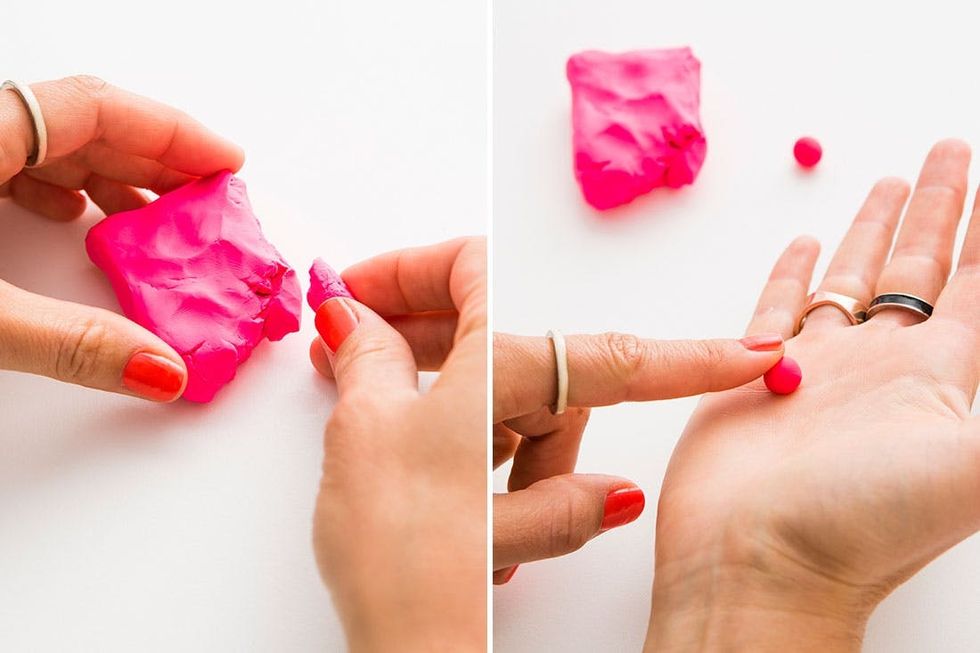
1. Using the techniques below, create various shapes.
2. Bake your clay on a cookie sheet following the instructions on the Sculpey package.
3. Glue stud earring backs to your baked clay shapes.
Using a small piece of Sculpey, form an orb by rolling the clay between your hands. Use your fingertip to smooth out your shape. A word of advice — these little guys like to roll away, so make sure you keep them fenced in on your table so they don’t roll off into the sunset.
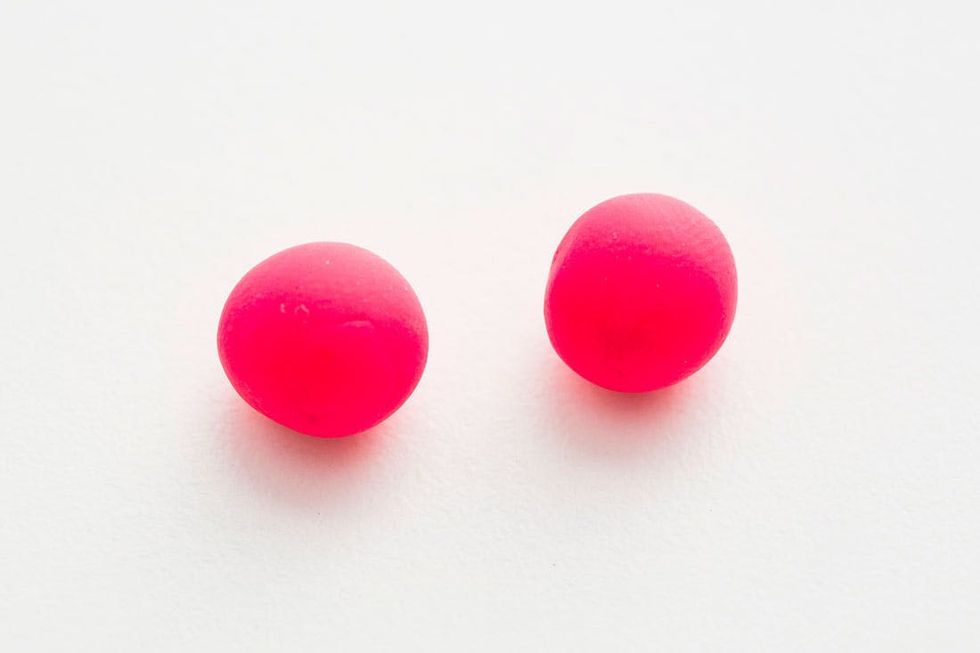
Orb Earrings
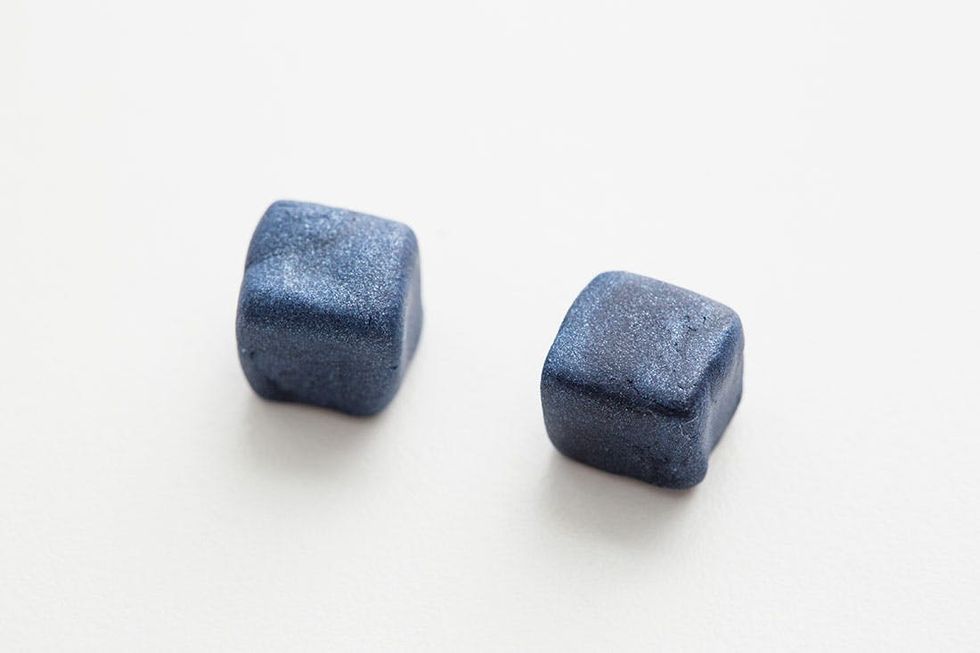
Cube Earrings
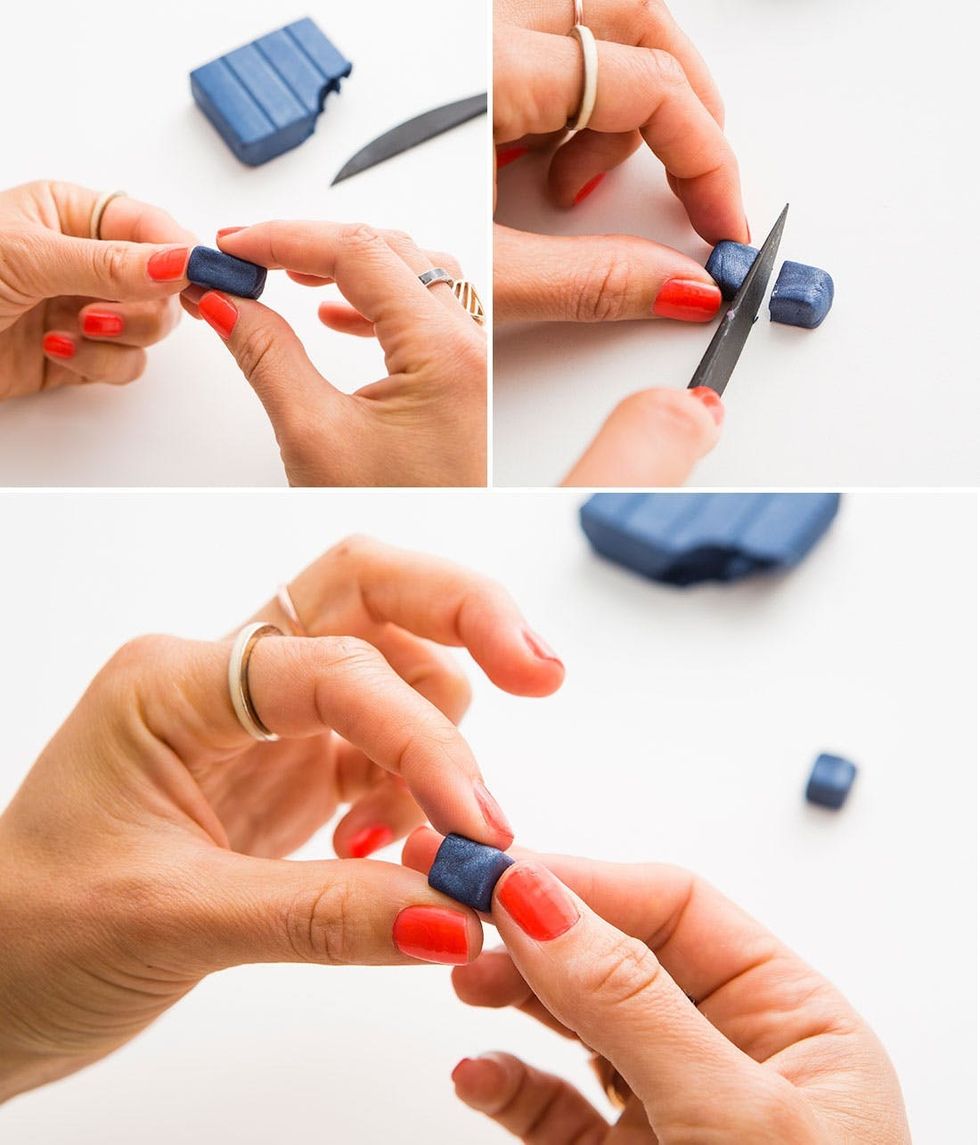
Form a long rectangular shape with Sculpey. Make the edges flat by pressing the sides in with your fingers. Then take your Sculpey knife and cut the rectangle in half. Keep shaping your cubes until they are as square as possible.
Triangle Earrings
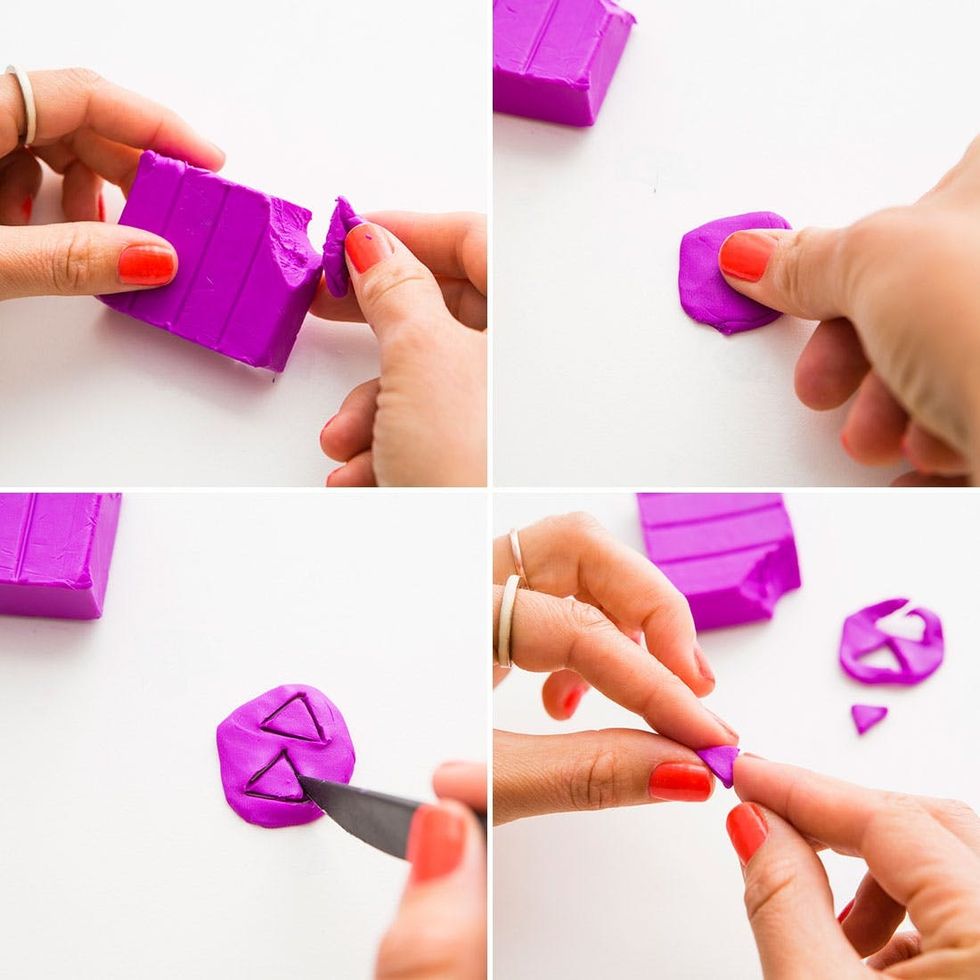
For this one you’ll need to flatten a piece of Sculpey on your table or another flat surface. Then take your Sculpey knife, draw the outline of two triangles and then cut through the clay. Don’t worry if your triangles aren’t perfect the first time. The great thing about clay is that if you mess up, you can mash it back together and try again.
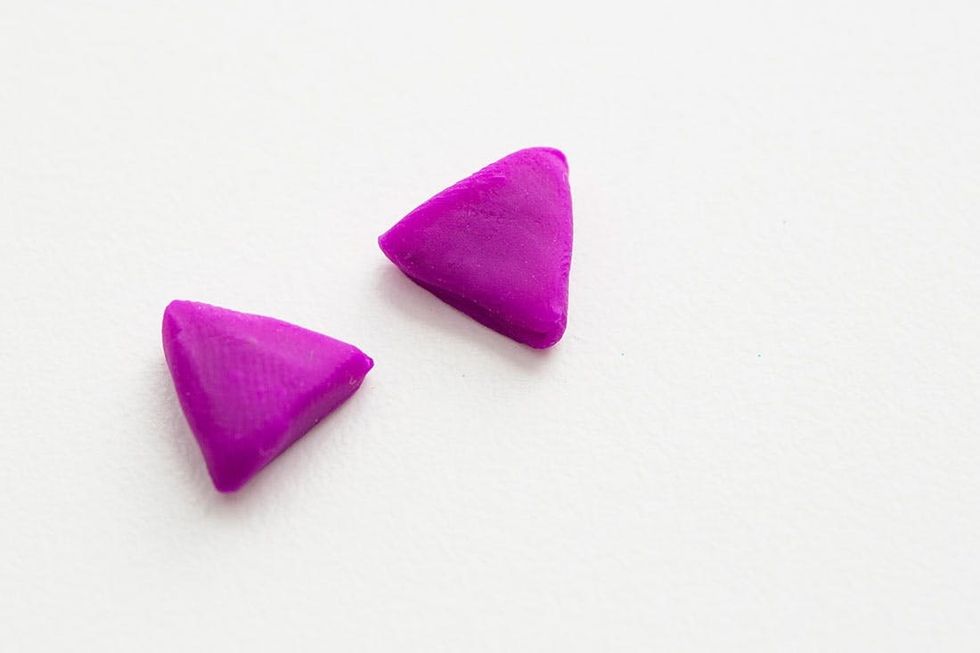
Color Blocked Orb Earrings
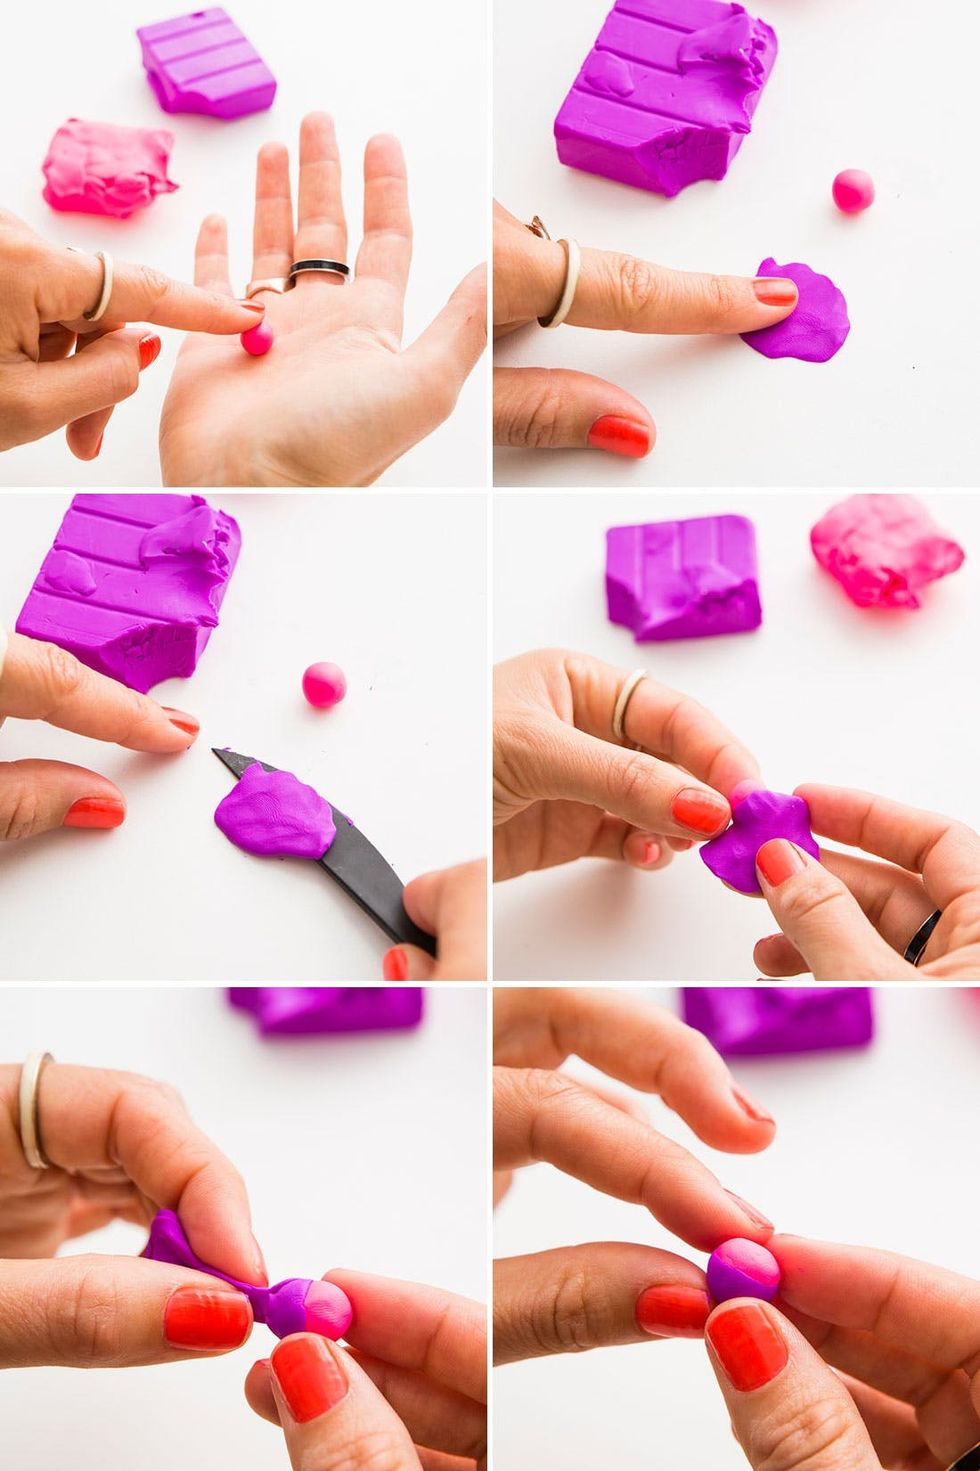
First follow the process for creating an orb earring. Then take a different color and press it down on your table until you have a thin, flat piece of clay. Peel it off of the table. You might need the help of your Sculpey knife for this part. Now wrap this piece around your orb, smoothing it down until it becomes part of the earring.
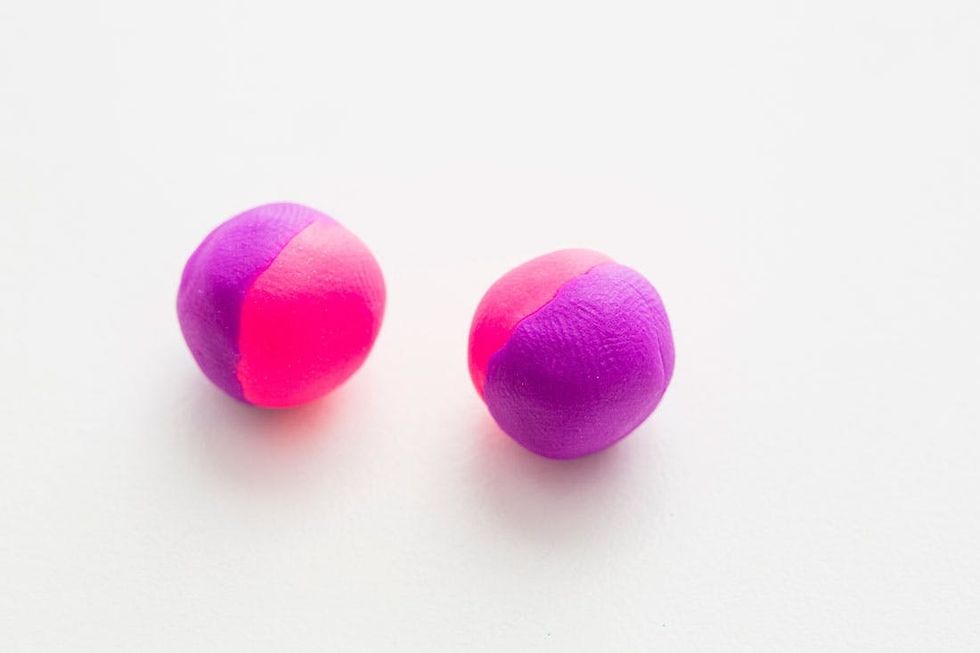
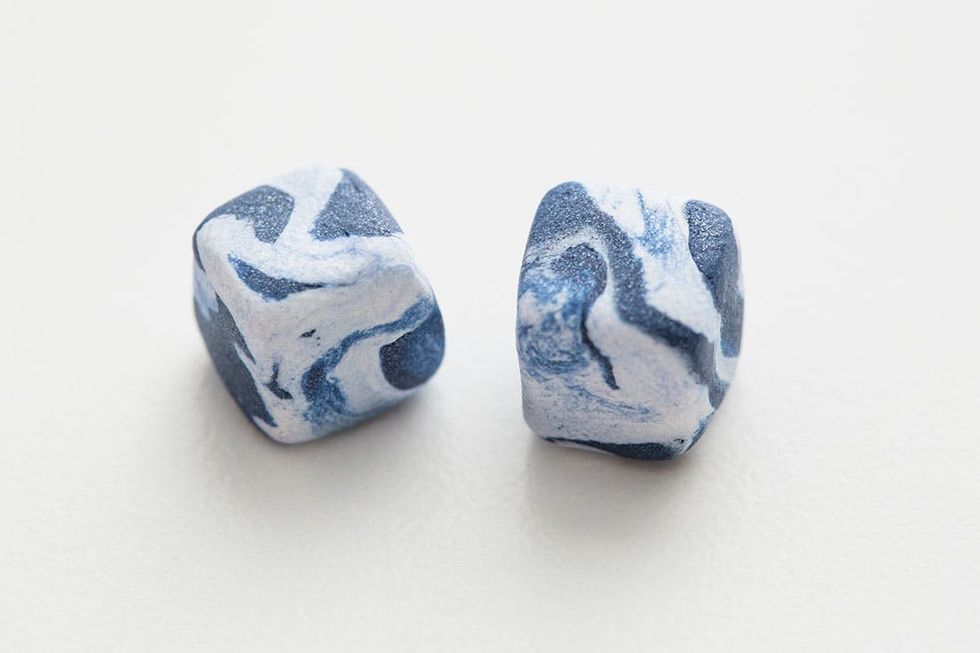
Marbled Cubes
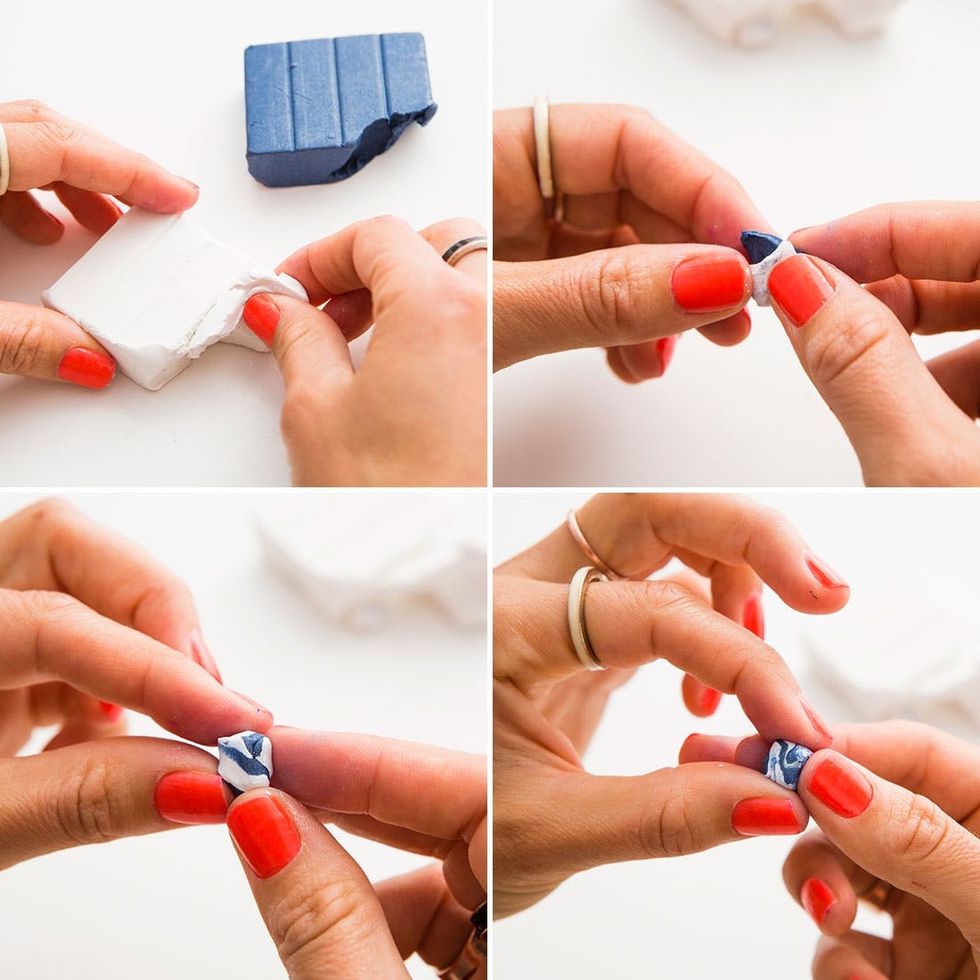
Take two colors and tear off one small piece of each. Press them together and fold them into one another until you get the marbled effect. Then follow the process for creating a cube.
After you make all of your shapes, place them onto a cookie sheet and into the oven. Follow the instructions on the Sculpey wrapper for time and temperature. We put ours in at 275 degrees for 15 minutes. After they cook let them cool.
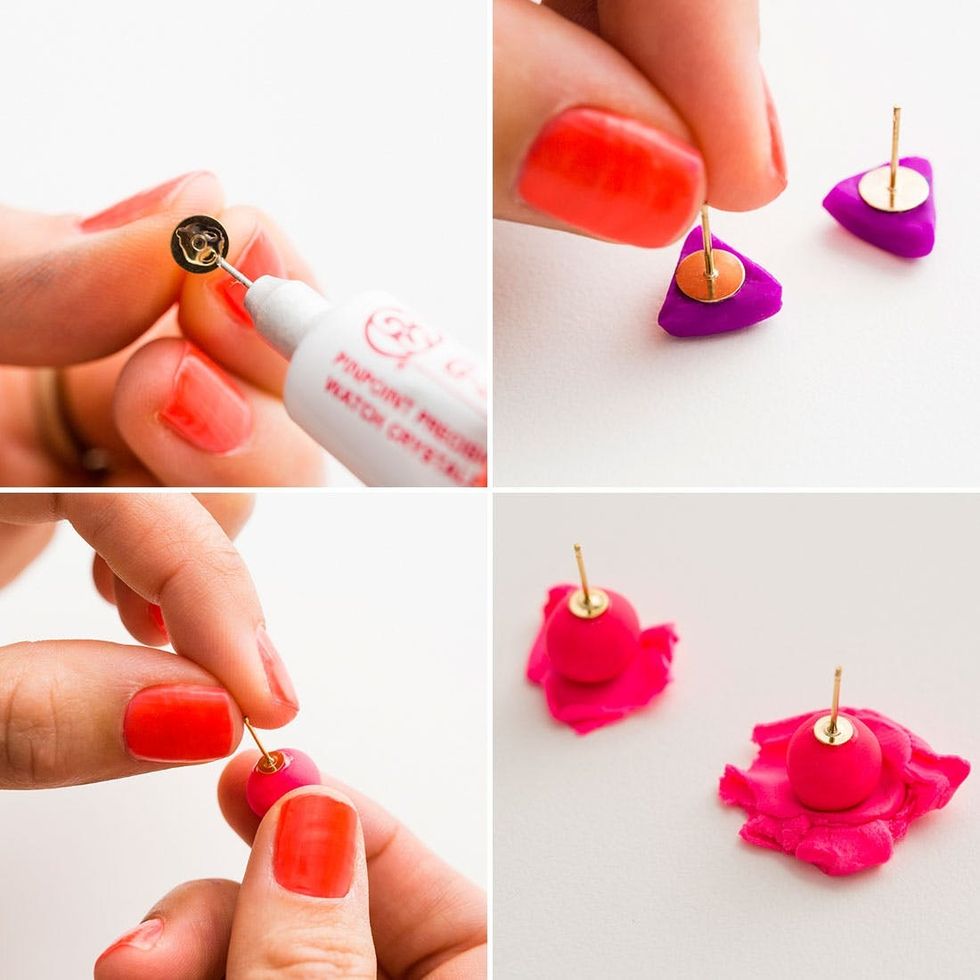
Then add a small drop of GS Hypo Cement to your earring back and place it on your clay shape. Just a tip — for the orbs that like to roll around, set them onto some wet clay while the earring back dries.
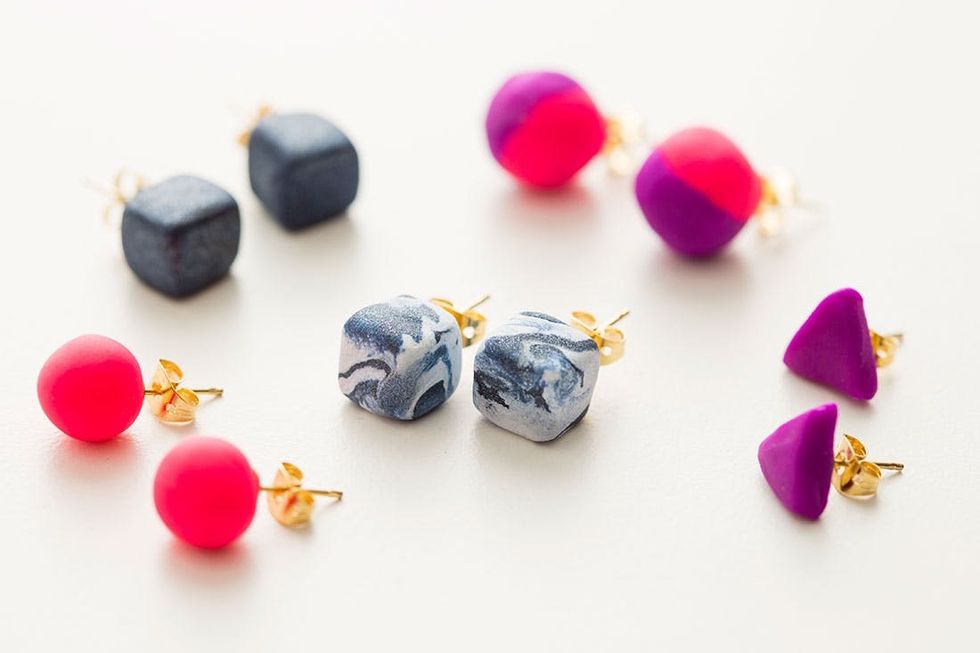
Look how cute these are. And they only took 20 minutes to make! More than half of that time was baking them, so no excuses. Go forth and make yourself some new earrings!
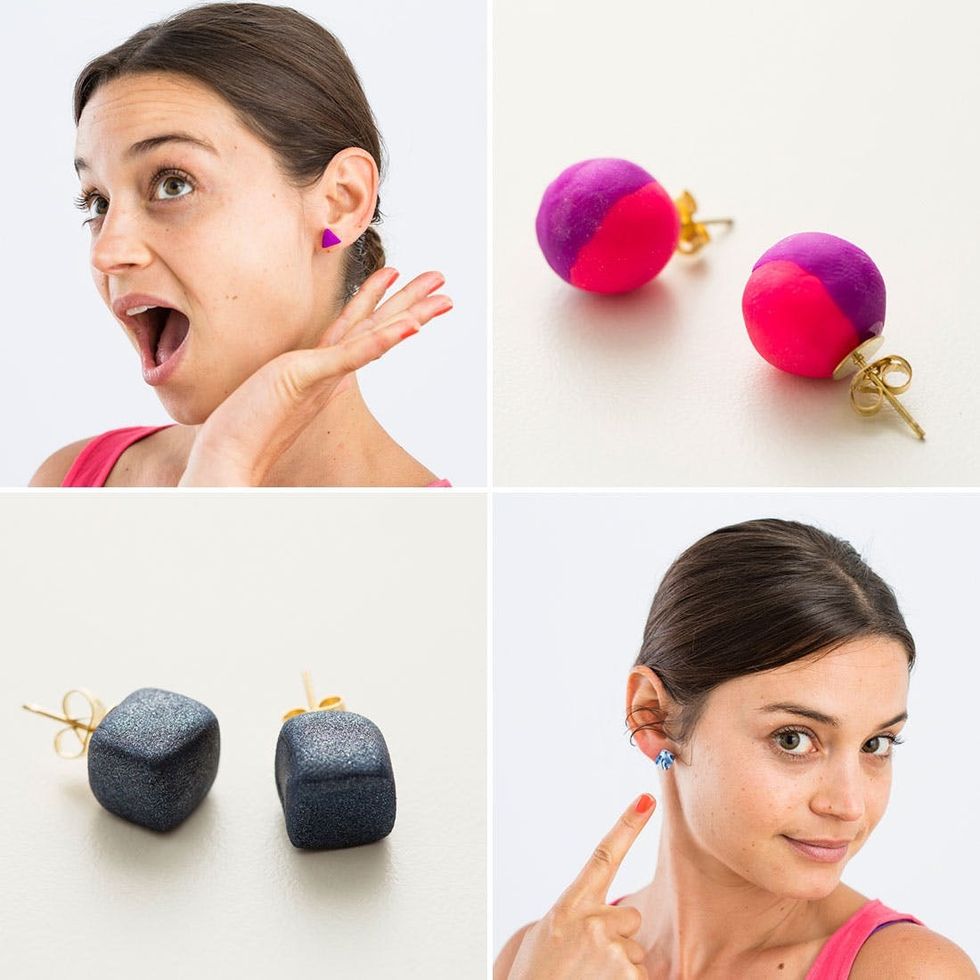
What other techniques have you used to make Sculpey earrings? Tell us in the comments!


