 Recommended for you


‘Tis the season to wear ugly sweaters — the fashion-must of the holidays. We know there are plenty of incredibly ugly holiday sweaters deep in the corners of thrift stores, but the truth is, these coveted knit frocks are often swooped up before December. That’s why we’re going to show you how to thrift any old sweater and turn it into the best ugly sweater at the party. Our friends at Savers are joining us today to wish you a holly jolly Thriftmas (it’s the best “find” of the year) and teach you the best way to DIY a tacky (yet somehow stylish) sweater. After all, thrift stores are the best places to look for holiday necessities like Secret Santa gifts, holiday decor, white elephant gifts and, of course, sweaters! The best part — you only need three materials to make your new favorite top.
And now for the slow-mo still shot version of the tutorial.

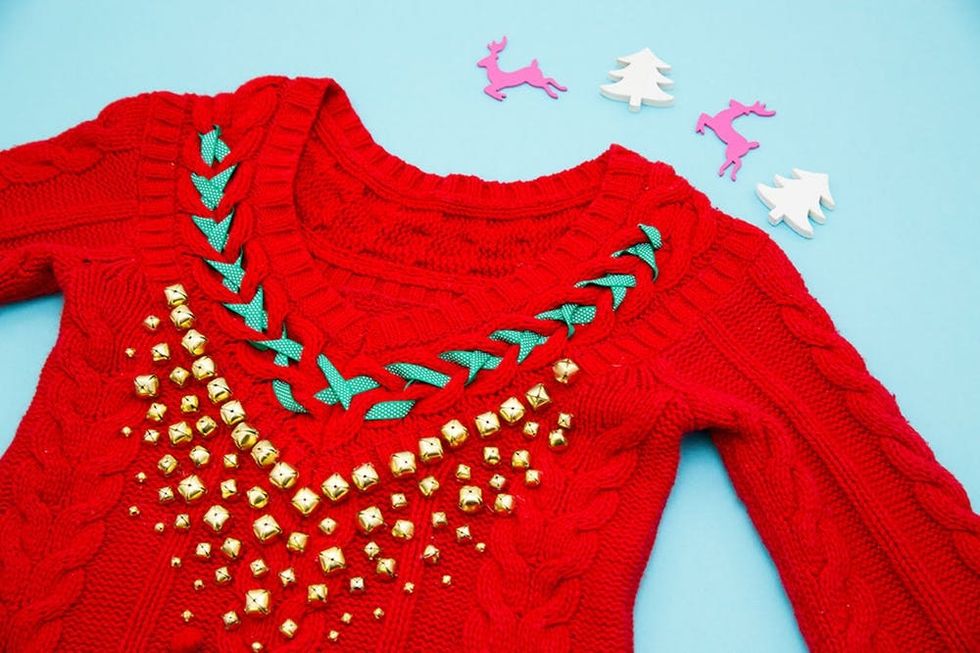
Can you believe THIS amazing sweater can be yours in just a few steps? Head to your local Savers store and grab a plain sweater. The Savers family of thrift includes Value Village, Village des Valeurs and Unique Thrift, with more than 330 awesome locations in the United States, Canada and Australia!
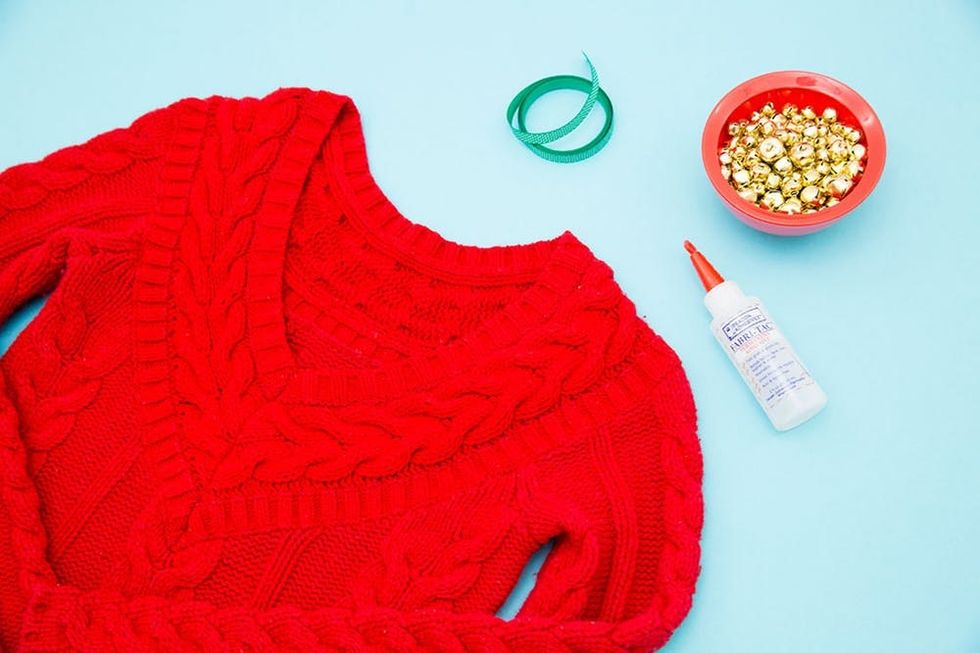
Materials and Tools:
— red knit sweater
— ribbon
— bells
— fabric glue
Instructions:
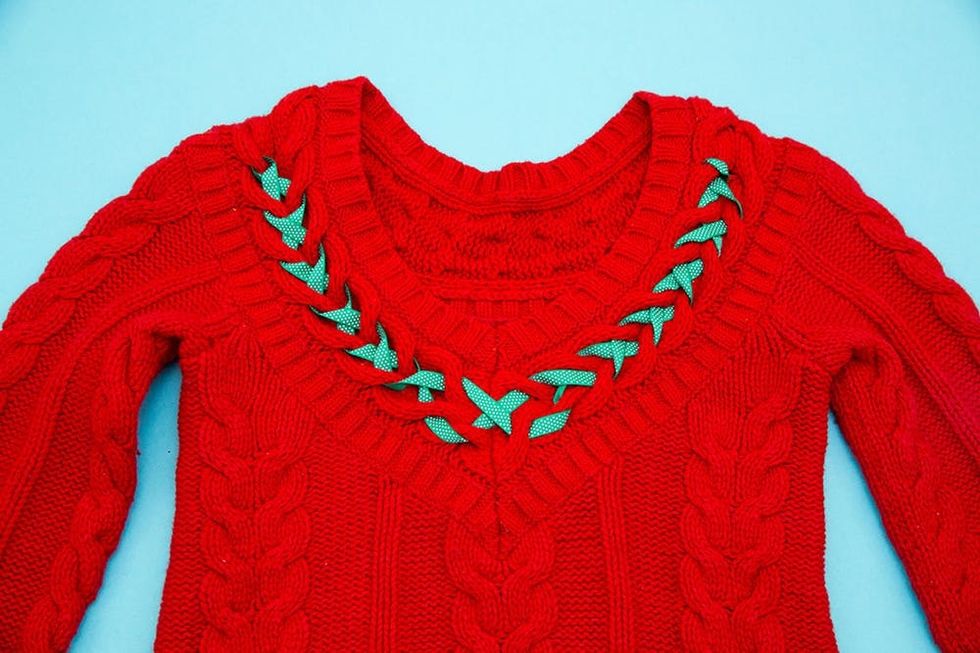
1. Weave the ribbon through the holes in the sweater right below the collar. We wove ours in a braided fashion. Trim and glue the end of the ribbon to the sweater.
2. Lay out a pattern of bells on your sweater and glue them in place. Make sure to let the glue dry for the recommended time listed on the manufacturer’s directions. Most likely, you’ll need to let it set overnight.
3. Wear your sweater and get to that party!
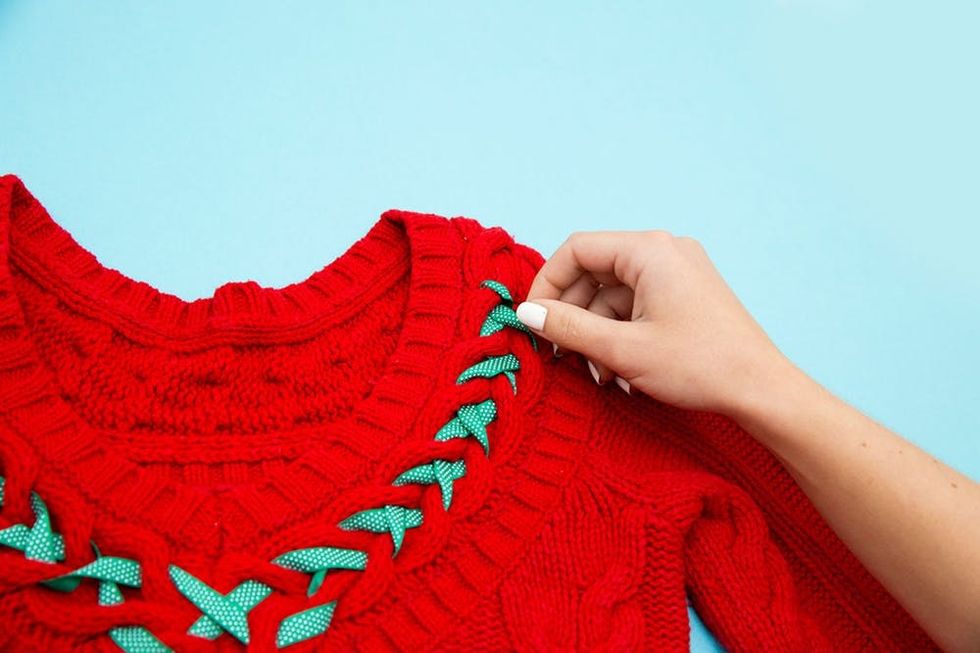
Weave your ribbon through the holes in the sweater. You might have to stretch them slightly, but that’s okay. Your sweater won’t be harmed in the process. As you can see, we wove ours in a braided pattern right below the collar. Trim and glue the ends to secure the ribbon to the sweater.
You’re already halfway done!
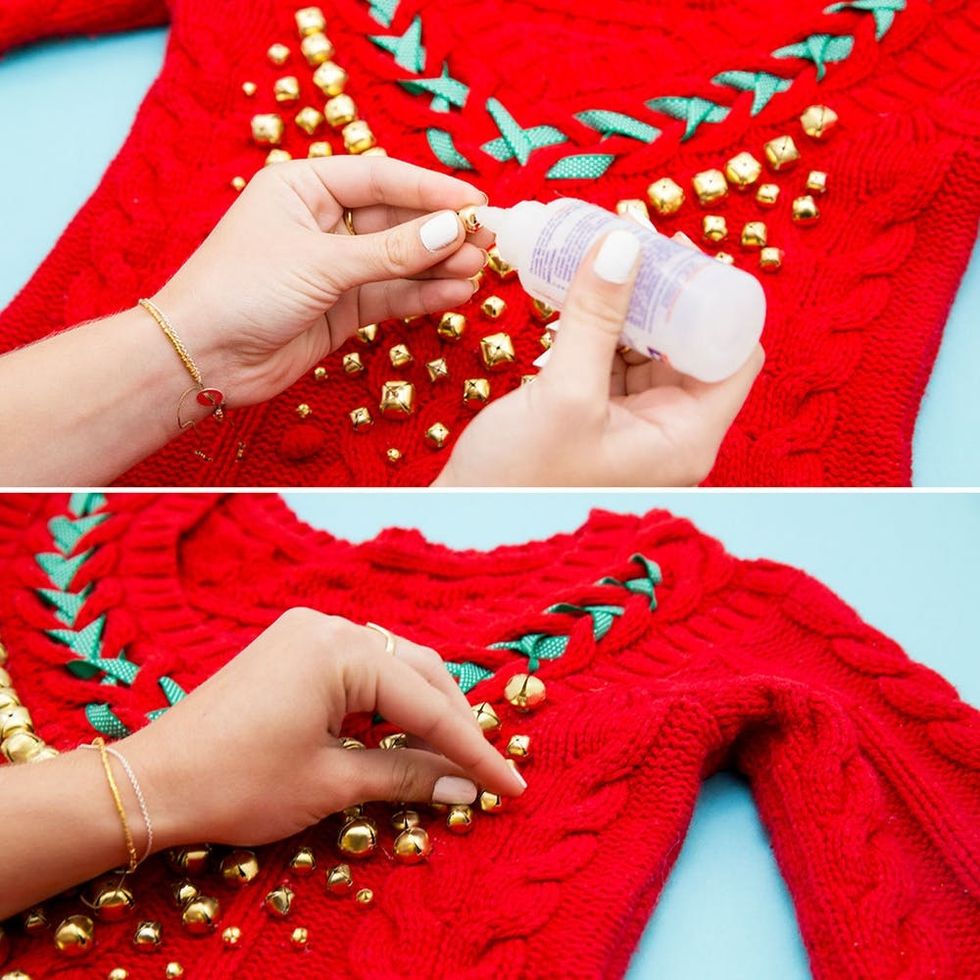
We recommend laying out your pattern before you start gluing bells to your sweater. That way you can play around with the design and chose the one you like best.
Be sure to let the sweater dry completely before you wear it. You don’t want any of those bells to fall off!

Add a few accessories, like a mistletoe headband, and head to the party!

You’re guaranteed to get a holiday smooch in this attire!

What other materials would you glue to this sweater? Show us your thrift store finds and embellishments using the hashtag #iamcreative and connect with Savers @SaversVVillage.
This post is a collaboration with Savers.
DIY Production and Styling: Alonna Morrison
Photography: Chris Andre