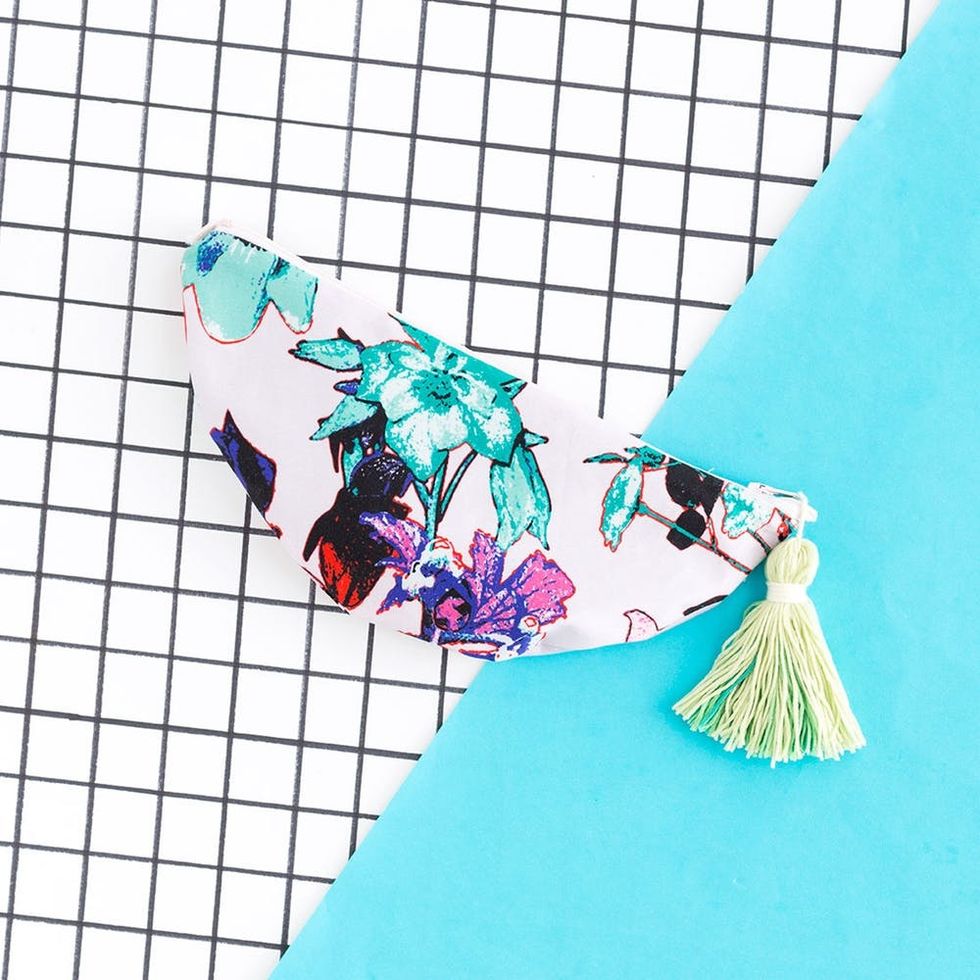
Tote the big day’s essentials in style.
This DIY Tasseled Clutch Doubles As a Bridesmaid’s Survival Kit

My work wife is getting married. And as I — Maddie here, hi! — make stuff for a living, I’m helping her decide what to buy and what to DIY for her wedding (thanks for the words of wisdom, LC). We’ve checked decor, menu and the dress off the list, and now we’re down to the details. Among the to-dos is this dilemma: How do we ensure that her bridesmaids feel beautiful *and* appreciated on the big day? Aside from finding each gal the perfect dress, we settled on a unique and practical gift: a DIY half-circle cotton clutch that doubles as a wedding day survival kit.
We’ve teamed up with the folks at Cotton to show you how to sew this charming tasseled clutch that your ladies in waiting can tote day-of *and* well after the festivities subside. I’m partial to cotton fabric because it’s super easy to sew with and care for, as well as majorly versatile. Lucky for me, cotton comes in every print and color under the sun, so it was a cinch to find unique fabrics that matched the bridesmaids’ dresses and bouquet wraps.
Be sure to pack the pouch with all the essentials your gals will need throughout the day, such as bobby pins, nail polish, bandages, lip gloss, aspirin, breath mints and tissues.
SEW A HALF-CIRCLE ZIP CLUTCH
Materials + Tools:
— ½ yard patterned cotton
— ½ yard solid cotton for lining
— sewing machine
— 9-inch non-separating zipper
— 10-inch diameter round plate
— fabric scissors
— measuring tape
— seam ripper
— pencil
— sewing pins
— pin cushion
Psst — New to sewing? Check out our Sewing Online Class for the basics before diving into this DIY.
Use a 10-inch diameter round plate to trace a circle onto your patterned and solid fabric. Cut out each circle, then cut each circle in half.
I started by attaching the outer and inner layers to the zipper. Lay one half-circle of the patterned fabric face up. Set the zipper along the very top edge of this fabric, then sandwich with the solid fabric. Pin into place.
Carefully sew about ¼ inch away from the edge to fasten the zipper to both fabrics.
When you’re done, it should look like this.
To fasten the other side of the clutch to the zipper, stack another half-circle of patterned fabric face up, your sewn pieces with the patterned piece face down, then another half-circle of the solid lining fabric. Pin in place.
Again, carefully sew about ¼ inch away from the edge.
When complete, it should look like this. Before the next step, move your zipper head to the middle of the fabric. (This step is VIP!)
Use the round plate to create a line about ¼ in from the edge of the patterned pieces of fabric. This line dictates the final shape of your clutch, so be sure that the two sides of the circle match up.
Psst — this step also allows you to “trim the fat,” aka the fabric that isn’t perfectly aligned after sewing.
Once you’ve drawn these sewing lines, pin the matching fabrics together.
Sew along the lines you created. Be sure to leave about four inches open in the center of the lining — you’ll see why soon!
Once you’ve removed the pins, reach your hand into the opening and pull the opposite side of the circle through. Turn the fabric completely inside out.
Seal the opening in your liner, then trim the fabric as needed.
Tuck your lining into the clutch.
Zip it closed. Now onto the tassel!
TOP IT OFF WITH A GIANT TASSEL
Almost done! To make these clutches a bit more on trend, I added a gigantic embroidery thread tassel to the zipper.
Materials + Tools:
— embroidery thread (I used 4 colors)
— scissors
Tassels are also a neat way to customize each clutch for each gal — opt for a color story that works with each bridesmaid’s dress.
Wrap each full skein of embroidery thread around the base of your fingers. Carefully remove from your hand and set aside.
Cut a piece of embroidery thread about 10 inches long, and tie the center to your clutch’s zipper with a sturdy double knot about ½ inch away from the zipper head. (You can double up the thread here if you like, too.) Then tie the big bundle of thread to this with another double knot.
Pull the entire loop away from the zipper, then wrap another 10-inch piece of thread around the entire cluster to create a tassel head. Trim off the bottom of the tassel to your preference.
TA-DA! That’s a mighty fine-lookin’ clutch, if I do say so myself.
Fill ‘er up with the day’s essentials before gifting to your squad — breath mints, lip gloss, nail polish, bobby pins and even aspirin. They’ll definitely be grateful.
Done, son! A simple, sweet and custom clutch for your bestie bridesmaids.
Are you making this clutch? If so, we want to see the results! Share photos with us on Instagram using the hashtag #iamcreative and #cottonDIY so we can take a peek.
Advertisement by Cotton.
Author: Maddie Bachelder
Production + Styling: Maddie Bachelder
Photography: Brittany Griffin
Model: Julia Chaves
Save


