It’s the perfect gift for Mother’s Day.
We Updated the Classic Cement Handprint DIY Gift for Stylish Moms

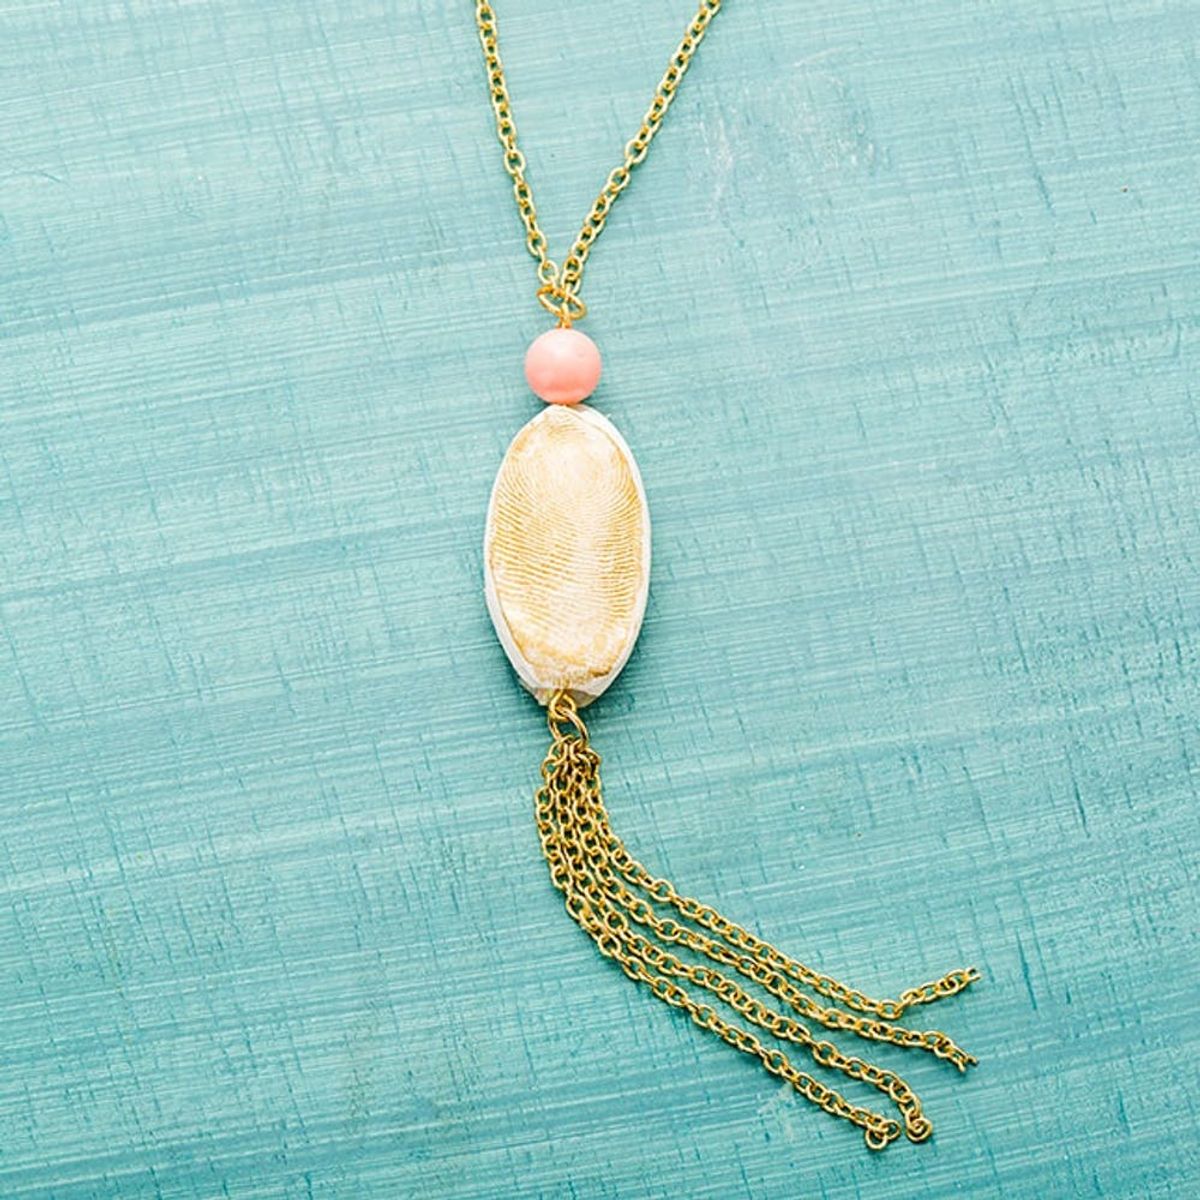
You know what I’m talking about — those cement tiles that your mom put in her garden. Well it’s 2016, so it is time for a DIY remake of this overdone Mother’s Day gift. We bring you the thumbprint necklace! This piece is delicate and versatile. From far away, it’s a cute pendant tassel necklace, but up close, it is so much more. You’ll have mom in tears with this personalized necklace.

Materials:

— white Sculpey
— Opal Sculpey
— 18-inch necklace chain
— 12 inches of chain
— beads
— jump ring
— gold paint
— eye pins
Tools:
— pliers
— scissors
Instructions:

1. Roll out a piece of white clay about 1/8-inch thick and press your thumbprint into the piece. Cut out your thumbprint so you now have an oval shape.
2. Grab a piece of the opal clay and cut out an oval piece to match the size of your thumbprint.
3. Sandwich an eye pin in between the two pieces of Sculpey. Use your fingers to melt the edges of the clay together. Watch out! Don’t mess up the thumbprint!
4. Bake for 15 minutes in a 275 degree Fahrenheit oven. Once it has cooled, paint on a thin layer of gold paint to fill in the crevices of the thumbprint.
5. Add beads onto the eye pin, and then use pliers to create a loop on the top.
6. Use jump rings to attach the jewelry chain to the top of the pendant and a chain tassel to the bottom of the pendant.
Roll out your white Sculpey to about 1/8-inch thick and press your thumbprint right into the clay. Cut out the oval shape with scissors and smooth the edges with your finger. Remember – don’t mess up the thumbprint! But if you do, you can smooth it out and try again.

Roll out the opal Sculpey and cut an oval around the shape of the thumbprint. Place the eye pin on top of the opal Sculpey and then the white Sculpey on top of that. Use light pressure to melt the edges of the Sculpey into each other. I’ll remind you again – always avoid squishing your thumbprint.

Bake the piece for 15 minutes in a 275-degree oven. Once it’s cool, use your finger to fill the crevices with gold paint. Wipe excess paint off with a paper towel, just like you would when applying stain to wood.

Add beads to the eye pin, and then secure in place by creating a second loop with the jewelry pilers.

Use a jump ring to attach the pendant to the jewelry chain.

Finish off the necklace by adding a chain tassel with another jump ring. Not into chain? Try an embroidery floss tassel!

We love the mystery behind this pendant necklace. From a quick glance it looks like a bead or a druzy, but Mom will know that it’s your special, unique thumbprint.

Jen stepped in to model our Mom’s Day necklace. Her daughter is a bit too young to complete this DIY on her own (ahem, she’s 2!), so this would be a great present for Jen and her daughter to gift to grandma!

Show us your project by tagging us on Instagram + using the hashtag #iamcreative!


