Easy, intermediate and advanced — anyone can do this DIY!
Turn Summer Looks into Winter Staples With Rich Velvet Detailing

Looking back on the year 2016, I realized that I really went HAM on treating myself. Let’s see — three international trips, two US trips and weekends full of California exploring. I call this, dating yourself ;) I had a blast on all adventures, but my bank account is a little less happy than I expected. Since the holidays are just around the corner, this means that Kelly stops dating herself and starts to save money to spend on her best friends and family to acknowledge that they are awesome and loved.
Now, getting to the point of this story — since I am on a strict don’t-buy-anything-for-yourself budget, I’ve got to update some of my summer basics for the colder months. I’ve been OBSESSED with velvet, so follow along to see how to add this soft touch to any garment.
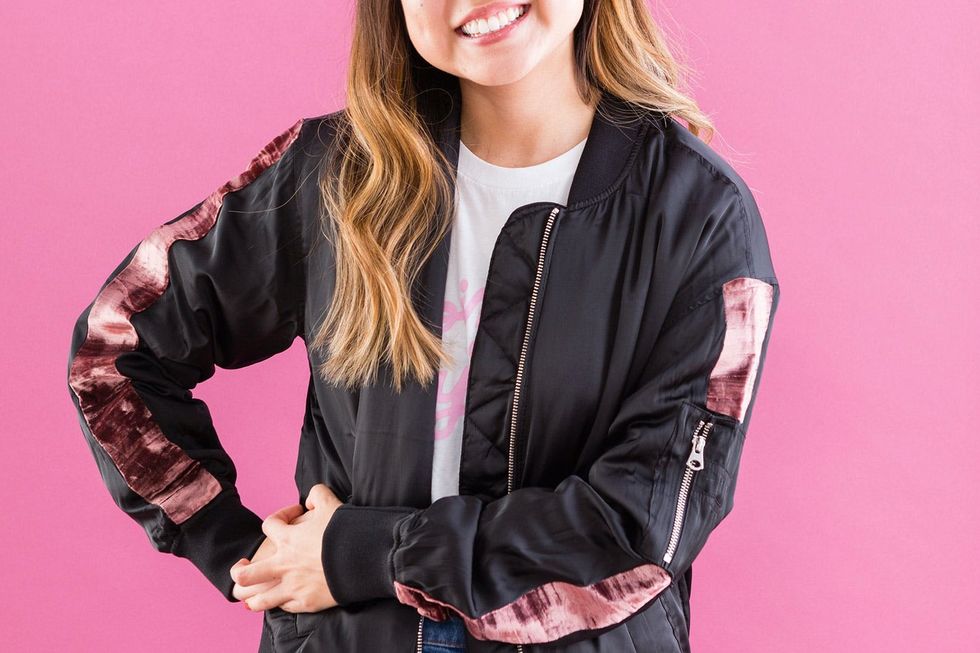
Easy Velvet Addition

Materials + Tools:
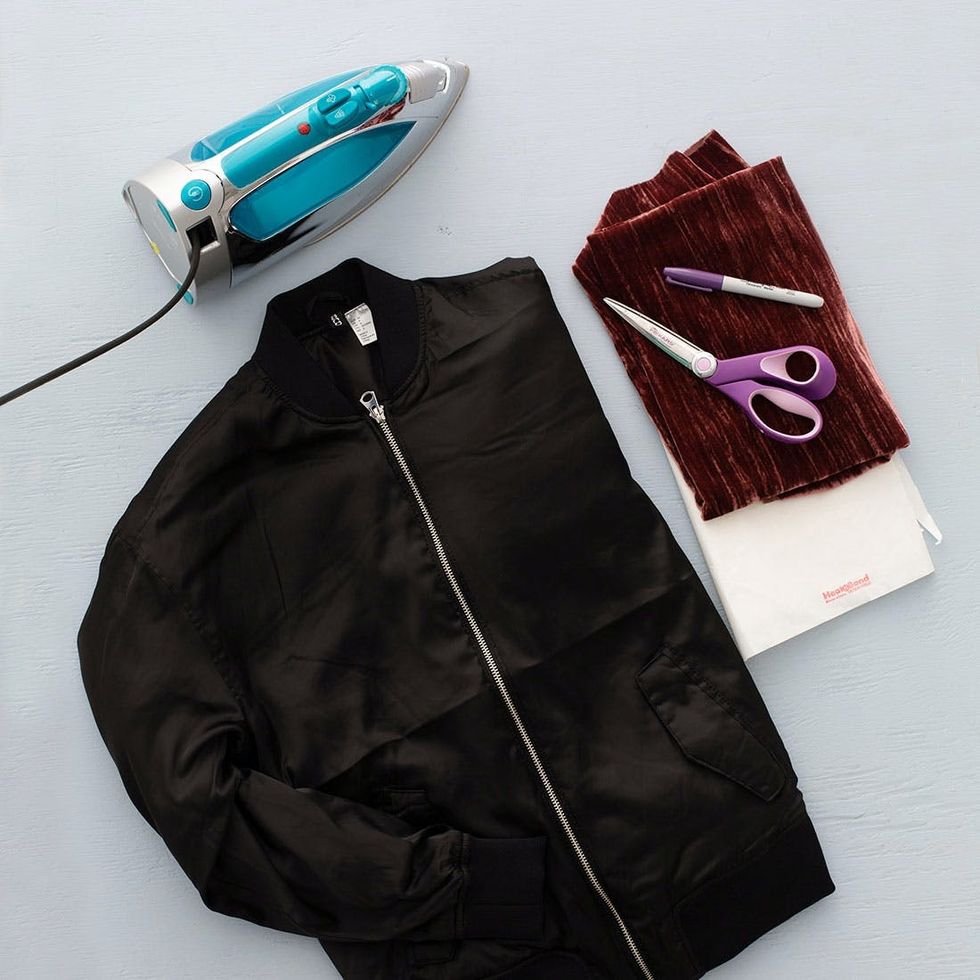
Instructions:
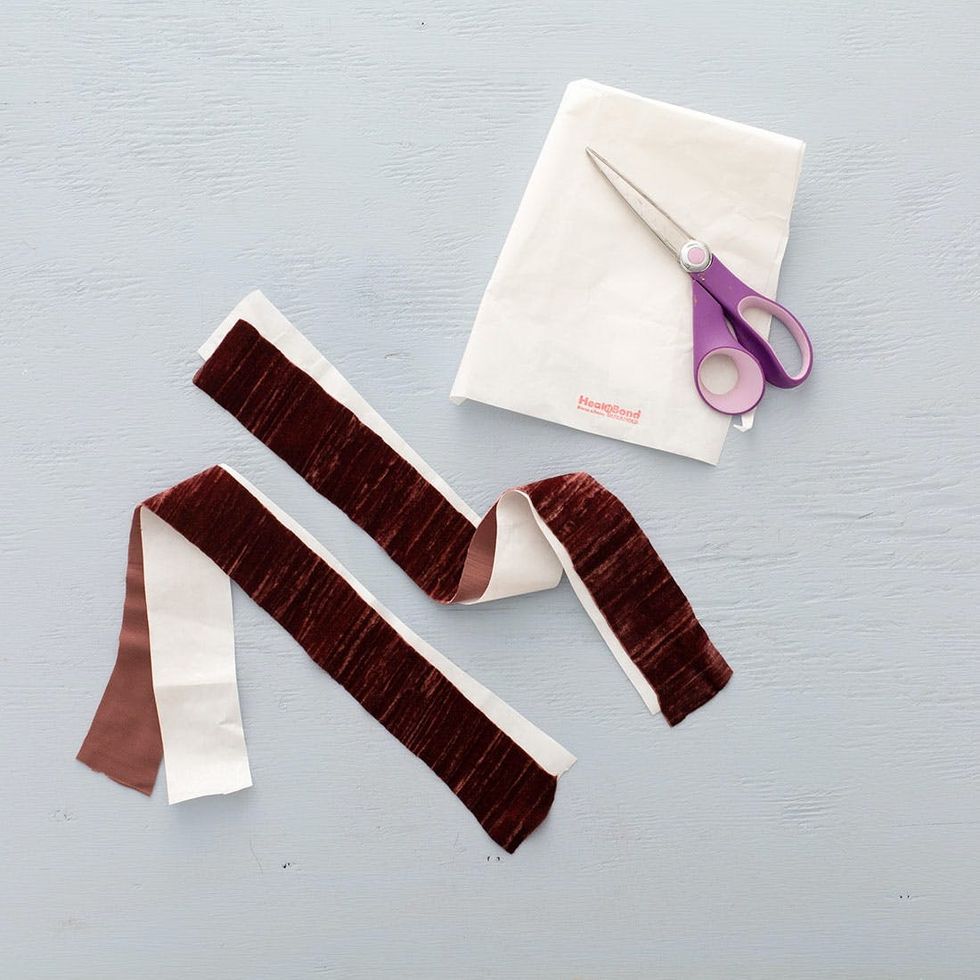
1. Cut two strips of velvet that are the length of the sleeve of your jacket and about 1.5 inches in width. Then cut matching strips out of Heat N Bond.
2. Iron the Heat N Bond to the back of the velvet strip, and then iron onto the sleeve of your jacket.
Cut out strips of velvet that measure 1.5 inches in width and the length of the sleeve of your jacket. Once you have found your desired dimensions, cut out pieces of Heat N Bond for each strip. *Pro Tip: To save even more money, use velvet ribbon to add strip detailing to jackets or pants :) You can buy the exact amount you’ll need.
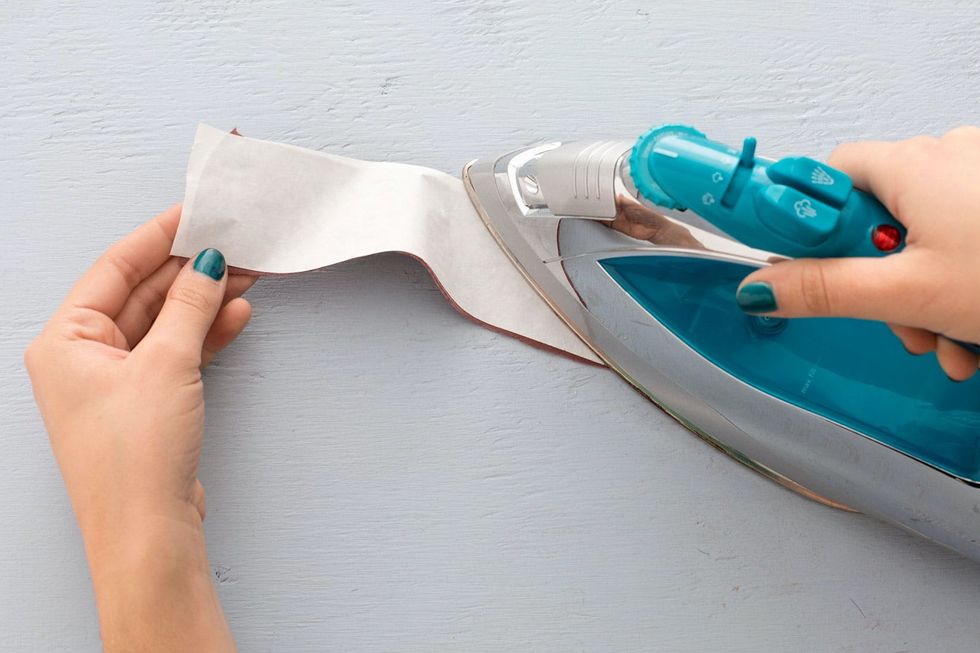
Iron the Heat N Bond to the back side of the velvet, using an iron on a medium setting. Once it is cool to the touch, peel off the paper backing.
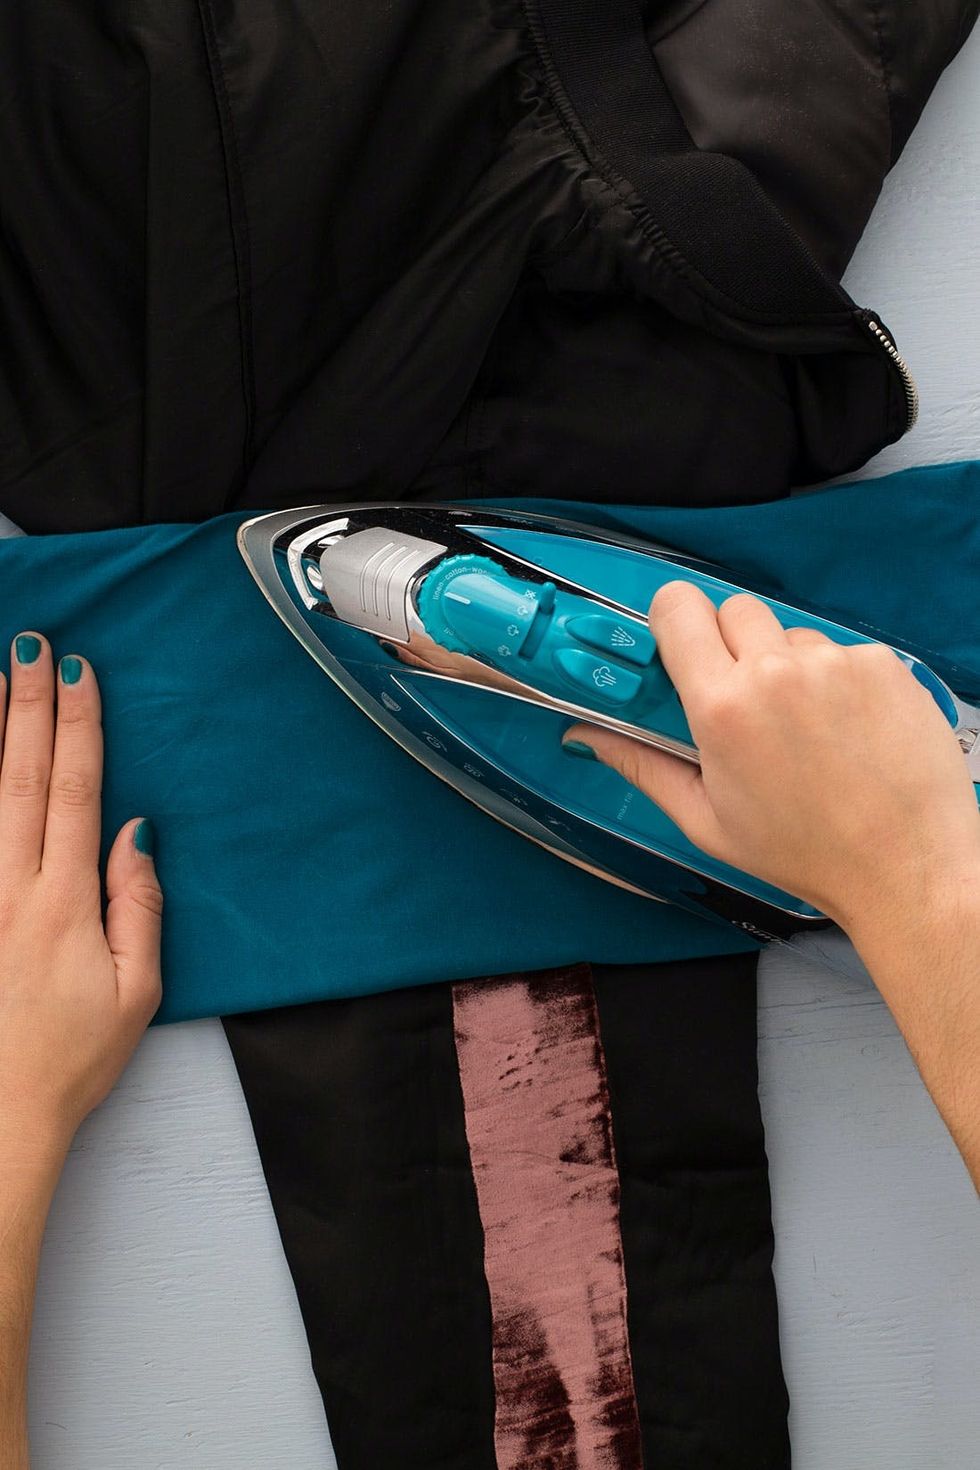
Place the velvet on the sleeve and iron in place. I used a cotton cloth to cover the fabric when ironing onto the garment.
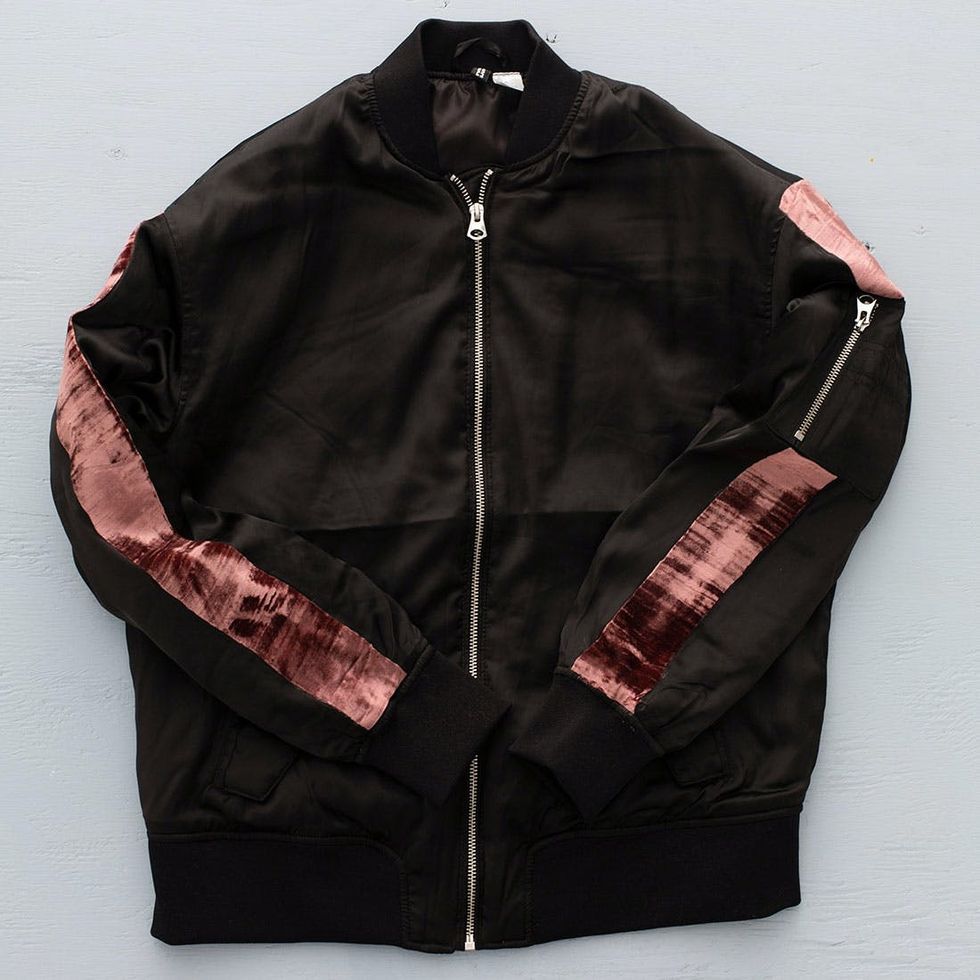
Velvet racer stripes FTW!

Bomber jackets + velvet = everything that I need for winter 2017.
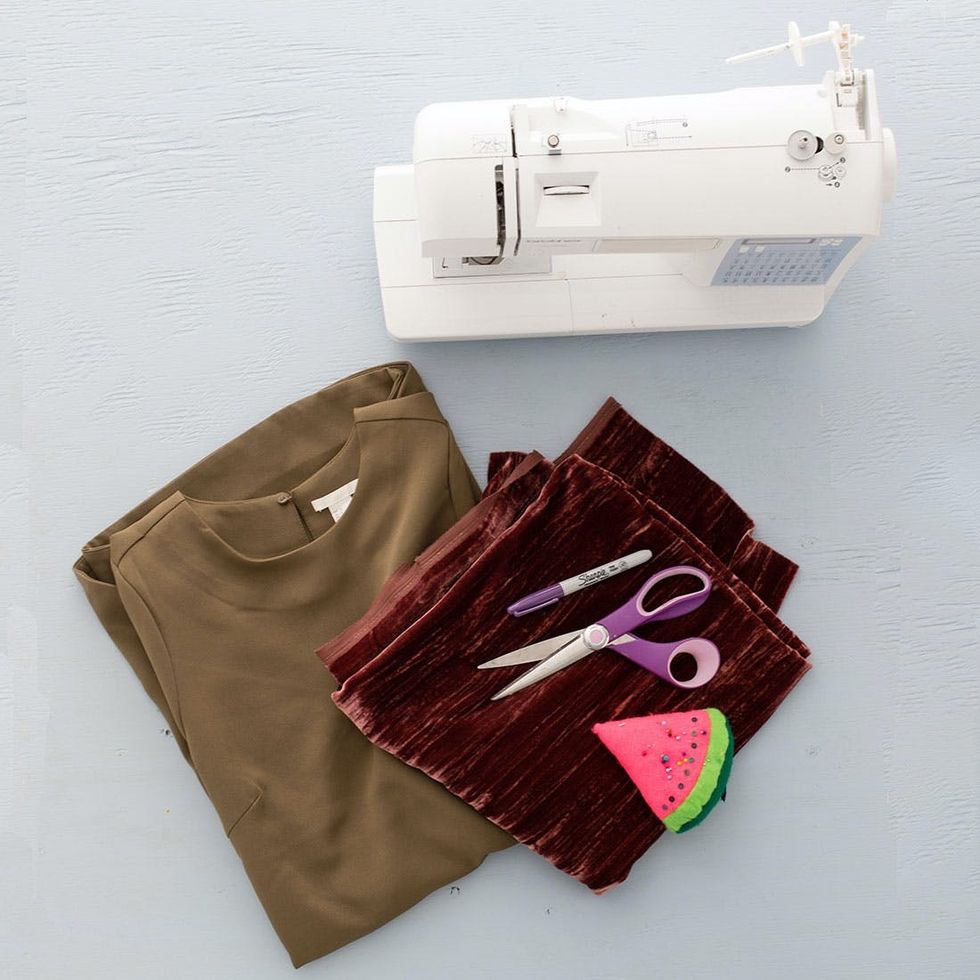
Materials + Tools:
Intermediate Velvet Addition
Instructions:
- dress
- velvet
- sewing machine
- sewing pins
- fabric scissors
- marker
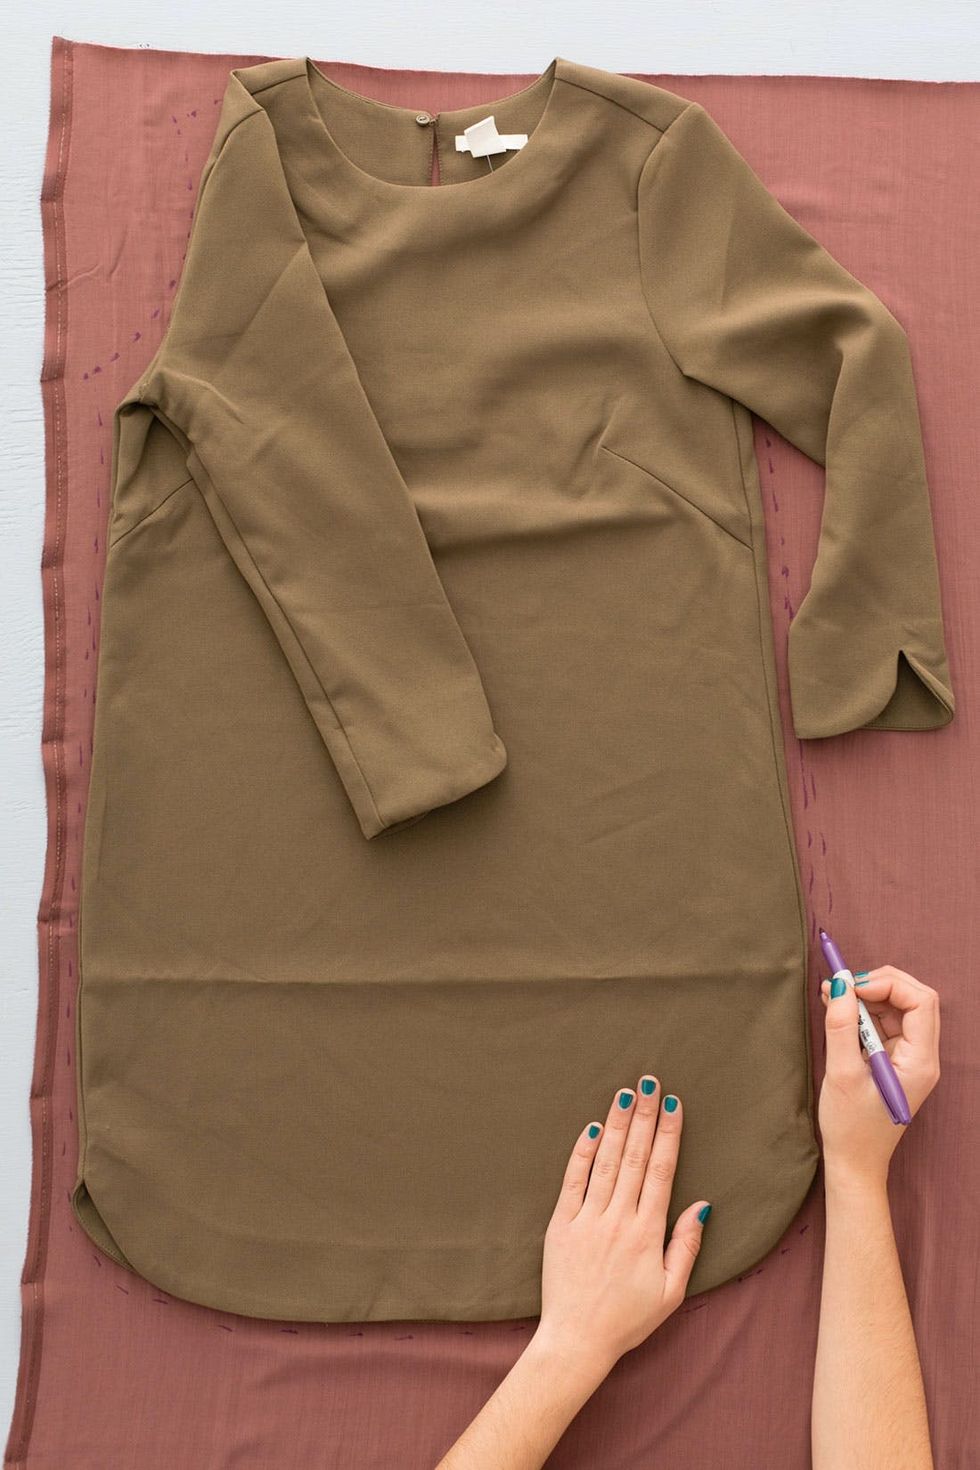
1. Lay the dress on the back side of the fabric. Use a marker to trace the shape of the dress. Fold back the sleeve to get the basic outlining of the arm curve.
2. Cut out the fabric and pin to the front of the dress. Trim the velvet to match the neckline of the dress.
3. Sew along the seams of the dress to attach the velvet panel.
Lay your dress on the back side of the velvet and mark the shape. Pull the sleeves back to trace the arch of the inner shoulder.
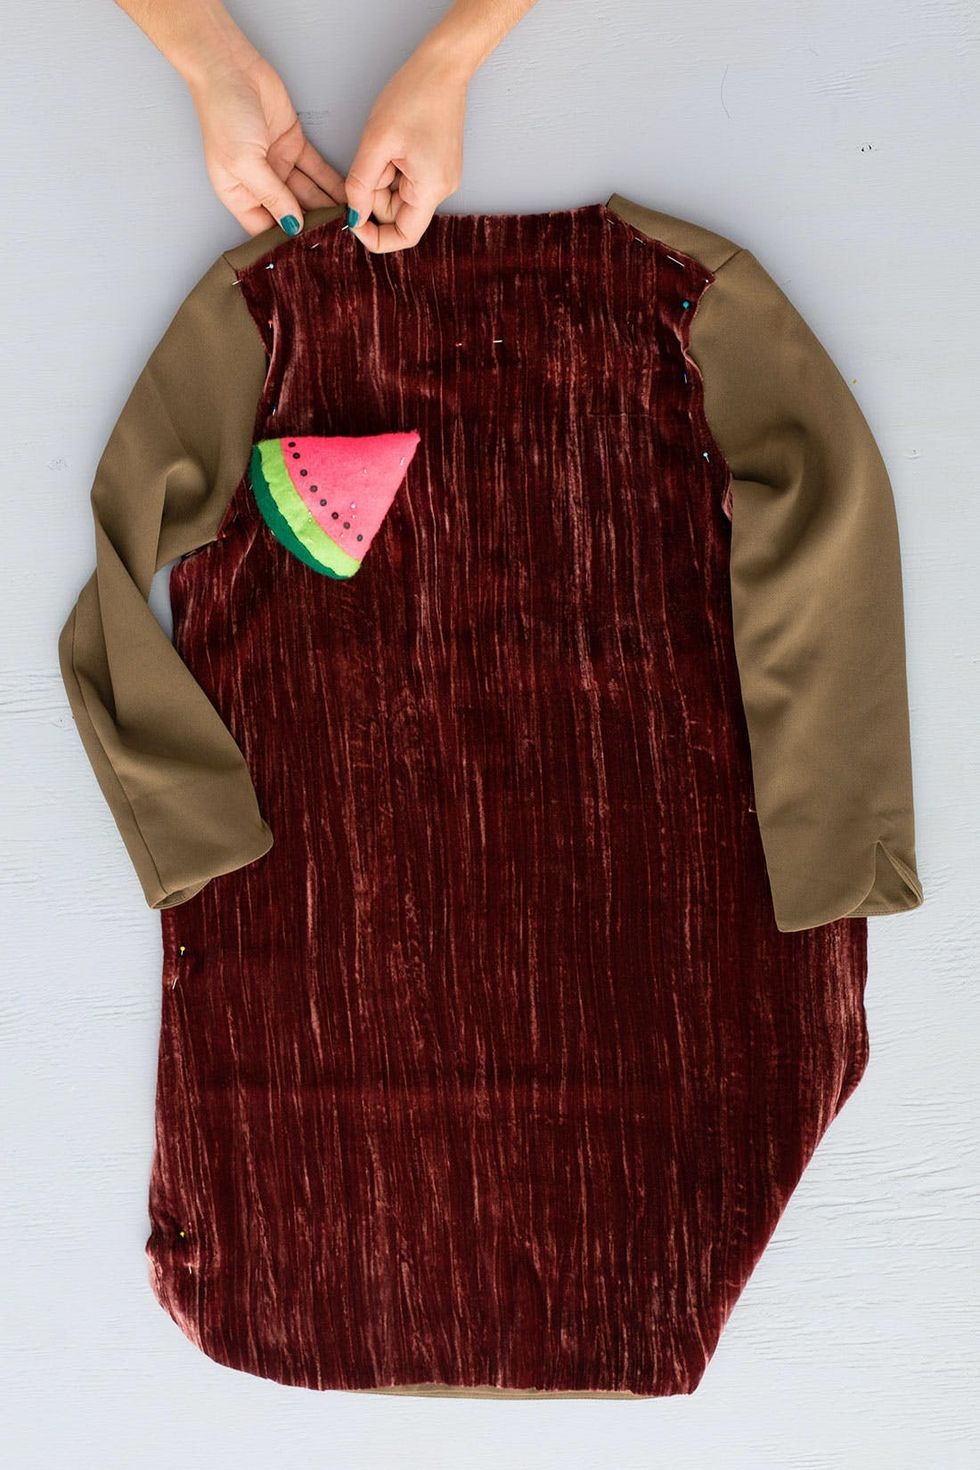
Pin the velvet panel to the front of the dress — this is a great time to trim excess fabric.
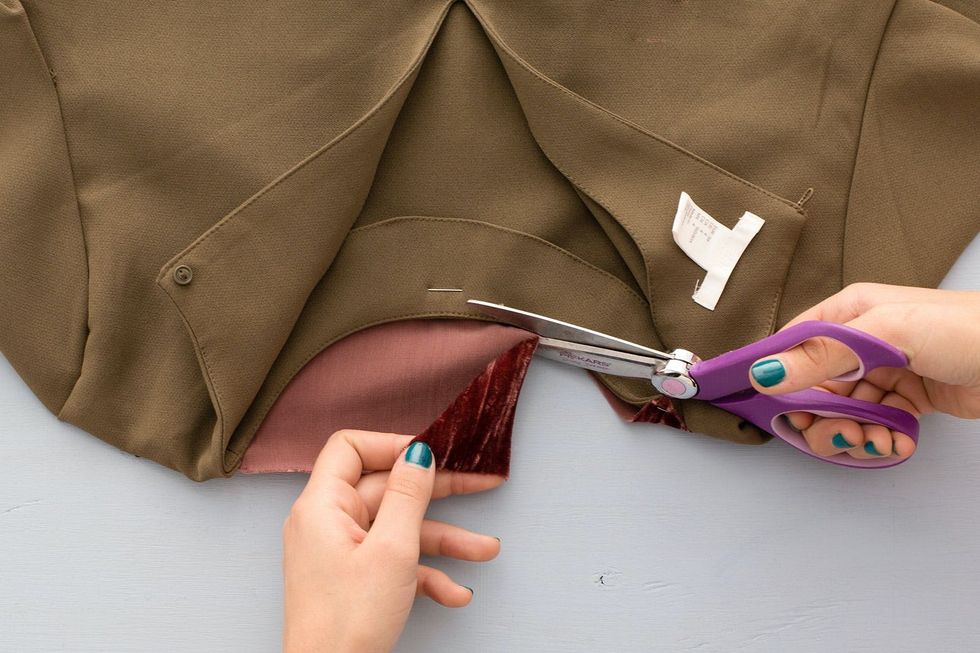
Cut away extra velvet to match the neckline of the dress.
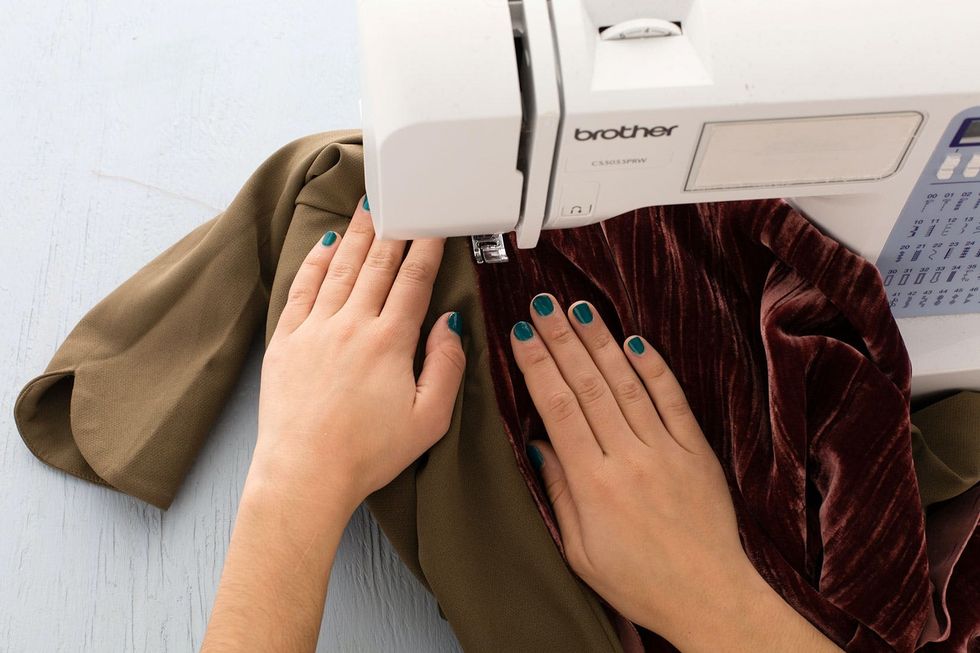
Sew along the perimeter of the velvet to attach to the dress.
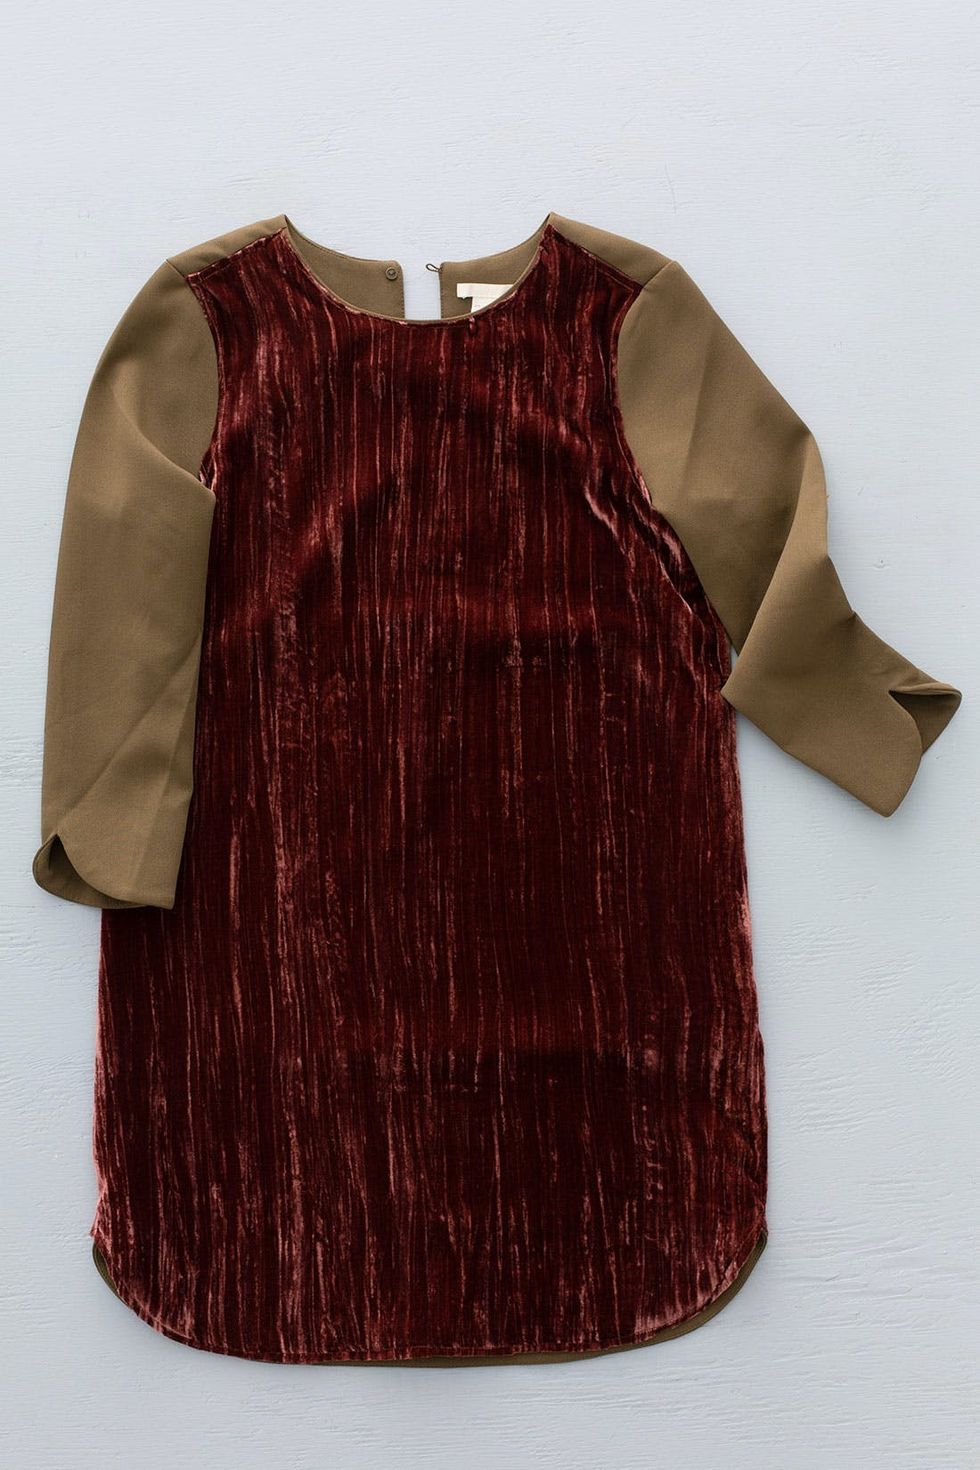
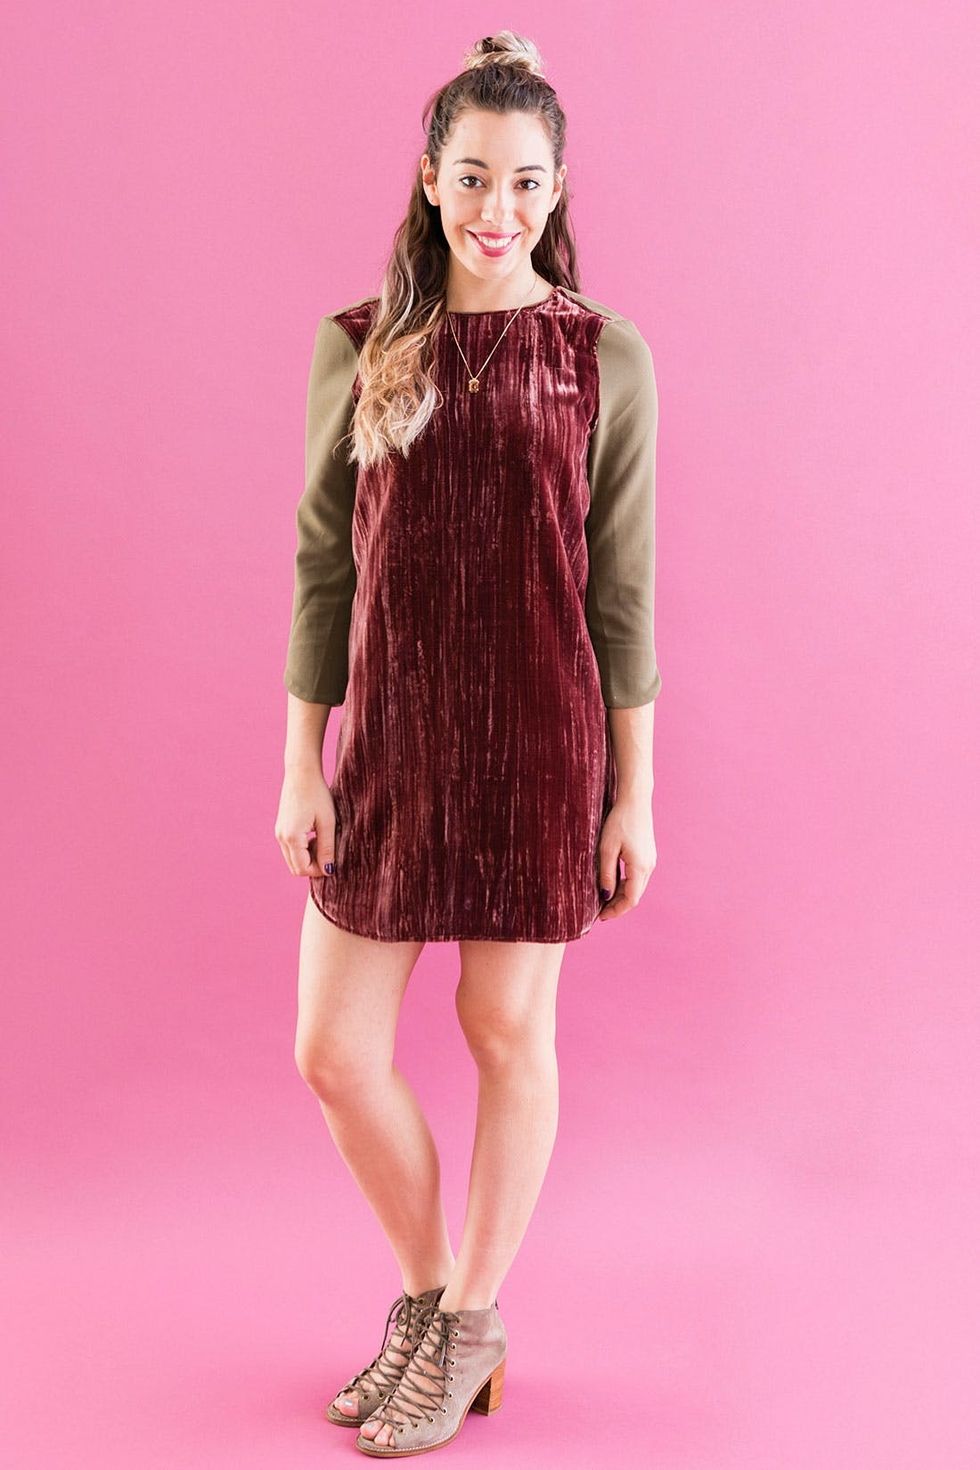
Love the olive and burnt rose combination!

This is me pushing those summer outfits aside for some cozy sweaters and velvet dresses :)

Materials + Tools:
Advanced Velvet Addition
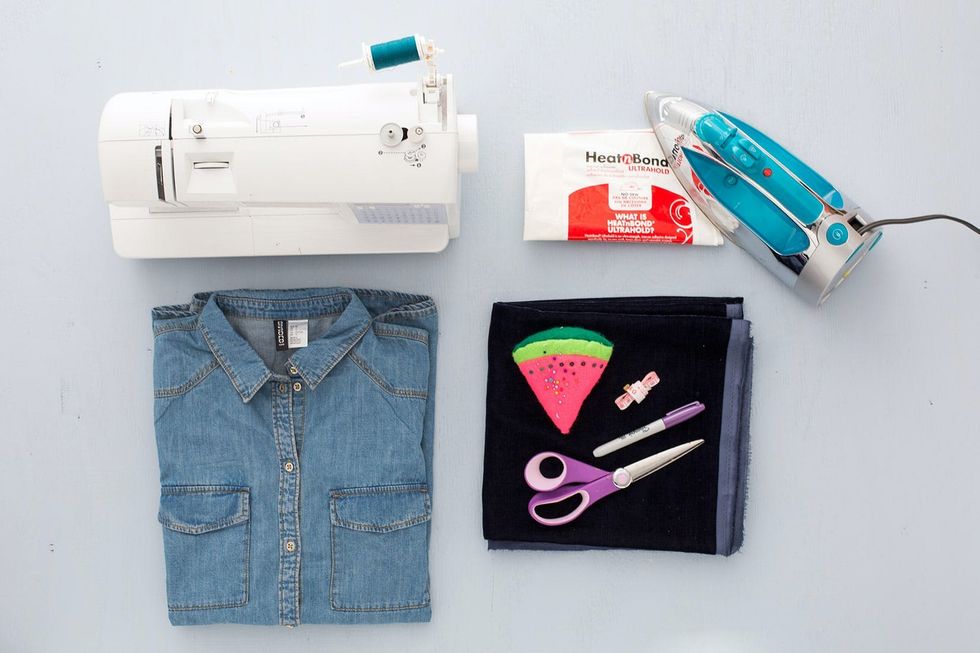
Instructions:
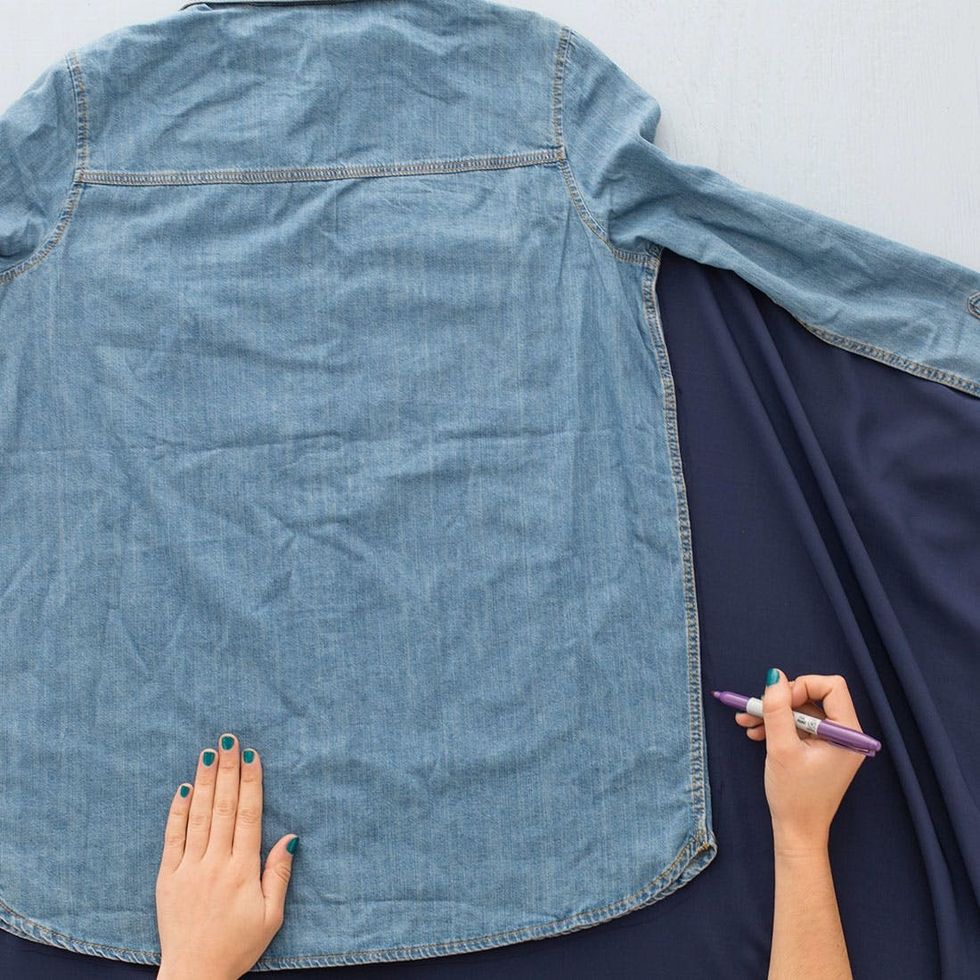
1. Place the shirt face down on the back of your velvet. Trace the body of the shirt. Pull the sleeves back to trace the curve of the inner shoulder seam.
2. Cut out the velvet fabric and pin into place.
3. Sew the perimeter of the velvet onto the back of the shirt.
4. Place the collar face down on another piece of velvet. Trace the collar, and then cut it out.
5. Cut out a piece of Heat N Bond to match the size and shape of the velvet collar. Iron the Heat N Bond to the back of the cut velvet piece.
6. Iron the velvet onto the collar.
Place the shirt face down, and trace the perimeter onto the velvet using a marker.
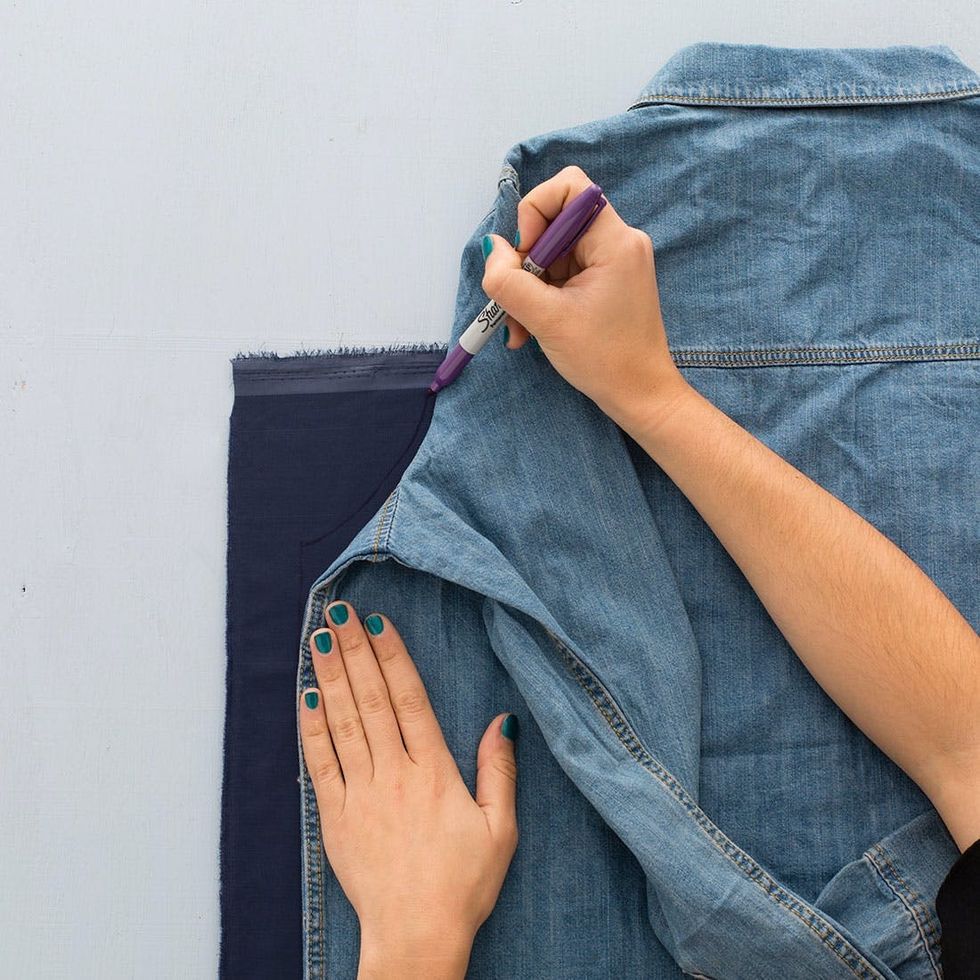
Pull the sleeves back to trace the arch of the shoulder seam.
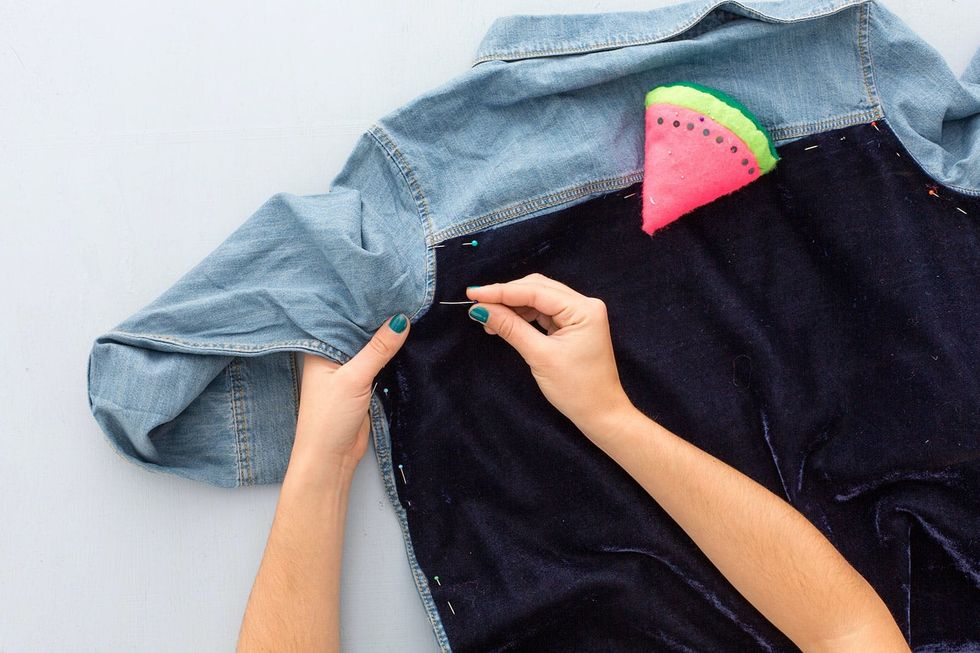
Cut it out and pin it onto the shirt.
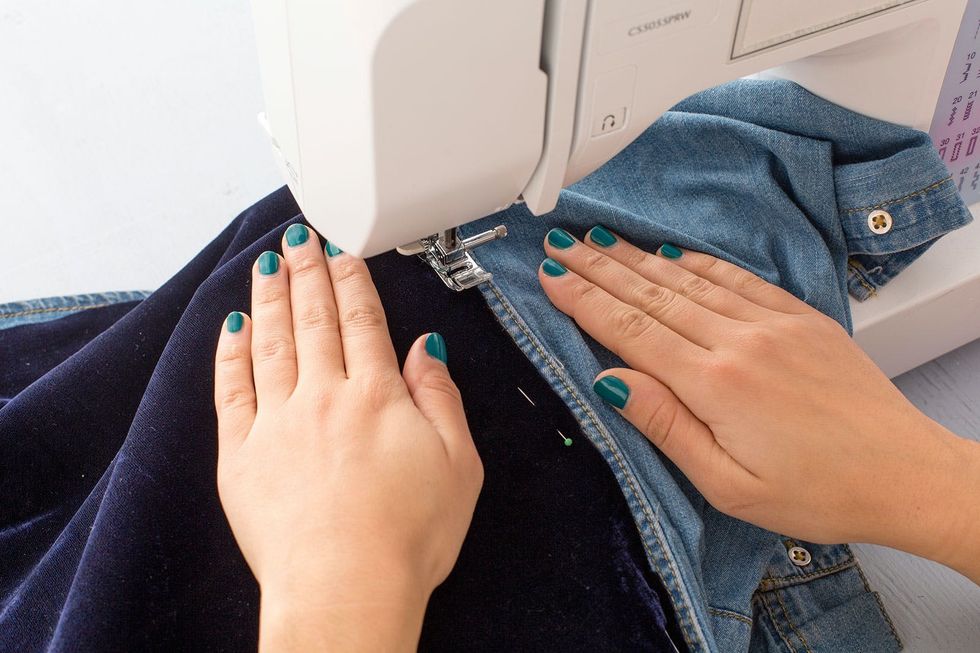
Sew around the perimeter of the shirt.
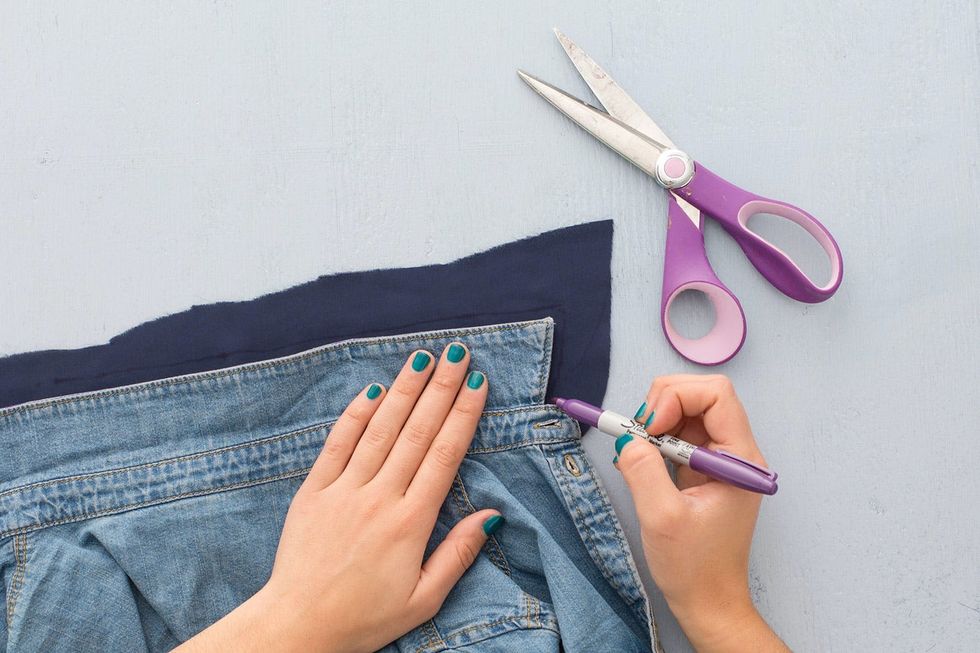
Place the shirt face down onto the back side of the velvet and trace the collar.
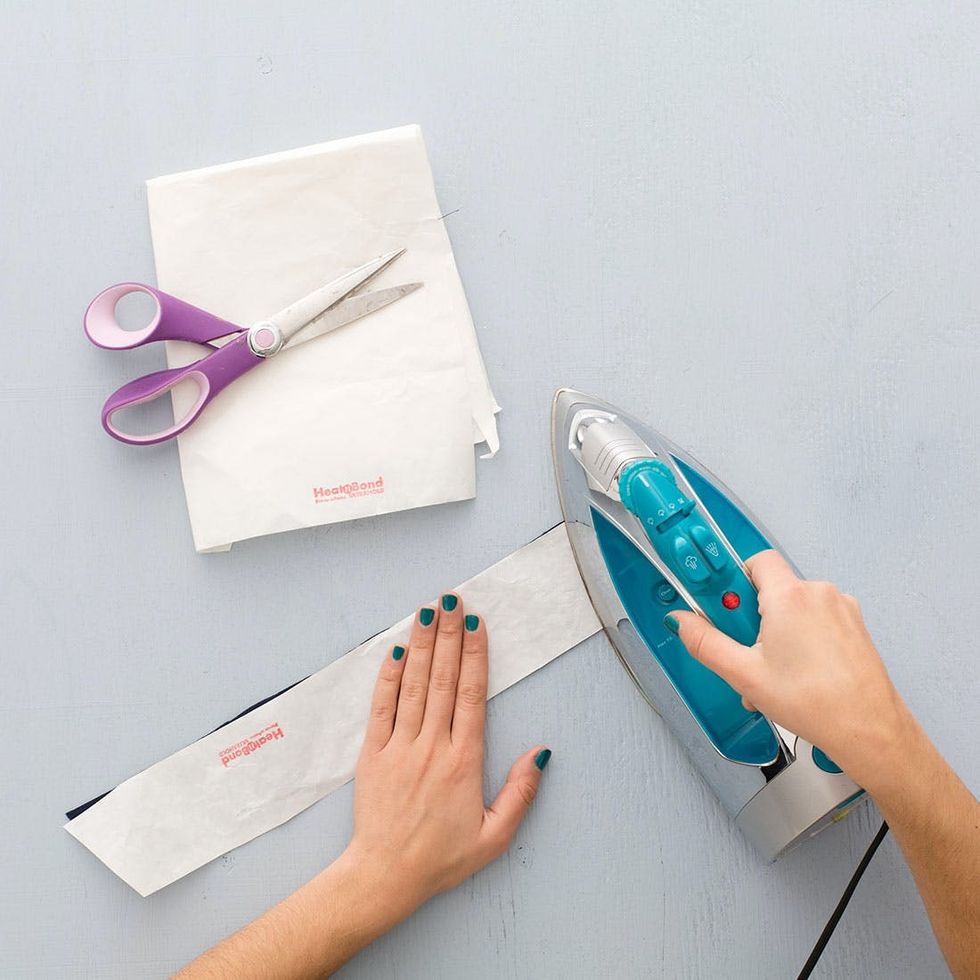
Cut out a piece of Heat N Bond that matches the dimensions of the collar piece, and then iron onto the velvet.
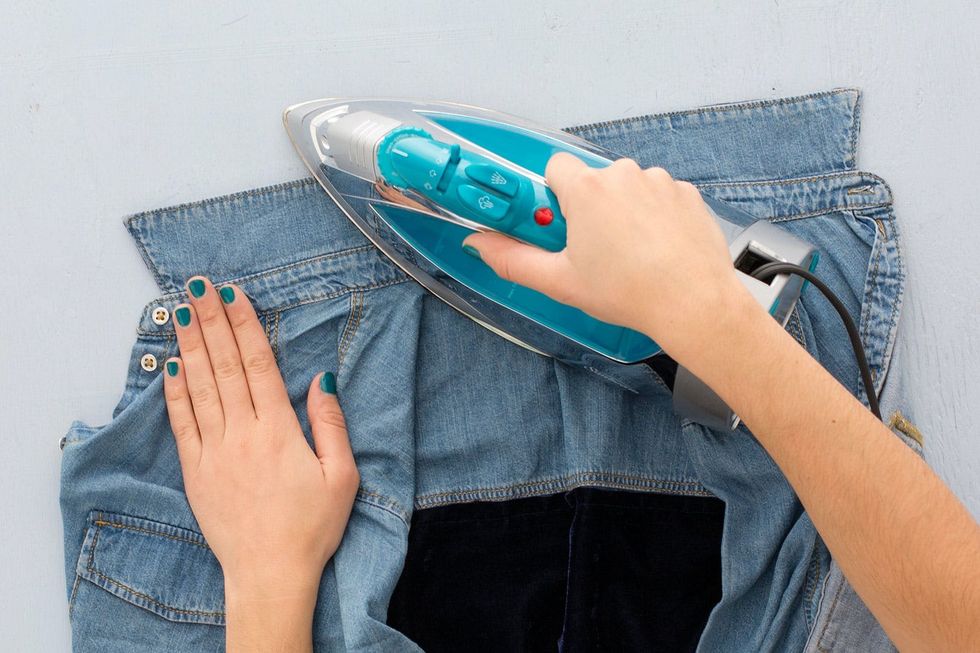
Iron the velvet onto the collar of the shirt — either by ironing the reverse side or placing a piece of cotton cloth over the velvet like the step above.
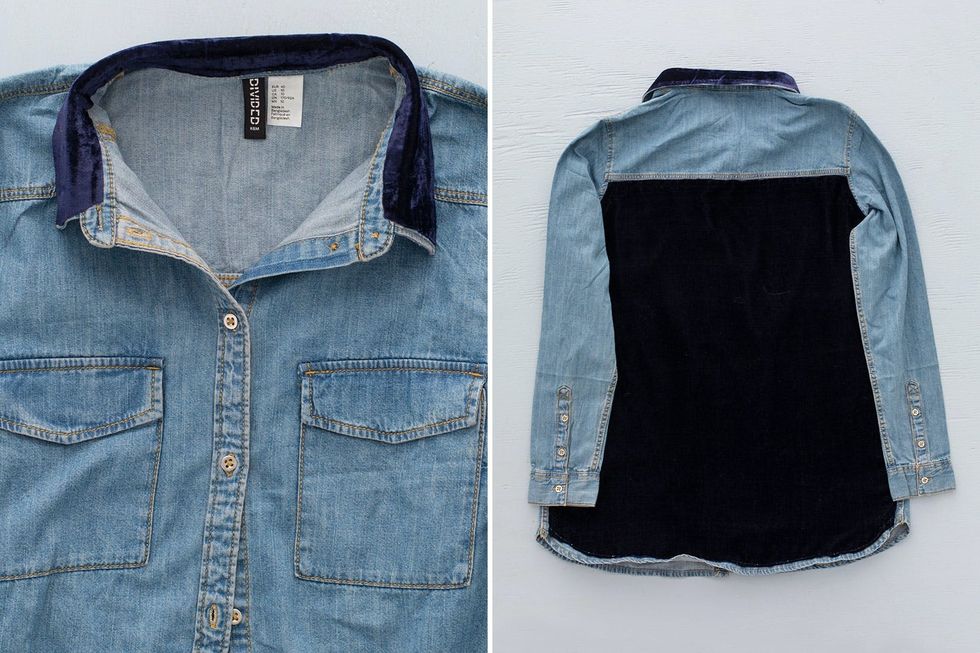
Business in the front, party in the back.

Do you love velvet too? Show us your project by tagging us on Instagram + using the hashtag #iamcreative!


