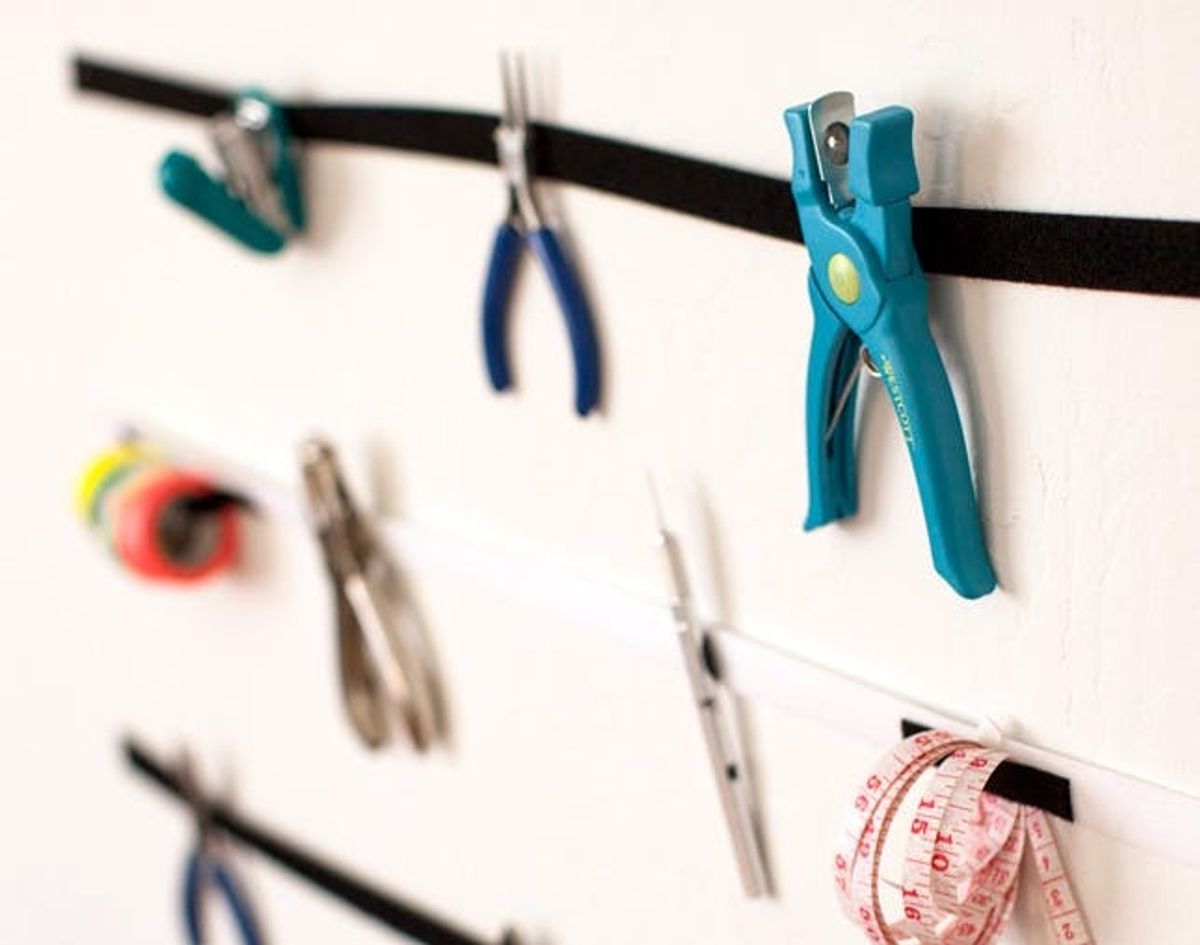
We’re always on the hunt for new organization hacks, from turning an old laptop case into a travel bag to mounting our favorite spices above our oven. What do both of these things have in common? Velcro Industries, of course! Today’s clever hack is all about getting your DIY tools organized and on the wall, where you can always find what you’re looking for. Check out the video above to see how it’s done.
Make a Wall Organizer for Your DIY Essentials

We’re always on the hunt for new organization hacks, from turning an old laptop case into a travel bag to mounting our favorite spices above our oven. What do both of these things have in common? Velcro Industries, of course! Today’s clever hack is all about getting your DIY tools organized and on the wall, where you can always find what you’re looking for. Check out the video above to see how it’s done.
And in case you have any questions after watching the video, here are step-by-step instructions for how to make your own on-the-wall organization system, using VELCRO® Brand tape.
Instructions:
1. Use a hammer and nails to attach strips of VELCRO® Brand One-Wrap to your wall. We did two black stripes and one white one in the middle – like an Oreo! You want the hook side (the “sharp” side) to be on the wall.
2. We recommend using a level (or a level app) to make sure your strips aren’t wonky.
3. Attach VELCRO® Brand Sticky Back Black Dots to each of your supplies. For these, you want to use the loop side (or the “soft” side) of your VELCRO® Brand Sticky Back Black Dots so you don’t get all scratched up when you go to use each of your tools.
4. Use VELCRO® Brand One-Wrap Straps to organize your washi tape, and you’re good to go!
In just minutes you’ve got a brand new way to organize all of your supplies that looks good and makes it easy to find everything you need.


