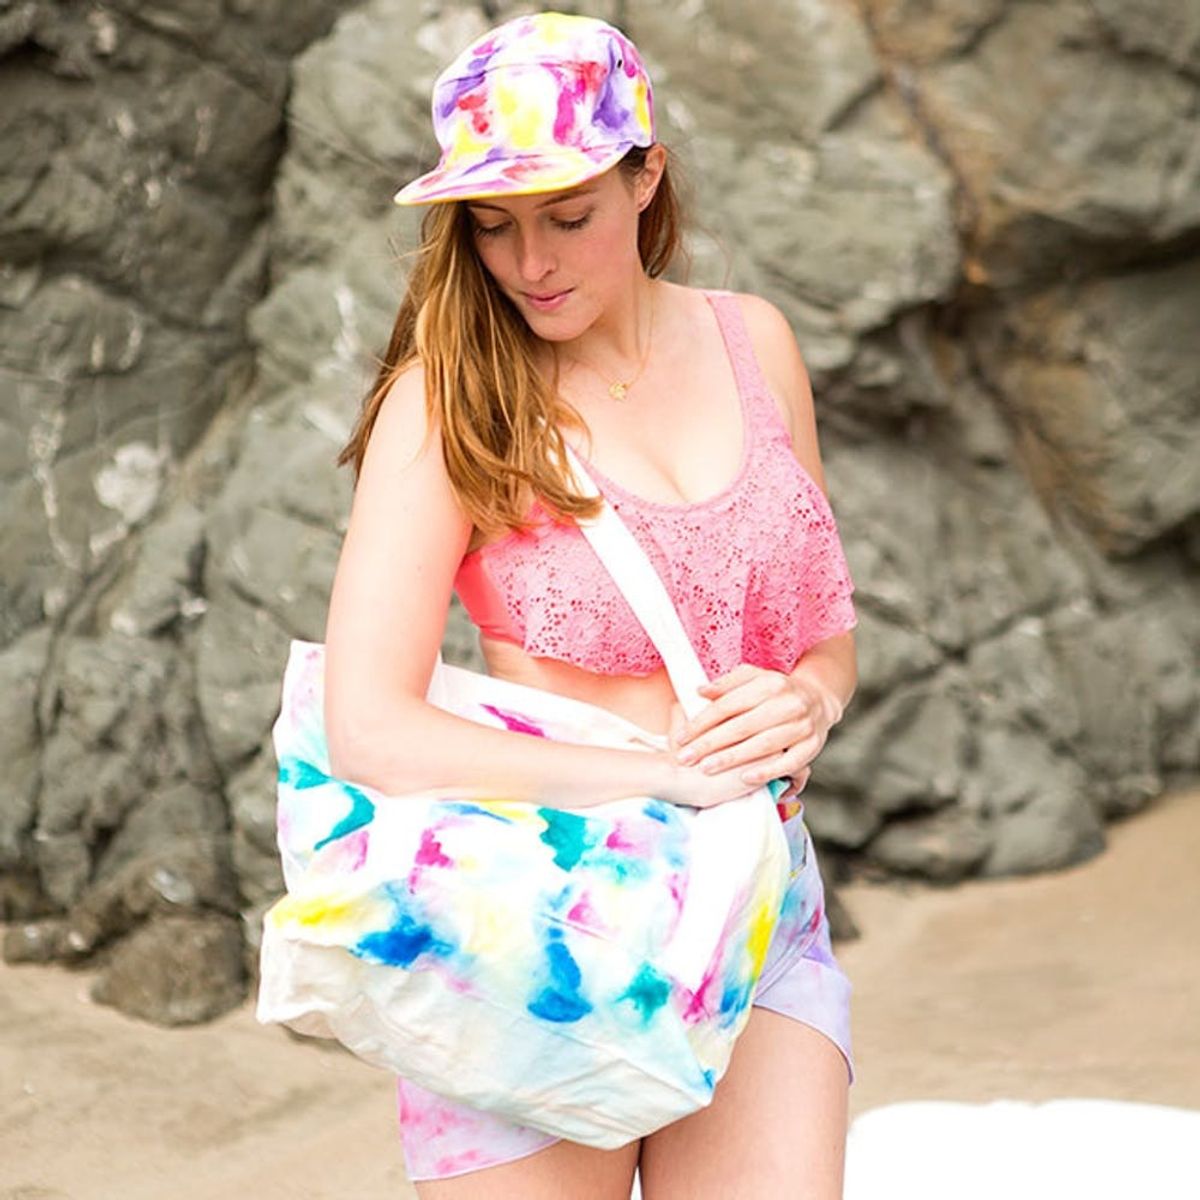
Head to the water this summer with watercolored beach accessories.
Four Watercolor DIYs to Bring to the Beach This Summer

Watercolor, we <3 you. So we figured — why not create FOUR watercolor musts for the beach this summer? Too many? We think not. Today we’ll show you how to create a watercolor hat, tote, sarong and beach blanket. Pair these beach accessories with a custom beach chair and personalized beach cooler. Whip out your favorite bathing suit (or one that you’ve DIYed), grab your Boll & Branch towel and head to the beach to watch cute boys surf :P

Watercolor Hat

Materials + Tools:

— water
— paint brushes
We found that working with a dry hat and applying water as you go is the best way to get a watercolored look on this garment.

Dunk your paintbrush into the fabric paint and spread it onto your hat. Dab water on top of the paint to help it spread and achieve that watercolor effect.

Layer more colors and watch how they blend together to create a watercolor creation.

Materials + Tools:
Watercolor Tote

— water
— paint brushes
This tote gave the best watercolored effect when we pre-soaked it in water and then added paint onto the wet canvas.

Dip your brush in paint and then water to spread the paint on the tote.
Watercolor Sarong

— water
— paint brushes
To create the watercolored effect on the sarong, get the fabric damp.

Dip your fabric into water and then add in swirls of purple paint. Spread the paint by scrunching the fabric together and dipping back into the water.

Add the next color and follow the same technique.

Materials + Tools:
Watercolor Blanket

— water
— paint brushes
Get the bathtub ready because this whole blanket should be damp to create the watercolored effect.

Mix the fabric paint with water and apply to the damp blanket with large brush strokes.

Work your way around the whole blanket by adding contrasting colors to create a watercolor pop!

“Guys, do I have to sit on this floor pillow? I really just want to play around in the sand.” — Otie

“Ahhhh, so much better.” — Otie

Otie and his ladies. P.S. you can make these custom ’90s-inspired bathing suits. Check out the tutorial here!


 —
— 


